
Free Crochet Amigurumi Owl Pattern For Cute Room Decor
Fun decor vibes sparkle with this Crochet Amigurumi Owl Pattern offering sweet details, soft texture, and cozy display use at home today.

Cheerful Crochet Amigurumi Owl Pattern That Brings Joy
Creating a tiny crocheted owl makes a delightful little toy or decorative item that brightens up any space. These soft amigurumi figures are loved for their round shapes, expressive eyes, and cozy feel, making them perfect for shelf displays, nursery decor, or handmade gifts. Because of their small size and charming look, they’re also great as keychains or bag charms.

Working on projects like this helps you practice basic crochet skills such as working in rounds, shaping with increases and decreases, and sewing on small parts. Many makers enjoy customizing colors and sizes, allowing each owl to have its own personality and style.
Crochet Owl Pattern
Materials Needed
- Yarn:
- Skin tone color or any yarn color you choose as the main body color. Example: Pistachio Green for this guide.
- A small amount of yellow yarn for additional decoration.
- Some white yarn for the eyes.
- Optional: red yarn for collar details.
- Safety Eyes: 8mm round safety eyes.
- Crochet Hook: 2.5mm or suitable for your yarn weight.
- Fiberfill stuffing for filling the owl.
- Scissors
- Tapestry/Yarn Needle for sewing and weaving in ends.
Gauge
Gauge is not critical for this project. Choose a hook size that creates tight and firm stitches to prevent the stuffing from showing.
Special Techniques Used
- Magic Ring: A tight, circular foundation for crocheting in the round.
- Slip Stitch (sl st): To join rounds or finish sections.
- Single Crochet (sc): The base stitch used throughout the pattern.
- Single Crochet Increase: Two single crochets worked into the same stitch.
- Single Crochet Decrease (sc2tog): A method for combining two stitches into one, decreasing the stitch count.
Pattern Instructions
Body (Main Part):
- Begin with Magic Ring:
- Create a magic ring. Work 6 single crochets (sc) into the ring. (6 sc)
- Round 2: Work 2 single crochets in each stitch around. (12 sc)
- Round 3: (1 single crochet, 1 increase) repeat to the end of the round. (18 sc)
- Round 4: (2 single crochets, 1 increase) repeat to the end of the round. (24 sc)
- Round 5: (3 single crochets, 1 increase) repeat to the end of the round. (30 sc)
- Round 6: (4 single crochets, 1 increase) repeat to the end of the round. (36 sc)
- Round 7: (5 single crochets, 1 increase) repeat to the end of the round. (42 sc)
- Round 8: (6 single crochets, 1 increase) repeat to the end of the round. (48 sc)
- Rounds 9–20 (12 Rounds): Work 1 single crochet in each stitch around (no increases or decreases). (48 sc)

Start Decreasing (For the Head Shape):
- Round 21: (6 single crochets, 1 decrease) repeat to the end of the round. (42 sc)
- Rounds 22–26 (5 Rounds): Work single crochet evenly in each stitch (no increases or decreases). (42 sc)
- Stuff the owl body with fiberfill. Continue adding more as the body closes.
- Round 27: (5 single crochets, 1 decrease) repeat to the end of the round. (36 sc)
- Round 28: (4 single crochets, 1 decrease) repeat to the end of the round. (30 sc)
- Round 29: (3 single crochets, 1 decrease) repeat to the end of the round. (24 sc)
- Round 30: (2 single crochets, 1 decrease) repeat to the end of the round. (18 sc)
- Round 31: (1 single crochet, 1 decrease) repeat to the end of the round. (12 sc)
- Round 32: Work decreases around to finish closing the piece. Secure and weave in the ends.
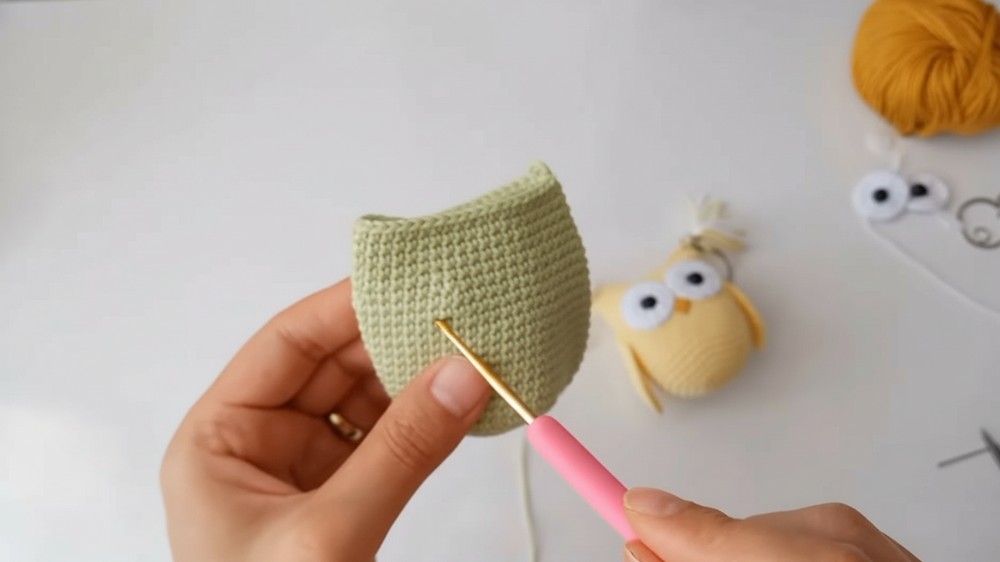
Eyes:
- Eye Base:
- Using white yarn, make a magic ring.
- Round 1: Work 6 single crochets into the magic ring. Close and tighten.
- Round 2: Work 2 single crochets in each stitch around. (12 sc)
- Round 3: (1 single crochet, 1 increase) repeat to the end of the round. (18 sc)
- Finish off and leave a long tail for sewing.
- Attach Safety Eyes:
- Insert an 8mm safety eye into the center of each white eye base. Secure into position.
- Sew the Eyes:
- Sew the completed eyes onto the body, approximately between Rows 18 and 19, with equal spacing.
- Ensure proper positioning for symmetry.
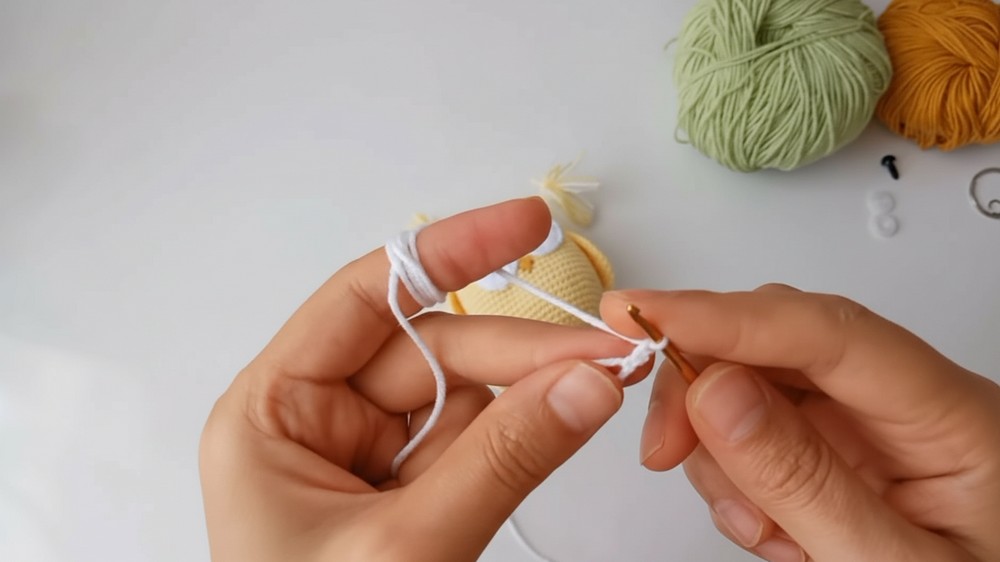


Wings:
- Magic Ring:
- Create a magic ring with your main yarn color. Work 6 single crochets (sc) into the ring.
- Round 2: Work 2 single crochets in each stitch around. (12 sc)
- Round 3: (1 single crochet, 1 increase) repeat to the end of the round. (18 sc)
- Round 4: (2 single crochets, 1 increase) repeat to the end of the round. (24 sc)
- Round 5: (3 single crochets, 1 increase) repeat to the end of the round. (30 sc)
- Leave a long yarn tail for sewing. Make a second wing by repeating the steps above.
- Attach both wings symmetrically to the sides of the owl's body using your yarn needle.

Beak and Details:
- Beak:
- Use yellow yarn to embroider or crochet a small triangular beak just below and between the eyes.
- Decorative Collar (Optional):
- Using red or yellow yarn, crochet a simple chain around the neck or embroider small V-shaped patterns for an adorable finish.
Finishing the Pattern:
- Ensure the owl body is fully stuffed.
- Weave in and secure all loose yarn ends for a clean finish.
- Optional: Add decorative elements like blush, additional embroidery, or accessories such as a bow or hat.
Final Words and Tips
Congratulations! You have completed a crochet owl that is not only adorable but also a perfect handmade gift, decoration, or keychain. Here are some additional tips for maintaining and customizing your pattern:
- Tension: Keep your tension tight to avoid gaps in stitching.
- Personalization: Experiment with different yarn colors and texture choices for unique variations. Adding glitter yarn or multi-colored tones can make your owl stand out.
- Safety Eyes Alternative: If gifting to children under 3, skip the safety eyes and instead embroider the eyes with black yarn for safety.
- Care Instructions: Handwash gently in cold water, reshape, and air dry completely.