
Cute Free Crochet Bear Keychain Pattern Everyone Will Adore
Brighten your day with this Crochet Bear Keychain Pattern, featuring tiny, adorable that make perfect gifts, décor, or personal keepsakes.
Soft yarn and tiny stitches come together to form a little bear that instantly adds personality to keys, bags, or backpacks. Using the Crochet Bear Keychain pattern, its rounded body, delicate limbs, and gentle expression make it both adorable and comforting to hold, while also serving as a practical accessory or a thoughtful handmade gift. This small creation combines charm, usefulness, and creativity in one delightful package.
Fun Free Crochet Bear Keychain Pattern Perfect for Gifting

With the Crochet Bear Keychain pattern, customization is easy and fun, different yarn colors, tiny bows, or miniature accessories let each bear have a unique personality. Crafting it enhances patience, focus, and fine motor skills while offering the satisfaction of completing a quick, adorable project. Combining practicality with aesthetic appeal, this keychain becomes more than an accessory, it’s a small, handmade piece that brings joy and creativity into daily life.

Free Crochet Bear Keychain Pattern
Materials Needed:
- Yarn:
- Body: Brown or preferred bear color yarn
- Sweater: Green yarn
- Nose: White yarn
- Face Details: Thin black crochet thread
- Hook: Suitable size for your chosen yarn (usually a 3.5 mm crochet hook for worsted weight yarn)
- Stuffing: Polyfill for the head and limbs
- Safety Eyes: 2 small safety eyes
- Tapestry Needle: For sewing and finishing
- Scissors: For trimming yarn tails
- Chain or Ring: Keychain attachment
Special Techniques Used:
- Magic Ring: Foundation stitch to start projects neatly.
- Single Crochet (sc): Base stitch for making the bear and keychain.
- Increasing and Decreasing: Techniques to shape the bear's body and limbs.
- Slip Stitch: Used to join rounds and provide seamless edges.
- Embroidery: Used for facial features like the nose and eyebrows.
- Joining Technique: Utilized in connecting limbs to the body.
Pattern Instructions:
Arms (Make 2):
- Round 1: Begin with a magic ring. Secure with a chain and work 6 sc into the magic ring.
- Round 2: Increase by working 2 sc into each stitch around. (12 sts)
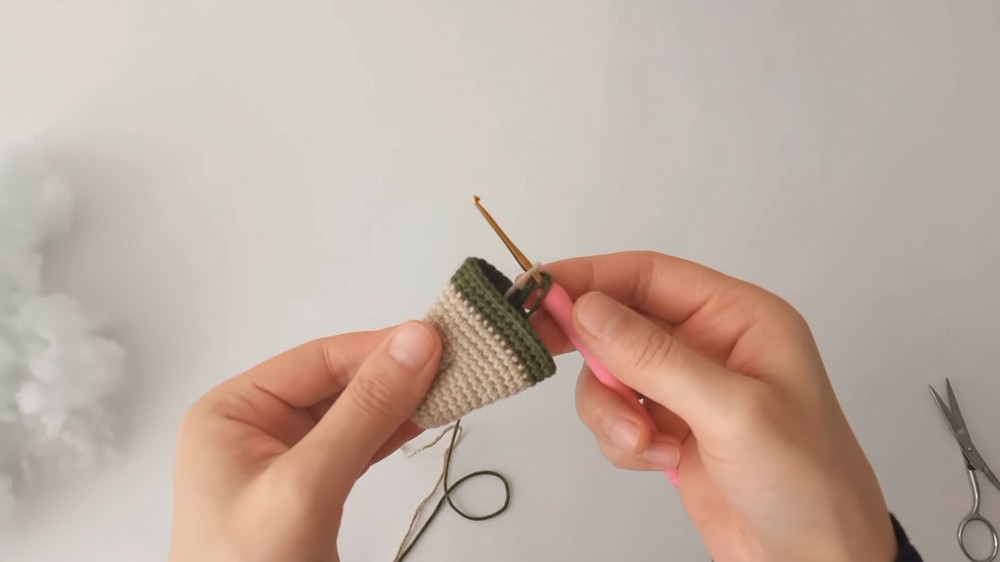
- Round 3: Sc 12 stitches in each round, maintaining the count. Change yarn color to green after finishing.
- Rounds 4-8: With green yarn, sc in 12 stitches for 5 rounds. Use slip stitch to join rounds.
- Finish off: Knot the yarn and trim excess.


Legs & Body:
- Legs (Make 2): Begin with a magic ring, work 6 sc, close with slip stitch, then increase in each stitch. (12 sts)
- Rounds 3-8: Sc in 12 stitches for 6 rounds.
- Join Legs: Slip stitch to join second leg with the first leg.
- Body:
- Work 24 sc around the joined legs.
- Increase by working a series of 3 singles and 1 increase until you have 30 sts.
- Switch to sweater color, working 3 straight rounds.
- Decrease: Work 3 singles, 1 decrease.
- Attach arms using 4 sc from both body and arms.
- Finish with decreases, eventually closing off at the top, leaving room to stuff.
Head:
- Round 1: Start with a magic ring, work 6 sc into the ring.
- Round 2: Increase by working 2 sc into each stitch. (12 sts)
- Round 3: Sc in each stitch till you line up eyes between the 7th and 8th rows.
- Rounds 4-10: Increase up to 36 sts, work regular rows for 6 rounds.
- Decrease to shape the head while inserting safety eyes.
- Finish with head stuffing.


Ears (Make 2):
- Start with a magic ring and secure it with a chain.
- Round 1: Work 6 sc, close the ring.
- Round 2: Increase by double sc in each stitch. (12 sts)
- Fold ear and join with single crochet along fold, leaving long tail for sewing.
- Attach ears to the head symmetrically.

Nose & Face Details:
- Nose: Craft a small circle with white yarn using a magic ring, increase to 12 sts.
- Details: Use black thread for eyes, nose shape, and eyebrows. Sew into place.
Finishing Touches:
- Once your bear is assembled, ensure all stuffing is firm and the features are proportionate.
- Attach the keychain ring firmly at the designated top.
Final Words
Congratulations on completing your bear keychain! This delightful accessory makes for a charming gift or a personal memento.
Tips for a Perfect Finish:
- Consistency: Maintain tension and even stitches for a neat appearance.
- Safety: Ensure the eyes are securely attached if gifting to small children.
- Customization: Feel free to experiment with colors and embellishments like scarves.