
Mini Crochet Axolotl Amigurumi Pattern for Desk and Shelf Decor
Leap into delight with this Crochet Axolotl Amigurumi Pattern showcasing quirky features and playful charm for gifts and decor lovers today.
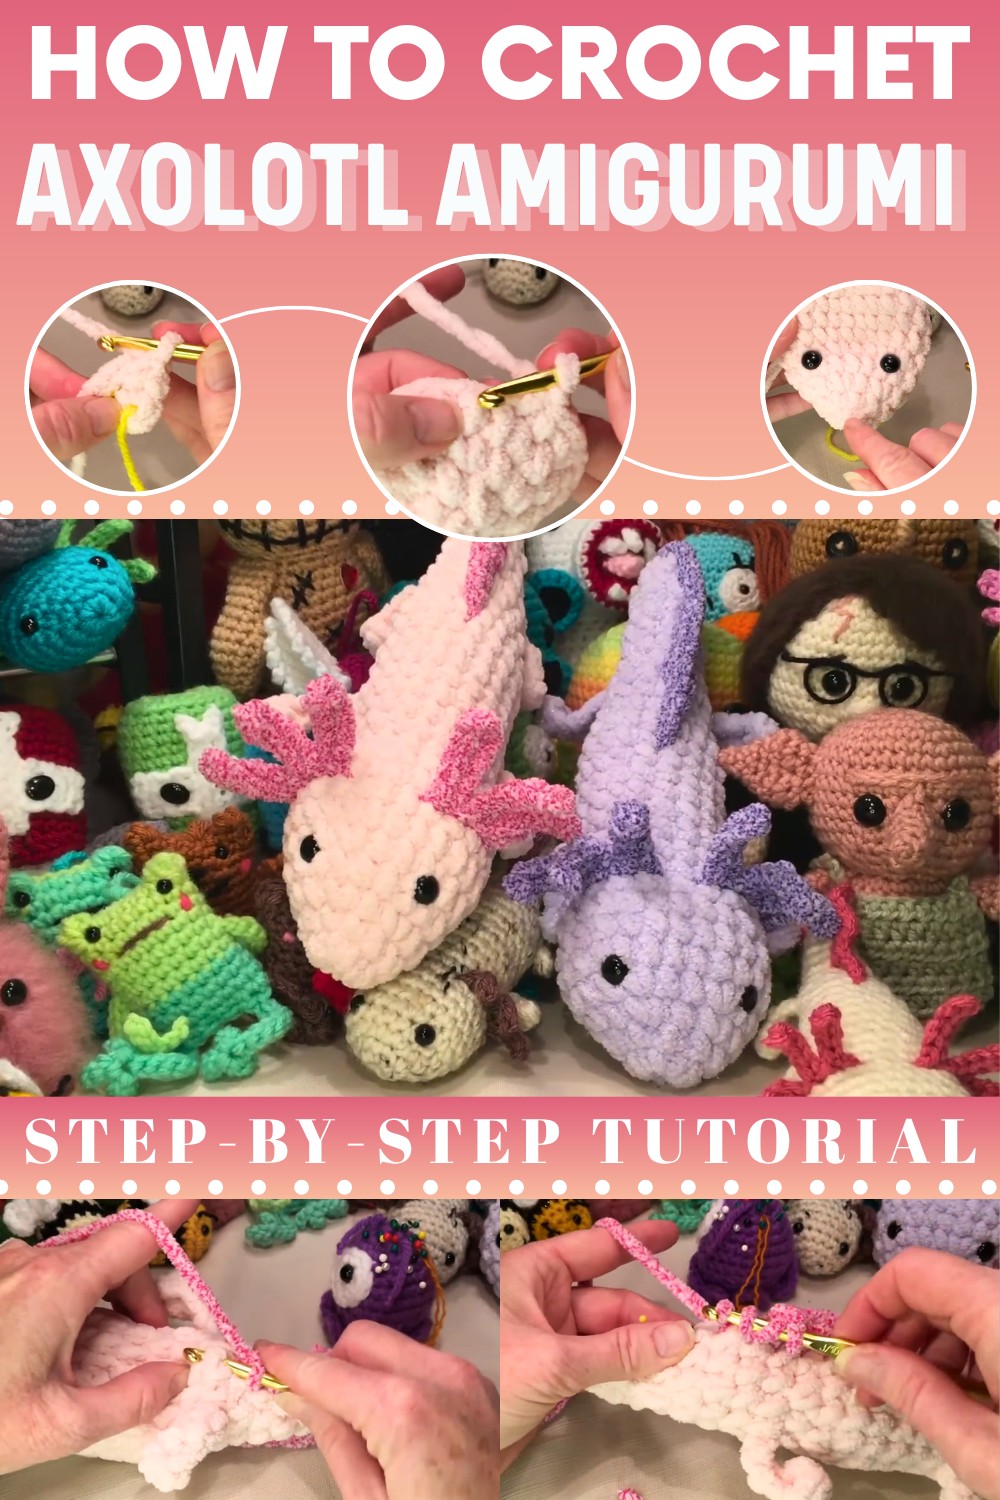
Magical Crochet Axolotl Amigurumi Pattern with Sweet Smiles
Playful artistry brings a lovable aquatic figure to life through soft textures and expressive design. This Crochet Axolotl Amigurumi Pattern delivers a charming handmade creation that brightens nurseries, desks, shelves, and thoughtful gift collections. Gentle curves, frilled gill accents, and a sweet facial style give it a distinctive appearance that feels modern and heartwarming. Creative freedom shines through flexible color choices, yarn selections, and finishing touches that highlight personal taste. The making process encourages relaxation, focus, and confidence while shaping appealing three-dimensional forms.
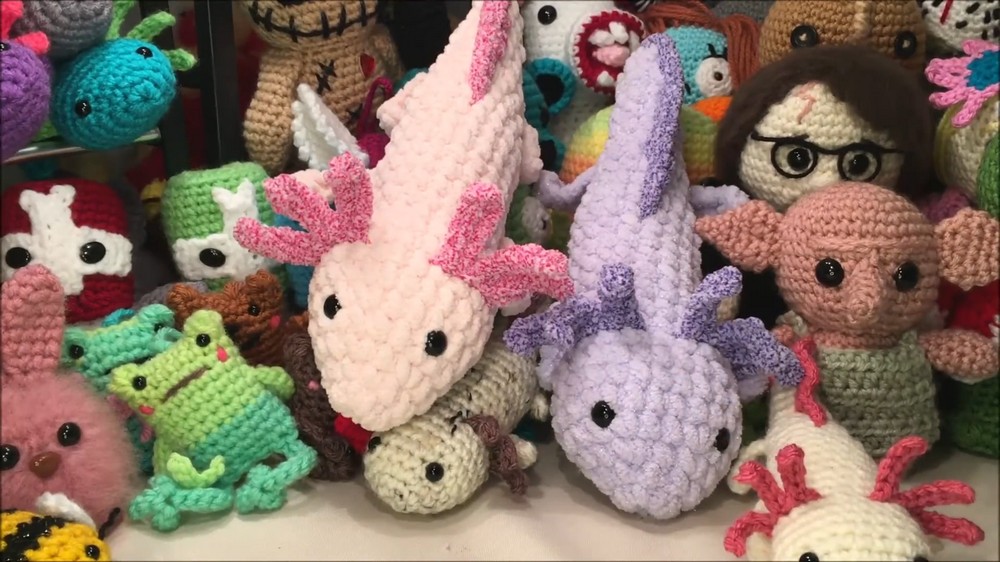
Completed pieces offer multiple uses, including decorative accents, comforting plush companions, and memorable keepsakes for all ages. Lightweight structure supports easy placement across different spaces and occasions. Visual softness pairs beautifully with playful character, creating an inviting presence wherever it appears. Artistic satisfaction grows from seeing details come together smoothly. Overall impression reflects creativity, joy, and handmade elegance that continues to inspire admiration and delight.
Step-by-Step Details
Materials Needed
- Yarn: Blanket yarn (or chenille/velvet yarn). A variegated yarn is highly recommended for added aesthetic appeal.
- Crochet Hook: For blanket yarn, the suggested hook size is typically 6.5 mm to 8 mm (consult yarn label).
- Safety Eyes: Use 10–15 mm eyes for added charm (optional; can embroider the eyes for safety).
- Stuffing: Fiberfill or similar material to shape the plushie.
- Scissors & Needle: For trimming and sewing the pieces together.
- Stitch Markers: Optional but extremely helpful for rounds and decreases.
- Pins: For attaching and positioning fins and spikes.
- Secondary Yarn: You’ll need a complementary yarn color for the axolotl’s spikes and tail fins.
Step-by-Step Instructions
Step 1: The Magic Ring and Head Base
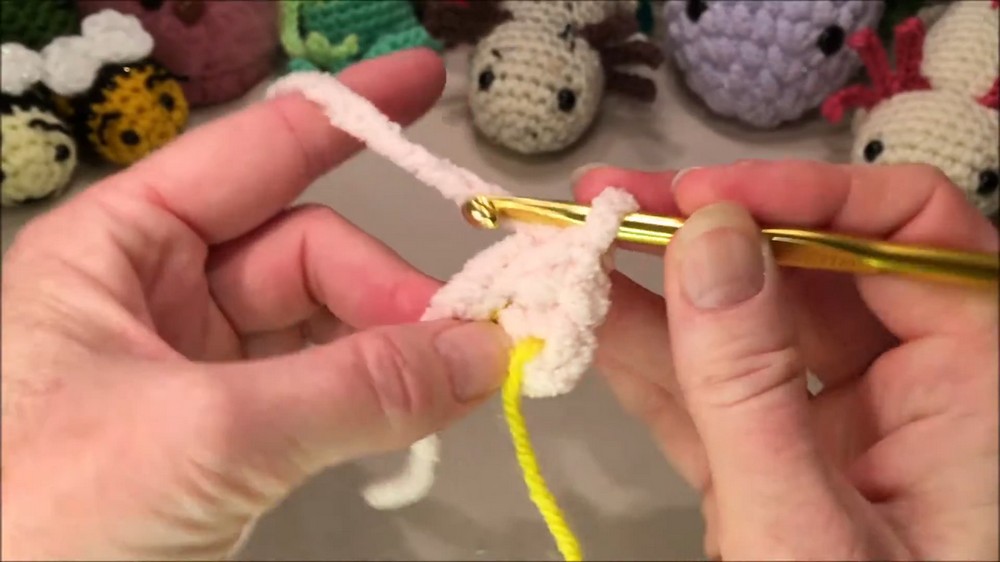
- Start with a magic ring or loop knot.
- Chain 1, then crochet 8 single crochets into your loop. Use a stitch marker to mark the beginning of your round.
- Continue in a circular pattern:
- Round 2: Work 3 single crochets in one stitch, single crochet 3 across, repeat (total: 15 stitches).
- Round 3: Alternate between 1 single crochet and 1 increase for a total of 18 stitches.
- Round 4: Crochet 18 single crochets around evenly.
- Round 5: Alternate 2 single crochets + an increase, repeat around for 24 stitches.
- Rounds 6–8: Work 24 single crochets for 3 rounds to form the head’s structure.
Step 2: The Body
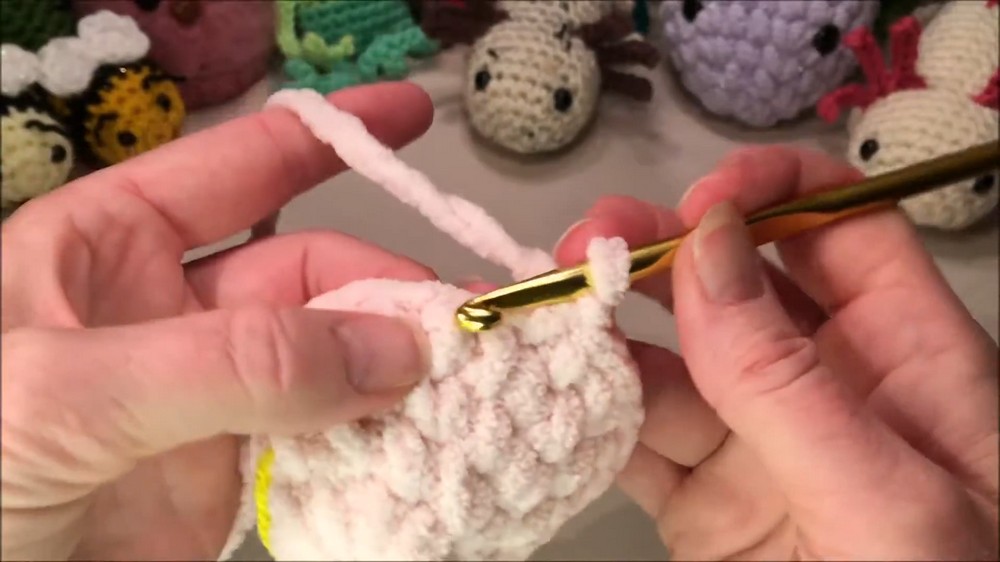
- Start by shaping the neck through decreases and maintaining form:
- Round 9: Crochet 2 single crochets, then decrease, and repeat.
- Rounds 10–11: Crochet 18 single crochets around evenly.
-
Attach the Arms (Round 12):
- Begin with 3 single crochets.
- Chain 6 for the arm; in the second chain from the hook, create a puff stitch:
- Yarn over, insert into the chain, pull through, and repeat twice (for a "puffy" look).
- Slip stitch into the same chain and down the other side (5 slip stitches).
- Return to the body with single crochets and repeat for the second arm.
3: Add Details with Safety Eyes and Stuffing
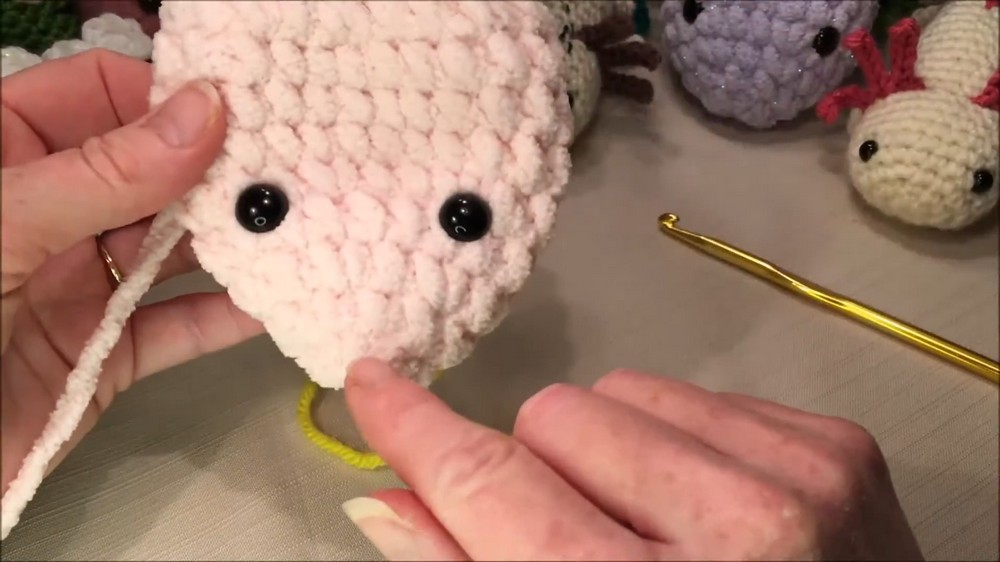
- Place safety eyes approximately between Rows 4–5, about 1–2 stitches apart (adjust based on preference).
- Stuff the head lightly for structure. Shape the head rounded or slightly flat by adjusting how you place the stuffing.
- Continue crocheting the body up to Row 17 with 18 single crochets per round, stuffing as you go.
4: Tail and Back Fins
- Shape the tail by decreasing gradually starting at Round 18:
- Alternate 4 single crochets and 1 decrease for 16 total stitches.
- Crochet rows 20–23 with decreases to taper the tail.
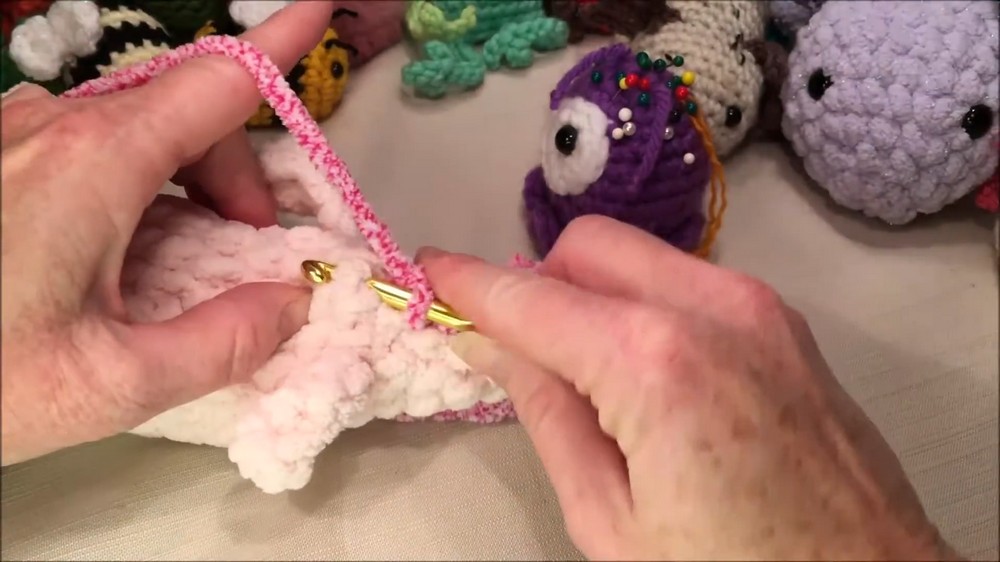
- Add stuffed back fins along the tail by pinning positions first.
- Work puff stitching and half-double crochets along pinned rows to create soft, jagged fins.
- Attach securely, tying and weaving in ends for a clean finish.
5: Spike Placement
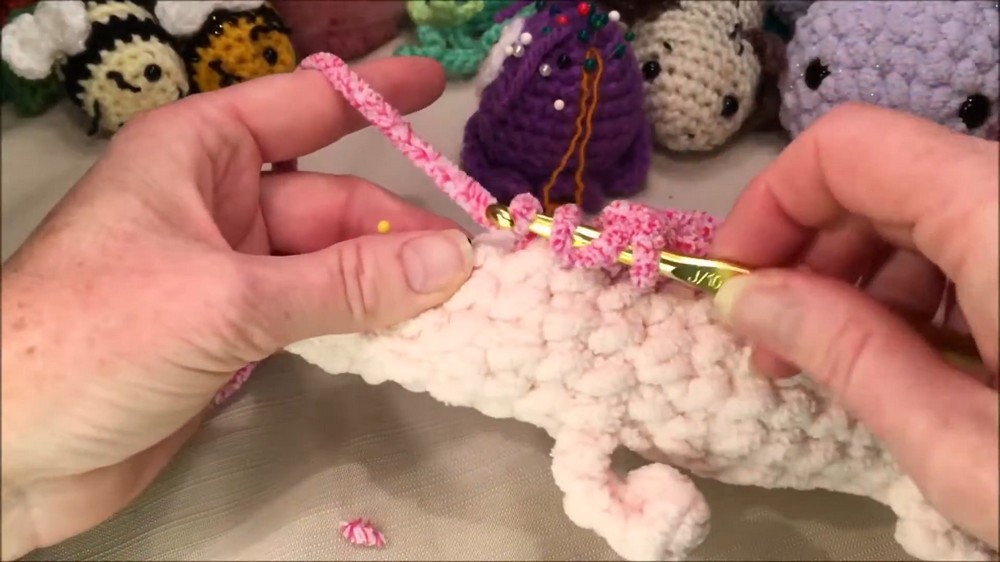
- Mark areas around the head where you’ll attach axolotl spikes. Use pins to map a symmetrical pattern, about 4 stitches wide.
- Crochet spikes as follows:
- Chain 6, work 5 slip stitches back toward the head, repeating for 3 spikes per side.
- Use simple slip stitches to connect the spikes to the head evenly, hiding knots.
6: Final Assembly
- Weave in all dangling ends carefully to avoid loose threads.
- Stuff lightly toward the tail and finish decreasing rows to close the body.
- Add optional blush cheeks or embroidered smiles to complete the look.
Special Features
- Puffy Fins and Spikes: Utilize puff stitches for textural, life-like axolotl details.
- Variegated Yarn: Achieves a natural, whimsical aesthetic without requiring multiple yarn switches.
- Beginner-Friendly Routines: Straightforward single crochet and slip stitch techniques with guided puff-stitch instructions.
- Customizable Positions: Use pins to map out personal touches like fin lengths, eye placements, and spike formations.
Level of Difficulty
This project is beginner to intermediate-friendly, depending on user familiarity with the following:
- Crochet basics (single crochet, increases, and decreases).
- Creating puff stitches.
- Working with bulky yarn, which can be tricky but is forgiving with minor errors.
The instructor provides clear, slow-paced instructions, making even challenging techniques approachable.
Tutor's Suggestions
- Use Pins for Guidance: Properly marking placements for spikes, fins, and eyes makes assembly easier and symmetrical.
- Stuff Lightly: Blanket yarn naturally adds bulk; avoid overstuffing to maintain the desired shape.
- Secure Safety Eyes: Since blanket yarn is thick, you may only hear one “click” when placing safety eyes. Use a warning tag or consider embroidering for children’s toys.
- Take Your Time: This yarn can snag; be patient with the puff stitches and decreases to avoid frustration.
Uses
- As adorable décor for nurseries or as whimsical gifts for axolotl lovers.
- Fun seasonal plushies or keychains when made in smaller yarn, such as standard acrylic.
- Personal collectibles in various color combinations.
Tip for Success
When using blanket yarn, don’t pull stitches too tightly. Keep a consistent tension to avoid an overly stiff finish and to create a plushier, softer appearance.
Conclusion
The Crochet Axolotl Amigurumi Pattern is a rewarding project that combines playful design elements with simple techniques. Its puffy details, customizable features, and options for creativity make it perfect for personal collections, gifts, or even small-scale business ventures. Even with its soft and slippery yarn, following the tutorial ensures you’ll create a cuddly companion that stands out.