
Mighty Crochet Hulk Amigurumi Pattern for Superhero Fans
Bold hero style powers up with this Free Crochet Hulk Amigurumi Pattern, delivering a strong character look for gifts, displays, and fans.

Dynamic Crochet Hulk Amigurumi Pattern Action-Inspired Look
Building a powerful green hero in a soft, huggable form is a fantastic way to celebrate your love for comic books and brave characters. Crochet Hulk Amigurumi pattern This fun project serves as a wonderful gift for fans of all ages or a cool decoration for a gaming desk or bedroom shelf.

Because the finished toy is sturdy and small, it works great as a play companion for kids or a unique mascot to keep you company while you work. The bright green color and muscular look make it stand out, giving you a special handmade item that looks much more personal than any plastic action figure.
Materials
- Yarn:
- Green (cotton, 2–2.5 mm thickness recommended for body)
- Purple (cotton, for shorts)
- Black (acrylic, for hair)
- Hook: 2.7 mm crochet hook
- Stuffing: Polyester fiberfill or silicone stuffing
- Safety Eyes: 1 pair
- Black embroidery thread: For mouth, eyebrows, and chest detail
- Tapestry needle: For sewing and embroidery
- Scissors
- Glue: Cold silicone for fixing hair (optional)
- Pins: To help position hair or parts
Key Abbreviations (US Terms)
| Abbreviation | Meaning |
|---|---|
| MR | Magic Ring |
| ch | Chain |
| sc | Single crochet |
| inc | Increase (2 sc in one stitch) |
| dec | Decrease (single crochet 2 together) |
| sl st | Slip stitch |
| hdc | Half double crochet |
| dc | Double crochet |
| st(s) | Stitch(es) |
| FO | Fasten off |
Special Notes
- Work in continuous spiral rounds unless indicated otherwise.
- Use a stitch marker to track the beginning of each round.
- Safety eyes should be attached before closing the head/body.
- Embroidery for mouth, eyebrows, and chest should be completed at the end.
- Use glue and pins to secure and arrange the hair as a final step for best results.
Pattern
Hair (Start with Black Yarn)
- MR, ch 1, 7 sc in ring (7)
- Rnd 2: inc in each st (14)
- Rnd 3: (sc, inc) around (21)
- Rnd 4: (sc in next 2, inc) around (28)
- Rnd 5: (sc in next 3, inc) around (35)
- Rnd 6: sc in each st around (35)
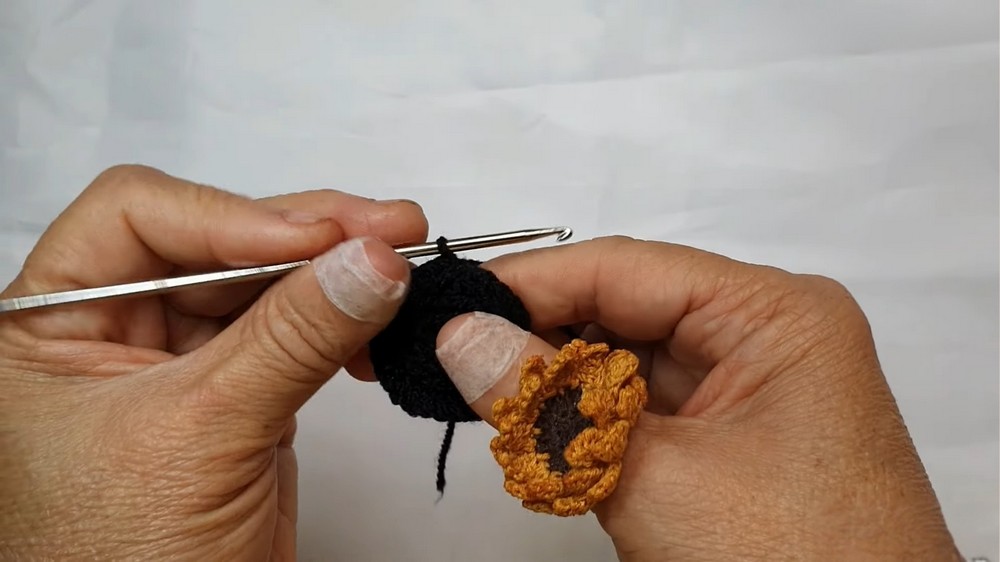
Bangs (with the same black yarn, continue):
- Do not cut yarn. Work the following around the front loops of the last round to create “fringe”/bangs:
- [Ch 3, dc in FLO next st, hdc in FLO next st, sc in FLO next st, sl st in FLO next st]
- Repeat sequence around for desired number of hair strands/bangs.
- FO, weave in ends.
Head & Upper Body (Start with Green Yarn)
- Join green yarn to back loops (from hair cap), sc in same st, sc in each back loop around (35)
- Rnds 2–7: sc in each st (6 rounds, 35)
- Rnd 8: (sc in next 3, dec) around (28)
- Rnd 9: (sc in next 2, dec) around (21)
- Rnd 10: (sc in next 5, dec) around (18)

Neck Increases and First Arm
- Rnd 11 (beginning of body):
- In FLO:
- (sc in next 2, inc) repeat around (24)
- In FLO:
- Rnd 12:
- sc in next 7,
- First Arm: In the next st, make a “pineapple stitch” (see below),
- sc in next 9,
- Second Arm: Make pineapple stitch in the next st,
- sc in last 6 (24)
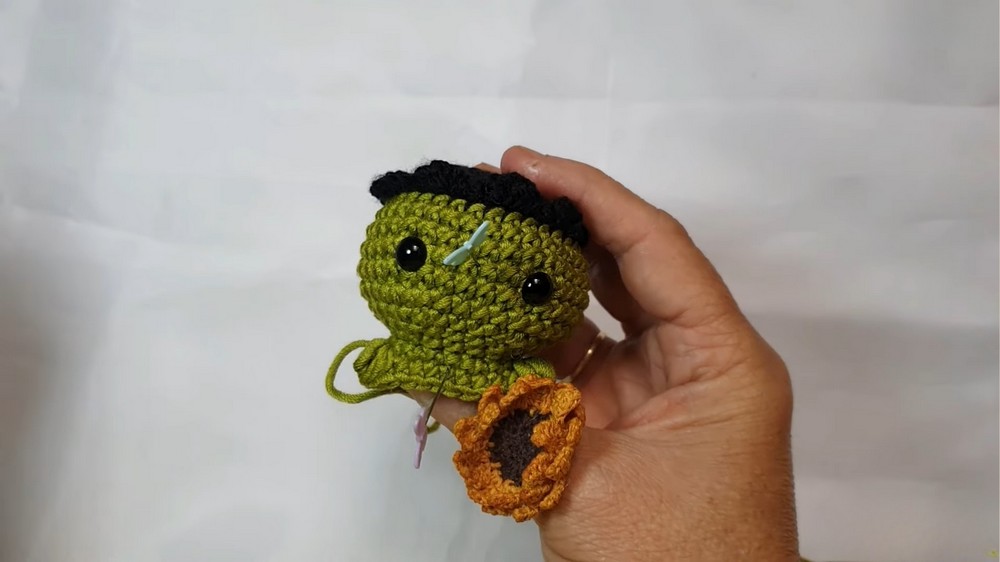
Pineapple Stitch (Little Hand):
- (Yarn over, insert hook in same st, yarn over, pull up loop, yarn over, pull through 2) x5, yarn over, pull through all loops on hook.
Placing Safety Eyes
- After arms are created but before closing, mark the position:
- Eyes are set 4 rounds from the top hairline, spaced 4 sts apart.
- Attach safety eyes as desired.
Body/Shorts (Switch to Purple Yarn)
- Rnd 13: Join purple, sc in each st around (24)
- Rnd 14: sc in each st around (24)
- Rnd 15: Optional: Carry green as you go.
- sc in next 10,
- Foot 1: In next st, make pineapple stitch (as done for hand, with green),
- sc in next 5,
- Foot 2: Pineapple stitch (with green),
- sc in last 7 (24)
- Return to using purple only for rest of round.

Lower Body Shaping & Closing
- Rnd 16: sc in each st around (24)
- Leave green attached but do not work with it.
- Rnd 17: (sc in next 2, dec) around (18)
- Rnd 18: (sc, dec) around (12)
- Stuff firmly with fiberfill.
- Rnd 19: 6 dec (6)
- Finish and pull tight. Weave end through remaining sts and close hole.
Finishing Touches
- Embroider mouth, eyebrows, and chest with black thread and tapestry needle.
- Style and glue hair (bangs) with cold silicone glue and pin them in place until dry.
- Weave in all loose ends.
Conclusion
You now have a cute amigurumi "little Hulk", complete with expressive hair and bold costume—inspired by the comic superhero! This pattern is ideal as a desk companion, keychain, or thoughtful handmade gift.
Pattern Correction & Tips
- Take care to work pineapple stitches (little hands/feet) consistently for a professional look.
- Attach and align the safety eyes before closing up the head for best placement.
- Embroider details after complete stuffing for the best tension control.
- For a seamless transition between hair, body, and shorts, securely fasten and hide color changes inside the doll.
- If using glue for the hair, secure with pins until fully set for neat styling.
Tip:
Change the yarn thickness and hook size to create larger or smaller versions. Use cotton for tight, clean stitches.