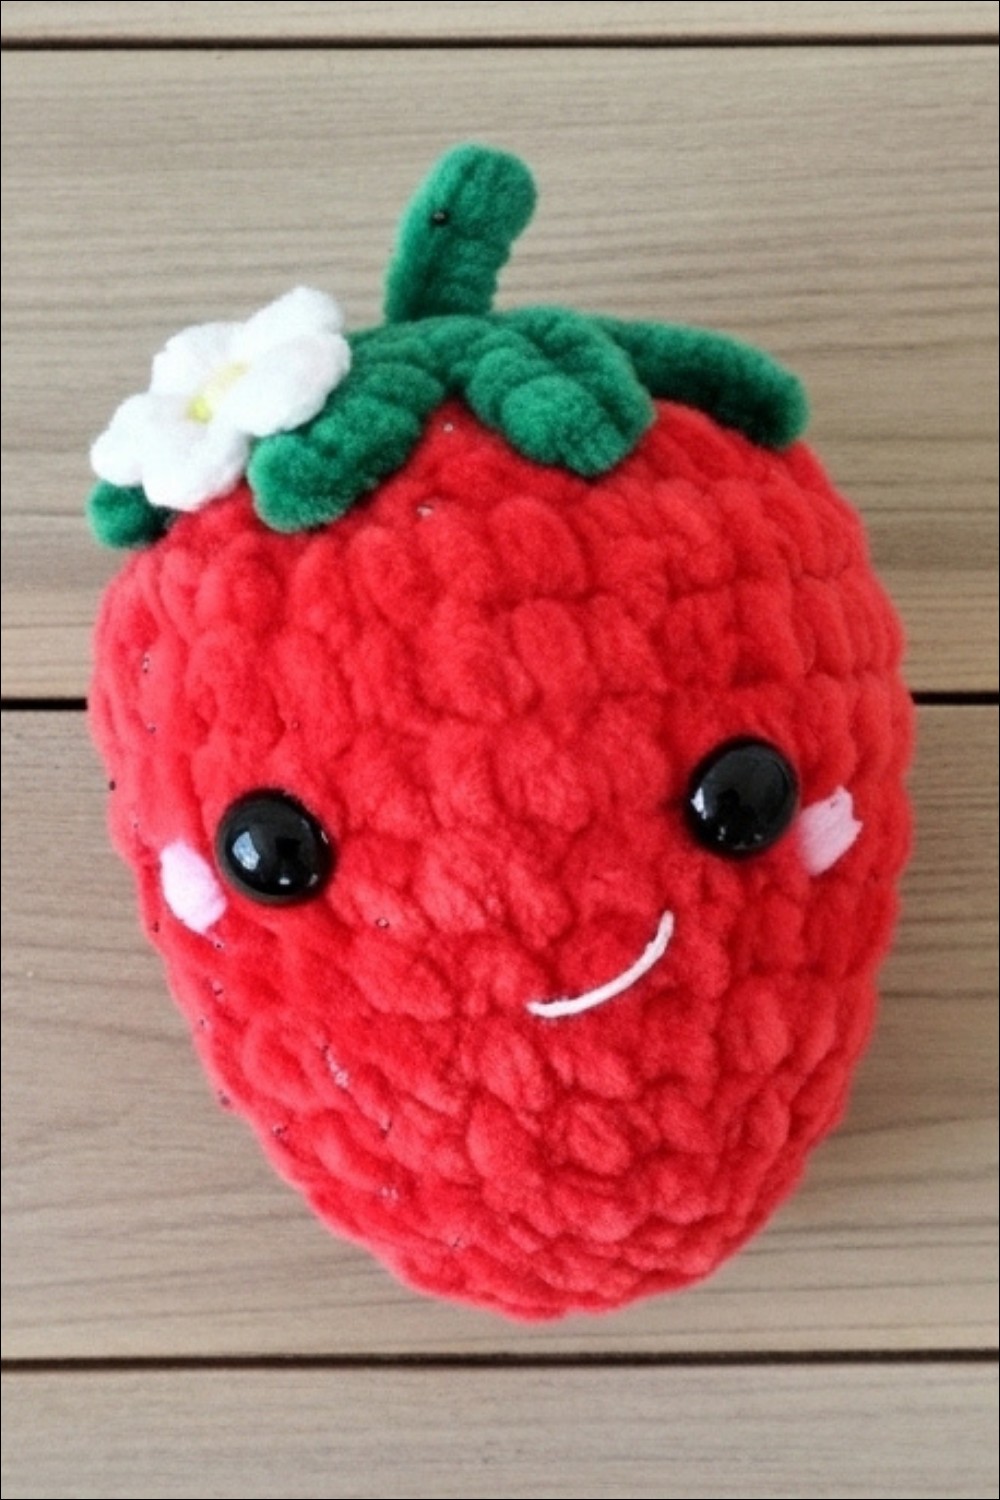
Magical Crochet Strawberry Pattern for Fruit-Themed Decor
Soft red berries topped with green leaves can brighten up any space and bring smiles to every face. With a crochet strawberry pattern, you can shape this playful strawberry to use as toys, keychains, room decorations, or sweet little gifts. Their plump, round appearance and cheerful color make them stand out and look friendly wherever they are placed. This pattern is easy to follow, even for those who cannot read, because it uses clear steps and basic stitches.
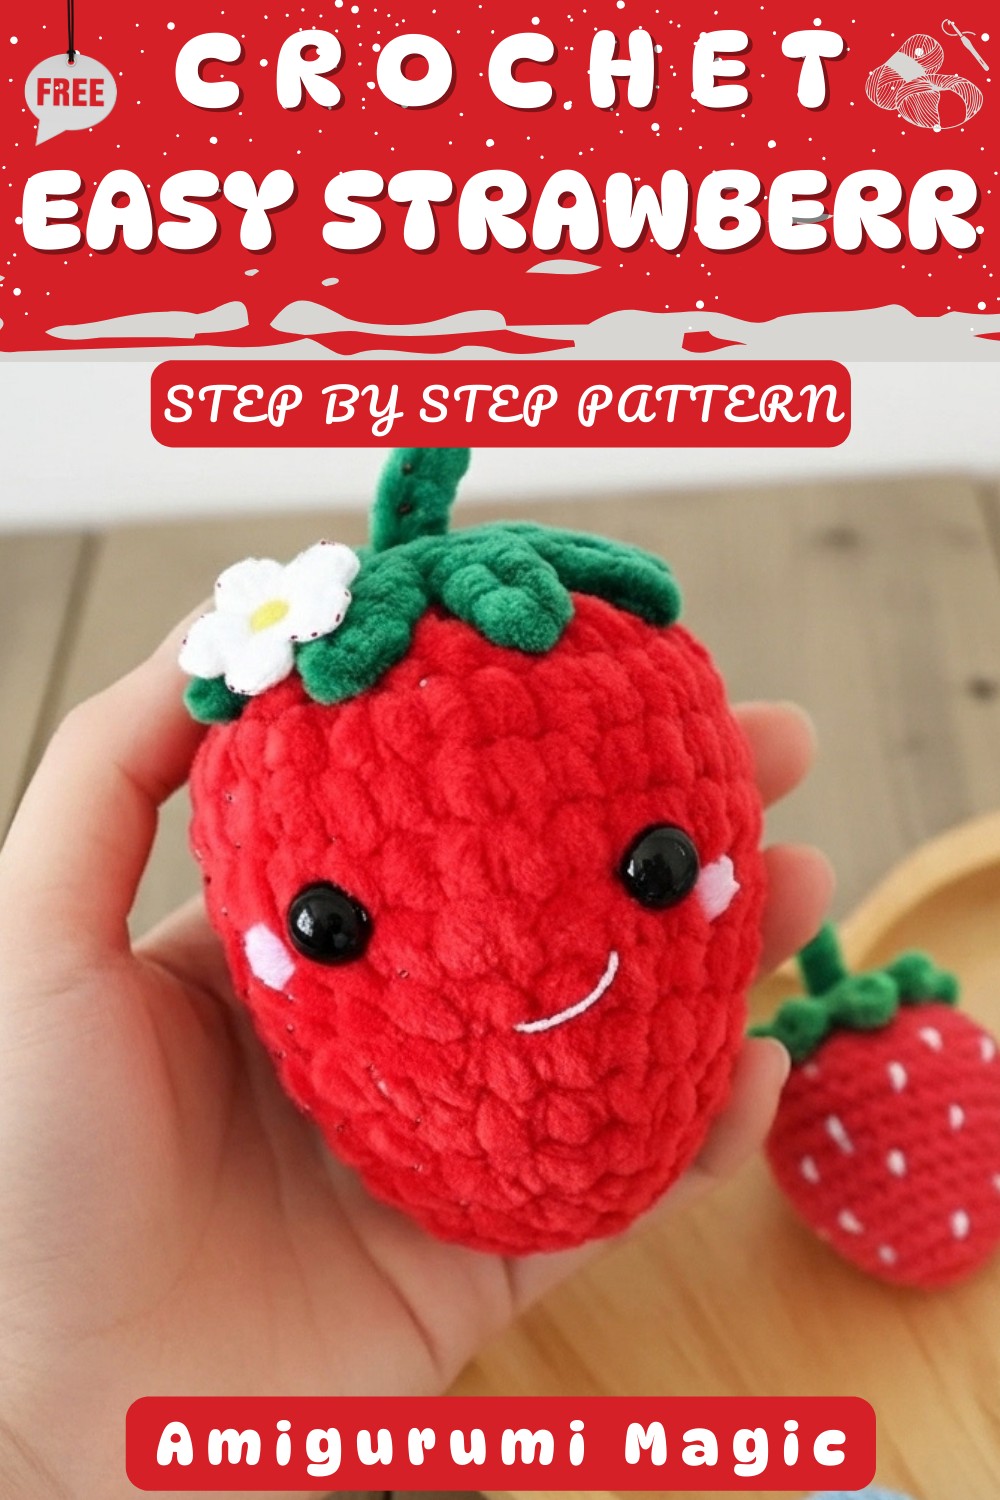
One of the most special features is the strawberry’s cute leaf on top, which gives each piece its own unique character. This lovely berry are gentle to hold, nice to look at, and add a touch of happiness to daily life. By using simple tools like yarn and a hook, anyone can enjoy making beautiful decorations that spread joy everywhere.
Infuse playful charm with this Free Crochet Strawberry Pattern perfect for keychains, accessories or fun projects that bring joy everywhere.
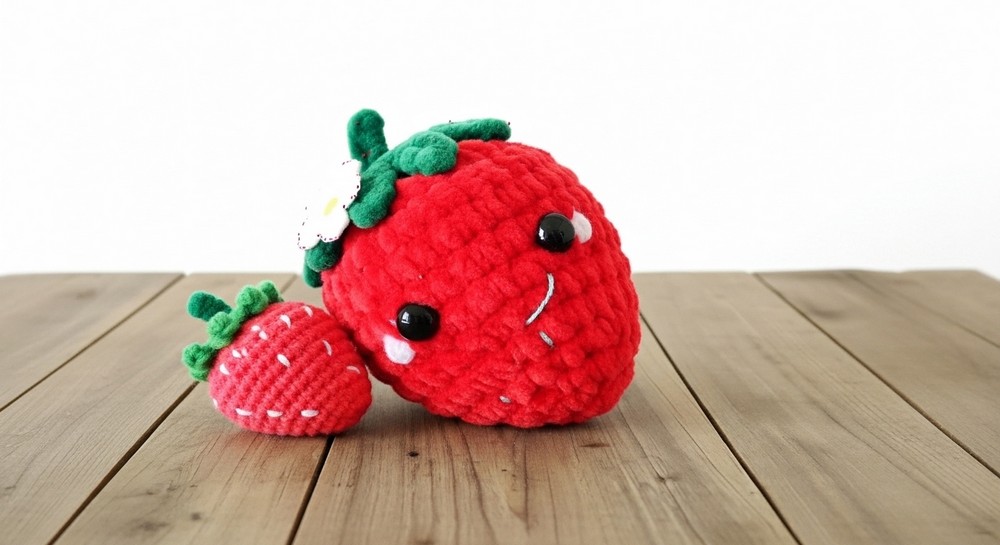
FREE Crochet Strawberry Pattern Great for Kitchen Decor
Materials
- Super Bulky Yarn (e.g., Premier Yarns Parfait Chunky)
- Red or Pink (for strawberry body)
- Green (for leaves and stem)
- DK Weight Yarn (e.g., Paintbox Yarns Cotton DK)
- Buttercup Yellow (for flower centre)
- Paper White (for flower petals)
- Hooks
- 4.5mm crochet hook (for strawberry, leaves, and stem)
- 2.5mm crochet hook (for flower)
- Safety Eyes: 10mm
- Polyester Fiberfill: For stuffing
- 4 Ply White Yarn or white embroidery floss (for mouth)
- Optional: Pink yarn for cheeks
- Other Tools: Stitch marker, yarn needle, scissors, fabric glue/hot glue
Key Abbreviations (US Terms)
- ch: chain
- sc: single crochet
- inc: increase
- invdec: invisible decrease
- BLO: back loop only
- dc: double crochet
- sl st: slip stitch
- st/s: stitch/es
- [...]: repeat instructions in brackets
- (...): stitch count at end of round
Special Notes
- Work all pieces in a continuous spiral unless otherwise noted.
- Mark the first stitch of each round with a removable stitch marker.
- Gauge is not crucial, but altering yarn weight or hook size modifies the final dimensions.
- For a fun twist, change color to brown after R5 for a “chocolate-dipped” strawberry effect.
- Finished strawberry measures approx. 4″ × 3″ (10.5cm × 8cm), including stem.
Customization Ideas
- Substitute color to make blueberries, blackberries, or chocolate-dipped strawberries.
- Embroider seeds, use beads, or experiment with facial expressions.
- Add a small crocheted leaf with different shapes.
- Make larger/smaller strawberries by changing yarn weight or hook size.

Pattern Instructions
Strawberry
(Use 4.5mm hook, begin with green super bulky yarn)
- R1: ch 2, 8 sc in second ch from hook (8 sts)
Change to red/pink in the last stitch. - R2: [BLO inc] x8 (16 sts)
- R3: [sc, inc] x8 (24 sts)
- R4: sc, inc, [2 sc, inc] x7, sc (32 sts)
- R5–7: sc in each st around (32 sts) - 3 rounds
- R8: 3 sc, invdec, [6 sc, invdec] x3, 3 sc (28 sts)
- R9: [5 sc, invdec] x4 (24 sts)
- R10: sc in each st around (24 sts)
- R11: 2 sc, invdec, [4 sc, invdec] x3, 2 sc (20 sts)
- Insert safety eyes between R7 and R8, 5 sts apart.
- Begin stuffing and continue as you work.
- R12: [3 sc, invdec] x4 (16 sts)
- R13: sc, invdec, [2 sc, invdec] x3, sc (12 sts)
- R14: [sc, invdec] x4 (8 sts)
- Cut yarn, leave a tail, and pull through last st.
- Weave the yarn tail through the front loop only of the final round and pull to close.
- Hide end inside the strawberry.
Leaves
(Use 4.5mm hook, green super bulky yarn)
- Insert hook in first leftover front loop from R2.
- [Ch 4, sc in second ch from hook & in each ch across, sl st in next front loop] x8 times (for 8 leaves).
- Fasten off and weave in ends.
Stem
(Use 4.5mm hook, green super bulky yarn)
- Option 1: Crochet a 4-st long i-cord.
- Option 2: Ch 5, sl st in second ch from hook and in each ch across (4 sts).
- Fasten off leaving a long tail for sewing.
Flower (Optional)
(Use 2.5mm hook, yellow and white DK weight yarn)
- R1: With yellow, 5 sc in magic ring.
- Change to white in last stitch, join with sl st to first sc.
- R2: [Ch 2, 2 dc in same st, ch 2, sl st in same st. Sl st in next st] x4 more.
- In the last st: Ch 2, 2 dc in same st, ch 2, sl st in same st to finish the 5th petal.
- Fasten off leaving a long tail for sewing.
Finishing
- Shape and Attach Leaves:
- Spread leaves evenly around the top of the strawberry (each tip should be over R4).
- Glue in place using fabric glue or hot glue.
- Face:
- With white 4 ply yarn or embroidery floss, sew a mouth between the eyes (off-center over R9 and slightly curved).
- Optional: With pink yarn, add cheeks: below and to the sides of each eye by going over a single st twice.
- Stem:
- Sew to the top center of the strawberry.
- Flower (Optional):
- Sew to the top, aligning roughly with the left eye.

Pattern Correction
- Ensure the leaves are evenly spaced and attached well to sit flat against the strawberry.
- For a neat finish on the berry tip, pull the closing yarn tail very snugly and hide it thoroughly.
- Take care to place safety eyes symmetrically for a pleasing facial expression.
Tip
- Using glue to attach pieces like the leaves and flower makes finishing faster and safer for items meant as decorative pieces rather than toys.
- Make sure your stuffing is even so the strawberry holds its shape but isn’t over-stretched, which shows holes.
- Using a slightly smaller hook than recommended for your yarn will help prevent stuffing from peeking out.
- Try the chocolate-dipped variation for a playful look: switch to brown yarn after R5!
Conclusion
This whimsical crochet strawberry is both adorable and customizable, featuring vibrant leaves, simple embroidery for facial details, and optional flower embellishments. With easy-to-follow step-by-step instructions using US crochet terms, this pattern suits crafters comfortable with amigurumi and working in the round. This is an engaging, rewarding project perfect as a gift, a desk buddy, or a playful decor accent. Enjoy bringing your fruity friend to life.