
Lush Crochet Strawberry for Collectible Charm
Celebrate playful charm with Crochet Strawberry Pattern, featuring vibrant details, sweet appeal, and a whimsical touch for every creation.
Little bursts of color and sweetness often bring the most joy, and the strawberry embodies that perfectly with its cheerful form and playful charm. In crochet form, this tiny fruit transforms into a delightful accent that brightens everyday life, whether adorning keys, bags, toys, or home décor. Its compact size and vivid detail make it both functional and decorative, adding a touch of handmade warmth wherever it appears.
Juicy Charm Crochet Strawberry for Gifting Joy

The process begins with a softly rounded base, shaped through careful increases to capture the plump, natural curves of a real strawberry. Midway, the silhouette is refined with subtle tapering, while tiny seed-like details are added to give texture and character. Finally, a leafy green crown tops the piece, completing its lifelike and cheerful appearance. Each stage flows naturally, resulting in a figure that is durable yet full of charm.
Versatile in color and size, this miniature creation can be made in traditional red, pastel tones, or even playful variations to suit personal taste or seasonal décor. Beyond its decorative appeal, it makes a thoughtful gift or a whimsical keepsake, carrying a sense of joy, creativity, and the simple pleasures of nature in every stitch.
Materials Required
To make this crocheted strawberry, you’ll need:
- Yarn: Medium weight (size 4) yarn in red, green, and cream.
- Hook: 3.5 mm crochet hook.
- Tools:
- Yarn needle
- Scissors
- Stuffing (polyfill or similar)
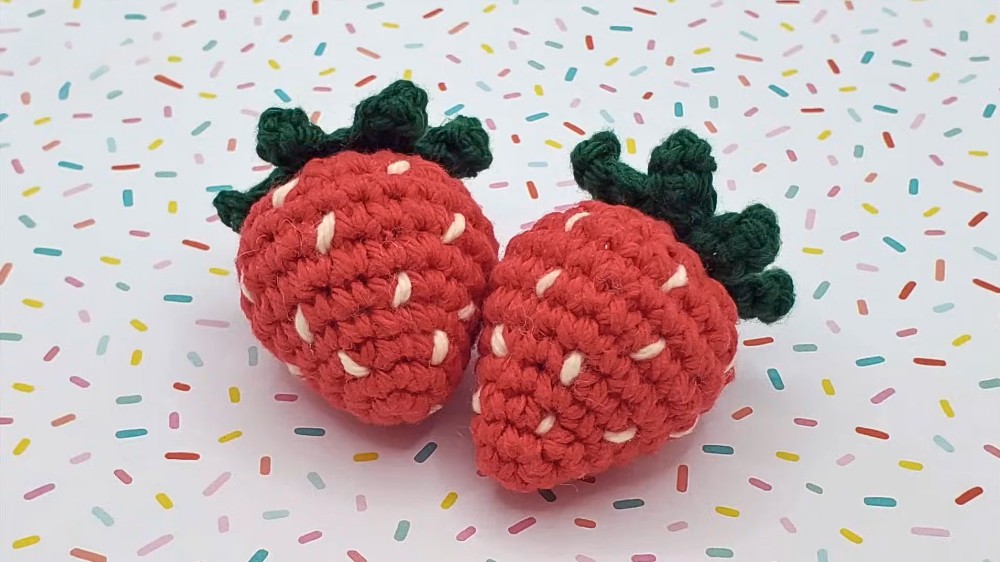
Special Features of the Crocheted Strawberry
- Realistic Design: The strawberry includes intricate features like staggered seeds and a leafy stem, giving it a lifelike appearance.
- Beginner-Friendly: Clear, detailed instructions with repetition make this tutorial accessible for newcomers to crochet.
- Compact and Quick: The project is small and can be completed in less than an hour.
- Versatile Usage: Finished strawberries can be used as ornaments, toys, keychains, or even as room decorations.
Step-by-Step Details
1. Body of the Strawberry
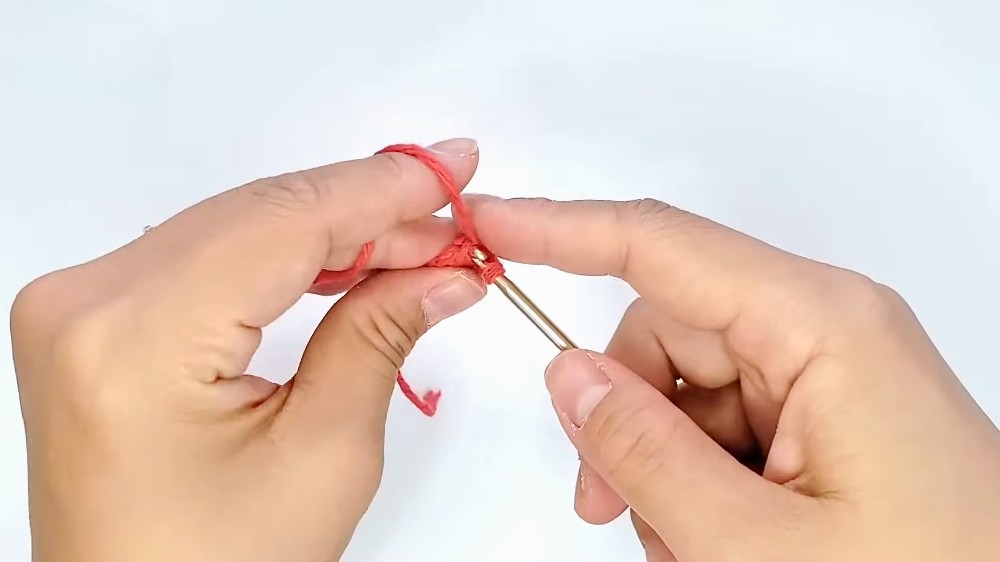
- Start with the Magic Ring: Create a magic ring and work six single crochets into it.
- Tip: Tighten the ring carefully to form a neat circle.
- Round 2: Make a single crochet followed by an increasing stitch, repeating two more times. By the end, there should be nine stitches.
- Round 3: Work two single crochets followed by an increasing stitch, repeating two more times to reach a total of 12 stitches.
- Round 4: Make three single crochets followed by an increasing stitch. Repeat twice for 15 stitches.
- Round 5: Work four single crochets followed by an increasing stitch. Repeat twice, resulting in 18 stitches.
- Round 6: Crochet two single stitches, followed by an increasing stitch five times. This round finishes with 24 stitches.
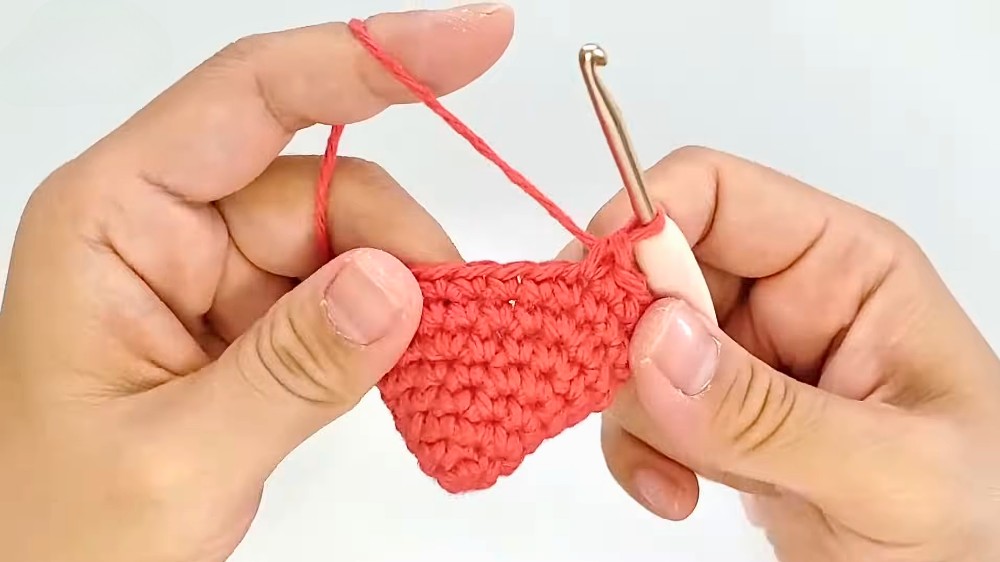
- Rounds 7 & 8: Make single crochets only in both rounds. This helps the strawberry shape start to form.
- Round 9: Begin decreasing with two single crochets followed by a decreasing stitch. Repeat five times, leaving 18 stitches.
- Round 10: Make a single crochet followed by a decreasing stitch. Repeat five times, ending with 12 stitches.
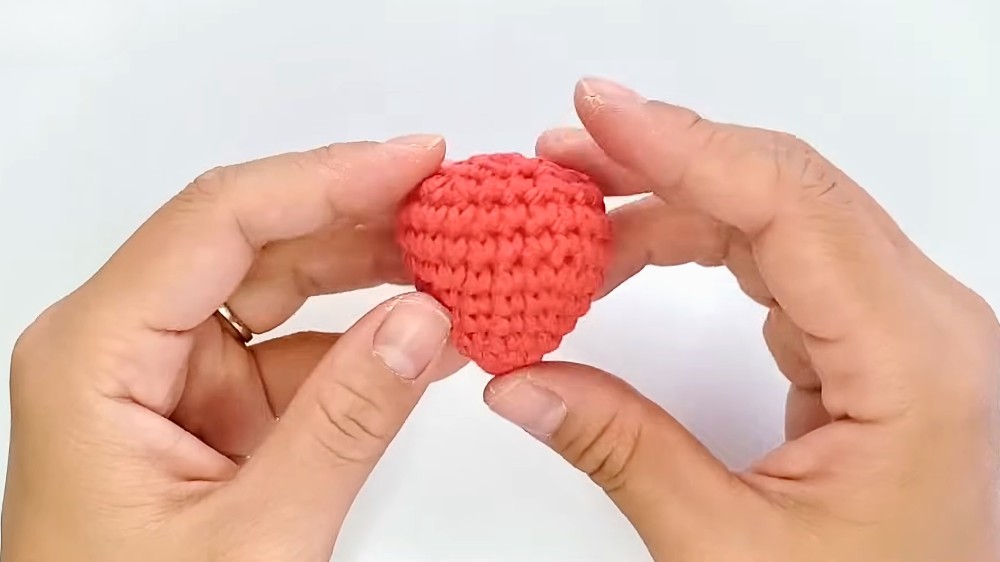
- Round 11: Stuff the strawberry with polyfill. Finish with decreasing stitches all the way around to close the shape.
- Finishing: Secure the end and sew the tail neatly using the yarn needle.
2. Adding the Seeds
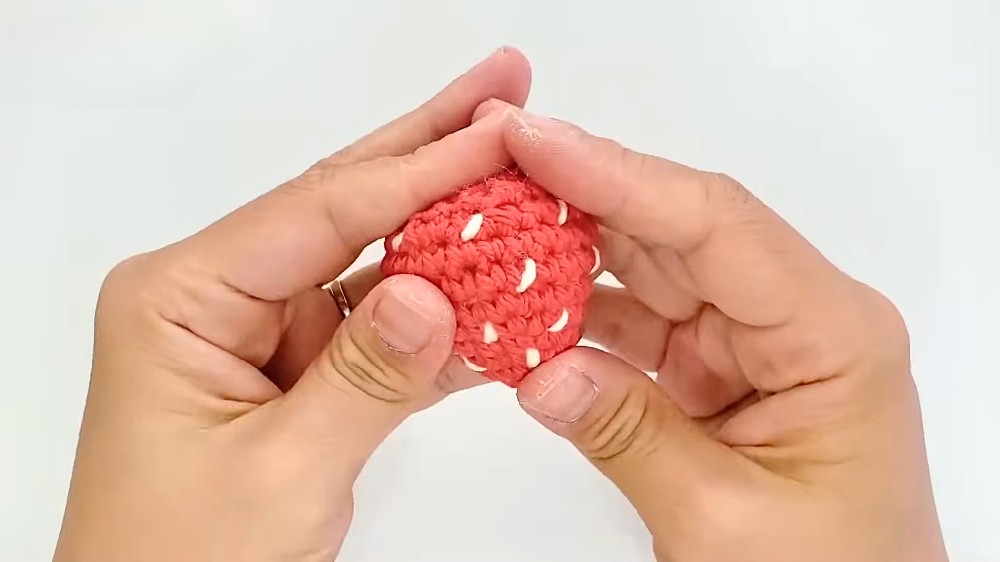
- Seed Placement: Use cream yarn to sew the seeds into the body of the strawberry.
- Start from the third row (from the bottom) and place seeds every three stitches apart (four seeds total).
- Move to the fifth row and sew seeds every three stitches apart (six seeds total).
- On the seventh row, make seeds every four stitches apart (six seeds total) while staggering them to avoid vertical alignment.
- Finally, sew seeds on the ninth row every three stitches apart (six seeds total).
- Final Touch for Shape: Roll the strawberry between your hands to even out the stuffing inside.
3. Making the Stem
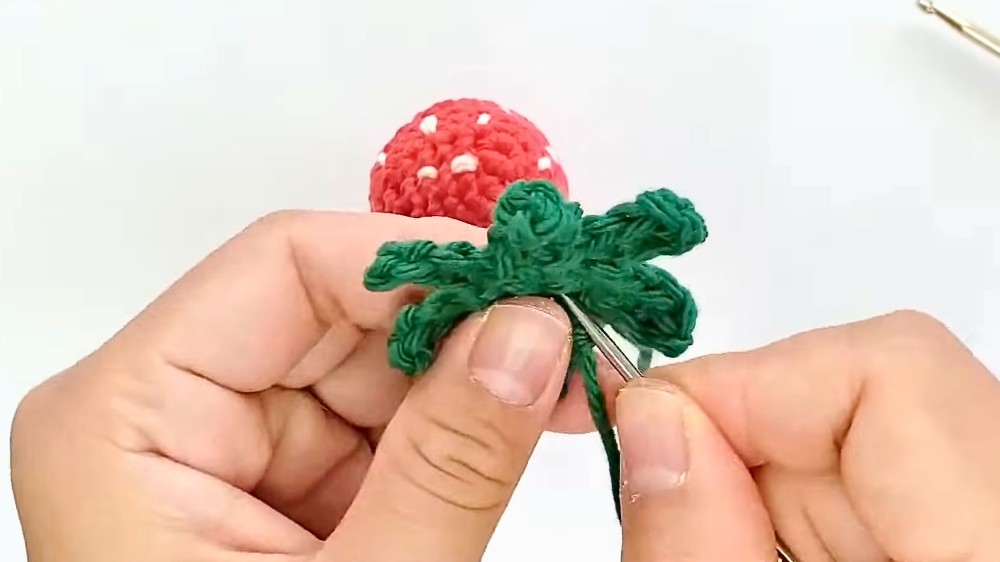
- Start the Leafy Top: Using green yarn, make six single crochets in a magic ring and join the circle.
- Create the Leaves:
- Chain four stitches, starting from the second chain from the hook. Make three single crochets.
- Slip stitch into the next stitch to finish one leaf.
- Repeat the above steps to create more leaves (typically 4-5 leaves).
- Attaching the Stem: Leave a long tail and sew the top of the greens onto the strawberry. Align the center of the leaves correctly. Tie the two ends of the yarn securely and sew them invisibly.
Tutor's Suggestions
- Use a steady hand to avoid pulling too hard when sewing the seeds, as this can distort the shape.
- Stagger the seeds for a natural look rather than aligning them vertically.
- Ensure the leaves are centered properly to maintain symmetry at the top of the strawberry.
Difficulty Level
This project is beginner-friendly due to its repetitive patterns and small scale. Knowledge of basic stitches (magic ring, single crochet, increase, and decrease) is all that’s needed to complete the strawberry successfully.
Uses
- Decorative Pieces: Perfect for kitchen displays, dining tables, or summer-themed events.
- Craft Sales: Can be sold as cute handmade products at markets.
- Gifts: Lovely additions to personalized gift baskets or as standalone handmade presents.
- Accessories: Can be turned into keychains, brooches, or other small accessories.
Tip for Beginners
When decreasing stitches, ensure you crochet tightly to avoid gaps, especially toward the end of the rounds. This will help maintain a neat and seamless finish for the strawberry.
Conclusion
With its simple yet elegant design, the crocheted strawberry is a delightful project for anyone wanting to explore their creativity with yarn. Its versatile uses, beginner-friendly approach, and charming details make it an easy and rewarding project. Whether as a decoration, gift, or item for crochet sales, the finished strawberry is sure to be a crowd-pleaser.