
Lovable Crochet Amigurumi Snoopy Free Pattern For Cartoon Fans
Stitch a cute cartoon puppy with this Crochet Amigurumi Snoopy Free Pattern and add a sweet black and white dog to your toy shelf or gift collection.
A favorite cartoon dog can add a touch of fun to any toy collection with its friendly face and familiar look. The Crochet Amigurumi Snoopy is loved for his playful personality, making him a wonderful choice for a small yarn project.
Cozy Crochet Amigurumi Snoopy Free Pattern For Home Displays
This Crochet Amigurumi Snoopy is a stuffed toy inspired by the famous beagle from the Peanuts cartoon. His white body, long black ears, rounded nose, and tiny tail give him a look that is easy to recognize. The simple color combination keeps the design clean, while his relaxed expression adds a gentle sense of humor.
The smooth crochet texture and carefully shaped parts help the doll hold its form. His oval head, short arms, and small feet create a balanced figure that looks delightful when sitting on a shelf. You can also give Snoopy a red collar or a tiny scarf for a more personal style.
This character is a great choice for decorating a study table, bedroom, reading corner, or children's play area. Peanuts fans may like keeping him beside their books or other cartoon figures. He can also become a handmade present or a thoughtful surprise for someone who grew up watching Snoopy.
The project Design By Crochetaure gives you an opportunity to practice shaping the head, body, and ears before joining the separate pieces. Adding the facial details completes his well-known expression.
Give this free Snoopy crochet pattern a try and add a familiar cartoon friend to your collection!
About the Pattern
This charming Snoopy Navideño Amigurumi pattern brings the beloved character to life in festive holiday attire. Featuring detailed steps for crocheting separate body parts—including legs, body, head, arms, ears, as well as winter accessories like a scarf and hat—this pattern is ideal for crocheters looking for a rewarding and delightful crochet project. The assembly instructions ensure a polished final look, complete with embroidered facial expressions and sewn-on accessories.

Pattern at a Glance
- Technique: Amigurumi, worked primarily in the round.
- Pieces: Legs (2), body, head, arms (2), ears (2), hat, scarf.
- Difficulty: Suitable for adventurous beginners and intermediate crocheters.
- Theme: Holiday/Christmas.
Important Notes
- All rounds are worked in a spiral unless otherwise specified.
- Use stitch markers to denote the beginning of each round for accuracy.
- Stuff body parts as you work, especially before closing rounds.
- Colors needed: White (main body), black (ears, embroidered details), red (scarf, hat), white (hat base).
- Safety eyes or black embroidery thread may be used for facial details.
Difficulty Level
Intermediate. Best for crocheters comfortable with basic amigurumi techniques, working in the round, increasing, decreasing, and sewing pieces together.
Supplies Needed
- Worsted weight cotton or acrylic yarn: white, black, red, and a small amount of green (optional for scarf/hats).
- Crochet hook: 2.5 mm or size to achieve gauge.
- Stuffing (fiberfill).
- Yarn needle for sewing and embroidery.
- Safety eyes (optional, between 6–8 mm) or black embroidery thread.
- Scissors.
- Stitch marker.
Size & Measurements
- Finished size: Approx. 16–18 cm tall (varies depending on yarn and tension).
- Measurements taken with recommended yarn and hook; adjust if using different materials.
Gauge & Stitch Details
- Gauge is not critical for amigurumi, but ensure stitches are tight enough to prevent stuffing from showing.
- Example: 6 SC x 6 rows = 3 cm x 3 cm.
Crochet Abbreviations
| Abbreviation | Meaning |
|---|---|
| MR | Magic Ring |
| SC | Single Crochet |
| Inc | Increase (2 SC in same st) |
| Dec | Decrease (SC 2 together) |
| Ch | Chain |
| Sl st | Slip Stitch |
| FLO | Front Loops Only |
| St(s) | Stitch(es) |
Special Stitch Guide
- Magic Ring (MR): Begin with an adjustable loop for working in the round.
- Increase (Inc): Work 2 SC in same stitch.
- Decrease (Dec): Single crochet two stitches together, decrease.
Complete Crochet Pattern
1. Legs (Make 2)
- R1: MR, 6 SC.
- R2: Inc in each stitch around (12 SC).
- R3–R6: 12 SC per round.
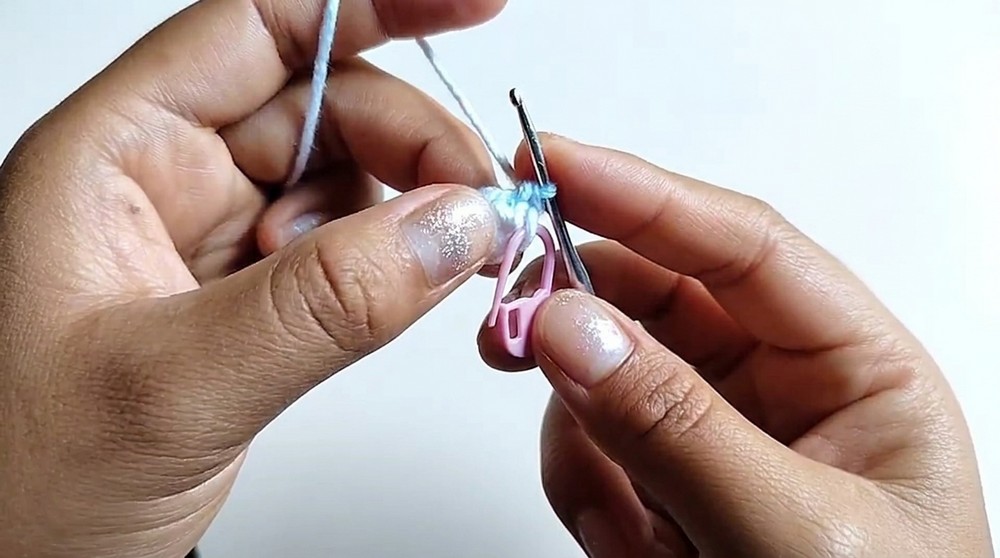
- After completing the second leg, do not cut the yarn; continue with body assembly.
2. Body & Connection
- R7: Ch 1, join to first leg, 12 SC around first leg, 1 SC into chain, 12 SC around second leg, 1 SC into chain (26 SC).
- This connects both legs—be sure legs face the same direction.
- R8–R14: SC in each stitch around (26 SC per round).
- R15: (2 SC, 1 Dec) repeat 6 times (18 SC).
- R16: SC in each stitch around (18 SC).
3. Head
- R1: MR, 6 SC.
- R2: Inc in each stitch around (12 SC).
- R3: (1 SC, 1 Inc) repeat 6 times (18 SC).
- R4: (2 SC, 1 Inc) repeat 6 times (24 SC).
- R5–R8: SC in each stitch around (24 SC per round).
- R9: 8 SC, 8 SC in FLO, 8 SC—this shapes snout area.
- R10–R13: SC in each stitch around (24 SC per round).
- Insert safety eyes or embroider them between rounds 9 and below, spanning 3 stitches for each eye.
- R14: (2 SC, 1 Dec) repeat 6 times (18 SC).
- R15: (1 SC, 1 Dec) repeat 6 times (12 SC).
- Stuff head firmly before closing.

4. Arms (Make 2)
- R1: MR, 9 SC.
- R2–R6: SC in each stitch around (9 SC per round).
5. Ears (Black, Make 2)
- R1: MR, 6 SC.
- R2: Inc in each stitch around (12 SC).
- R3–R8: SC in each stitch around (12 SC per round).
- R9: 6 Dec (6 SC).
- Fasten off, leaving tail for sewing.
6. Scarf
- Ch 32 (approx. 20–22 cm or desired length).
- Row 1: SC in each chain across, turn.
- Optional: Add a second row of SC, changing color if desired for a festive look.
- Weave in yarn tails.
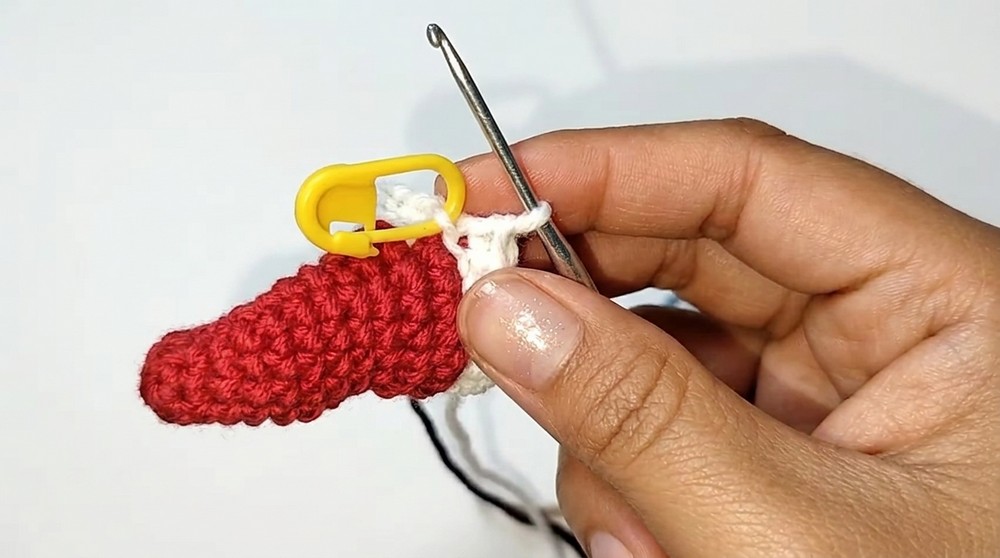
7. Hat
- R1–R3: Work base (typically MR, 6 SC, then increases per round).
- R4: (2 SC, 1 Inc) across, end with 16 SC.
- R6: (3 SC, 1 Inc) increases to 20 SC.
- R10–R12: Continue increases to reach 25 SC.
- R13: Sl st around with white yarn to create a fluffy border.
- Form a white pom-pom and attach to tip if desired.
Assembly & Finished Size
- Head to Body: Sew the head to top of body, attaching at approximately round 4 of the head for a proportional look.
- Ears: Fold slightly and sew them to the head, 2 rows above the eyes.
- Arms: Attach arms 2 rows below head-body join.
- Scarf: Wrap around neck, sewn or knotted as preferred.
- Hat: Place hat on head, securing gently with a few stitches.
- Details: Embroider the nose (center front of snout)—use black thread to satin stitch a small oval. Embroider the mouth beneath, creating Snoopy’s classic smile (simple black backstitch or split stitch).
- Final height should be about 16–18 cm tall when assembled, but may vary with yarn and stuffing.


Embodying the magic of the holidays, this classic Snoopy design offers a heartwarming addition to seasonal décor or makes a delightful gift. With straightforward construction and carefully sequenced assembly, the final result is a cheerful Snoopy ready to celebrate the season.