
Joyful Crochet Monkey Amigurumi Pattern That Brightens Any Space
Step into fun with this Free Crochet Monkey Amigurumi Pattern, offering clear instructions that shape a playful toy for gifts and decor homes.
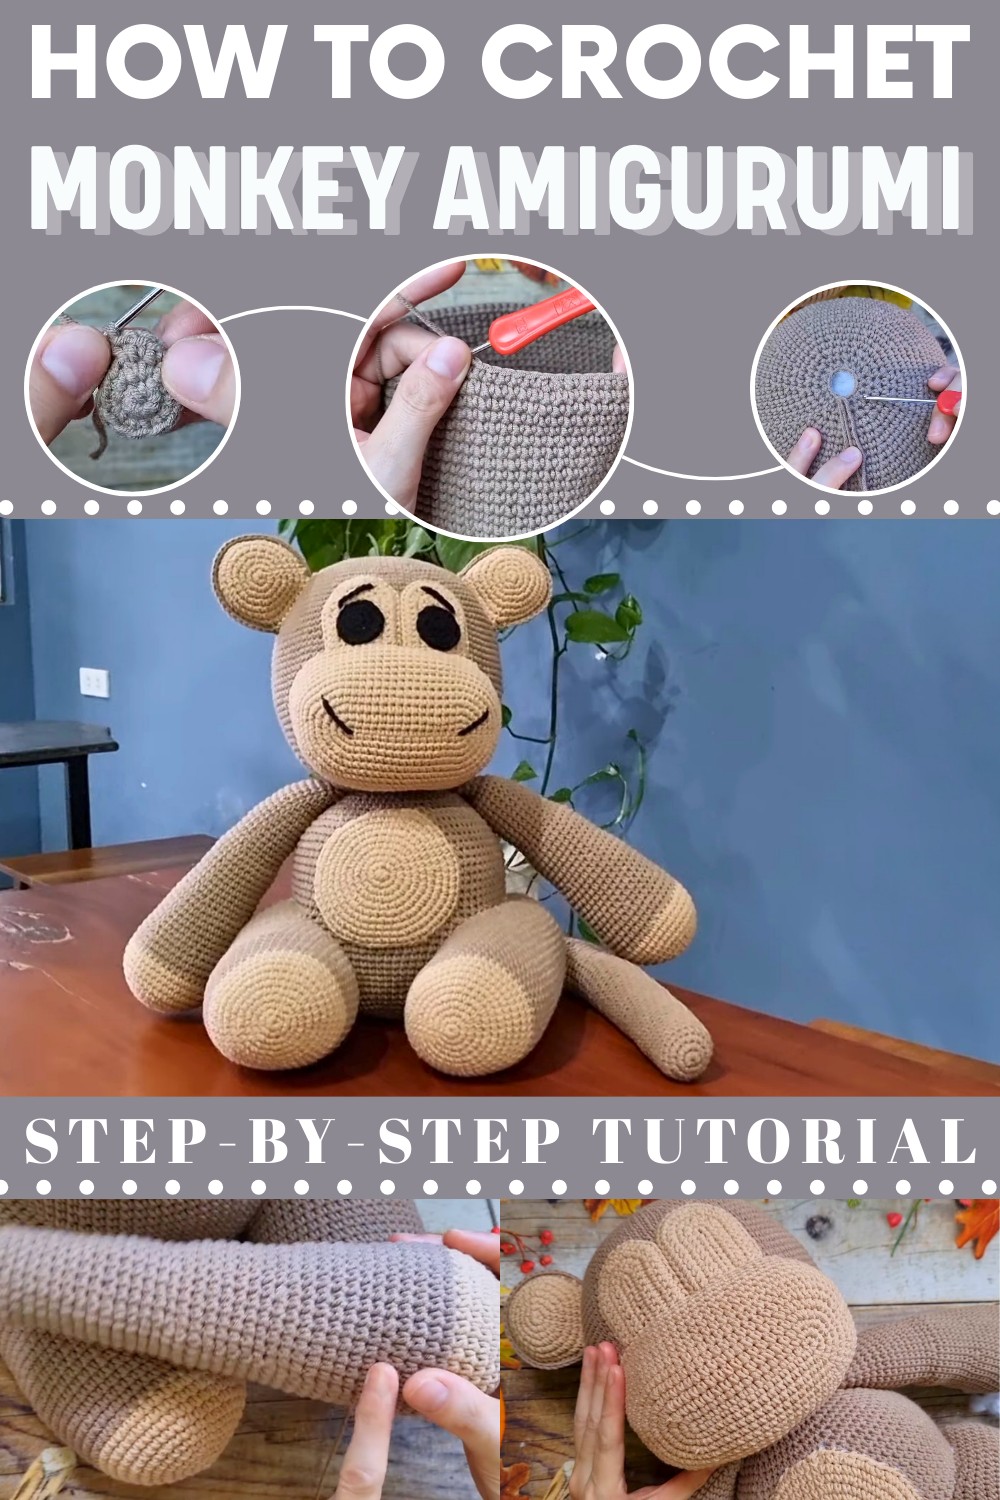
Cheeky Crochet Monkey Amigurumi Pattern Made to Spark Smiles
A playful sense of character shines through this delightful figure, adding a cheerful accent to a variety of spaces. The Crochet Monkey Amigurumi Pattern highlights expressive features and rounded forms that give it an engaging and friendly appearance. It suits nurseries, bedrooms, and living areas, bringing a lighthearted mood that feels welcoming and warm. Its balanced proportions make it easy to place on shelves, desks, or side tables, where it blends naturally with existing décor.
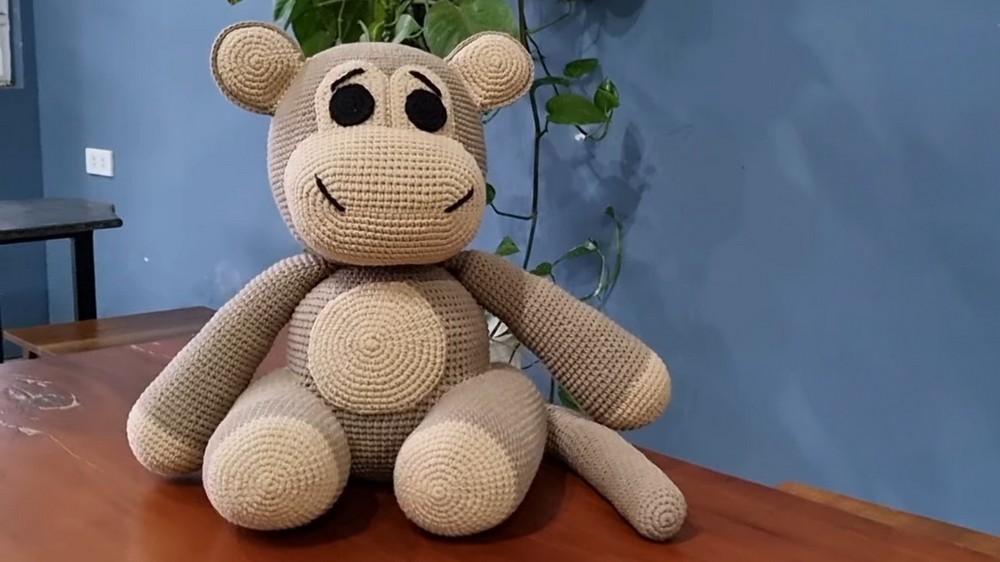
The smooth texture and thoughtful detailing enhance its visual appeal, giving it a polished and attractive finish. Color choices allow the look to range from soft and classic to bright and lively, depending on personal preference. This pattern works well for decorative display, gentle play, or meaningful gifting on special occasions. It adds a fresh sense of joy and personality to everyday surroundings, presenting a charming figure that feels lively, enduring, and pleasing to enjoy in any setting.
Materials Needed
To crochet the monkey plushie, gather the following items:
- Yarn: Two contrasting colors (light brown and dark brown). Use medium-weight yarn for the body, arms, legs, tail, and details.
- Crochet Hook: Match the size to your yarn; an appropriate hook for medium-weight yarn (e.g., 3 mm–4 mm).
- Toy Stuffing: For shaping the head, body, legs, arms, and tail.
- Darning Needle: For sewing the parts together and stitching details.
- Scissors: For cutting and trimming yarn.
- Stitch Markers: Optional, to track the beginning of rounds or marked sections.
Step-by-Step Details
1. Start With the Head
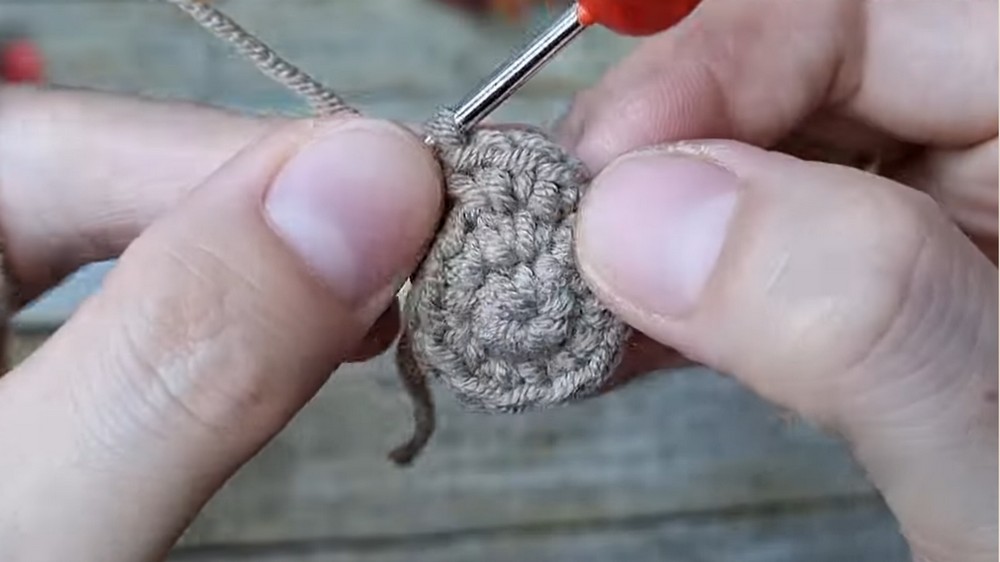
- Round 1: Create a magic circle and crochet six single crochet stitches into the circle. Pull the tail tight to close the circle.
- Round 2: Crochet an increase stitch into each previous stitch (two single crochets per stitch), creating 12 stitches total.
- Round 3: Alternate between one single crochet and one increase stitch (cluster). This round will result in six increase clusters and a total of 18 stitches.
- Continue increasing the stitches for subsequent rows. Follow the formula:
- Rows with odd numbers of stitches involve single crochet clusters followed by increases.
- Rows with even numbers of stitches involve reversing the formula: divide the stitch number in half, crochet a single stitch, then increase, and crochet another single stitch.
- Crochet 16 rows while progressively increasing stitches. For the last increasing row, stop at 14 stitches per section.
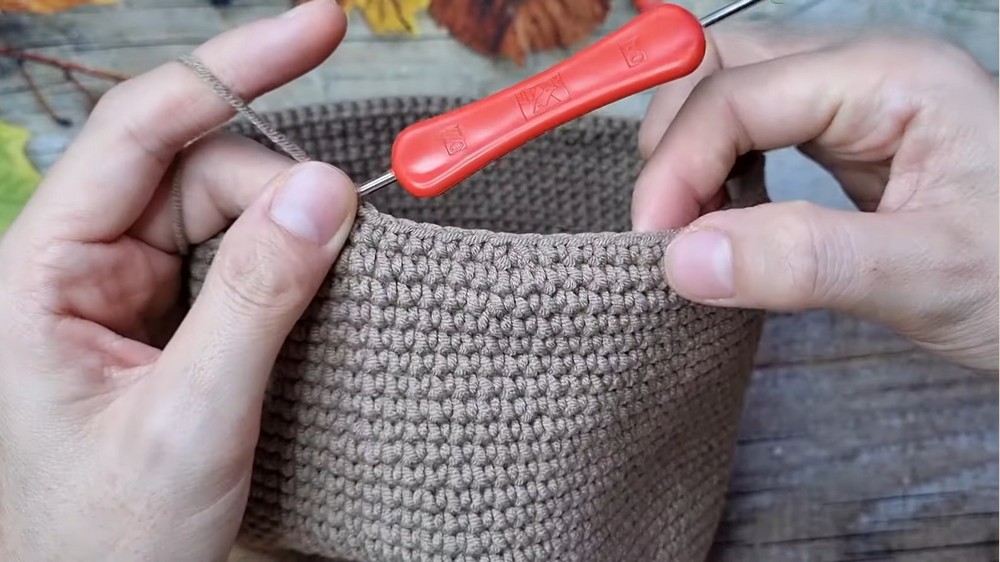
- Crochet evenly (no increases) for 16 rows to create the head’s depth. Then progressively decrease stitches row by row until the circle closes. Stuff the head with cotton before completing the final decrease row.
2. Make the Monkey’s Body
- The formula for the body is similar to the head, but the number of rows changes:
- Start with 14 rows of increases, then crochet 14 even rows to create depth.
- Alternate between increase and even rows for a total of 40 rows. Ensure the body is proportional to the head.
- Decrease progressively as you approach the body’s bottom, following the same method used for the head decreases. Stuff the body with cotton, but adjust evenly for firmness before sealing the gap.
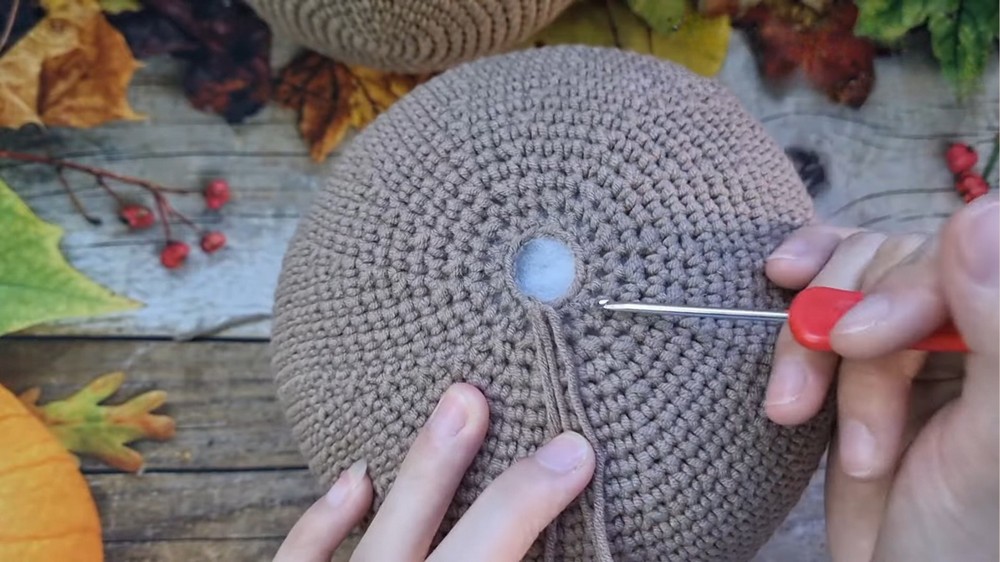
3. Crocheting and Attaching the Legs
- Create the legs: Begin with eight rows of increasing stitches followed by even rows for depth. Alternate between leg sections in light and dark brown.
- Crochet up to 41 rows in total. Then begin decreasing stitches progressively while stuffing the top of the leg firmly and leaving the bottom slightly less stuffed.
- Sew the legs onto the lower body. Place them evenly on rows 11 and 12 of the body, ensuring symmetry. Use a sturdy sewing method (inserting the needle into two horizontal hooks) for a firm attachment.
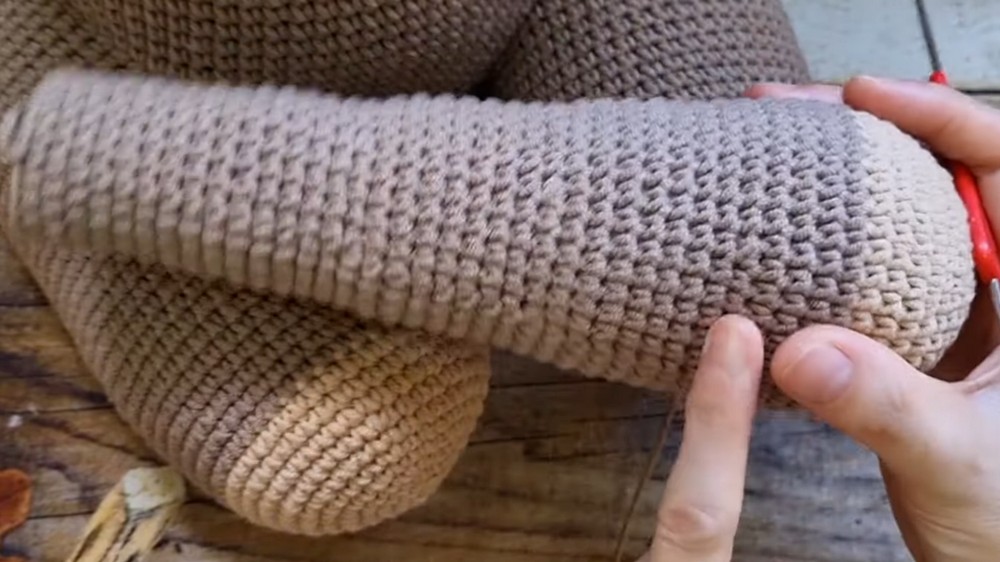
4. Make and Sew the Arms
- Crochet the arms: Use seven rows of increasing stitches (one fewer than the legs). Add even rows for depth and alternate between light and dark brown sections.
- Sew the arms on row three, just below the head-body seam. Position them symmetrically on both sides of the monkey’s hips.
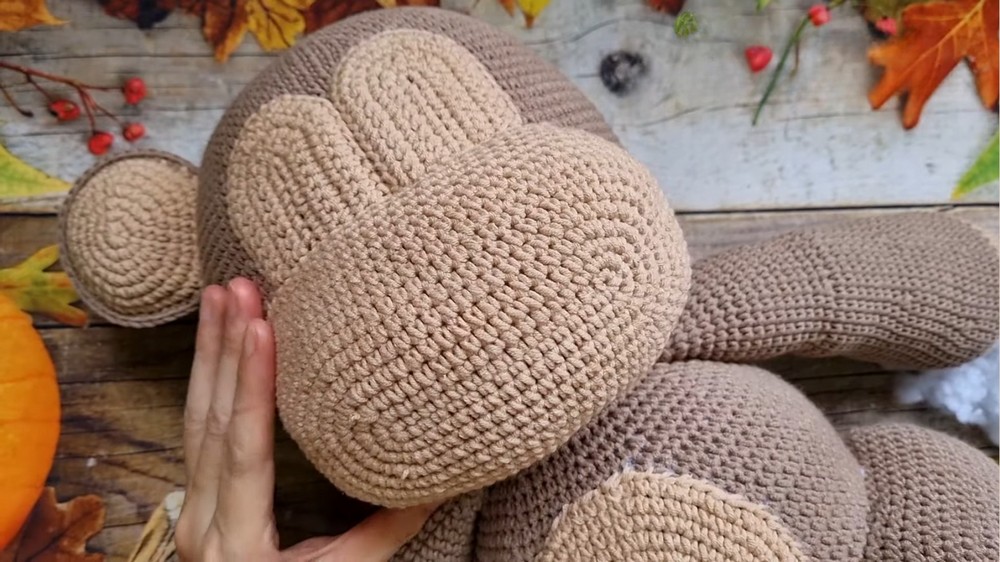
5. Create the Facial Features
- Crochet and sew the nose: Use a separate pattern similar to the head, with seven rows of increases followed by even rows for depth.
- Crochet the eyes: Create two circles half the size of the nose. Crochet a chain stitch base followed by increasing rows to form each eye. Sew them onto the nose section, ensuring proper placement and symmetry.
- Add any optional facial decorations (e.g., eyebrows or black pupils) using thread or yarn.
6. Make the Tail
- Crochet four rows of increasing stitches for the tail, then continue crocheting evenly until the desired length is reached.
- Stuff the tail lightly and sew it onto the back of the monkey’s body. Position the tail carefully to help stabilize the sitting position of the plushie.
7. Adding the Belly Circle
- Crochet a circle similar to the facial pattern for the monkey’s belly (about 10 rows of increases).
- Sew the circle onto the body’s front using needlework. Match the stitches symmetrically and align it properly with the head and arms.
Special Features
- Adjustable Sizes: The pattern allows you to create sitting or standing legs, and you can alter the row count for different body proportions.
- Symmetry: By reversing the formula for even rows, the tutor ensures the circular components are perfectly even.
- Detailed Facial Features: The tutorial includes creating and attaching eyes, nose, and optional decorative embellishments.
- Final Stabilization: The tail is designed to prevent the monkey plushie from falling backward when it sits.
Level of Difficulty
The difficulty level is beginner to intermediate:
- Beginners can follow along as the tutorial is highly detailed, but it requires patience for consistent stitching and symmetrical assemblies.
- Intermediate crocheters will find it a relaxing and creative project that enhances their amigurumi skills.
Tutor’s Suggestions
- Don’t Skimp on Stuffing: Add plenty of cotton to create firm shapes for the head, body, and limbs. Adjust the stuffing amount strategically (e.g., less in certain parts of the legs and arms for better sewing).
- Divide Even Rows: When working rows with even numbers, split stitches in half for cleaner reversals and symmetry.
- Use Markers for Accuracy: Pin or mark stitches when working on loops, especially when creating circles or dividing rows.
- Be Patient with Sewing: Sew the parts densely and follow the suggested row ranges for tight and secure attachments.
Uses
The crochet monkey plushie is versatile:
- Great for gift giving to children or craft lovers.
- Works as a whimsical decorative item for homes or nurseries.
- Serves as an advanced amigurumi practice project due to its detailed construction.
Pro Tip
When sewing features like the arms or face, always align the parts and pin them first before permanently attaching. This avoids uneven placement and ensures a polished finish.
Conclusion
This tutorial is a rewarding project that combines detailed crocheting techniques, creative assembly methods, and an adorable design. With clear step-by-step instructions, crochet enthusiasts can craft their own monkey plushie while developing stitching consistency and skill. Customize its size, colors, and decorations to suit your creative preferences.