
How To Crochet Mini Flower Applique Can Upgrade Your Projects
Sprinkle charm on any project with this Free Crochet Mini Flower Applique Pattern, perfect for adding delicate, handcrafted details in minutes.
Adding tiny, colorful flowers to your projects instantly transforms plain items into eye-catching accessories filled with charm and personality. This free crochet mini flower applique pattern offers a simple, enjoyable way to create delicate floral accents that enhance clothing, bags, or home decor. With just a few basic stitches, you can crochet tiny blossoms that bring a fresh, lively touch to any textile, making your handmade items truly unique.
Free Mini Flower Applique Crochet Pattern for Charming Accessories
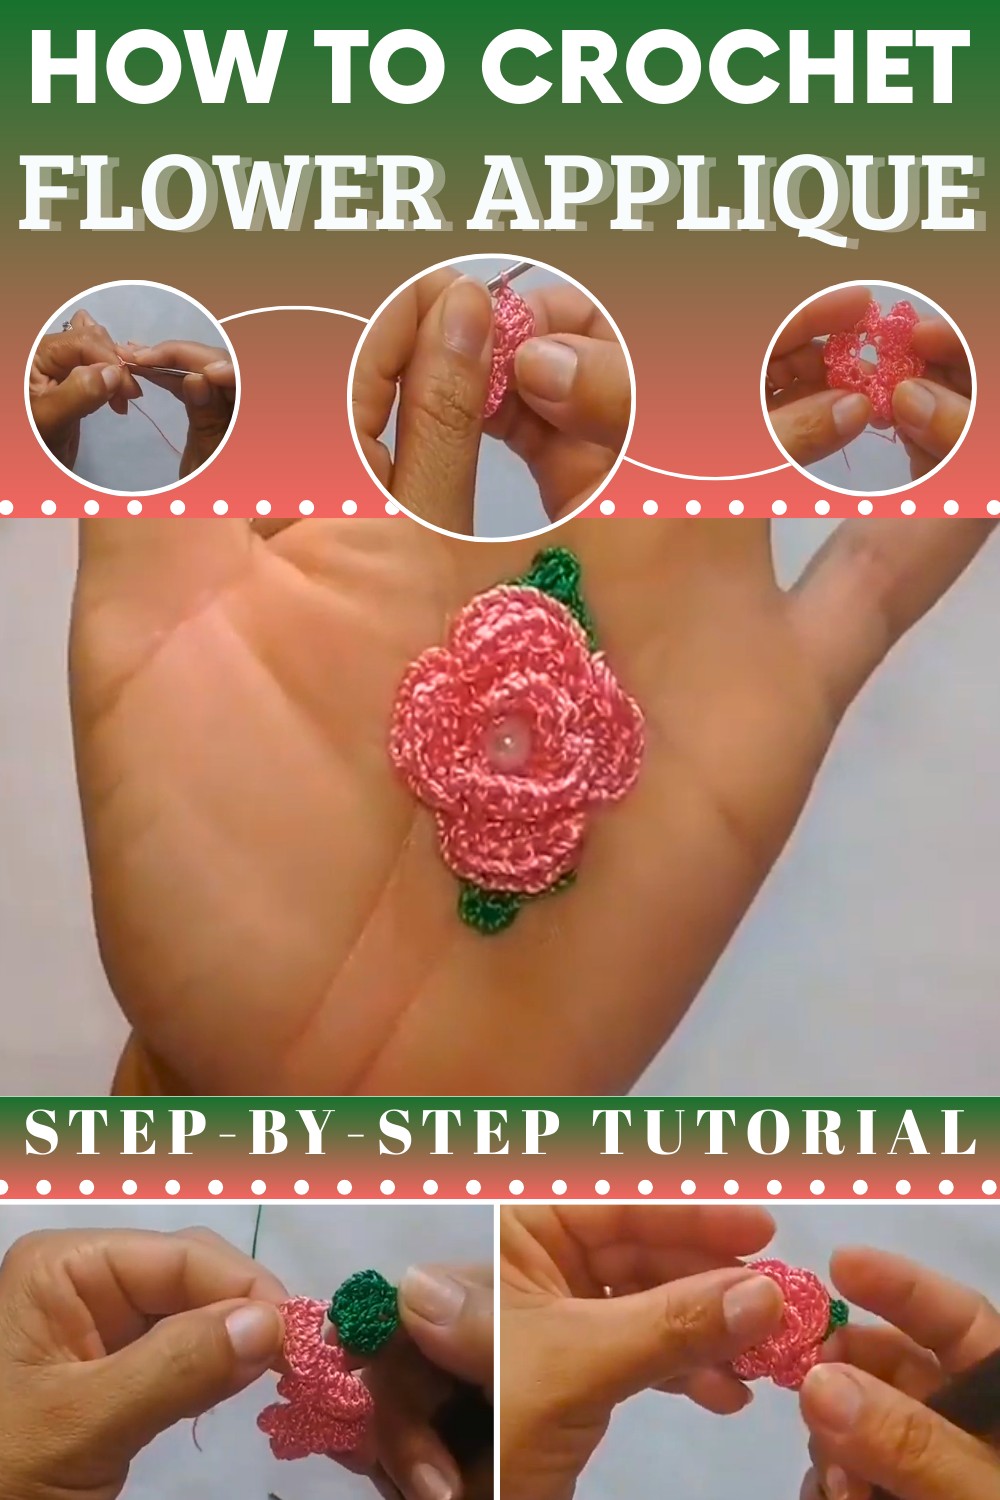
The versatility of this pattern lies in its simplicity and the endless possibilities for customization using different yarn colors and sizes. Working on this pattern offers a quick, rewarding experience that builds confidence and improves your crochet skills simultaneously.

Its benefits extend beyond aesthetics, providing a relaxing activity that enhances focus and precision in every stitch. These adorable appliques lend a lively, floral vibe to everyday objects, making even the simplest items feel special and personalized. The small size and straightforward steps make this pattern perfect for quick projects, ideal for gifting or decorating multiple items efficiently.
Crochet Small Rose with Two Leaves (Applique Flower)
1. Materials
- Yarn / Thread
- Main color (rose): thick silk thread (as in the video) or any similar fingering/sport-weight cotton or rayon thread.
- Leaf color: green thread of similar thickness.
- Hook
- 1.75 mm crochet hook.
- Notions
- Pearl bead for the center: approximately size 5 (you may use smaller or larger as preferred).
- Sewing needle (thin enough to pass through the pearl).
- Scissors.
- Lighter (optional, for carefully sealing synthetic thread ends).
- Ruler or tape measure (optional, for checking size).
2. Gauge
Gauge is not critical because this is a small applique, but for reference, using thick silk thread and a 1.75 mm hook:
- 20 chains worked as described produce a strip long enough to roll into a rose of about 3 cm in diameter.
- The finished rose with two leaves measures about 4 cm in total width.
If your rose is much larger or smaller than this, adjust hook size or thread thickness accordingly.
3. Finished Size
- Rose only: approximately 3 cm in diameter.
- Rose with leaves: approximately 4 cm across (rose + one leaf on each side).
4. Special Techniques Used
4.1. Double Crochet (dc)
- Yarn over, insert hook into stitch, yarn over and pull up a loop (3 loops on hook).
- Yarn over, pull through 2 loops (2 loops on hook).
- Yarn over, pull through remaining 2 loops.
4.2. Double Treble Crochet (dtr)
Used for leaves (longer stitches).
- Yarn over twice, insert hook into stitch, yarn over and pull up a loop (4 loops on hook).
- Yarn over, pull through 2 loops (3 loops on hook).
- Yarn over, pull through 2 loops (2 loops on hook).
- Yarn over, pull through last 2 loops.
4.3. Picot
For the leaf tip:
- Chain 3, then slip stitch into the top of the last dtr stitch (or into the same space) to form a small pointed tip.
4.4. Rolling and Shaping the Rose
- The rose is formed by rolling the strip of “petals” into a spiral and sewing through the base to secure it.
5. Pattern Instructions
5.1. Rose Strip (Petal Foundation)
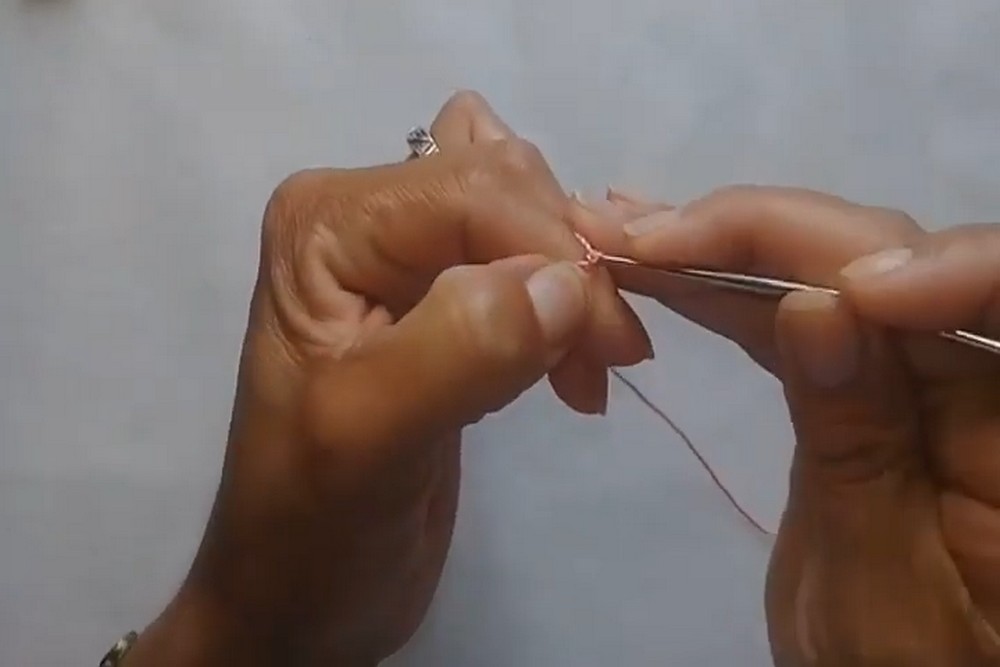
- Starting Chain
- Make a slip knot and place it on your hook.
- Chain 20.
- First Petal – Setup
- Count from the hook: 1, 2, 3 chains.
- Insert your hook into the 3rd chain from the hook.
- Work 1 double crochet (dc) into this chain.
- In the same chain (the 3rd from the hook), work 3 more dc, for a total of 4 dc in this same chain.
- Create the Top of the Petal
- Chain 3 (these chains form the “top edge” of the petal).
- Skip 1 chain of the original foundation.
- Insert hook into the next chain, and slip stitch or single crochet (in the video she uses a “low point,” which can be interpreted as single crochet) to anchor the petal.
- This completes your first petal: it is a “fan” of 4 dc with a little “neck” that attaches to the base chain.
- Begin Next Petal
- From the base where you just attached:
- Work a single crochet (sc) into the next chain (if not already done).
- Chain 2 (since the initial chain-3 at the start of the work counted as one chain, you now only need 2 to reach the same height for subsequent petals).
- Into the same base chain, work 4 dc again.
- Chain 3.
- Skip 1 base chain, and slip stitch or sc into the next to secure the petal.
- From the base where you just attached:
- Repeat for All Petals
- Continue this sequence along the chain:
- (sc in base if needed), ch 2, 4 dc in same base chain, ch 3, skip 1 chain, anchoring in the next.
- Continue until you reach the end of the 20-chain foundation.
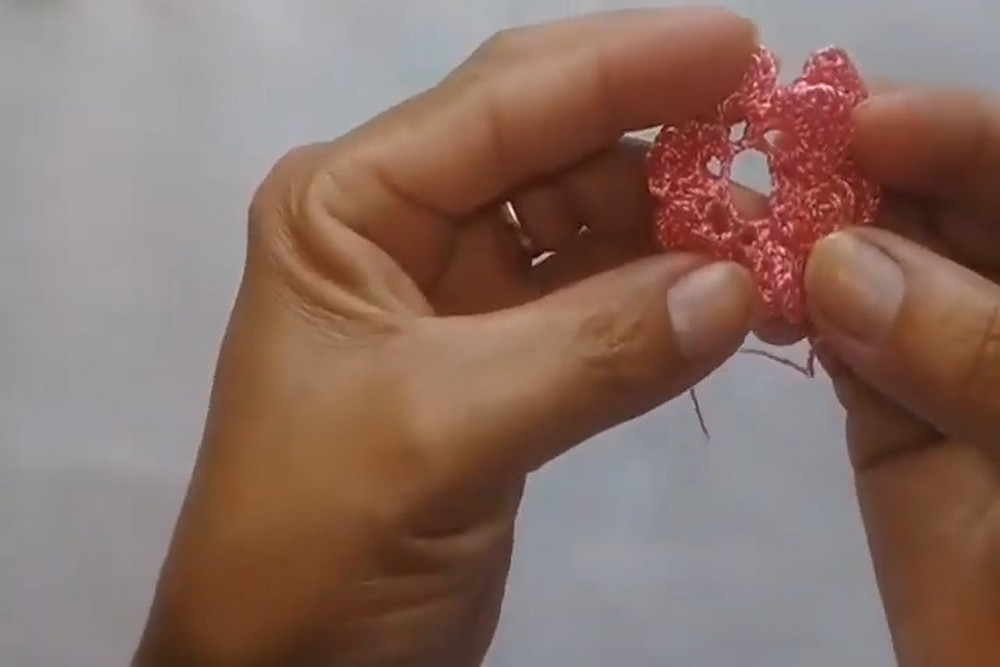
- You should end up with approximately 9 petals along the strip (as stated in the transcription).
- Continue this sequence along the chain:
- Fasten Off
- Cut the yarn, leaving a tail if you wish to use it for sewing; otherwise, fasten off and weave in the end.
- At the beginning of the work, leave a longer starting tail of the main color: this will be used for sewing the rose and for attaching the pearl.

5.2. Rolling and Securing the Rose
- Lay the petal strip with petals facing up.
- Starting from the first petal, roll the strip tightly into a spiral, forming the rose shape:
- The first petal becomes the inner “bud.”
- The later petals wrap around to form the outer layers.
- Thread the long starting tail onto a sewing needle.
- From the underside of the rose, stitch back and forth through the layers at the base to secure the rolled petals in place.
- Make several passes to ensure the rose will not unwind.
- Do not cut the thread yet if you will use it to sew on the pearl.
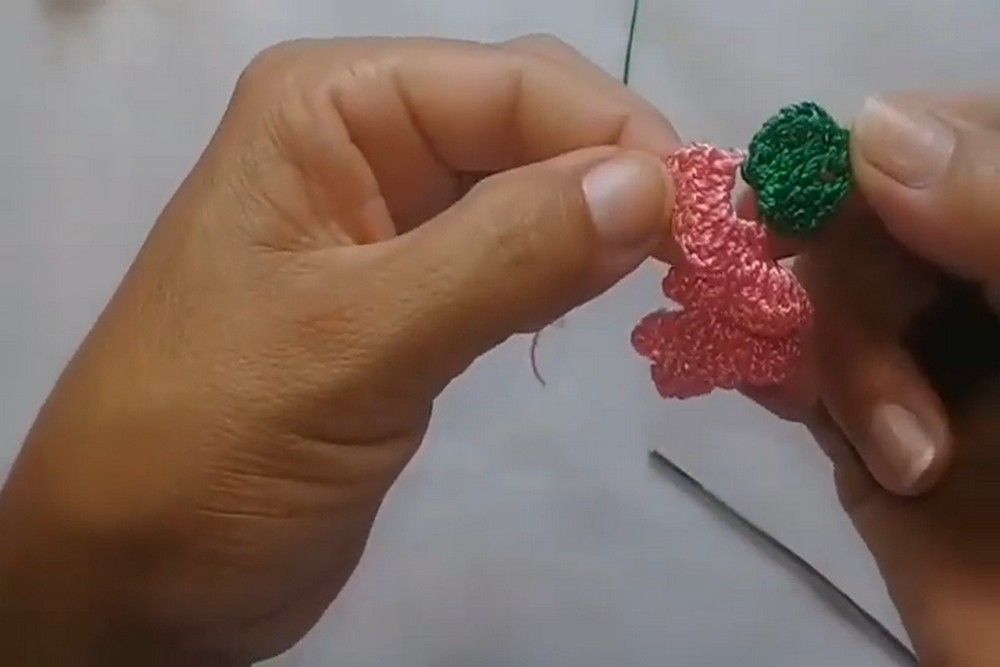
5.3. Leaves (Make 2 Leaves)
The leaves are worked directly onto the back of the finished rose.
- Attach Green Yarn
- Turn the rose to the back side.
- Insert the hook into the back of the rose, between petals, where you want the leaf to emerge.
- Pull up a loop of green yarn and chain 3.
- Leaf Body (worked in dtr)
From the chain-3 start:- Yarn over twice and work 1 double treble crochet (dtr) into the back of the first petal (anchor point).
- Work 1 more dtr into the same or nearby anchor stitch at the back.
- Work 1 more dtr into the same area, for a total of 3 dtr forming the leaf spine.
- Leaf Tip (Picot)
- Chain 3.
- Slip stitch (or sc) into the top of the last dtr to form a picot tip.
- Down the Other Side of the Leaf
- Work 2 more dtr back down (anchored in the same base area), mirroring the first side.
- Chain 3 and slip stitch into the rose back to secure the leaf.
- Fasten Off & Hide Ends
- Cut the green yarn.
- Pull the tail to the back and weave it in or carefully seal synthetic thread with a lighter.
- Repeat for Second Leaf
- Attach green yarn to another point at the rose back (e.g., around the third petal on the opposite side).
- Repeat steps for leaf formation for the second leaf.
- Weave in or seal the ends.
- You now have a rose with two leaves on opposite sides.

5.4. Attaching the Pearl to the Center
- Thread the long original tail of the rose (or a new piece of matching thread) onto a sewing needle.
- From the underside of the rose, bring the needle up through the center of the petals to the front.
- Thread the pearl onto the needle.
- Pass the needle back down through the center of the rose.
- Repeat this process 2–3 times through the pearl and rose center to secure the bead firmly.
- On the back, make a small knot if necessary and weave in the end; trim and seal if using synthetic thread.
6. Tips and Customization Ideas
- Color Variations
- Classic red or pink for a traditional rose.
- White or cream for bridal accessories.
- Multicolor (change color halfway through the strip for a variegated effect).
- Leaf Options
- Make only one leaf if you want a more minimal look.
- Use darker or lighter green for contrast.
- Center Variations
- Use:
- Pearl of different sizes.
- Rhinestone, metallic bead, or small button.
- Embroidered French knots instead of a bead, for a completely soft center.
- Use:
- Applications
- Attach to:
- Headbands (meia de seda, metal or plastic).
- Duckbill hair clips.
- Hair ties.
- Sachets, hats, baby booties, cardigans, bags.
- Attach to:
- Size Adjustments
- For a larger rose:
- Chain more than 20 at the beginning (e.g., 24 or 28).
- Keep the same petal pattern along the strip.
- For a smaller rose:
- Chain fewer (e.g., 14 or 16).
- Use fewer dc per petal (e.g., 3 dc instead of 4).
- For a larger rose:
7. Conclusion and Final Look
This small rose with two leaves works up quickly and uses very little thread, making it ideal for using leftovers and producing multiple pieces for decoration or sale.
- Final Look:
- Rose of roughly 3 cm in diameter.
- With two small leaves, total width about 4 cm.
- A pearl centered in the rose adds elegance and refinement.
Special Features & Difficulty
This project is categorized as easy, making it perfect for beginners. The tutorial's small size allows you to create these beautiful little flowers with minimal effort.
Tutor's Suggestions and Uses
The finished rose measures 3 cm in diameter and 4 cm with the leaves. Due to their small size, they are ideal for various applications, including baby headbands, hair clips, hair ties, or other decorative purposes.
Step-by-Step Instructions
This tutorial the creator demonstrates how to crochet a small rose, a project that is suitable for beginners. The tutor guides you through each step, from creating the base to adding leaves and a pearl bead to the center.
Conclusion
This tutorial's provides a straightforward and quick method for crocheting a small, beautiful rose. The simple steps make it an ideal project for those new to crochet.
Tip
The tutorial is suitable for beginners because it uses only basic stitches, which are explained in detail throughout the tutorial. This makes it easy to follow along and create your own crochet flowers.