
How to Crochet Happy Cat Pattern for Keepsakes or Room Decor
Bring joy to any space with this Crochet Happy Cat which is a cute handmade kitty that adds warmth, charm, and playful fun to gifts.
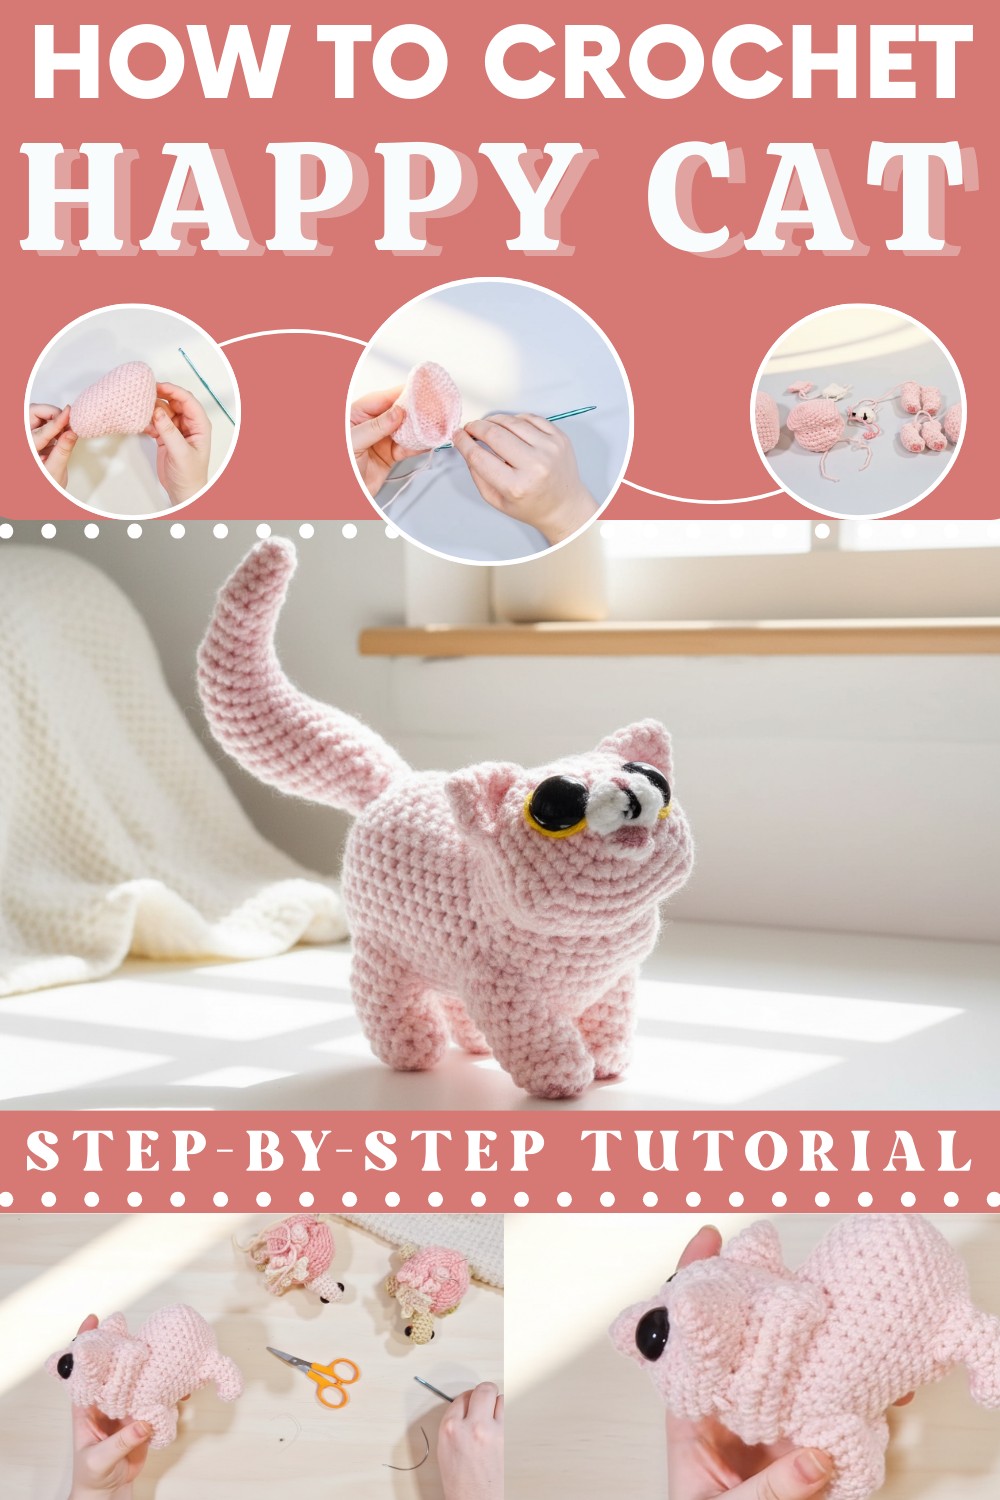
Nothing compares to the joy of a handmade gift, especially when it has personality and charm. With a Free Crochet Happy Cat Pattern, you’ll have a chance to stitch an adorable feline with a cheerful expression and cuddly features.
This smiling cat is the perfect companion for children’s playtime, a cozy home accessory, or an irresistible gift for any cat enthusiast. Its soft and playful appearance is sure to warm hearts while offering the flexibility to personalize colors or textures to suit your tastes.
Perfect Crochet Happy Cat That’s for Handmade Gifts
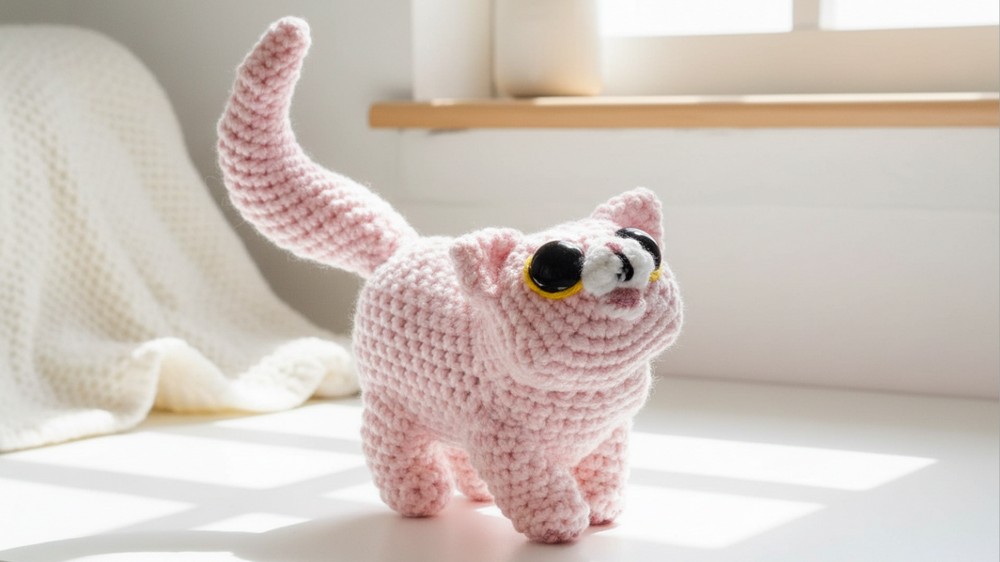
Whether you’re looking for a fun project or something meaningful to make for a friend, this cat has just the right balance of simplicity and charm. The pattern is beginner-friendly but includes enough detail to keep anyone engaged, no matter their skill level. The finished piece is lightweight, huggable, and full of personality, making it a standout addition to any collection or space.
Adorable Crochet Happy Cat Amigurumi
Special Features:
- Customizable design: Add unique markings, adjust the eye shape and size, and style your cat’s pose.
- Realistic 3D shaping: Neck fluff, curved tail, and paw beans bring the cat to life.
- Perfect for gifting: Great for cat lovers or as playful nursery decor.
- Interactive poses: Able to adapt the limbs and tail for various cat-like positions.
Materials Required
- Yarn:
- Main color (e.g., tea pink) – 8-ply 100% acrylic.
- Small amounts of additional colors for details:
- Black (mouth accents).
- Pink or another color for paw beans.
- Yellow or blue for outer eyes.
- Crochet hook: 3.5 mm hook.
- Safety eyes: 20 mm size for a cuter, rounder appearance.
- Stuffing: Polyfill for a firm and fluffy amigurumi toy.
- Tapestry needle: For assembly and embroidery of details.
- Pins and scissors.
Level of Difficulty
Intermediate: The pattern involves techniques like shaping with increases and decreases, using front post crochet, back loop-only stitches, color changes, and short rows. Beginners can attempt it but should be comfortable with basic amigurumi techniques.
Step-by-Step Pattern
1. Body
- Start with the magic ring:
- Row 1: Magic ring with 6 sc. (6 sts)
- Row 2: Make 6 increases. (12 sts)
- Row 3: Work [1 sc, inc] 6 times. (18 sts)
- From Row 4 onward, shape the body with increases and specific single crochet repetitions:
- Row 4: [2 sc, inc, 5 sc, 3 sc in the same stitch, 5 sc, inc, 3 sc]. (22 sts)
- Row 5: [3 sc, inc, 6 sc, 3 sc in the same stitch, 6 sc, inc, 4 sc]. (28 sts)
- Row 6: Work [3 sc, inc, 17 sc, inc, 4 sc]. (32 sts)
- Shape the rounded back with equal parts of increases and decreases from Row 7 onward:
- Row 7: 13 sc, 3 sc in one stitch, 14 sc back to start.
- Continue increasing for Rows 8-10, ending at 36 sts.
- Work on transitions with both increases and decreases to add curves:
- E.g., Row 11: Add invisible decreases, making a gently curved body.
- Final shaping: Taper off stitches over the next few rows as you approach the base. Stuff the body firmly, leaving space for attaching the head.
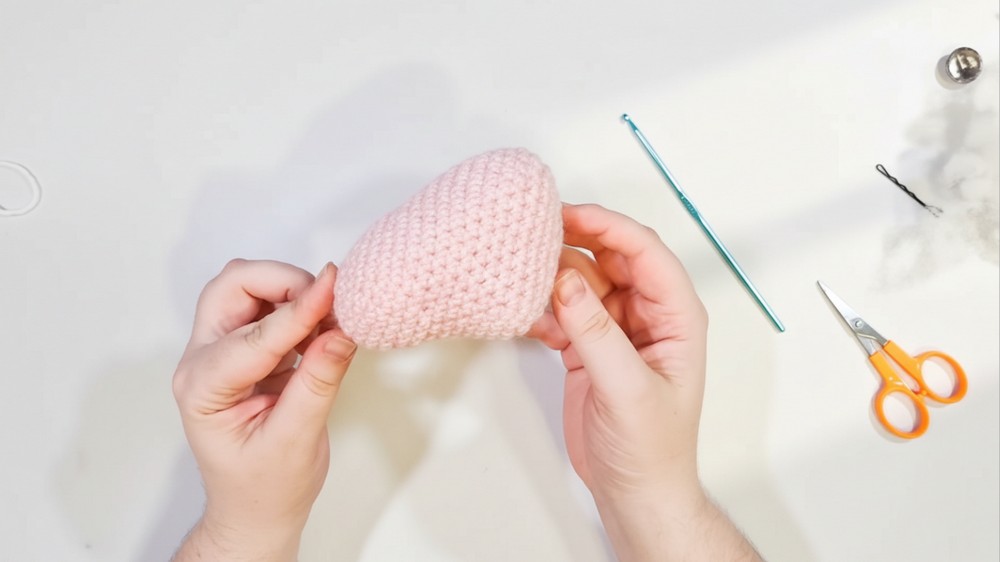
2. Head and Neck
- Magic Ring:
- Row 1: Magic ring with 5 sc. (5 sts)
- Row 2: 5 increases. (10 sts)
- Row 3: [1 sc, inc] 5 times. (15 sts)
- Begin shaping the head starting from the snout to the crown:
- Row 4: [2 sc, inc] to emphasize head shape.
- Add front post crochet stitches from Row 9 onward:
- This creates a clear divide between the head and neck, forming the neck’s sharp corner and natural curve.
- Rows 12-19 involve more shaping and decreasing to form the neck and where it transitions into the body.
- Add stuffing as you go but leave room for adjustments before fully closing.
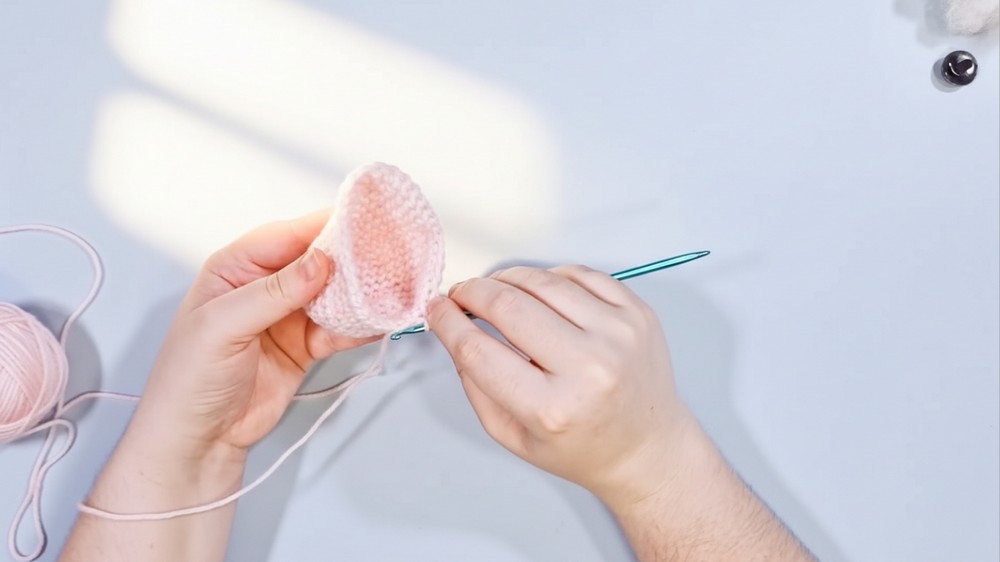
3. Ears
- Magic Ring:
- Row 1: 5 sc in a magic ring.
- Row 2: Work 5 sc around.
- Shape the ear by working increases into designated stitches:
- Row 3: 3 sc in one st, 2 sc, 3 sc in one st, 1 sc. (9 sts)
- Continue to increase as specified, finishing with 13 sts.
- Fold each ear and flatten to form a triangle.
4. Front Legs
- Start with main (sock) color:
- Row 1: 5 sc in a magic ring.
- Row 2: Work [sc, 3 inc, sc]. Change to leg color after 4 sc. Trim sock color.
- Work up the leg to round it out:
- Row 3: 8 sc. (8 sts)
- Rows 4-10: Adjust stitches as needed, focusing on adding a slight curve for the front foot and length for the leg.
- Details: Add embroidered paw beans for a cute effect once the leg is stuffed.
5. Back Legs
- Follow the instructions for the front legs until Row 5:
- Adjust shaping slightly for stronger base support.
- Decrease and taper for the top portion of the leg where it connects to the body. Firmly stuff the leg and set aside.
6. Tail
- Magic Ring: Begin with a magic ring of 6 sts.
- Work on your desired increase pattern from Row 2 onward:
- Add a playful curve by using decreases on one side, ensuring a natural curl.
- Finish off the tapered end. Stuff if desired to keep the tail shape sturdy.
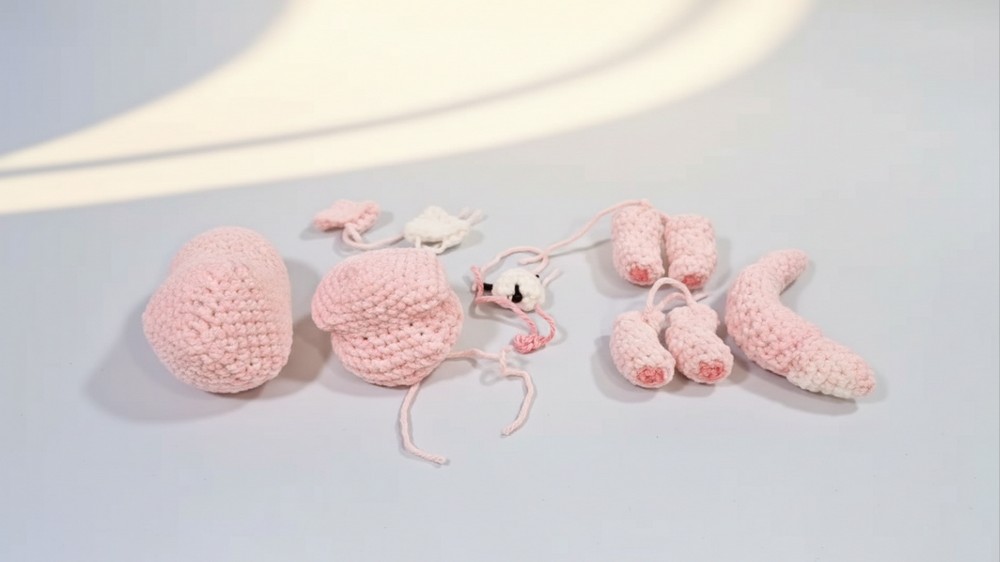
7. Assembly
- Attach the Head to the Body:
- Center the head over the body, ensuring the neck fluff aligns naturally with the chest area. Pin in place and sew securely, stuffing the neck as you go.
- Sew the Legs:
- Align the front legs just below the neck fluff on either side for symmetry.
- Attach back legs over the rear "lumps" of the body base. Adjust positioning so all legs touch the surface evenly when the cat stands.
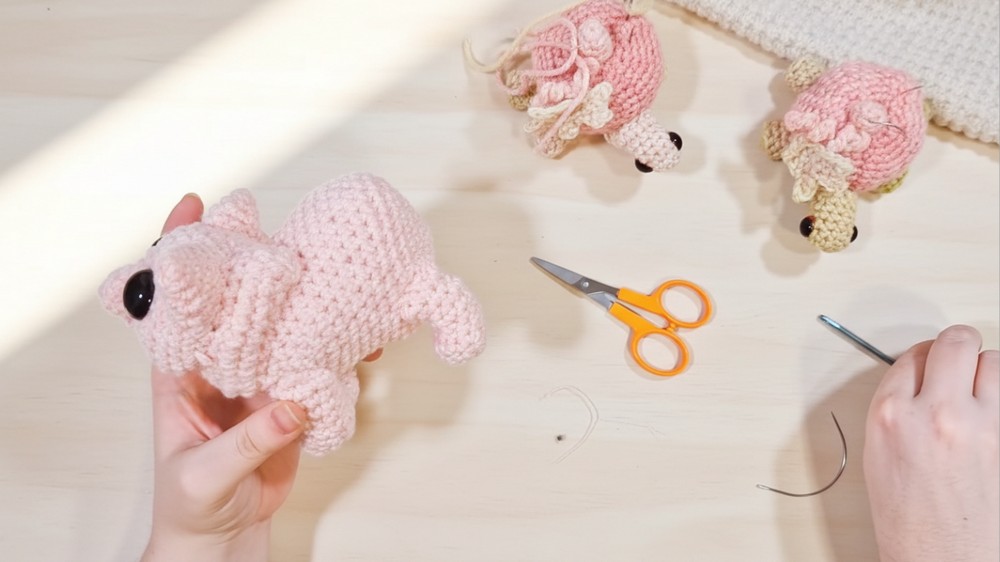
- Attach the Tail:
- Position at the highest point of the back. You can curve it upwards or around the cat’s body for a playful look.
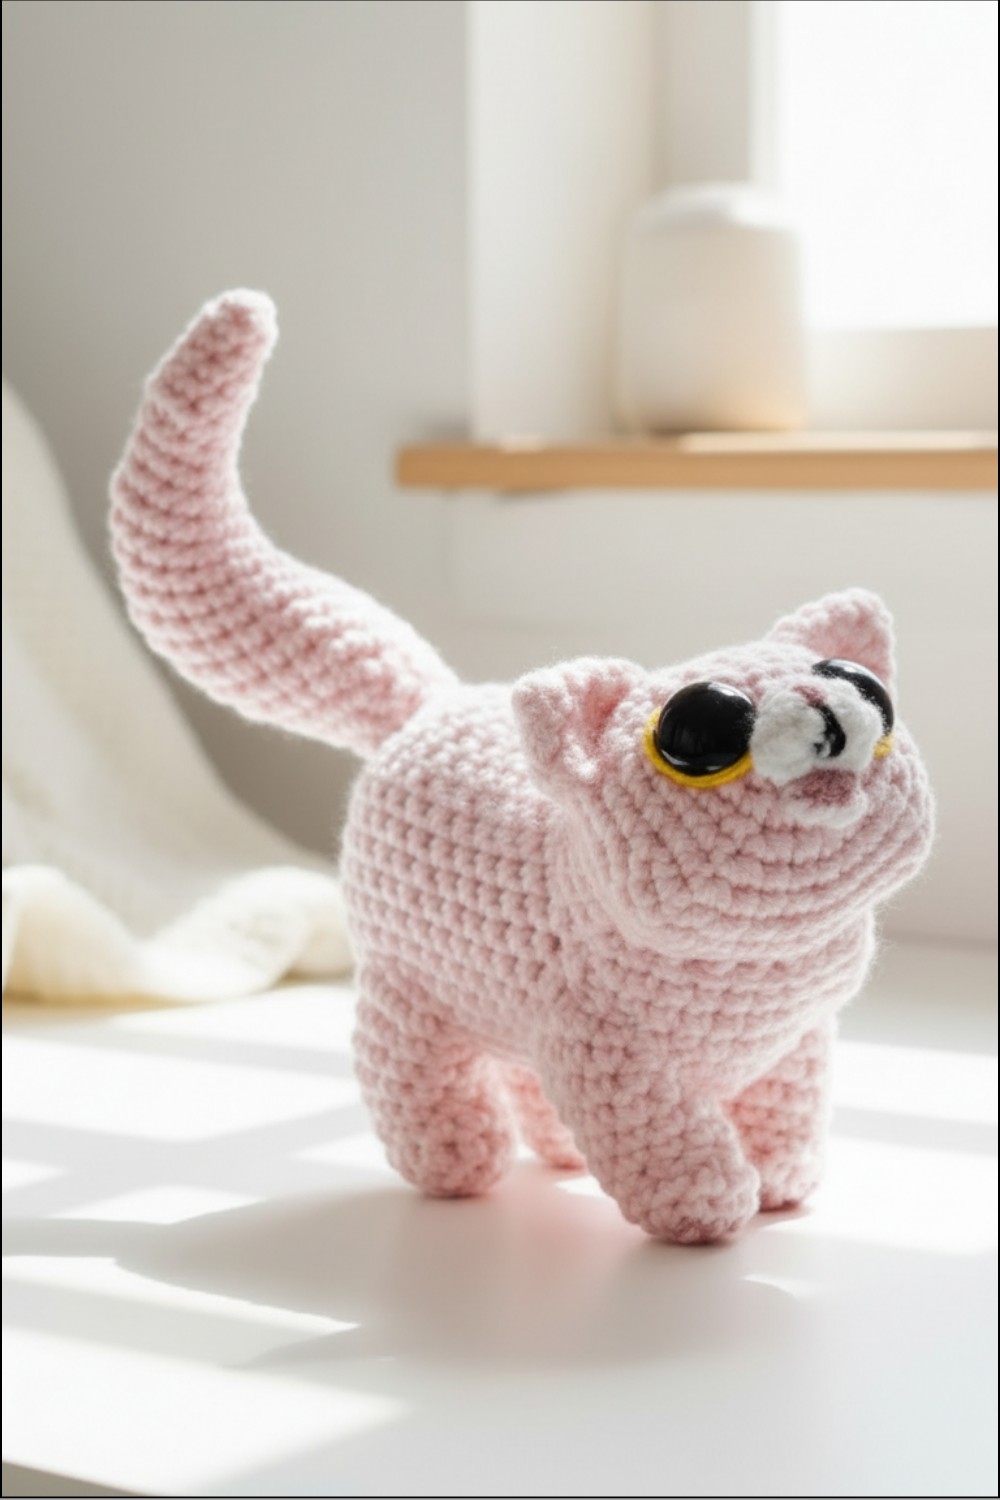
- Add Facial Details:
- Sew on the nose, embroider the mouth, and add optional eye enhancements like colored rings or embroidered eyelids.
Tutor’s Suggestions
- Use a stitch marker: To keep track of complex shaping with front post and back loop stitches.
- Pin carefully: During assembly, pin each part securely before sewing to ensure symmetry, especially for legs and tail.
- Experiment with features: Adjust the pose of the legs, ears, and tail to reflect the specific mood or character you want for your cat.

Uses
- Celebrate a love of cats by creating your own "cat breed."
- Makes an excellent handmade gift for cat lovers.
- Perfect as nursery decor, soft toys, or quirky shelf pieces!
Tip
When switching colors in the magic ring or at the end of a row, tighten the tails of your previous and new colors together for a neater, seamless transition.
Conclusion
The Little Cat Amigurumi is a charming crochet project that allows for creativity and customization. With its versatile design, detailed features, and adorable pose, this project is a joy to make and share. Whether you’re creating a playful kitten or reproducing your real-life furry friend, this crochet pattern will infuse each piece with personality and cuteness!