
How To Crochet Bow Pattern Adds Playful Style to Any Outfit
Grace any project with this Free Crochet Bow Pattern, bringing a stylish touch for hair pieces, gift wrapping, or delightful decorative accents.
A single, perfectly tied bow has long been a symbol of grace, innocence, and a touch of whimsy, effortlessly transforming ordinary items into something special. Its delicate loops and charming knot evoke feelings of femininity and refinement, making it a beloved adornment across cultures and generations. The free crochet bow pattern offers a rewarding way to craft this enchanting accessory by hand, turning simple yarn into a miniature masterpiece of elegance. Whether gracing a child's hair, embellishing a gift package, or adding a sweet detail to clothing or bags, this crocheted bow radiates charm and versatility. The soft, textured finish lends a handcrafted warmth that elevates any project, imbuing it with personality and love.
Free Crochet Bow Pattern for Holiday Gift Embellishments
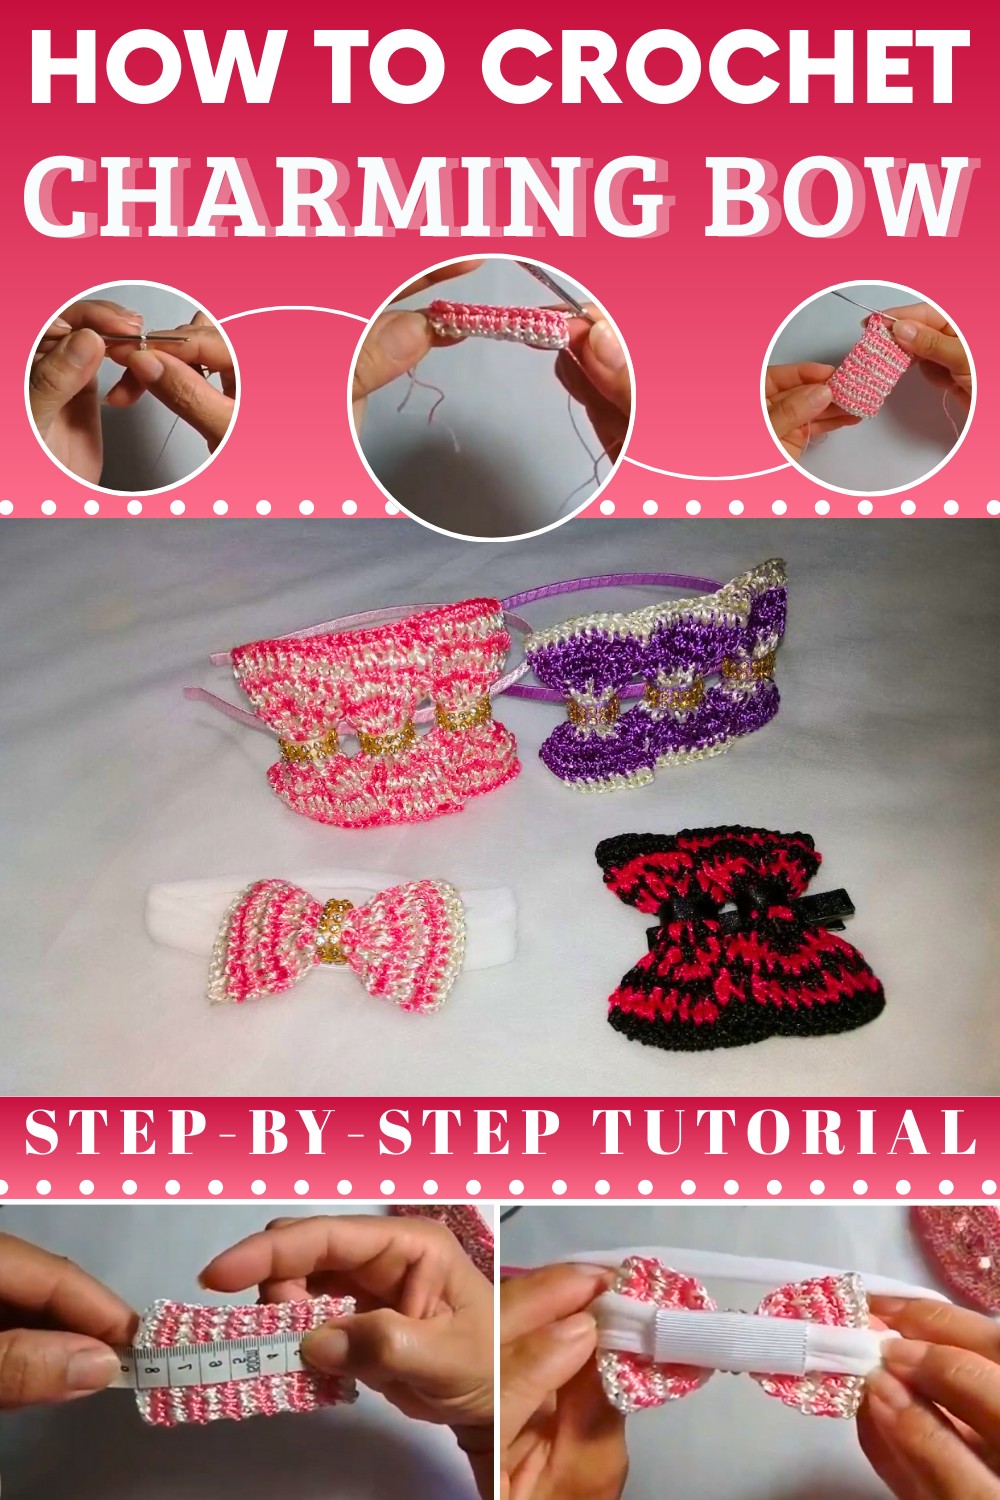
The crochet bow captivates with its simplicity paired with its charming appeal. The instructions emphasize working seamlessly in rounds and rows, making the pattern accessible to beginners while offering enough finesse for seasoned stitchers to enjoy. The techniques include forming perfect loops, securing parts with slip stitches, and neatly wrapping yarn to create the center knot.
The finished bows are lightweight yet sturdy, making them ideal for hair clips, decorative gift wraps, or embellishments on garments. The array of color choices and size variations invites endless customization, allowing each bow to reflect personal style and taste. With its elegant silhouette and versatile charm, this crochet bow pattern opens a world of creative possibilities. Each step results in a beautifully proportioned piece that exudes handcrafted sophistication.

Below is a clear, fully written pattern based on the transcription you provided. I will standardize terminology and structure so it is easy to follow and repeat.
Crochet Two-Color Hair Bow
(Based on 13 rows of half double crochet)
Materials
- Yarn
- 2 colors of lightweight yarn/thread (in the video:
- White “Raissa” brand shiny thread
- Pink “Queen” brand thread
- You can substitute with similar cotton or acrylic thread; use 2 strands together if very thin)
- 2 colors of lightweight yarn/thread (in the video:
- Hook
- 1.75 mm crochet hook
- Notions
- Scissors
- Lighter (for carefully sealing cut thread ends)
- Tapestry needle (for weaving in ends, if preferred instead of burning)
- Hot glue gun and glue sticks
- Narrow ribbon (approx. 0.6–1 cm wide, often called “tape number 1”) for center wrap
- Flat rhinestone strip (strass) for decoration (optional)
- Pre‑prepared silk headband / nylon headband (meia de seda) or duckbill hair clip / hair tie
- Small piece of ribbon used to wrap the headband where the bow will be attached (already done in the video, about 4 cm of ribbon)
Special Techniques & Notes
- Half Double Crochet (hdc)
Yarn over, insert hook into stitch, yarn over and pull up a loop (3 loops on hook), yarn over, pull through all 3 loops. - Carrying / Guiding a Second Color (Stranded / Carried Yarn)
When working one color, the second color is laid along the top of the row and covered by the stitches, so you do not need to cut it each time. When changing color, you finish the last stitch in the new color. - Working with Two Colors Alternately
You will always:- Work one row in Color A while carrying Color B along.
- At the end of the row, switch to Color B in the last stitch.
- Work the next row in Color B while carrying Color A.
- Repeat this alternation until 13 rows are completed.
Pattern Instructions
I will call:
- Color A = White
- Color B = Pink
You can substitute any colors you like.
Foundation & Row 1
- With Color A (white), make a slip knot and place it on the hook.
- Chain 10.
- Chain 2 more (for height) – these 2 chains act as your turning allowance but are not counted as a stitch.
- Yarn over, insert hook into the 10th chain from the hook (the last chain of the first 10).
- Work 1 hdc in that chain.
- Continue back along the original 10 chains, working 1 hdc in each chain.
- You will have 10 hdc in the row.
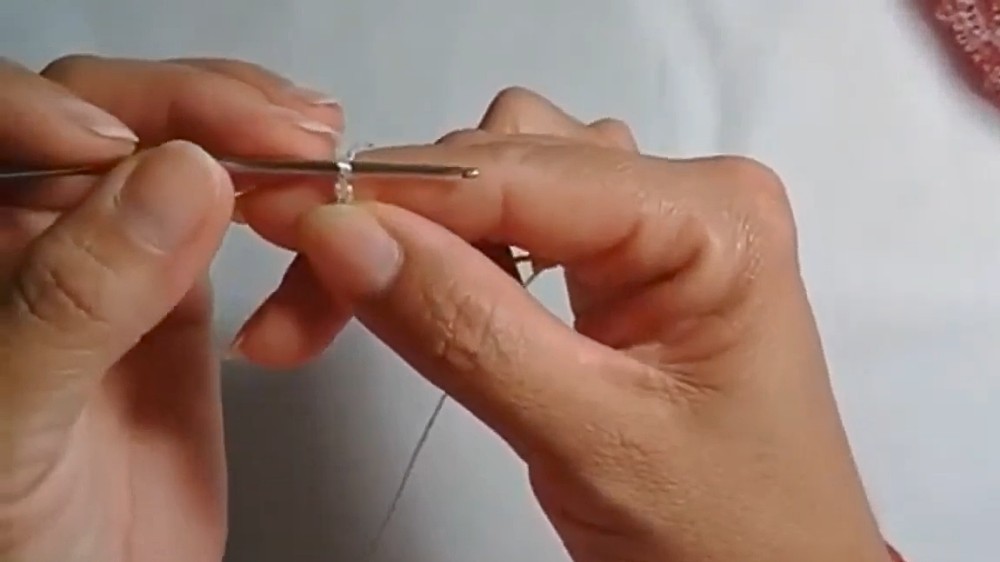
At this point you have:
- 10 chains as width
- 1 row of 10 hdc
Color Change Setup (Introduce Pink and Start Carrying)
At the end of Row 1:
- Undo the very last completed hdc slightly so that you can redo the final yarn-over and pull-through.
- Rework that last hdc but finish it with Color B (pink):
- Work hdc as normal until you have 3 loops on the hook in white.
- Drop white, pick up pink.
- Yarn over with pink and pull through all 3 loops.
Now your last hdc is completed in pink, and pink is active on the hook; white is free to be carried.
- With pink on the hook, chain 2 for the next row’s turning allowance.
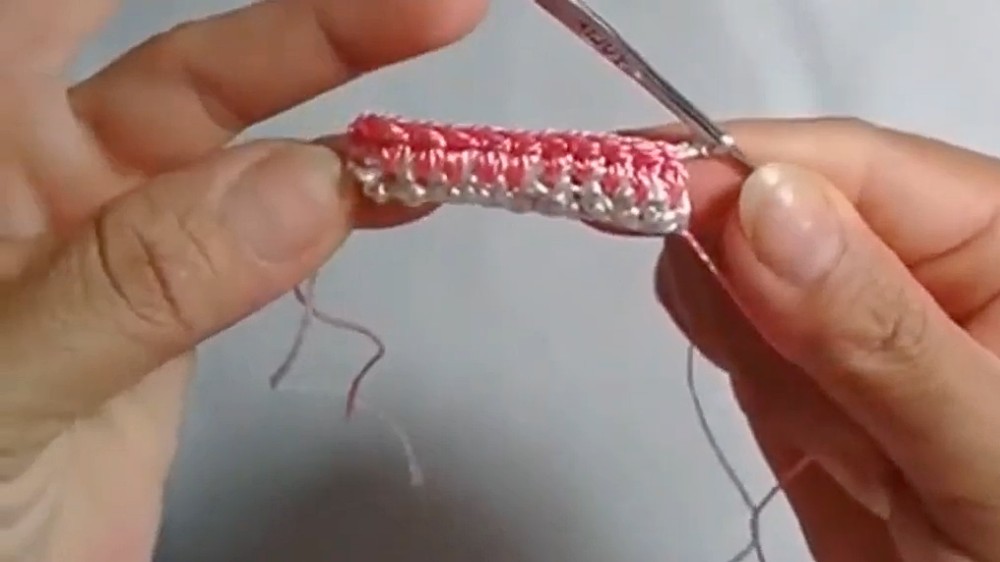
You now begin alternating colors using carried yarn.
Rows 2–13 (2‑Color Body of the Bow)
You will work 13 total rows of hdc. Row 1 was already done in white; now continue until you have 13 rows total and alternate colors every row, always carrying the unused color along the row.
General Rule for Each Row:
- Before starting a row, the color on your hook is the color for that row.
- The unused color is laid along the edge of the row and crocheted over to hide and carry it.
- At the end of the row, use the carried color to finish the last hdc, then chain 2 with the new active color, turn, and work the next row.

Row 2 (Pink row)
- With pink active on the hook, turn the work.
- Lay the white thread along the top edge of the row so that it will be covered by your stitches (this is the “guided” yarn).
- Yarn over with pink, insert hook into the first stitch, making sure the white yarn lies on top of the row and under your hook.
- Pull up a loop and complete 1 hdc in that stitch, hiding the white yarn inside.
- Work 1 hdc in each of the 10 stitches across, always crocheting over the white yarn to carry it.
- At the last stitch:
- Begin the hdc with pink (yarn over, insert hook, pull up loop; 3 loops on hook in pink).
- Drop pink and pick up white.
- Yarn over with white and pull through all 3 loops to complete the last hdc with white.
- Now chain 2 with white, turn.
Row 3 (White row)
- With white active, turn.
- Lay the pink thread along the row to carry and hide it.
- Work 10 hdc across in white, carrying pink under the stitches.
- On the last hdc:
- Start the stitch in white (3 loops on hook),
- Drop white, pick up pink,
- Yarn over with pink, pull through all 3 loops.
- Chain 2 with pink, turn.
Rows 4–13
- Repeat the same alternation:
- Even-numbered rows with one color, odd-numbered with the other, always:
- Carry the unused color along the row,
- Switch to the next row’s color in the final stitch,
- Chain 2, turn.
- Even-numbered rows with one color, odd-numbered with the other, always:
Continue until you have 13 rows in total.
The teacher in the video mentions:
- She counts: 1, 2, 3, … up to 13 rows.
- After 13 rows, the piece measures about 8 cm in length.
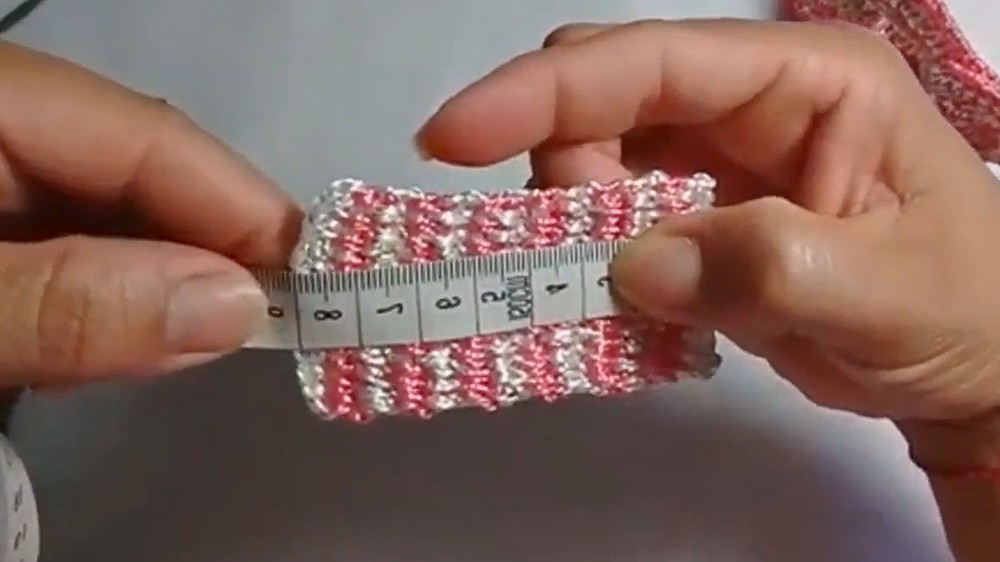
You can count your rows and measure:
- From the first hdc row to the last: you should have 13 visible rows of hdc.
- Width across should still be 10 stitches.
Fastening Off & Weaving Ends
After completing Row 13:
- Finish the last row in the chosen final color (in the video, she finishes with white).
- Do not change color at the last stitch; just complete the last hdc normally.
- Chain 1 (optional for securing), then cut the yarn, leaving a small tail.
- Pull the tail through the last loop to fasten off.
- Carefully hide both yarn tails:
- Using a tapestry needle, weave the ends back and forth between stitches, alternating sides, to make them invisible.
- The presenter also uses a lighter to gently melt/sing the synthetic thread ends after trimming, so they do not fray. Do this very carefully and only with synthetic yarn; never with cotton or in unsafe conditions.
After hiding and trimming the ends, your rectangle is finished.
Shaping the Bow
You now have a small double‑color rectangle (approx. 8 cm x 3–3.5 cm). Next step is to form it into a bow.
- Fold the Rectangle:
- Lay the piece flat, with stripes or color changes running horizontally.
- Fold both short ends toward the middle so they meet at the center (overlapping slightly if desired).
- The right side of the work should face out.
- Secure the Center with Hot Glue:
- Open slightly, apply a small dot of hot glue at the center overlap.
- Press the ends together and hold for a few seconds until the glue sets.
- Create the “Bow” Shape:
- From the front, pinch the middle of the rectangle horizontally to form a classic bow shape with two folds:
- One fold in the center with two “fans” on each side.
- Add a small dot of glue at the center (front and back) to keep the folds in place, if needed.
- From the front, pinch the middle of the rectangle horizontally to form a classic bow shape with two folds:
Center Wrap and Rhinestone Detail
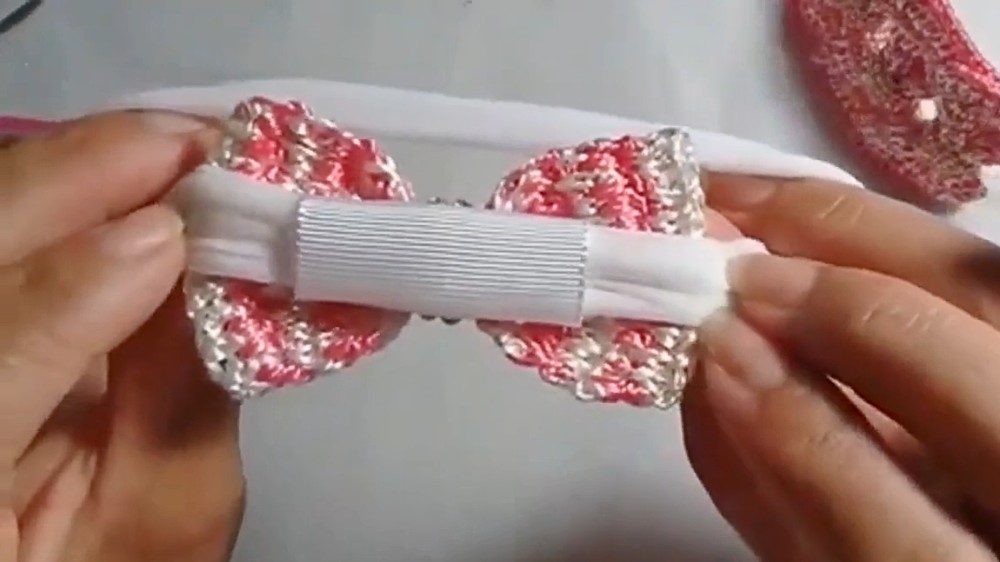
- Ribbon Wrap:
- Cut a small piece of narrow ribbon (number 1 ribbon).
- Add a small line or dot of hot glue at the back center of the bow.
- Place one end of the ribbon on the glue, then wrap the ribbon tightly around the center of the bow several times (2–3 wraps).
- Secure the other end at the back with a bit more hot glue.
- Trim any excess ribbon and lightly seal the cut edge with a lighter to prevent fraying.
- Rhinestone Strip (Optional):
- Measure around the bow center to see how many rhinestone rows you need.
- The presenter uses about 2 rows of rhinestones (not the full 3 rows of the strip) to keep the look delicate.
- Cut the rhinestone strip to the required length and width.
- Apply a thin line of hot glue to the center wrap (front side).
- Carefully press the rhinestones onto the glued area and hold until set.
Your bow is now fully formed and decorated.
Attaching the Bow to a Headband or Clip
You can attach this bow to:
- A nylon/silk baby headband (meia de seda)
- A duckbill clip
- A hair tie or plastic headband
In the video, she uses a silk headband that she has already prepared with a small piece of ribbon where the bow will sit.
To Attach to a Nylon Headband:
- Place the headband flat.
- Add a generous line or circle of hot glue on the ribbon-covered area where you want the bow to sit.
- Press the back center of the bow firmly onto the glue.
- Hold in place until the glue cools and hardens.
- Check that edges are secure; add a bit more glue to any loose parts if needed.
Tips and Customization Ideas
- Color Choices:
- Use your favorite team colors.
- Make one side in a pastel shade and the other in a bright contrasting color.
- Use metallic or glitter yarn for festive occasions.
- Size Adjustments:
- To make a longer/wider bow:
- Increase the number of starting chains (e.g., 12 or 14 chains instead of 10).
- To make a taller bow:
- Work more than 13 rows (e.g., 15–18 rows).
- Keep the stitch pattern (hdc rows, carrying yarn) the same.
- To make a longer/wider bow:
Conclusion and Final Look
At the end of the process, you have:
- A neatly finished double-color crochet bow of approximately 8 cm length, with:
- Alternating white and pink rows forming a subtle striped effect,
- A cinched center wrapped in ribbon,
- Optional rhinestone detail for extra shine.