
Free Crochet Sunflower Doll Pattern to Spark Joy
Assemble a bright touch with this Free Crochet Sunflower Doll Pattern, perfect to stitch, personalize, and embellish your home or gifts.
This cheerful sunflower doll brings sunshine into any space, making it a lovely decoration for shelves, desks, or as a thoughtful handmade gift that warms the heart. Its bright petals and happy face capture the natural beauty of sunflowers, turning simple yarn into something that looks joyful and eye‑catching. Following the Crochet SUNFLOWER DOLL pattern feels uplifting and relaxing, giving you a creative break that boosts focus and patience while you make something both pretty and meaningful.
Trendy Free Crochet Sunflower Doll Pattern You Can Make

This Crochet SUNFLOWER DOLL pattern is suitable for beginners with basic stitching skills and requires only simple materials, yarn, a crochet hook, stuffing, and a few finishing touches. It’s a joyful project that lifts your mood, enhances your stitching confidence, and results in a soft, portable sunflower doll perfect for gifting, decorating, or keeping as a sweet reminder of sunny days.
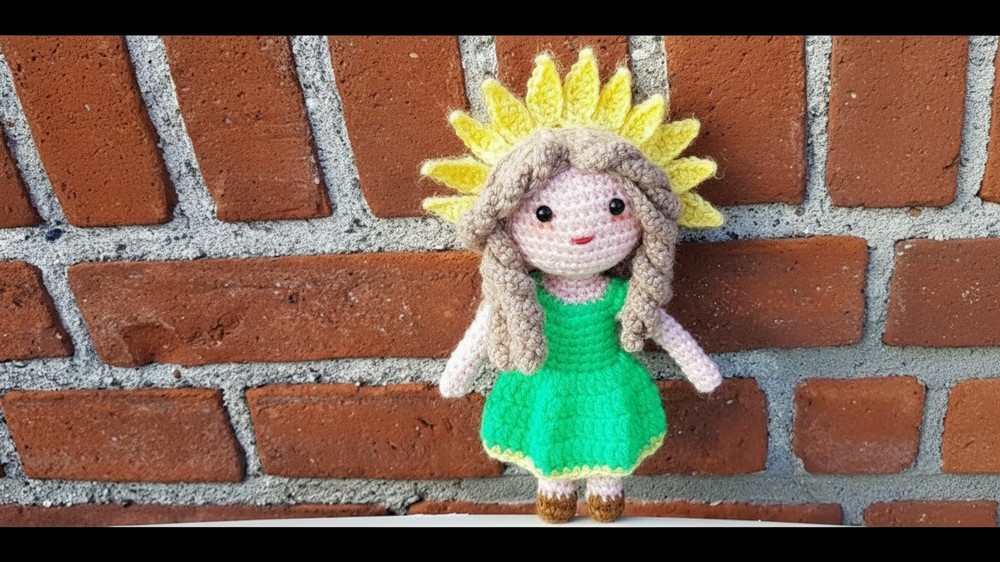
The design uses familiar crochet stitches like single crochet (sc), double crochet (dc), increase (inc) and decrease (dec) to shape the doll’s body and the sunflower’s petals in smooth, rounded sections. Starting with a magic ring or chain circle helps form neat centers, and working in rounds builds up the head, stem, and flower layers evenly. You can add features like embroidered eyes or stitched details for extra charm, while choosing bright yellow, green, and brown yarns makes the sunflower delightfully vivid.
Free Crochet Sunflower Doll Pattern Step-by-Step
Materials
- Yarn: Worsted weight (#4) or DK (acrylic or cotton), in the following colors:
- Skin tone (face, arms, legs)
- Light brown and dark brown (shoes/hair)
- Green (dress & leaves)
- Yellow (sunflower petals/final skirt round)
- Red (embroidery—mouth)
- 3.0mm crochet hook
- Stuffing: Polyester toy stuffing
- Safety eyes (Size not specified, recommend 8–10mm)
- Needle: For sewing and embroidery
- Stitch marker (or safety pin)
- Crafting pipe cleaner (for arm/leg structure, optional)
- Scissors
- Fabric glue (optional, for attaching hair/leaves)
Key Abbreviations (US Terms)
| Abbreviation | Meaning |
|---|---|
| MR | Magic Ring |
| sc | Single Crochet |
| inc | Increase (2 sc in same stitch) |
| dec | Decrease (sc2tog) |
| dc | Double Crochet |
| ch | Chain |
| sl st | Slip Stitch |
| st(s) | Stitch(es) |
| FLO/BLO | Front/Back Loop Only |
Special Notes
- The doll is worked mostly in continuous rounds unless stated otherwise.
- Use a stitch marker to mark the beginning of each round.
- Invisible decrease is preferred for a cleaner look, but traditional decrease can be used.
- For flexible arms and legs, insert a pipe cleaner before closing.
- Adjust the number of hair strands or leaf embellishments as desired.
Pattern Instructions
Head
With skin tone yarn:
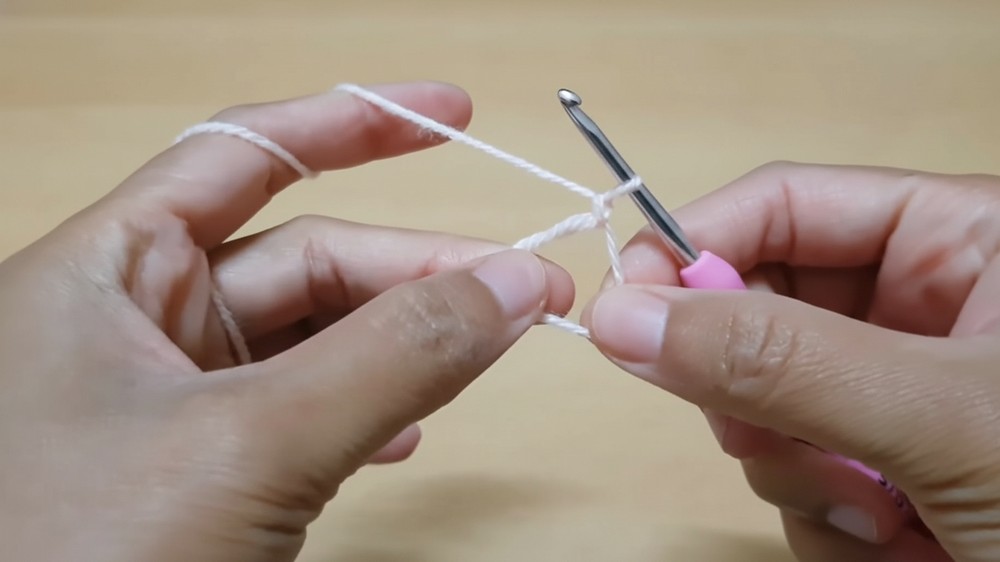
- Round 1: MR, 6 sc in ring. (6)
- Round 2: Inc in each st around. (12)
- Round 3: Sc 1, inc – repeat around. (18)
- Round 4: Sc 2, inc – repeat around. (24)
- Round 5: Sc 3, inc – repeat around. (30)
- Round 6: Sc 4, inc – repeat around. (36)
- Round 7: Sc 5, inc – repeat around. (42)
- Rounds 8–12: Sc in each st around. (42)
Head Shaping (Decreases)
- Round 13: Sc 5, dec – repeat around. (36)
- Round 14: Sc 4, dec – repeat around. (30)
- Round 15: Sc 3, dec – repeat around. (24)
- Round 16: Sc 2, dec – repeat around. (18)
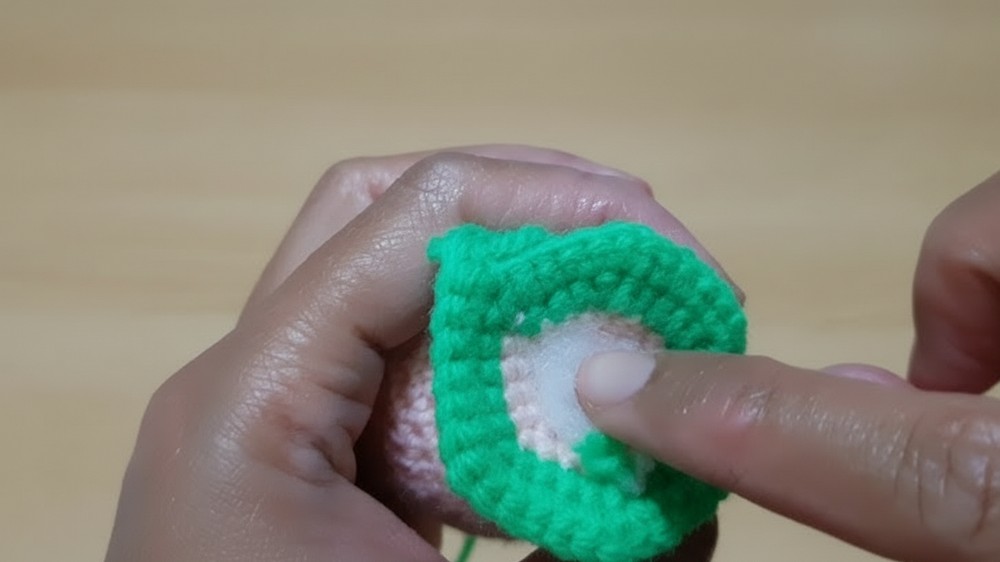
- Start stuffing head and continue as you decrease.
- Round 17: Sc 1, dec – repeat around. (12)
- Rounds 18–20: Sc in each st around. (12)
- Finish stuffing head.

Neck to Upper Body
- Round 21: Sc 1, inc – repeat around. (18)
- Round 22: Sc 2, inc – repeat around. (24)
Change to GREEN yarn for dress/bodice:
17. Round 23: Sc 3, inc – repeat around. (30)
- Round 24: Sc 4, inc – repeat around. (36)
- Add stuffing for neck support.
Shoulder & Arm Partition
- Armhole planning: Use markers to space out two armholes, each with 8 sts between, according to instructions after Round 24.
Body
- Rounds 25–29: Sc in each st around. (36)
- Five rounds for torso; maintain stitch count.
- Round 30: BLO only, sc in each st around. (36)
- Round 31: Sc in both loops around. (36)
- Stuff body as you go.
Change to skin tone yarn for legs.
Legs (Make 2, worked from body down, each with 10 stitches)**
- Partition 20 sts evenly for two legs, 10 sts per leg.
- Continue with one leg:
- Rounds 1–13 (for leg): Sc in each st around. (10 per round)
- Change to dark brown for shoes:
- Rounds 14–15: Sc in each st around. (10)
- Fasten off, close hole using needle via back loops, weave in end.
- Insert pipe cleaner for structure before closing up leg.
- Repeat for other leg.
Arms (Make 2)
- Attach skin tone yarn for each arm at arm opening (8 sts).
- Rounds 1–12: Sc in each st around. (8 per round)
- Fasten off, insert pipe cleaner, close as with legs.
Skirt
With Green yarn, attach at the FLO from Round 30:
- Ch 2 (does not count as a stitch).
- Round 1: Dc in same st, dc in next st, 2 dc in next st repeat around (1 dc, 2 dc...). (Approx 30 dc)
- Sl st to join.
- Round 2: Ch 2, dc in next 2 sts, 2 dc in next st repeat around. (Approx 40 dc)
- Sl st to join.
- Rounds 3–4: Ch 2, dc in each st around. (40)
- Change to yellow at start of last round:
- Round 5 (yellow): Sc in each st around. Sl st to join, fasten off.
Hair
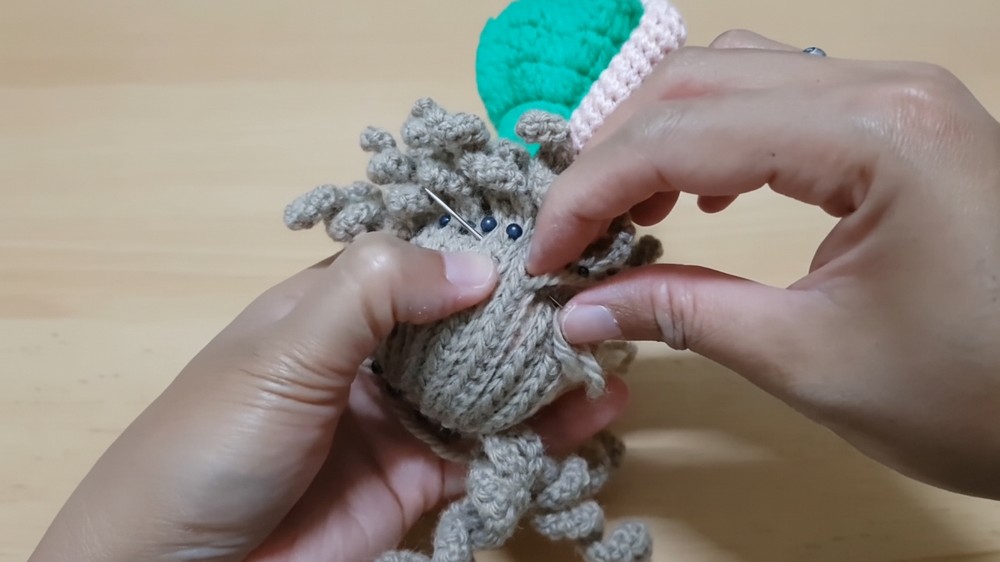
- With dark brown: Make 20 strands, as per video/tutor’s style. Attach at crown, braid or style as desired.
Leaves & Sunflower Petals
- Leaves: Make separately with green yarn following your preferred leaf pattern (reference tutorial or use a simple leaf shape).
- Attach leaves around skirt/bodice as desired, using glue or sewing.
Face
- Safety eyes: Insert between rounds 10–12 of the head; ensure even spacing.
- Mouth: Using a needle and red yarn/thread, embroider a small mouth.
- Other features: Add blush, freckles, or lashes for extra character if desired.
Final Assembly
- Sew or glue down leaves and sunflower details.
- Adjust stuffing throughout for smooth shaping.
- Tuck in and secure all loose ends.

Conclusion
You now have a joyful and poseable Amigurumi Sunflower Doll! This project is suitable for advanced beginners and is easily adapted for other flower themes.
Pattern Correction
- Arm and leg placement: Double-check partition counts for symmetry.
- Skirt round count: If skirt flares too much, decrease increases; if too tight, add extra increases.
Tips
- For extra durability, use pipe cleaners encased in yarn or floral wire for the limbs.
- Steam block pieces if preferred for neatness.
- Use small amounts of fabric glue to secure tiny parts or embellishments.
- Insert pipe cleaners before closing limbs for poseability.
- Adjust the number of petal and hair strands for your preferred look.