
Handmade Crochet Goat Amigurumi Pattern with Country Charm
Hop into handmade delight with this Crochet Goat Amigurumi Pattern featuring rustic charm and a lovable farm friend for gifts and shelves.
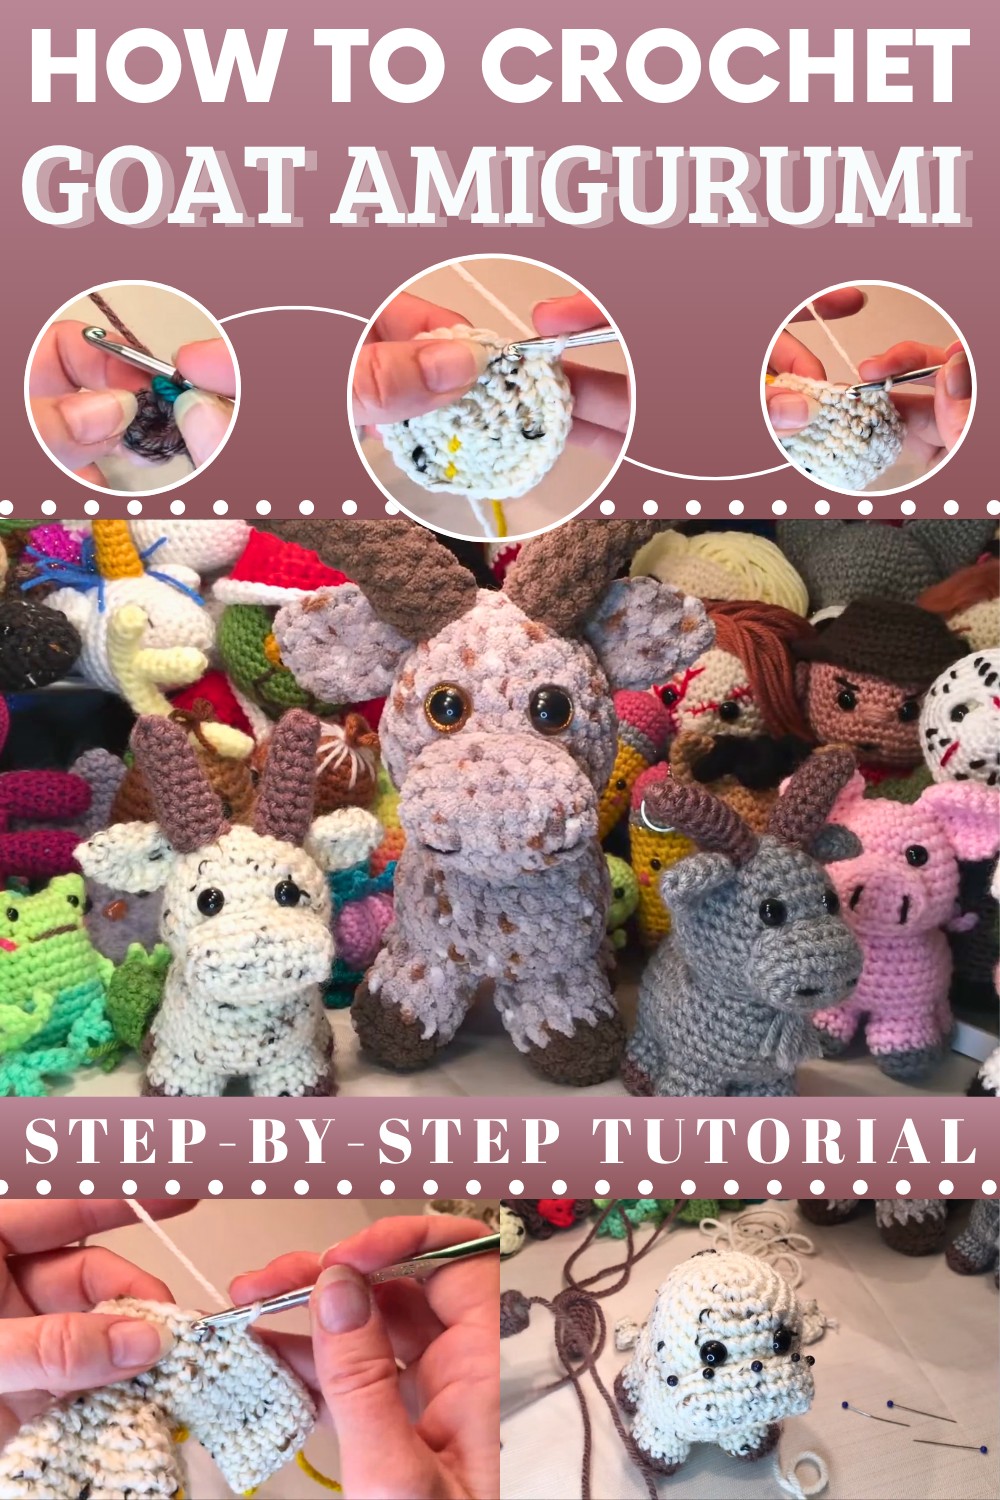
Cute Crochet Goat Amigurumi Pattern That Steals Hearts
Forming a tiny stuffed animal offers a serene way to unwind while making a lovely addition to your personal space. This Crochet Goat Amigurumi Pattern highlights a wonderful mix of natural charm and playful features, showcasing a dapper chin beard and a small pointed horn. Focusing on this project provides a refreshing mental boost, keeping your spirit bright and calm as you finish every stitch. Once complete, this plush figure serves as a graceful nursery accent or a loyal companion for a young fan of nature.
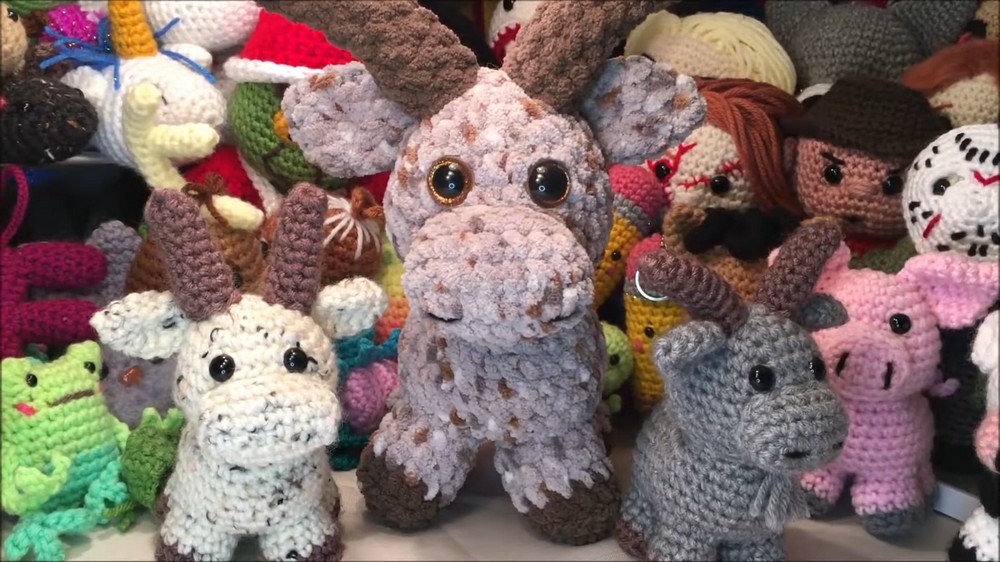
Its petite size allows it to be a perfect travel buddy, fitting easily into any bag for outings. The specialty of this work is the lifelike way the animal stands on four little legs, adding a realistic touch to a bookshelf. Every loop builds a durable, high-quality toy that brings a warm and cozy feeling to your living area.
Step-by-Step Details
Materials Needed
- Yarn:
- For the smaller goat: #4 medium-weight yarn for the body. A contrasting color for hooves and horns.
- For the larger goat: #6 bulky yarn (such as Bernat Baby Velvet or Bernat Blanket Yarn).
- Note: For the larger goat, you will need just over 4 ounces (~5 ounces recommended).
- Crochet Hook:
- Use the recommended hook size for your yarn (4mm for #4 yarn, 6mm for bulky #6 yarn).
- Polyester Fiberfill: For stuffing the goat.
- Safety Eyes: 8mm or 10mm safety eyes for the face.
- Black Yarn: For embroidering nostrils.
- Scissors: To cut yarn.
- Yarn Needle: For attaching parts and weaving in ends.
- Stitch Marker: To track stitches while working in rounds.
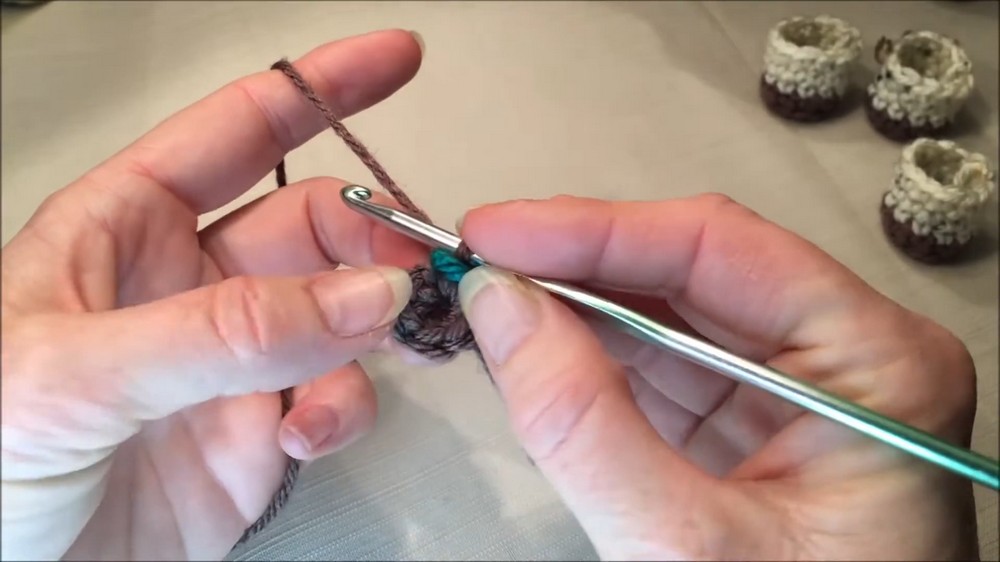
1. Start with the Legs (Make 4)
- Create the hooves using the contrasting yarn color:
- Use a magic ring and work 6 single crochets (SC) into the loop.
- Round 2: Work 6 increases (2 SC in each stitch) for a total of 12 SC.
- Round 3: Work 12 SC in the back loops only to create an edge.
- Change to the main body yarn:
- Tie the main color to the hoof yarn.
- Rounds 4-6: Crochet 12 SC evenly for three rows (36 stitches in total).
- Repeat this process to make four legs. Set them aside for later.
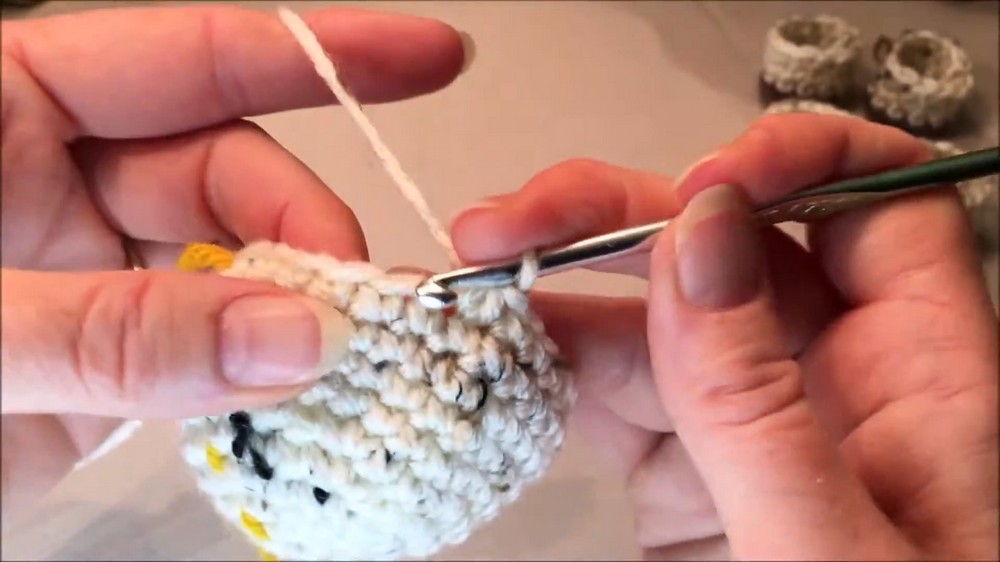
2. Create the Head and Body
Head
- Use the main yarn to make a magic ring:
- Round 1: Work 6 SC into the loop.
- Round 2: Increase in each stitch (12 SC).
- Round 3: Alternate 1 SC, 1 increase (18 SC).
- Round 4: Alternate 2 SC, 1 increase (24 SC).
- Round 5: Alternate 3 SC, 1 increase (30 SC).
- Round 6-9: Work evenly in 30 SC for four rounds to shape the head.
- Begin decreasing to shape the bottom of the head. Start to stuff the head as you go:
- Round 10: Alternate 3 SC, 1 decrease (24 SC).
- Round 11: Alternate 2 SC, 1 decrease (18 SC).
- Round 12: Alternate 1 SC, 1 decrease (12 SC).
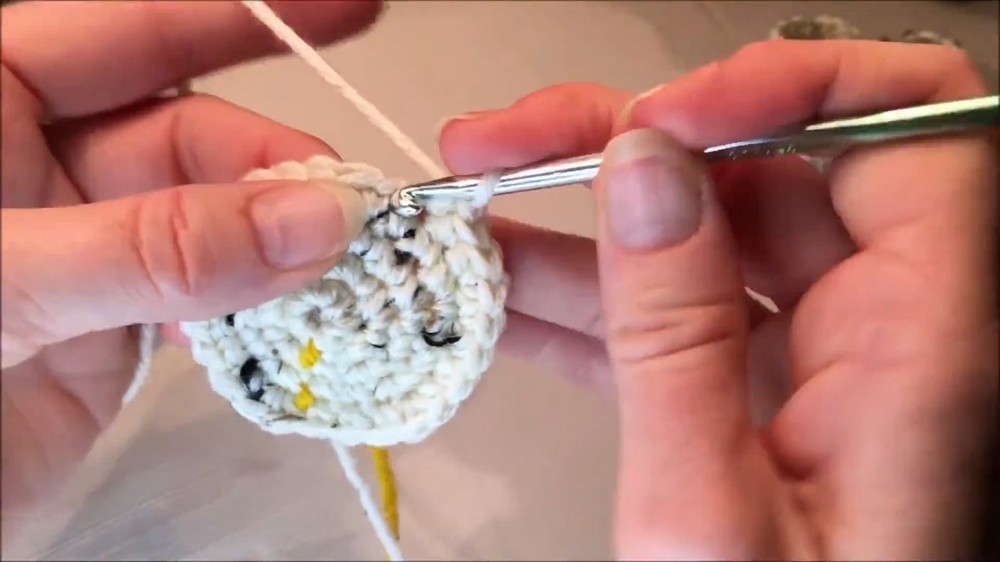

Eyes: Add safety eyes between Rows 5-6, leaving 3-4 stitches between them.
Body and Legs
- Chain 7 to connect the underside of the body to the base of the head. Begin crocheting around both sides of the chain to form the base of the body.
- Work 12 SC into the head across both sides of the chain to connect it.
- Gradually increase the row size:
- Round 14: Alternate 3 SC, 1 increase (30 SC).
- Round 15: Alternate 4 SC, 1 increase (36 SC).
- Attach the Legs:
- Space each leg evenly around the body and attach using 6 SC per leg. Add 3 SC between each leg to ensure structural integrity.
- After attaching all four legs, complete the body:
- Crochet evenly for a few additional rows.
- Begin decreasing slowly to close off the bottom. Stuff the body evenly as you go.
3. Additional Parts
Muzzle (Snout)
- Chain 8 and crochet along both sides of the chain to create a rounded oval shape.
- Use increases on either end of the oval to define the shape.
- After completing the oval, crochet 2 additional rows evenly.
- Lightly stuff the muzzle before attaching it below the safety eyes. Use black yarn to embroider small slits for nostrils.
Horns (Make 2)
- Use a contrasting yarn (usually the same color as the hooves):
- Round 1: Work 6 SC into a magic ring.
- Rounds 2-3: Crochet evenly (6 SC).
- Gradually increase to 8 SC around for the final rows.
- Lightly stuff the horns and sew them firmly onto the head between the first and second rows.
Ears (Make 2)
- Use the main body yarn:
- Round 1: Work 6 SC into a magic ring.
- Round 2: Work 1 SC, 1 increase for a total of 9 stitches.
- Round 3: Work 2 SC, 1 increase for a total of 12 stitches.
- Begin decreasing in the same rhythm until the ear is crescent-shaped.
- Pin and sew the ears behind the horns, curving them slightly for a realistic appearance.
Tail
- Create a tiny, rounded tail:
- Use a magic ring and work 4 SC into it.
- Increase to 6 SC for the final rows.
- Attach the tail to the back of the body with a slight curve upward.

Special Features
- No-Sew Body: The legs and body are crocheted seamlessly from the top of the head down, reducing sewing work.
- Two Sizes: The tutorial accommodates both small and large goats depending on the yarn weight used, allowing for flexibility in the project.
- Detailed Instructions: Each stitch is demonstrated on screen, with on-screen pattern instructions for the first 15 seconds of each row.
- Customizable: The goat can be personalized with different colors, yarn types, or even creative patterns like spots.
Level of Difficulty
This project is beginner-friendly to intermediate, with clear instructions suitable for those new to amigurumi. Beginners will appreciate the crochet-along style, while intermediate crafters will enjoy learning the no-sew body technique.
Tutor’s Suggestions
- Use Plush Yarn Carefully: If using bulky yarn, work lightly to prevent snapping when pulling stitches or stuffing.
- Pin Features Before Sewing: Secure the muzzle, horns, ears, and tail with pins before sewing to ensure even placement.
- Stuff Evenly: Avoid overstuffing, as it may distort the shape or stretch the stitches.
- Adjust Placement: The tutor advises leaving space between the horns and ears (about 1-2 rows) for a realistic look.
Uses
- Decor: Perfect for farm-themed nurseries, tables, or handmade displays.
- Toys: A soft, safe toy for children, especially if embroidered features are used instead of safety eyes.
- Gifting: An excellent handmade gift for goat lovers, children, or for animal-themed collections.
- Collectibles: Adds charm to any collection of amigurumi animals.
Tips for Success
When sewing on the horns and muzzle, start in the center and work outward evenly. This prevents uneven placement or slanted features, ensuring the goat looks adorable from all angles.
Conclusion
This crochet goat pattern is a joyful and customizable project for crocheters of all levels. The no-sew body design simplifies the process, while the detailed instructions and on-screen guidance make it easy to follow along. Whether you're making the smaller goat or the larger plush version, you'll love crafting this delightful farm animal.