
Crochet Carnival Headband Free Pattern in Chic Vibes
Festive flair shines in Crochet Carnival Headband Pattern, a joyful project bursting with color, style, and playful celebration vibes.
A bright and festive accessory has the power to transform a simple outfit into a head-turning masterpiece, exuding charm and personality. The Carnival headband, featuring a delightfully crocheted mini hat, is a perfect example of this magic. Inspired by the vibrant and playful spirit of Carnival, this headband offers wearable art that is both eye-catching and versatile.
Colorful Crochet Carnival Headband for Radiant Looks
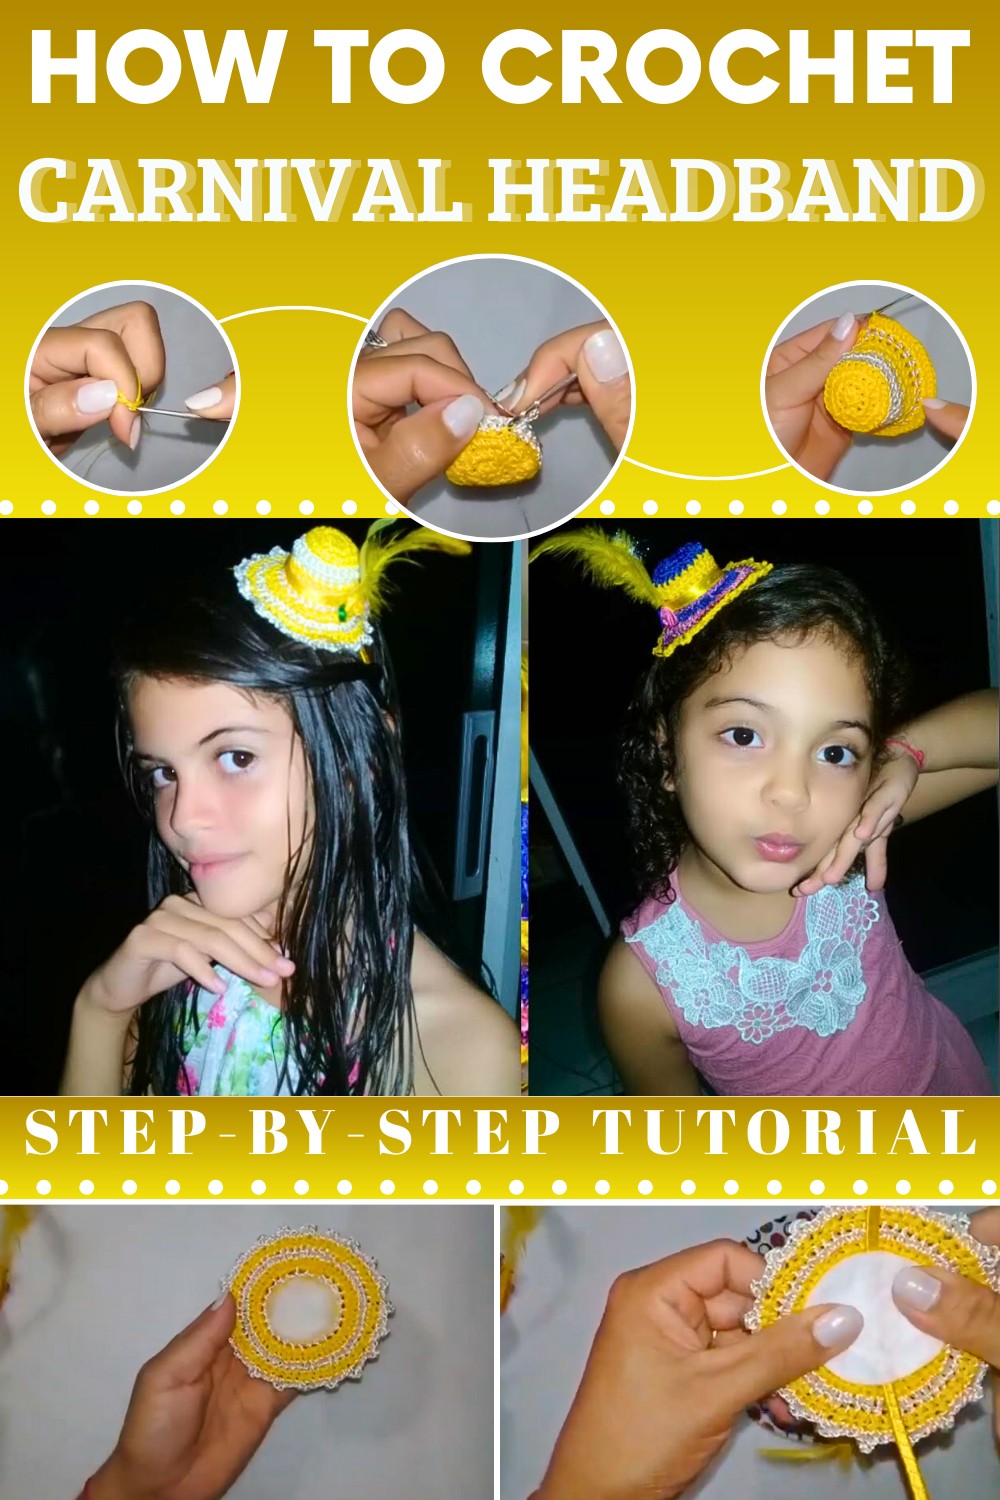
Whether used as an elegant touch to a celebration costume, a detailed handmade gift, or even a unique item to sell, this headband is perfect for a variety of occasions. Its thoughtful design stands out with carefully crafted details, and its adaptability allows for endless customization, making it a cherished piece for adults and children alike.
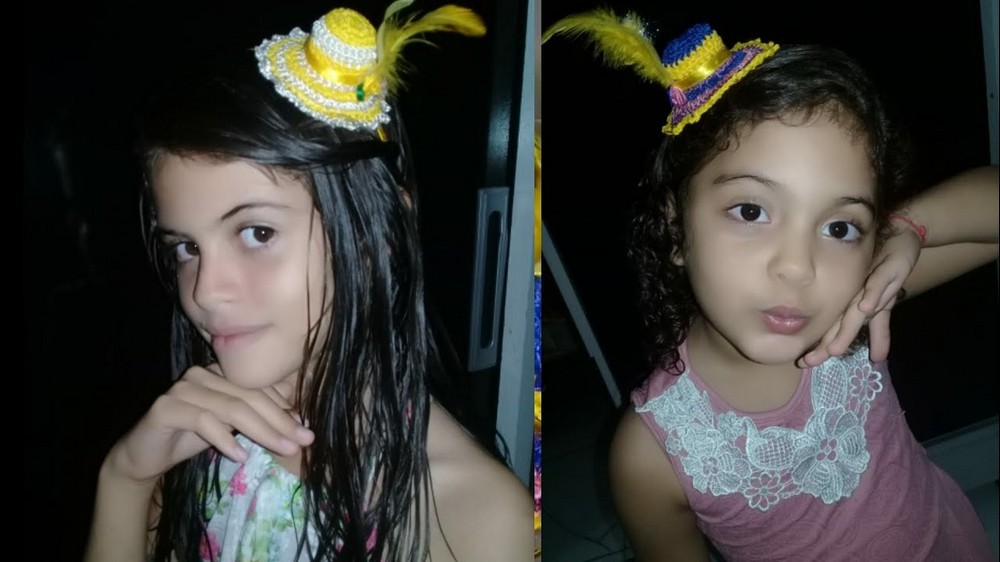
The Carnival headband is more than just a festive embellishment. With its versatility and personalized charm, it celebrates individuality and creativity, while offering practicality as a delightful handmade gift or attractive addition to a product lineup. Whether worn to brighten a celebration or sold as an artisanal piece, this headband is proof that small details often leave the most lasting impressions.

Step-by-Step Crochet Pattern: Carnival-Themed Mini Hat
Materials Needed
- Yarn:
- Raissa brand thick silk thread (texture 288).
- Colors used: white, yellow (other colors optional).
- Thin yarn as optional: use 2 strands held together.
- Additional Supplies:
- Felt circles: 5 cm diameter (2 pieces).
- Crochet hook: 1.75 mm.
- Hot glue gun and glue sticks.
- Tapestry needle for weaving ends.
- Scissors.
- Lighter for sealing the cut ends.
- Polyfill stuffing for structure.
- Decorations: bows, rhinestones, organza petals, or other embellishments.
- Optional:
- Fabric stiffener to make the hat firmer.
Gauge
- Unspecified in transcription; adjust hook and yarn tension as needed for intended size and structure.
Finished Size
- Approximate diameter: 5 cm base.
- Height: Varies depending on decorations and embellishments.
Special Techniques
- Magic Ring: Create a secure base for circular projects.
- Half Double Crochet (hdc): Yarn over, insert hook, pull up a loop (3 loops on hook), yarn over, pull through all loops.
- Slip Stitch (sl st): Insert hook, yarn over, and pull through both loops.
- Burning: Use a lighter to seal yarn ends for a neat finish.
Pattern Instructions
1. Base of the Hat
(Foundation Rows)
- Begin with the Magic Ring:
- Wrap yarn around your finger, insert the hook, pull up a loop, and twist it into a ring.
- Chain 1 to secure the ring.
- Round 1:
- Work 10 half double crochets (hdc) into the magic ring.
- Pull the ring tight to close, and join with a slip stitch into the first hdc.
- Round 2:
- Chain 2 (does not count as a stitch).
- Work 2 hdc into each stitch around, creating 20 hdc total (for added increase).
- Join with a slip stitch into the first hdc.
- Round 3:
- Chain 2. Begin with 1 hdc into the first stitch.
- Work 2 hdc into the next stitch, then 1 hdc in the following stitch.
- Repeat the pattern (1 hdc, 2 hdc) around, alternating normal and increased stitches.
- Finish with a slip stitch at the end of the round.

2. Body of the Hat
(Cylinder Body Construction)
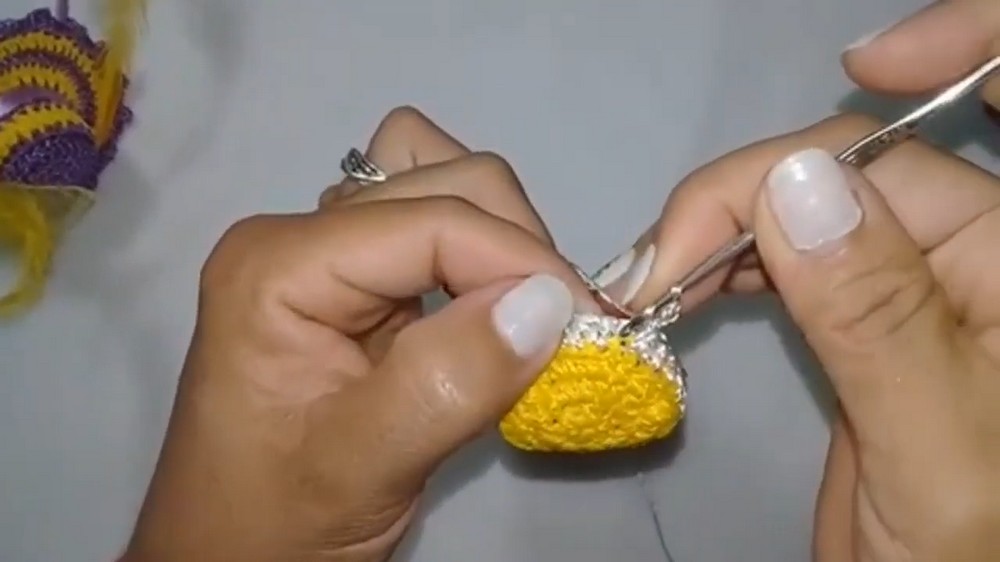
- Rounds 4-8:
- Switch yarn colors as needed (e.g., white or yellow).
- Chain 2. Work 1 hdc into each stitch around, no increases.
- Repeat the pattern for 5 rows, alternating colors sporadically or regularly to your preference.
- Polish and Fasten Off:
- Cut yarn and seal the ends using a lighter or fabric glue.

3. Hat’s Brim
(Wide and Flared Edge)
- Round 9 (Brim with Increases):
- Attach yarn (yellow or chosen color). Chain 2.
- Work 2 hdc into each stitch around for added flare.
- Finish with a slip stitch, and fasten off yarn.
- Round 10-11 (Normal Rounds):
- Attach white yarn. Chain 2.
- Work 1 hdc into each stitch without any increases.
- Round 12 (Scallop Edging):
- Attach yellow yarn. Chain 4.
- Insert hook into the base and work a slip stitch to form a scallop; work 3 single crochet (sc) in the next stitches and repeat scallop.
- Continue this pattern evenly around for decorative edging. Finish with a slip stitch.

4. Assembly and Decoration
(Adding Structure and Attaching Felt)
- Stuffing:
- Lightly fill the hat with polyfill stuffing to give it structure. Avoid overstuffing to prevent distortion.
- Felt Base:
- Use a 5 cm felt circle at the bottom for stability.
- Apply hot glue along the edges of the felt and press it onto the open base of the hat.
(Decorating the Hat)
- Ribbon Trim:
- Wrap narrow ribbon (#1 size) around the base of the hat. Glue as you go, ensuring neat alignment.
- Embellishments:
- Add pre-made organza petals, bows, or rhinestones for a festive look.
- Use glue to apply items securely.

5. Attaching to Accessories
(Headband, Clip, or Tie)
- Prepare Headband:
- Wrap a metal or plastic headband with tape or ribbon before attaching the hat.
- Glue Hat:
- Apply hot glue generously to the headband’s surface or accessory base.
- Press the hat firmly into place to ensure secure attachment.
Tips for Customization
- Color Variation: Match the hat color to Carnival outfits or team uniforms for personalized flair.
- Decoration Options: Add glitter, fabric flowers, or themed patterns for more pizzazz.
- Size Adjustment: Change the number of rows in the body or brim to alter the final hat size.
- Stiffening: Use fabric stiffener for extra durability and firmness.
Conclusion and Remarks
This mini Carnival crochet hat is charming, creative, and versatile. Perfect for festivals, baby accessories, or even selling as a craft item, it makes a wonderful, handmade gift. The scalloped brim and decorative touches elevate its appeal, and the added felt stabilizes the structure.
Final Look:
A colorful, playful hat enhanced with decorations, paired with a headband or clip for easy wear!