
Game-Inspired Crochet Mario Mushroom Hat Pattern
Have fun creating this Crochet Mario Mushroom Hat—an easy pattern perfect for bringing the Mushroom Kingdom to life in your style!
Inspired by the colorful world of Super Mario, this delightful crochet pattern transforms basic stitches into a playful mushroom hat. Perfect for cosplay, themed events, or thoughtful handmade gifts, this design is both fun and practical, offering a touch of nostalgic charm to your wardrobe or decor. Level up your style with a cute, retro-themed hat that’s sure to turn heads wherever you go.
Crochet Mario Mushroom Hat
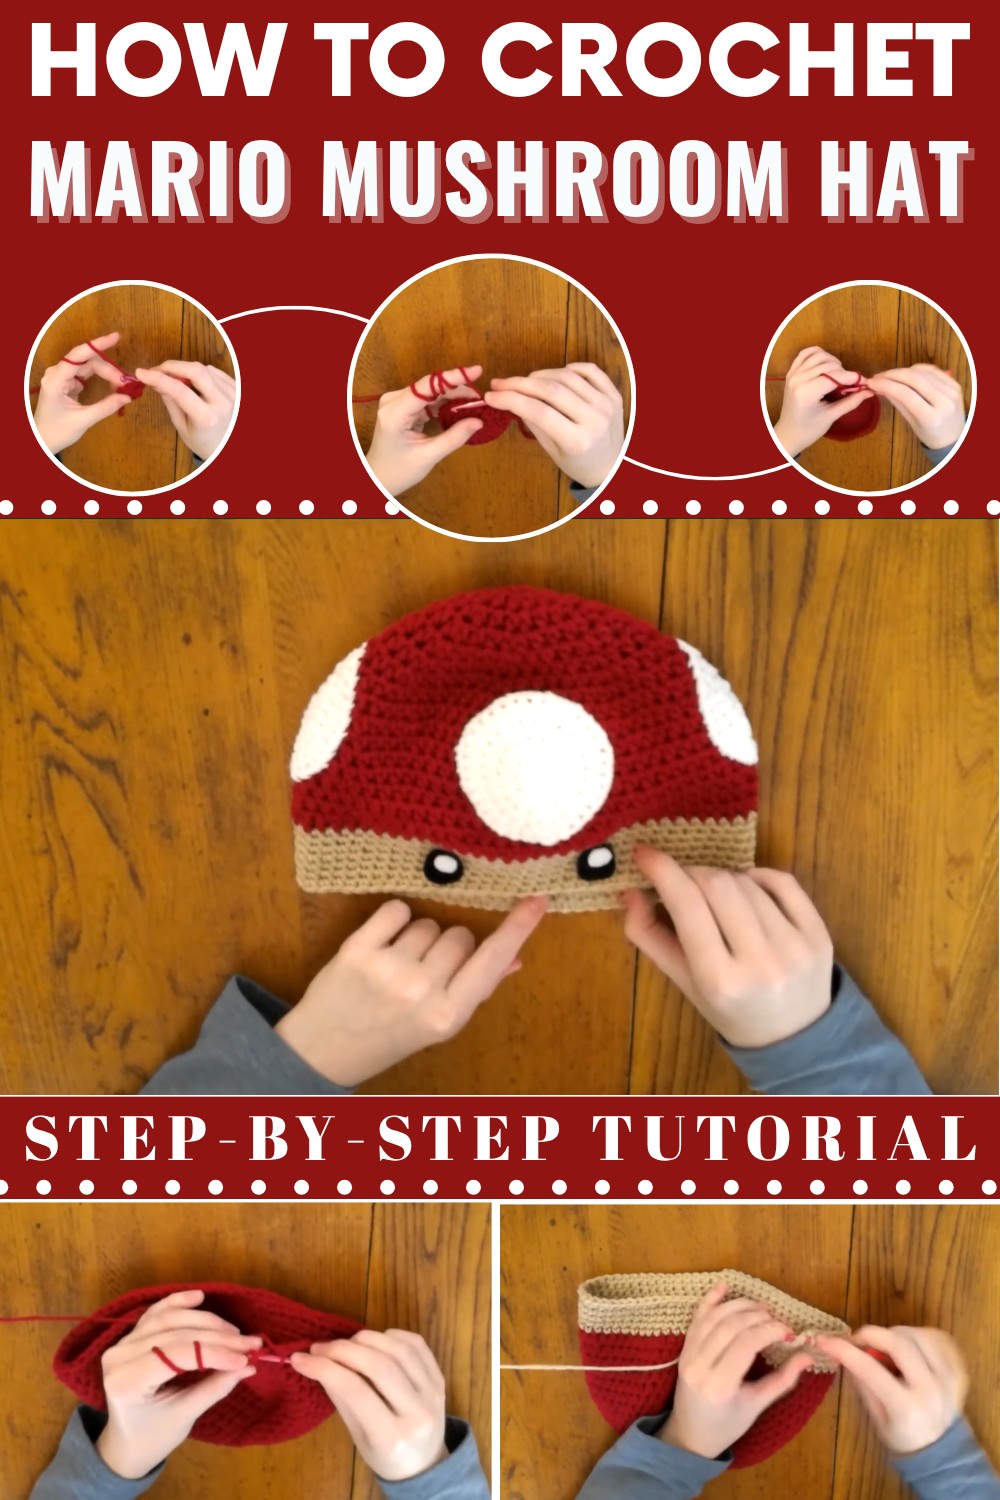
Mario Mushroom Hat Crochet Pattern
In this tutorial, you will learn how to create a colorful, fun, and iconic Mario Mushroom Hat using a crochet pattern. This playful hat features a rounded mushroom cap base, beige stem, and spots for an authentic look. This pattern is beginner-friendly but requires a familiarity with basic crochet stitches. The pattern uses half double crochet stitches for most of the hat, with single crochet stitches for the finishing rows (beige stem).
Materials
- Yarn:
- Red for the mushroom top.
- Beige for the stem.
- Black felt for the eyes.
- White yarn for the mushroom spots.
- White felt for the spots on the eyes.
- Hooks:
- Larger crochet hook for the hat (suggested size: 5 mm or as preferred for yarn weight).
- Smaller crochet hook for the spots (suggested size: 4 mm or as preferred for yarn weight).
- Tapestry needle for weaving in ends and sewing the spots.
- Scissors for cutting yarn and felt.
- Styrofoam head (optional) for easier sewing.
- Hot glue gun or fabric glue (optional) for attaching felt pieces.
Abbreviations
- CH – Chain
- HDC – Half Double Crochet
- SC – Single Crochet
- SL ST – Slip Stitch
- INC – Increase (2 stitches in the same stitch)
- ST – Stitch
Pattern Instructions
Part 1: Mushroom Hat
Round 1 (Base Circle)
- Choose your red yarn and create a magic circle.
- Work 8 HDCs into the magic circle.
- SL ST into the first stitch to close the circle.
Round 2
- CH 2 and HDC in the same stitch.
- Work 2 HDCs in each stitch all the way around.
- SL ST into the first stitch to close the circle.
- At the end of this round, you should have 16 stitches.

Round 3
- CH 2 and HDC in the same stitch.
- Work 1 HDC in the next stitch, followed by 2 HDCs in the next stitch (INC).
- Repeat 1 HDC, 2 HDC INC around.
- SL ST into the first stitch to close the circle.
- You will have 24 stitches.
Round 4
- CH 2 and HDC in the same stitch.
- HDC in the next 2 stitches.
- Work INC (2 HDCs in the same stitch) in the following stitch.
- Repeat (HDC in next 2 stitches, INC) around.
- SL ST into the first stitch to close the circle.
- You will have 32 stitches.
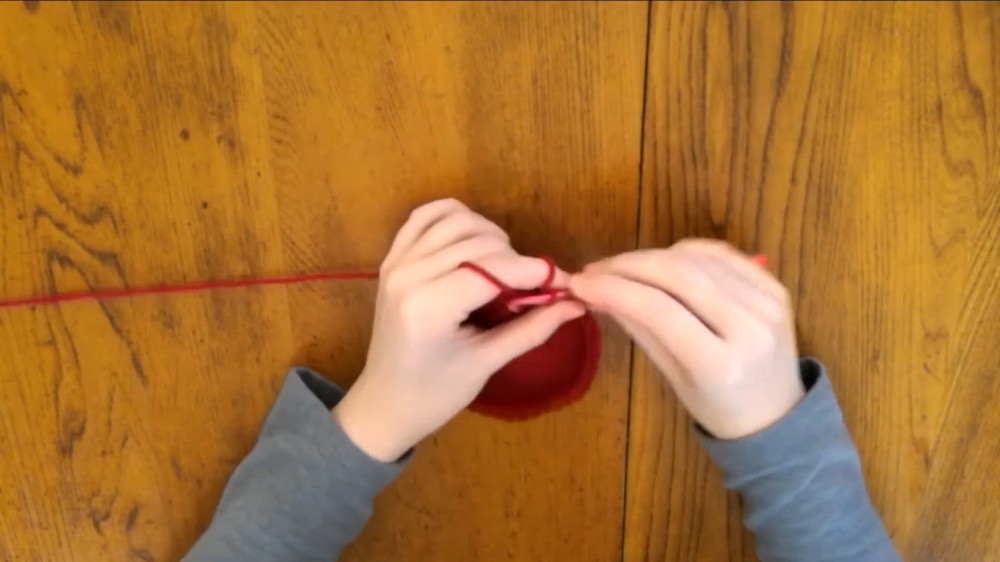
Round 5
- CH 2 and HDC in the same stitch.
- HDC in the next 3 stitches.
- Work INC in the next stitch.
- Repeat (HDC in next 3 stitches, INC) around.
- SL ST into the first stitch to close the circle.
- You will have 40 stitches.
Round 6
- CH 2 and HDC in the same stitch.
- HDC in the next 4 stitches.
- Work INC in the next stitch.
- Repeat (HDC in next 4 stitches, INC) around.
- SL ST into the first stitch to close the circle.
- You will have 48 stitches.
Round 7
- CH 2 and HDC in the same stitch.
- HDC in the next 5 stitches.
- Work INC in the next stitch.
- Repeat (HDC in next 5 stitches, INC) around.
- SL ST into the first stitch to close the circle.
- You will have 56 stitches.
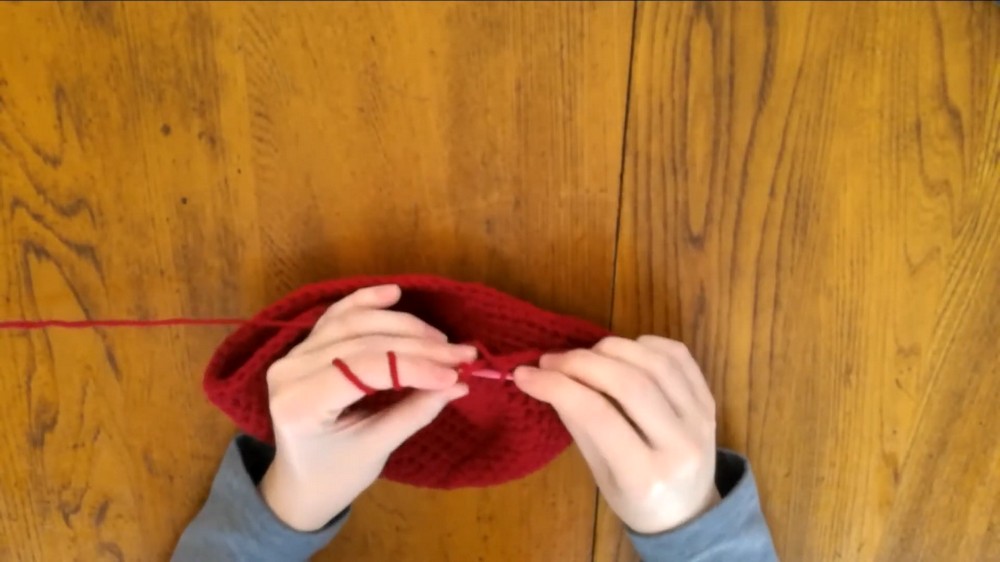
Round 8
- CH 2 and HDC in the same stitch.
- HDC in the next 6 stitches.
- Work INC in the next stitch.
- Repeat (HDC in next 6 stitches, INC) around.
- SL ST into the first stitch to close the circle.
- You will have 64 stitches.
Round 9
- CH 2 and HDC in the same stitch.
- HDC in the next 15 stitches.
- Work INC in the next stitch.
- Repeat (HDC in next 15 stitches, INC) around.
- SL ST into the first stitch.
- You will have 68 stitches.
Rounds 10-17
- CH 2 and HDC all the way around.
- Join each round with a SL ST stitches.
- At the end of Round 17, switch to beige yarn.
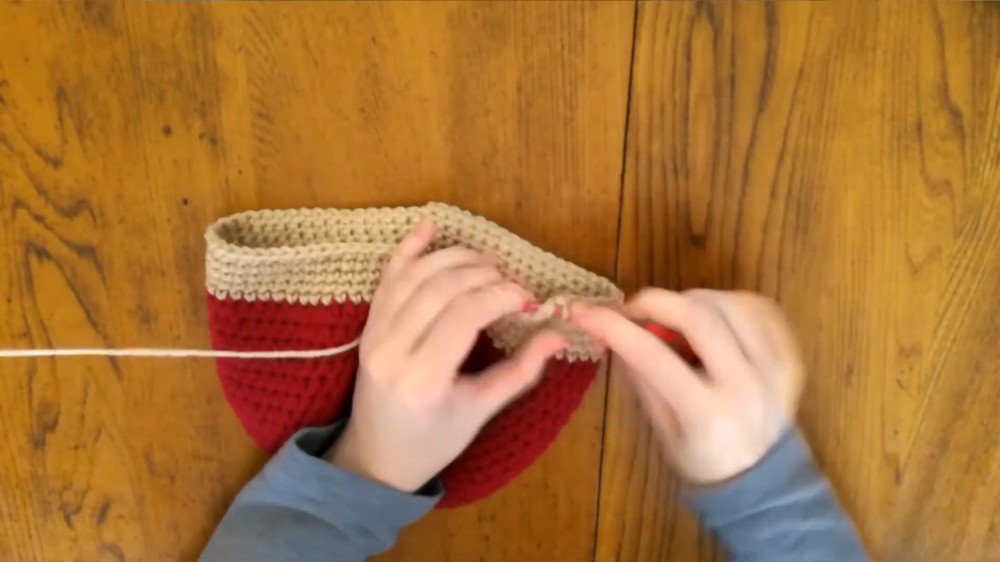
Part 2: Stem
Rounds 18-24
- CH 1 and SC all the way around.
- Join each round with a SL ST.
- At the end of Round 24, finish off and weave in the ends.
Part 3: Spots
Spot Instructions
- Switch to white yarn and smaller hook for crochet spots.
- Round 1: Create a magic circle and work 8 HDCs into it. Join with a SL ST.
- Round 2: CH 2 and work 2 HDCs in each stitch all the way around. SL ST to join. You will now have 16 stitches.
- Round 3:
- CH 2 and work 2 HDCs in the first stitch.
- HDC in the next stitch.
- Repeat 2 HDCs (INC) + 1 HDC pattern all the way around. SL ST to join. You will now have 24 stitches.
- Round 4:
- CH 2 and work 2 HDCs in the first stitch.
- HDC in the next 2 stitches.
- Repeat 2 HDCs (INC) + 2 HDC pattern all the way around. SL ST to join. You will now have 32 stitches.
- Fasten off and leave a long yarn tail for sewing.
- Make 4 spots total (one for the front, one for the back, and two for the sides).
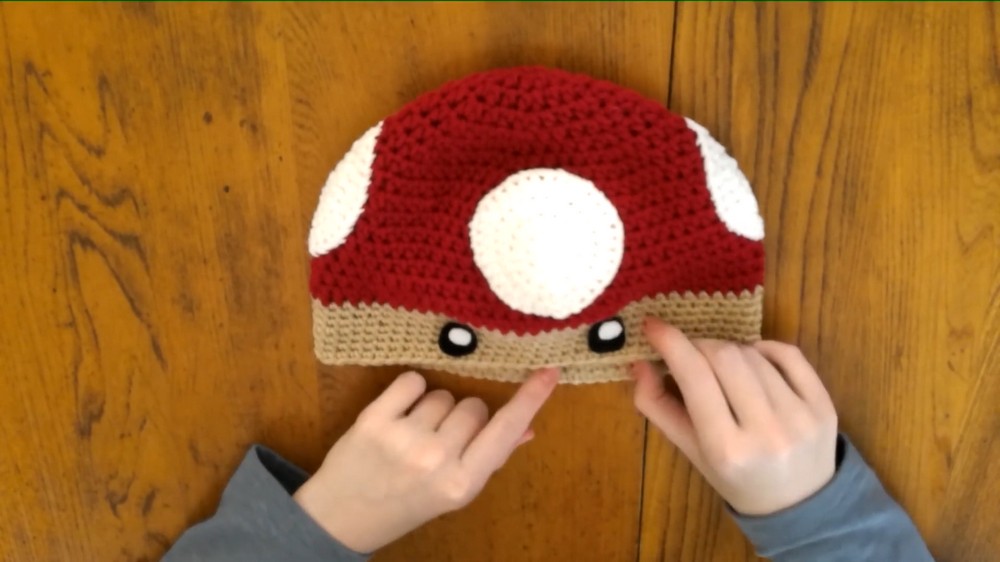
Part 4: Assembly
- Attach Spots:
- Using a tapestry needle and the yarn tails, sew the spots onto the red part of the hat in the desired locations (front, back, and sides).
- Add Eyes:
- Cut two black felt ovals for the eyes.
- Cut two small white circles of felt for the eye highlights.
- Use fabric glue or sew them onto the beige part of the hat near the front.
Conclusion
And there you have your Mario Mushroom Hat! The hat is ideal for cosplay, themed parties, or as a fun DIY craft project. This simple pattern combines basic stitches to create an iconic design that's both fun and functional.