
Cute Free Crochet Duck Pattern for Beginners
Bring charm to your creations with a free Crochet Cute Duck Pattern—perfect for gifts, decor, or fun projects, crafted with ease and personality!
Did you know that crocheting small, adorable animals is one of the most relaxing hobbies out there? This crochet cute duck pattern is both stylish and functional, perfect for adding a playful touch to your surroundings or gifting as an endearing handmade treasure.
Crochet a Charming Duck Step By Step
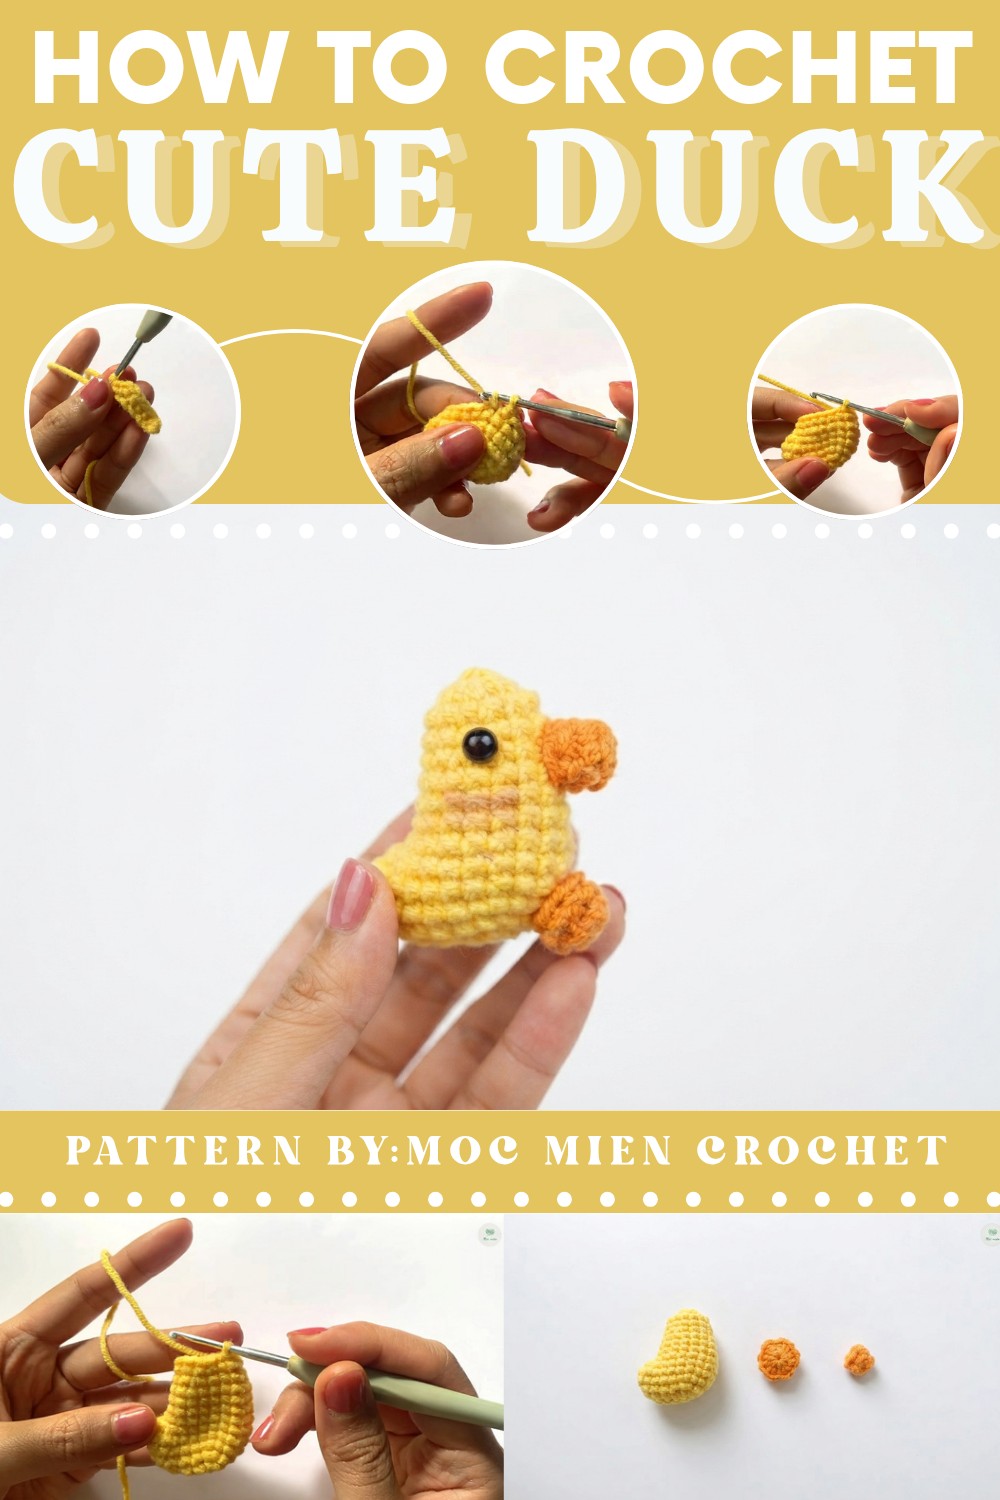
The pattern offers an intuitive approach for both beginners and experienced crocheters, guiding you through stitches and shapes to form a charming duck plushie.
Crochet Duck Pattern Step-by-Step
Materials
- Yarn:
- Yellow or white for the duck’s body.
- Orange for the beak and legs.
- Optional: Pink for cheeks (embroidered or painted).
- Recommended Yarn: 60% cotton, 40% acrylic for durability and softness.
- Hook Size:
- 3 mm crochet hook.
- Stuffing:
- Polyester fiberfill or preferred toy stuffing for shaping the duck.
- Accessories:
- Safety Eyes (6 mm) or embroidered black dots for eyes. (Use embroidery if gifting to babies or small children.)
- Sewing needle for weaving ends.
- Scissors.
- Hot glue (optional, for attaching eyes or other parts).
- Optional Embellishments:
- Blush and brush for rosy cheeks.
- Keychain loop for making the duckling into a keychain.
Gauge
- Gauge is not critical, but tight stitches are recommended to prevent stuffing from showing through. Adjust the hook size to ensure dense stitches.
Finished Size
- Approximate Size: 6–8 cm (2.5–3 inches tall) from bottom to head.
- Sizes may vary depending on yarn thickness and tension.
Special Techniques
- Magic Circle:
- Create the initial round without leaving gaps in the center. Alternatively, chain 2 and work the first round into the second chain.
- Single Crochet (SC):
- Insert the hook into the stitch, pull up a loop, yarn over and pull through both loops on the hook.
- Invisible Decrease:
- Work through the front loops only of two consecutive stitches, yarn over, pull through both loops, then yarn over and pull through the last two loops.
- Color Changes:
- Switch yarns seamlessly by pulling the new yarn through during the final pull-through of a stitch.
- Precision Stuffing:
- Stuff evenly during the final steps to achieve a balanced and firm shape.
Pattern Instructions
Body (Yellow or White Yarn)
R1:
Create a magic circle.
- Work 6 single crochet (SC) into the circle. (6 stitches total)
- Pull the circle tight and join with a slip stitch.
R2:
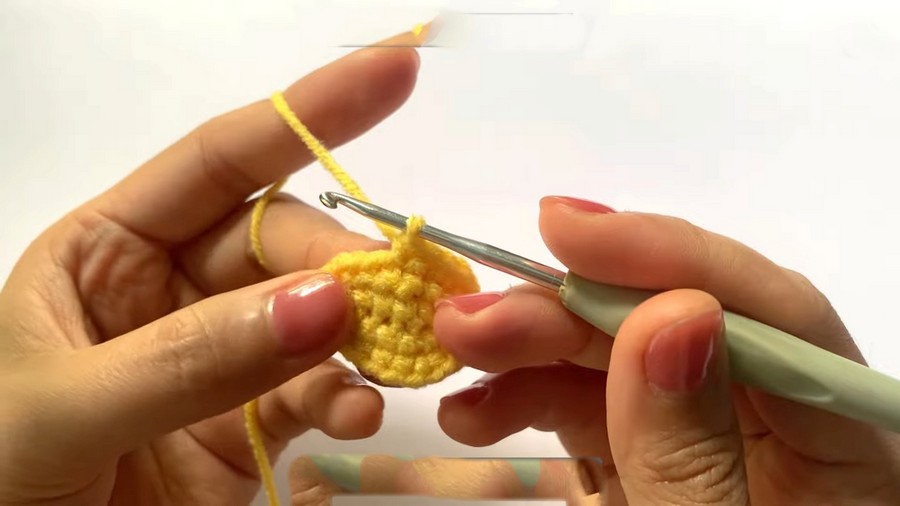
- Work 2 SC in each stitch around (increase in every stitch). (12 stitches total)
R3:
Follow a pattern of SC 1, 2 SC in the next stitch (increase). Repeat 6 times. (18 stitches total)
R4-R6:
- Work SC in each stitch all the way around for 3 rounds. (18 stitches per round)

R7:
- Switch to orange yarn for the neck if desired.
- Follow a pattern of SC in first 3 stitches, decrease over next 2 stitches. Repeat 6 times. (12 stitches total)
R8-R10:
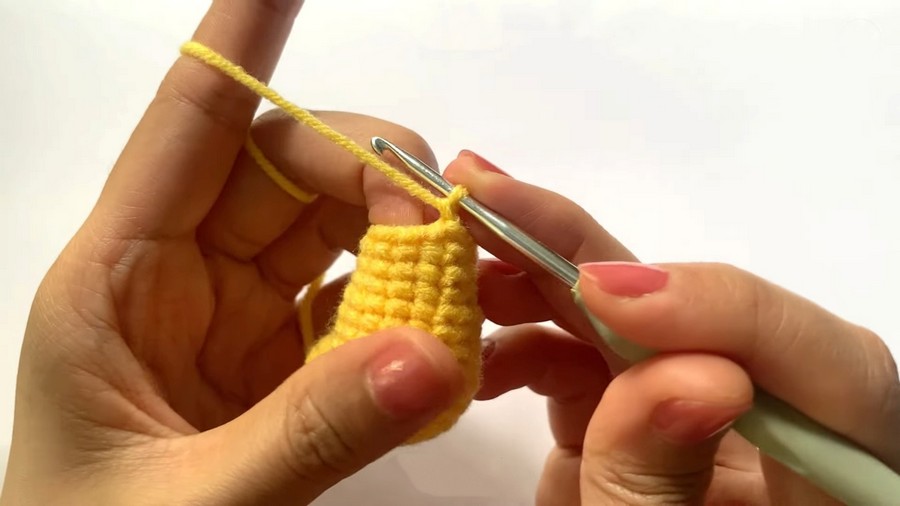
- Work SC in each stitch for 3 rounds. (12 stitches per round)
R11:
- Follow a pattern of SC 3, decrease by working in the front loops of 2 adjacent stitches. Repeat 6 times. (8 stitches total)

R12-R14:
- Work SC in each stitch for 3 rounds. (8 stitches per round)
R15 (Closing the Body):
- Work 6 decreases until the opening closes completely. Insert stuffing before completing decreases. (6 stitches total)
Final Attachment:
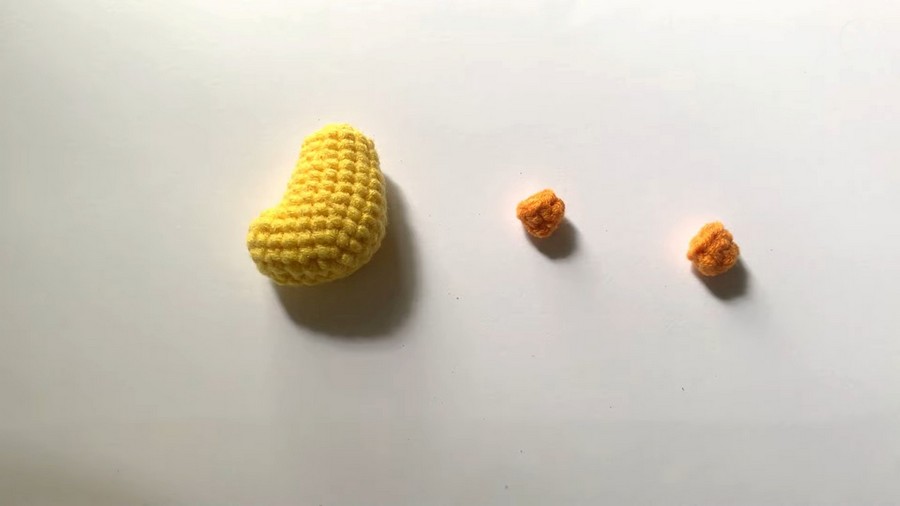
- Thread the yarn tail through the outer loops of the last round and pull tight to close the opening.
- Fasten off and weave the end into the body.
Beak (Orange Yarn)
R1:
Create a magic circle.
- Work 5 single crochet (SC) into the circle. (5 stitches total)
R2:
- Work SC in each stitch for 1 round. (5 stitches total)
Assembly:
- Attach the beak between the eyes at the center of the head using hot glue or sewing.
Legs (Orange Yarn, Make 2)
R1:
Create a magic circle.
- Work 6 single crochet (SC) into the circle. (6 stitches total)
R2:
- Work SC in each stitch for 1 round. (6 stitches total)
Assembly:
- Attach the legs evenly at the bottom of the duck’s body using sewing or glue.

Eyes (Black Yarn or Safety Eyes)
Placement of Safety Eyes:
- Insert 6 mm safety eyes between rows 5 and 6, leaving adequate spacing for the beak.
- Tip: If embroidering eyes, take artistic liberty to shape and size the eyes as desired using black yarn or embroidery thread.
Final Assembly
- Glue the Beak and Legs Onto the Duck’s Body:
- Position the beak directly below the eyes.
- Attach legs at the bottom center of the body.
- Blush and Decoration:
- Dab blush onto the cheeks below each eye for added character.
- Optional Keychain Attachment:
- Thread or glue a keychain loop securely at the top of the duck’s head.

Tips & Customization Ideas
- Playful Colors:
- Try pastel colors for the body and bright hues for the beak and legs to make the project more whimsical.
- Accessories:
- Create tiny scarves or hats for the duck to suit seasonal themes (e.g., holiday or winter-themed accessories).
- Size Variations:
- Use larger chunky yarn and bigger hooks for a larger duckling, or smaller thread for a miniature duckling.
- Safety Measures for Babies:
- Replace safety eyes with embroidered black dots. Avoid accessories that could detach.
Conclusion
Congratulations! You’ve successfully crocheted an adorable little duckling. Whether displayed on a tiered shelf, gifted with love, or turned into a keychain, this duckling is sure to win hearts!