
Free Crochet Easter Bunny Pattern for Fextive Decor
Brighten your home using this Easy Crochet Easter Bunny Pattern that's perfect for gifting, decor and to make a lovely handmade spring toy.
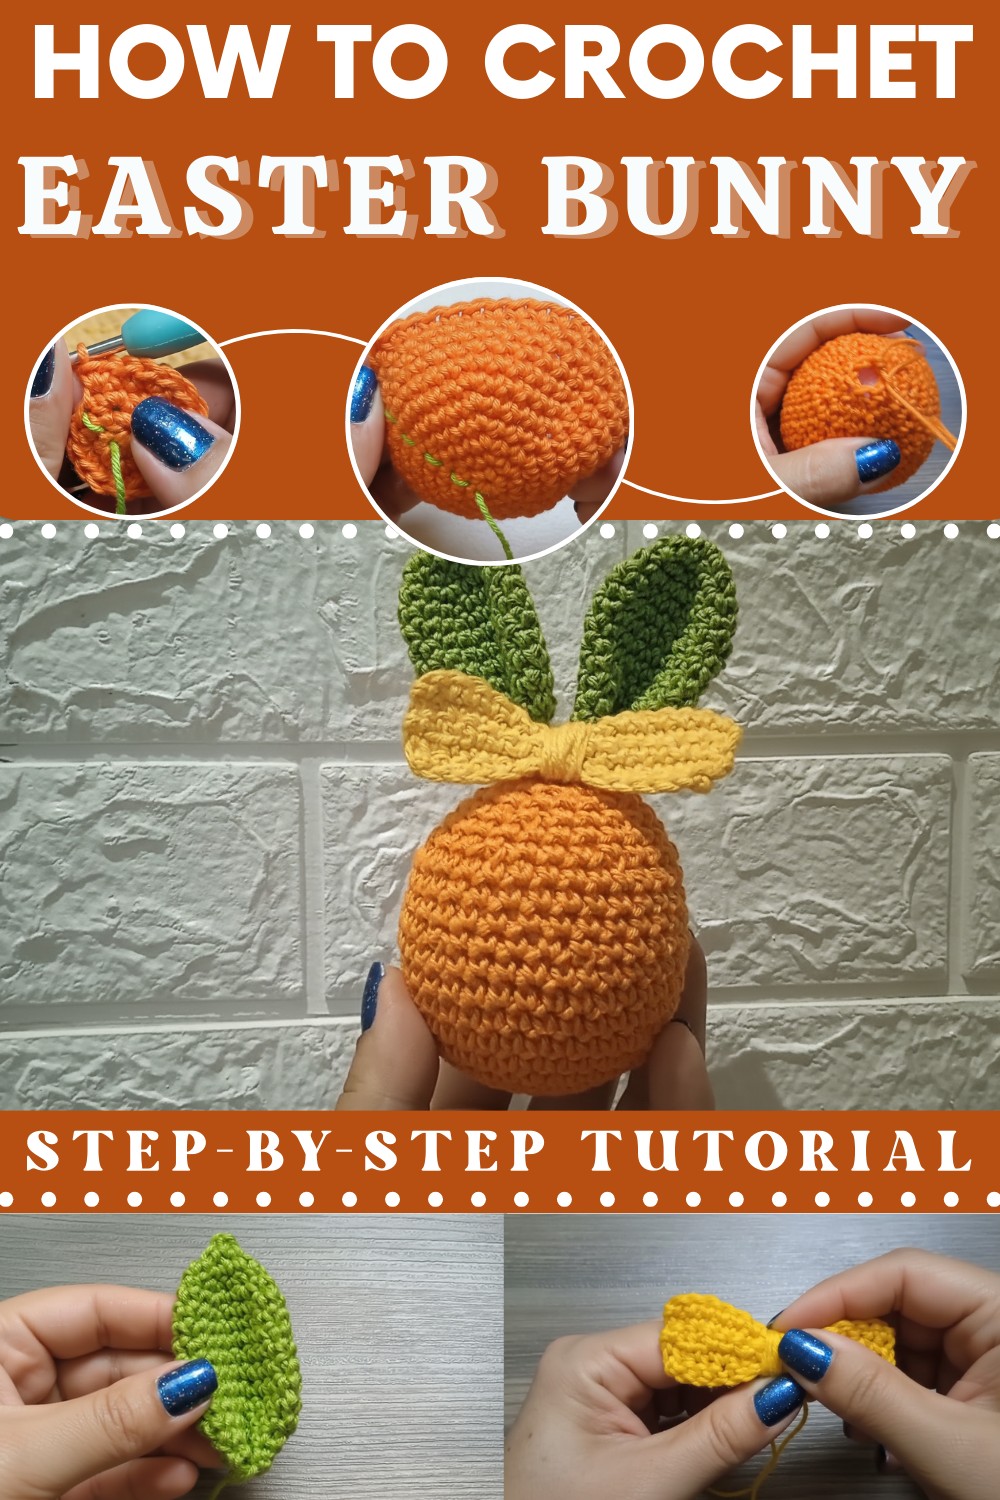
Springtime brings a sense of renewal, joy, and plenty of creative opportunities, especially for crafters. A Free Crochet Easter Bunny Pattern is the perfect way to add charm to your seasonal project. This adorable bunny can be customized in any size, color, or style, making it ideal as a thoughtful Easter gift, a charming basket stuffer, a festive decoration, or even a playful toy for little ones.
Quick Guide to Free Crochet Amigurumi Bunny for Easter
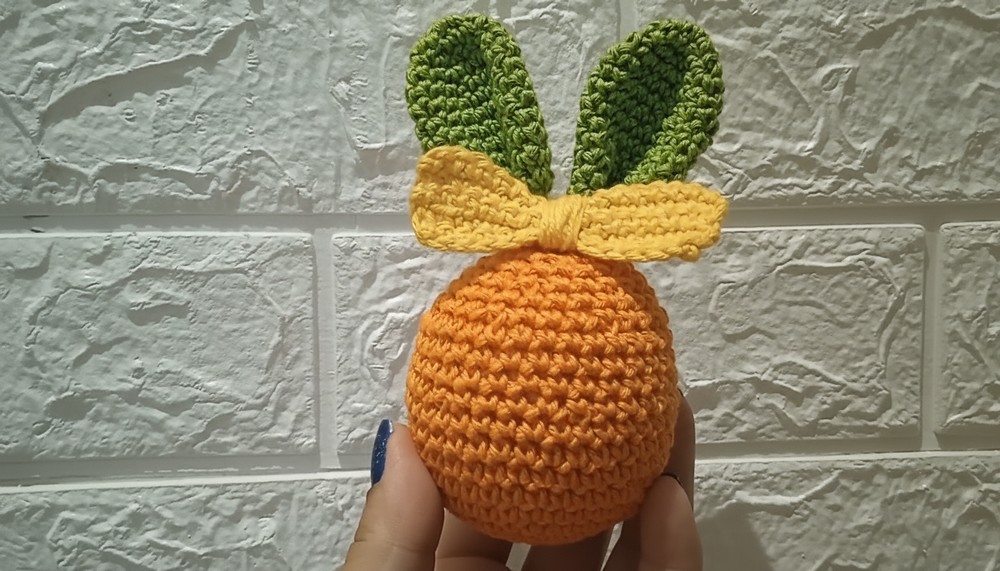
Crocheting the bunny allows you to focus on fun details like floppy ears, a soft round tummy, and tiny accents like bows or ears. Whether you're working on a meaningful handmade gift or creating décor that celebrates the season, this project offers rewarding results. With easy-to-follow instructions, it’s perfect for both beginners and experienced crocheters.
Crochet Easter Bunny with Bow
Special Features
- Bunny Ears: Simple yet lifelike bunny ears attached to the egg.
- Carrot-Colored Egg: The orange-colored base captures the festive spirit of Easter.
- Bow: A small and sweet touch that adds charm to the bunny.
- Amigurumi Style: Compact, firm, and seamless stitches.
- Customizable: You can adjust the colors and embellishments to your preference.
Difficulty Level
Beginner to Intermediate
This pattern uses basic stitches, including magic circles, single crochets (sc), increases, decreases, and minimal sewing for assembly. Beginners can follow this step-by-step guide, while intermediate crocheters will find it a quick and enjoyable project.
Materials Needed
- Yarn:
- Orange (Carrot Color) – for the egg base.
- Green or Beige – for the bunny ears.
- Any color (e.g., yellow) – for the bow.
- Hook Size:
- 2.5mm for smaller details (like the bow).
- 3mm hook for the larger parts (egg and ears).
- Tapestry Needle: For sewing and finishing.
- Stuffing Material: Polyfill or preferred stuffing.
- Scissors: For trimming excess yarn.
- Stitch Marker: To mark the beginning of rows.
- Optional: Safety eyes or embroidery thread for face details (if you wish to add additional features).
Step-by-Step Detailed Crochet Pattern
Part 1: Crochet the Egg Base
- Start with a magic ring:
- Wrap yarn twice around your index finger.
- Insert the hook under the loops, pull through, chain one, and secure.
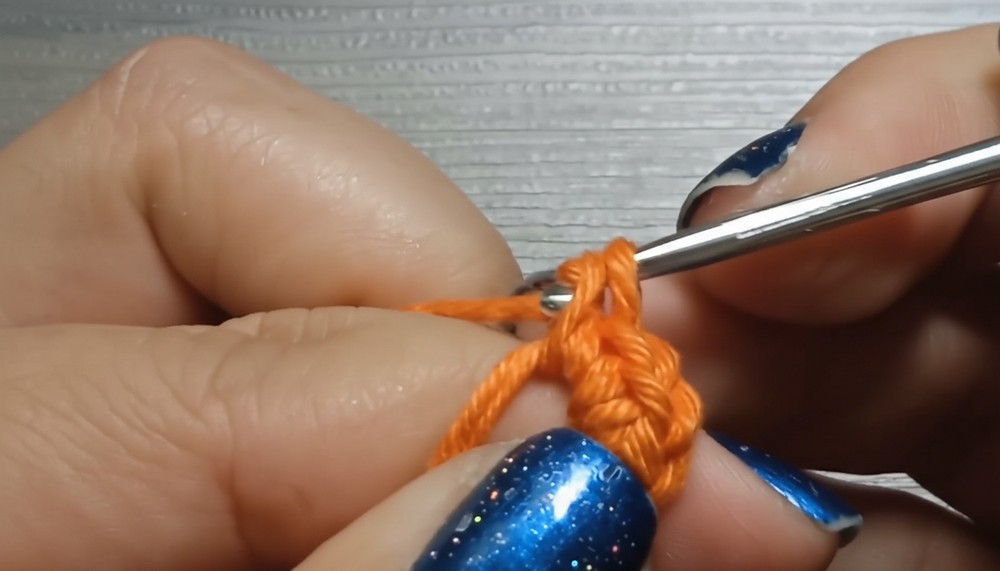
- Round 1: Make 6 single crochets (sc) into the magic ring. Pull the tail tightly to close the ring. (6 sts)
- Round 2: Work 6 increases (2 sc in each stitch). (12 sts)
- Round 3: (1 sc, 1 increase) repeat around the circle. (18 sts)

- Round 4: (2 sc, 1 increase) repeat around the circle. (24 sts)
- Round 5: (3 sc, 1 increase) repeat. (30 sts)
- Round 6: (4 sc, 1 increase) repeat. (36 sts)
- Rounds 7–11: Work 5 rounds of 36 sc (no increases). Use your stitch marker to track the rows.
- Round 12: (4 sc, 1 decrease) repeat. (30 sts)

- Rounds 13–15: Work 3 rounds of 30 sc. Continue shaping the egg.
- Round 16: (3 sc, 1 decrease) repeat. (24 sts)
- Round 17: Work 1 round of 24 sc.
- Round 18: (2 sc, 1 decrease) repeat. (18 sts)
- Round 19: Work 1 round of 18 sc.
- Round 20: (1 sc, 1 decrease) repeat. (12 sts)
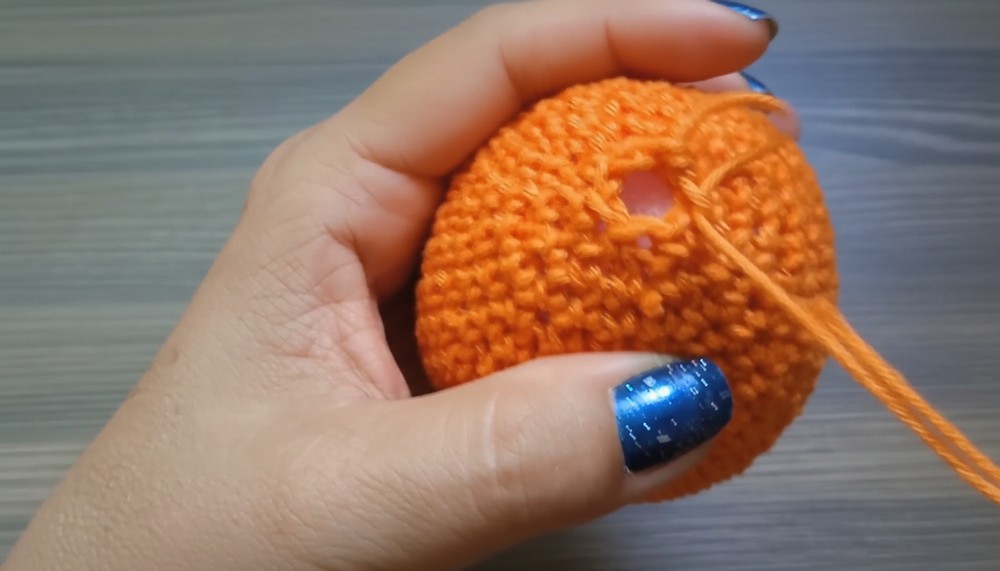
- Round 21: (6 decreases) to close. Use a tapestry needle to sew the opening shut for a clean finish.
Tip: Add stuffing before the decreases become too narrow.
Part 2: Bunny Ears
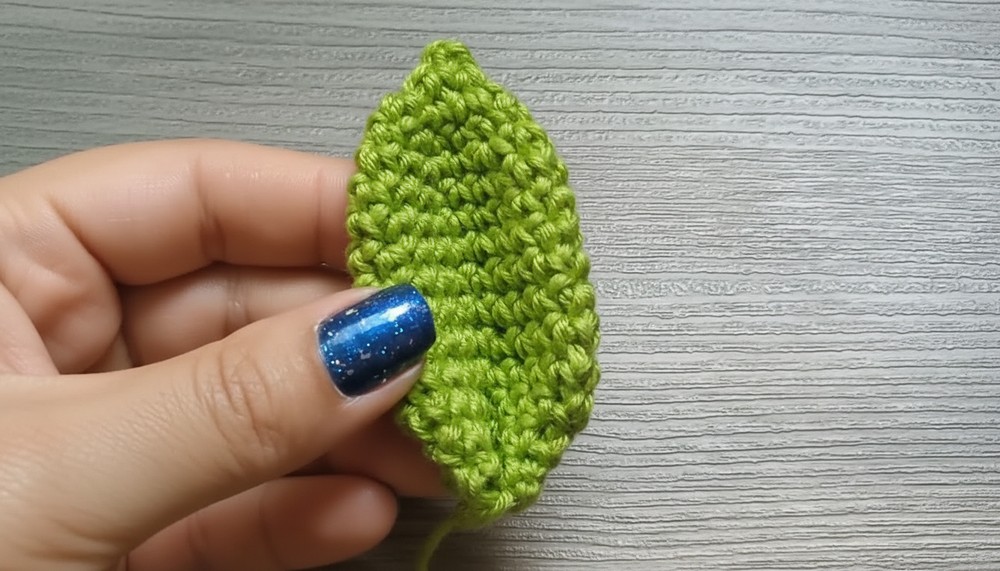
- Magic ring: Create a magic ring and make 6 sc into the ring.
- Round 1: Work 6 increases (2 sc per stitch). (12 sts)
- Round 2: Work 1 round of 12 sc. (No increases)
- Round 3: (1 sc, 1 inc) repeat. (18 sts)
- Rounds 4–12: Work 8 rounds of 18 sc (point by point rows).
- Round 13:
- Make 2 decreases at the start.
- Then work 14 sc to the end.
- Round 14:
- Repeat the decrease process — start with 2 decreases, then 12 sc.
- Fasten Off: Leave a tail for sewing.
Repeat to make two ears.
Part 3: The Bow
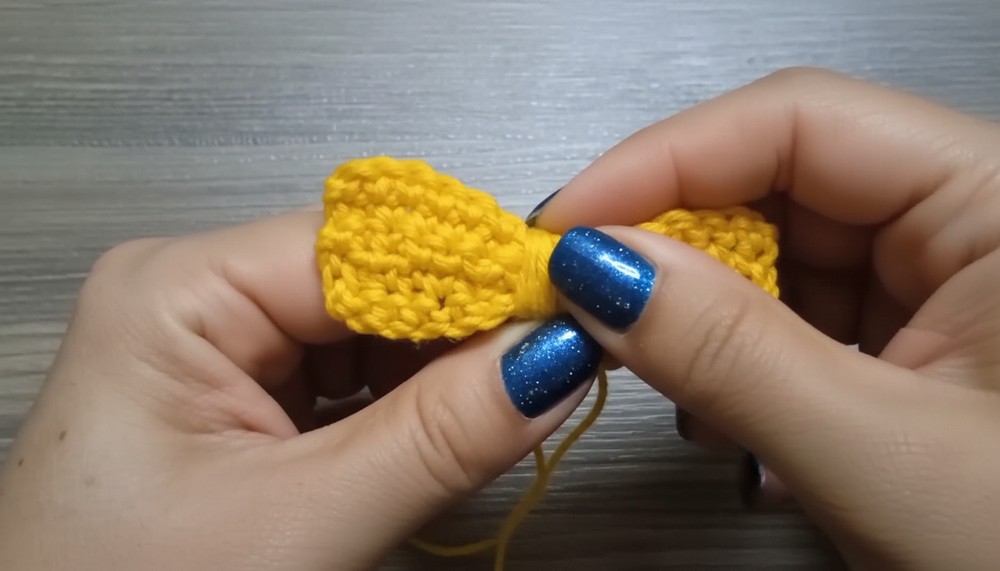
- Start with a chain of 16.
- In the 3rd chain from the hook, begin working 15 sc across.
- Turn and repeat 15 sc for 4 more rows to create a slight rectangle.
- Fasten off and leave a long tail.
- Fold the piece in the middle and secure by wrapping your yarn around the center several times until it forms a neat bow shape.
- Attach the bow to your bunny using a tapestry needle.
Assembling the Bunny
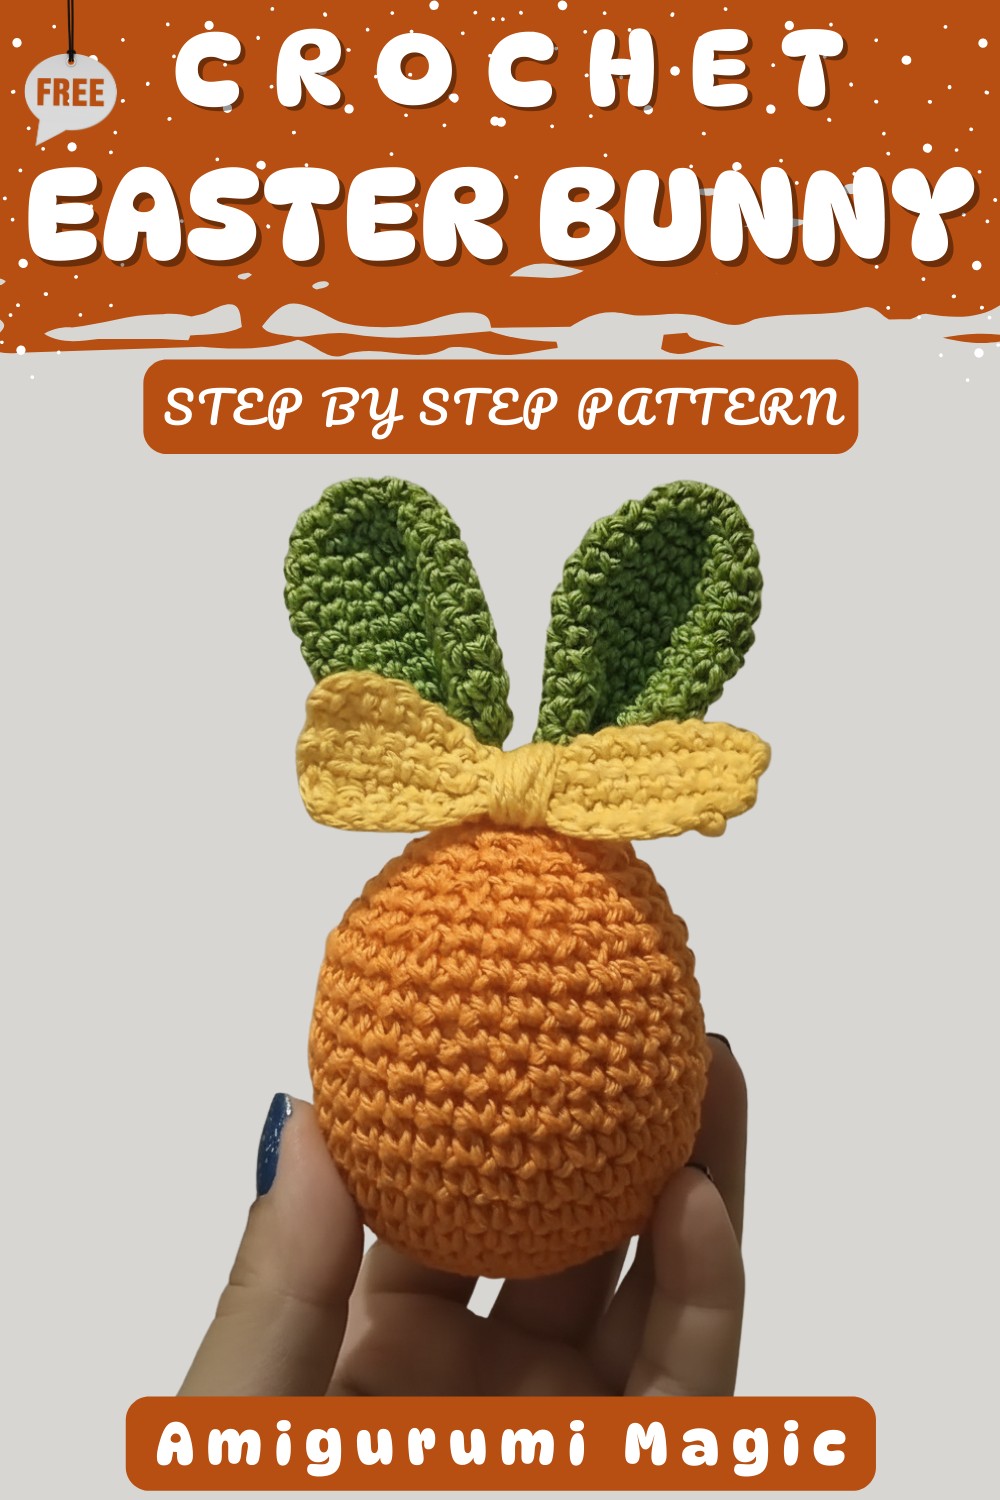
- Attach the Ears:
- Using the tails, sew each ear securely to the top of the crochet egg. Position the ears close together or slightly apart, depending on your preference.
- Insert the needle into the egg base and secure the ear from the bottom up for a seamless look.
- Attach the Bow:
- Thread the bow onto the bunny's neck or place it wherever you wish for decoration.
- Secure it tightly at the back with a knot and weave in the yarn ends.
Tutor’s Suggestions
- Stuffing: Use enough stuffing to make the bunny firm but avoid overstuffing to maintain flexibility for shaping the bunny’s form.
- Marker Usage: Always use a stitch marker to avoid losing track of rounds.
- Custom Colors: Feel free to swap the carrot color or bow shade to match the theme of your Easter decor.
Uses
- Easter Decoration: Place it on tables or use it in Easter baskets.
- Gift: A handmade item for children or friends during Easter.
- Nursery Decor: Cute and soft, making it an ideal addition to baby nurseries.
Pro Tip
For a cleaner finish, weave in all yarn ends securely and hide them inside the amigurumi pieces. This ensures the final project looks seamless and professional.
Conclusion
This Easter Bunny with a carrot-themed egg base and bow is a delightful and customizable project perfect for celebrating the festive season. Whether you're a beginner or experienced crocheter, this pattern is sure to bring joy and creativity to your Easter preparations. Its unique design and handmade charm make it a great choice for gifts, decorations, and keepsakes.