
Fun Crochet Pumpkin Pincushion Pattern Full of Seasonal Charm
Tidy your sewing space with charm using the Free Crochet Pumpkin Pincushion Pattern, a cute handmade accessory perfect for gifts and practical use.
Autumn afternoons often bring a quiet charm to the home, with the warm scent of cinnamon and the gentle rustle of leaves outside. During one cozy sewing session, it became clear that a practical yet decorative companion was missing on the workspace, a small object that could keep pins organized while adding a seasonal touch. The Free Crochet Pumpkin Pincushion pattern fulfills this need beautifully. Its plump, rounded shape mimics a real pumpkin, bringing a subtle festive spirit to your sewing table while providing a safe and convenient place to hold pins and needles.
Charming Crochet Pumpkin Pincushion Pattern for Cozy Corners

Perfect for both novice and experienced crocheters, this pattern offers clear, step-by-step instructions, making it simple to create a functional and charming accessory. The pincushion’s compact size allows it to sit neatly on any surface, keeping pins within easy reach and reducing clutter.
Beyond its practicality, the textured crochet stitches and soft filling create an inviting tactile experience, making it both useful and visually appealing. Its bright, cheerful look can also enhance crochet spaces, sewing corners, or even act as a thoughtful handmade gift for fellow sewing enthusiasts. This pumpkin pincushion blends utility with seasonal charm, transforming a simple tool into a delightful accent that brings warmth and efficiency to any creative space.
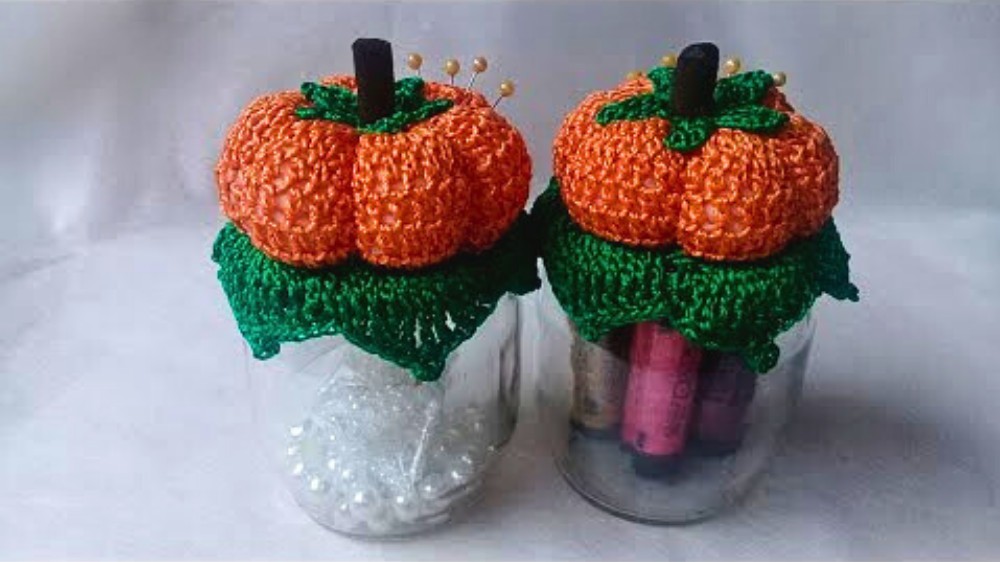
Materials
- Silk Thread: Thick silk thread in carrot orange (texture 288) and flag green (texture 288)
- Acrylic Blanket/Stuffer: For stuffing the pincushion
- Brown Felt: Measuring 2 cm wide and 5 cm long for the pumpkin cabin
- Basic Sewing Tools: Lighter, scissors, sewing needle
- Crochet Hook: Size 0.1.75
- Tomato Paste Cup: (optional) Used as the base for the pincushion
- Hot Glue: For assembling the pieces
Difficulty Level
This project is suitable for beginners and intermediate crafters. The video provides clear, step-by-step instructions, making it easy to follow along even if you are new to sewing and crocheting.
Step-by-Step Instructions
Step 1: Preparing the Workspace and Materials
- Gather all required materials and tools.
- Ensure your workspace is organized.
Step 2: Starting the Foundation
- Begin with the orange thread and create a loop on the needle.
- Make 50 chains, ensuring they don't twist.
- Join the first chain to the last with a slip stitch.
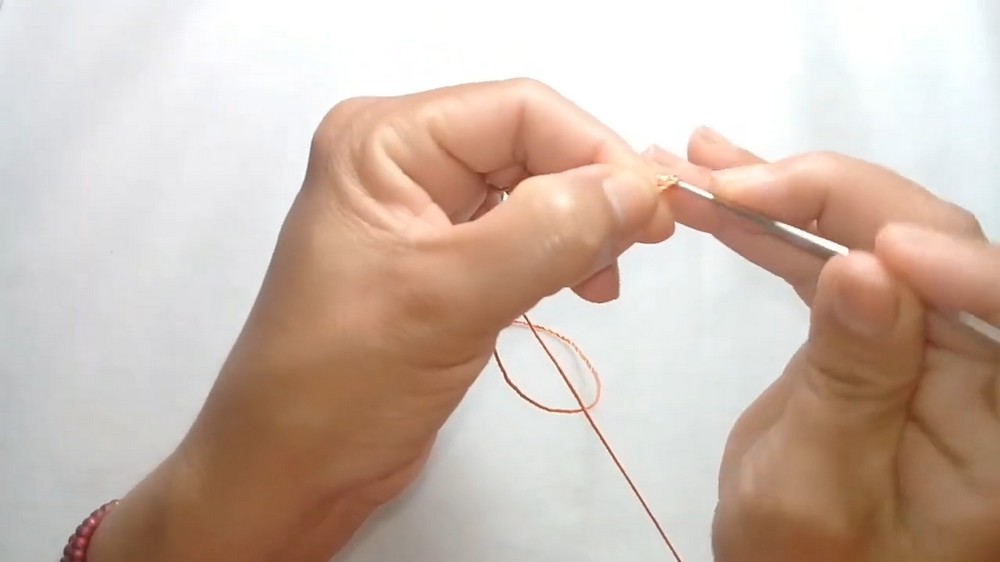
Step 3: Building the Pumpkin Shape
- Work half stitches all around the chain, moving needle over the base stitch.
- Complete 10 rows of half stitches, with slip stitches at the end of each row.
- Cut the yarn, leaving a long thread for closing the work.
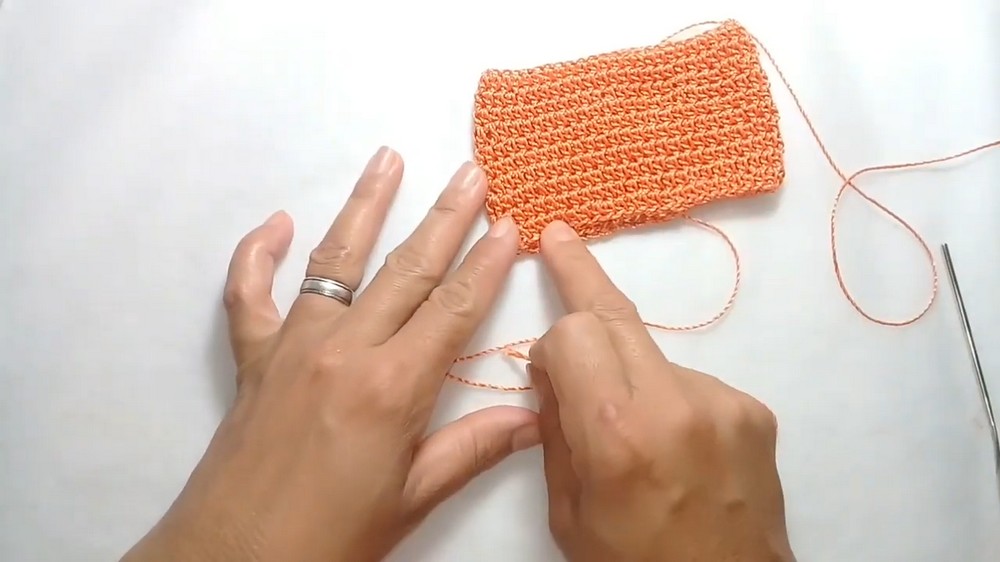
Step 4: Closing and Shaping the Pumpkin
- Use the threaded needle to baste around the pumpkin, then pull to tighten.
- Add the stuffing bit by bit until the pumpkin is full and firm.
- Continue to baste and tighten, closing the top of the pumpkin similarly.

Step 5: Creating and Attaching the Leaves
- Using the green thread, create a magic ring and work triple crochet stitches and picots (spikes) for each leaf.
- Make five leaves following the video’s detailed instructions.

Step 6: Final Assembly
- Attach the leaves to the pumpkin with hot glue.
- Make a small stem out of brown felt and secure with glue.
- Optionally, place the completed pumpkin in the tomato paste cup for added stability and aesthetic.

Special Features
- Versatility: The design allows for customization with different threads, decorations like pearls, and various base options.
- Functional & Decorative: Not only does it serve as a pincushion, but it also adds a decorative element to your workspace.
- Eco-friendly: Using recycled items like a tomato paste cup adds a sustainable aspect to the project.
Tutor’s Suggestions
- Take your time when creating the chains and half stitches to ensure uniformity.
- Feel free to personalize the pincushion with different colors or decorative elements like beads.
- Utilize the tomato paste cup to store additional items inside.
Uses
- Sewing Accessory: Perfect for holding pins and needles.
- Decorative Item: Makes a charming addition to your sewing area or as a handmade gift.
- Eco-friendly Craft: Utilizing recycled materials for a thoughtful and sustainable craft.
Pro Tip
Practice the triple crochet stitches and picot technique on scrap thread before starting to ensure your leaves turn out perfect.
Conclusion
This pincushion tutorial is an excellent project for anyone looking to add a handmade touch to their sewing tools. The step-by-step guidance makes it accessible to all skill levels, and the finished product is both beautiful and functional. Follow the instructions and create your personalized pumpkin pincushion to enjoy a delightful addition to your sewing accessories.
Final Words
If you enjoyed this tutorial, don't forget to subscribe to the channel, leave a like, and click the notification bell to stay updated with future videos.