
Fun Crochet Mini Mouse Finger Pattern That Captures Attention
Nibble into cuteness with the Free Crochet Mini Mouse Finger Pattern, a tiny handmade creation perfect for gifts, décor, or playful finger fun anywhere.
Vibrant in its simplicity and playful in its proportions, a tiny mouse emerges with personality and charm, ready to perch upon a fingertip or charm a bag. The Free Crochet Mini Mouse Finger Pattern offers an inviting project full of hands‑on delight, showing how each loop turns into a soft‑textile friend.
Tiny Crochet Mini Mouse Finger Pattern With Big Personality
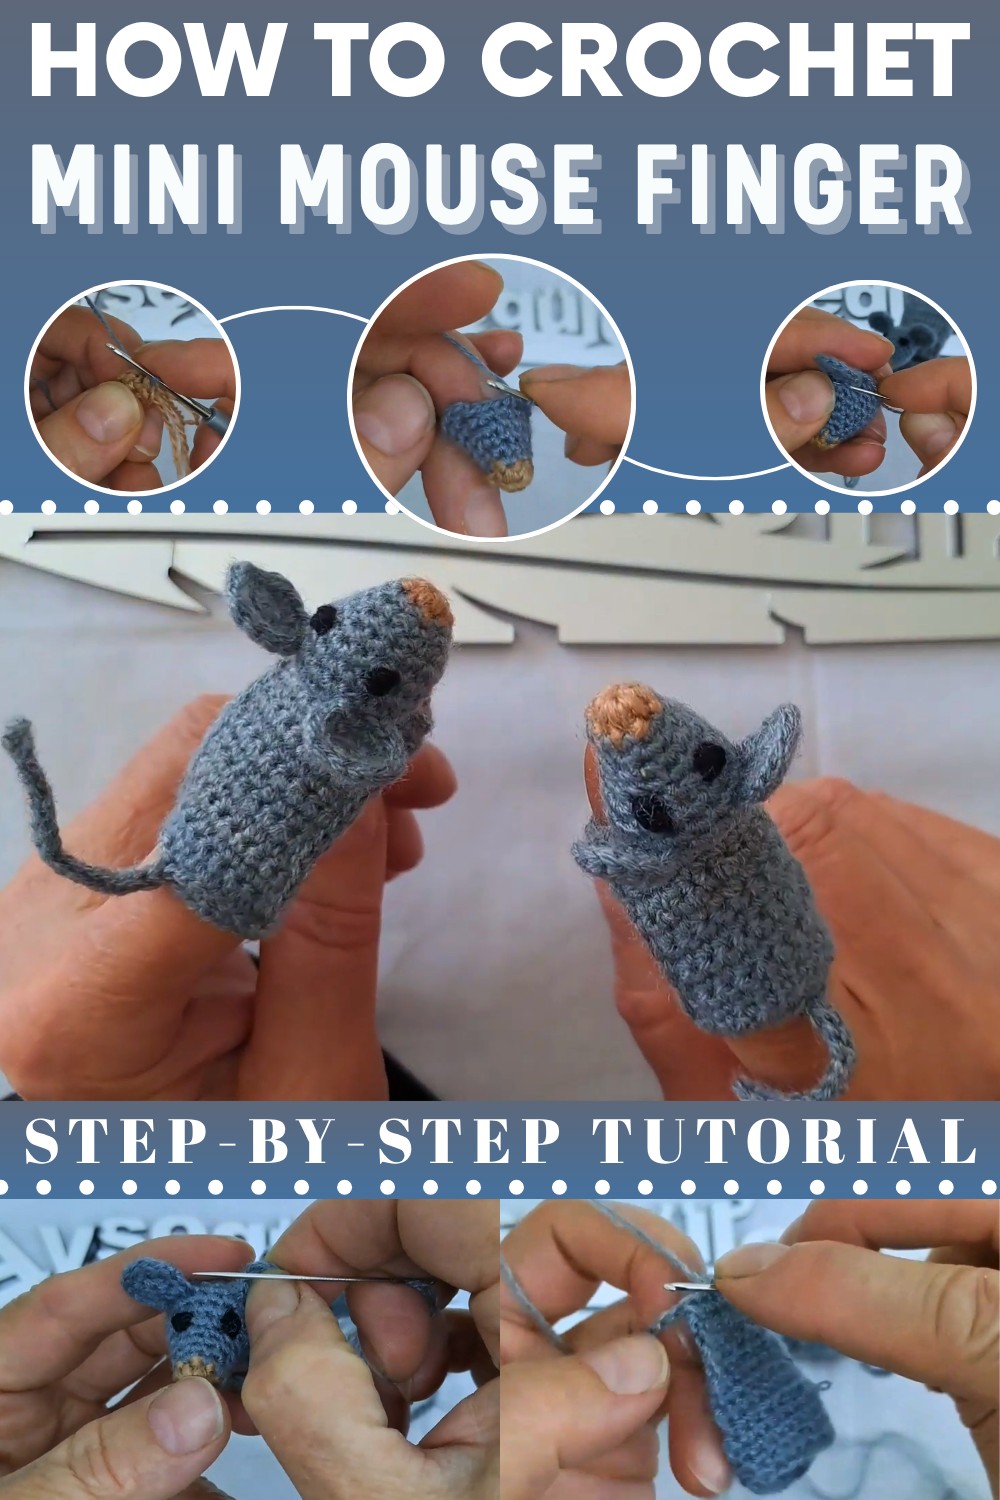
Beyond the adorable result, this mini‑mouse offers tangible benefits: refining your crochet shaping skills, practicing consistent tension, and mastering small‑scale assembly with precision. The final figure brings joy in its simplicity, invites tactile interaction, and adds a handmade accent to daily life, a tiny delight that balances whimsy and skill beautifully.

Skill Level
Beginner to Intermediate – This pattern is simple but requires familiarity with the magic ring, single crochet (sc), increasing stitches, decreasing stitches, and basic assembly techniques.
Finished Size
- Approximately 5 cm x 3 cm (2 in x 1.2 in) depending on yarn weight and tightness of stitches.
- Sized to fit a child’s finger.
Gauge
Gauge is not critical; however, using tightly stitched single crochets ensures that the finishing looks clean and stuffing remains inside.
Materials
- Yarn:
- Thin yarn (e.g., "lif" yarn or any lightweight yarn).
- Colors needed:
- Gray yarn (main body, head, ears, tail).
- Black yarn (eyes).
- Colors needed:
- Choose thinner yarn for compact and clean results.
- Thin yarn (e.g., "lif" yarn or any lightweight yarn).
- Crochet Hook:
- Recommended: approx. 2.5 mm hook (a similar size works well for tight stitches).
- Stuffing Material:
- Fiberfill or soft stuffing (small amount for head).
- Tapestry Needle: For assembly and closing final rows.
- Scissors: For cutting yarn ends.
- Optional: Stitch markers for tracking rounds.
Key Abbreviations (US Terminology)
- ch: Chain.
- sc: Single Crochet.
- inc: Increase (2 single crochets in the same stitch).
- dec: Decrease (SC2TOG, single crochet two together).
- sl st: Slip Stitch.
- magic ring: Adjustable loop from which crocheting begins.
Pattern Instructions
Part 1: Head
Rounds 1–2 (Setup for the Head):
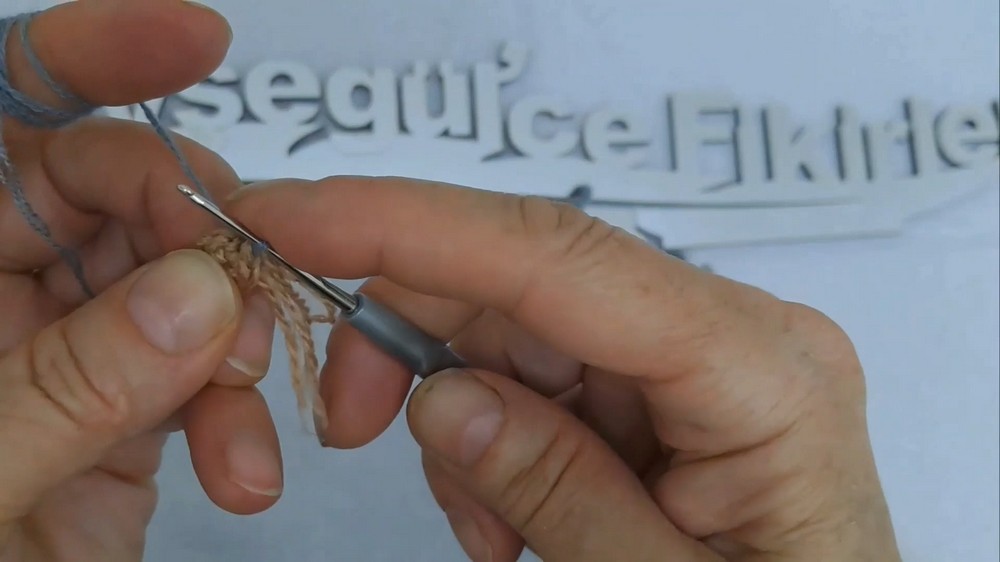
- Round 1: Begin with a magic ring. Work 6 sc into the ring. Pull the ring tight. (6 stitches)
- Round 2: Work 1 sc into each stitch. Do not increase yet, to keep the nose slender. (6 stitches)
Rounds 3–5 (Forming the Nose):
- Continue working 1 sc in each stitch for 2 more rows. (This ensures the mouse nose is longer compared to shorter variations.) (6 stitches)
Rounds 6–8 (Increasing the Head):
- From Round 6, start increasing:
- Work sc into the first 3 stitches.
- To increase, add 2 sc in the 4th stitch. Repeat this pattern around the row. Total 3 increases per round. (9 stitches)
- Round 7: (4 sc, inc) repeat the increasing logic with an additional stitch gap between increases, bringing the total to 12 stitches.
- Round 8: Continue the increases as follows: (5 sc, inc) round. Results in 18 stitches.
Rounds 9–10 (Building the Full Head):
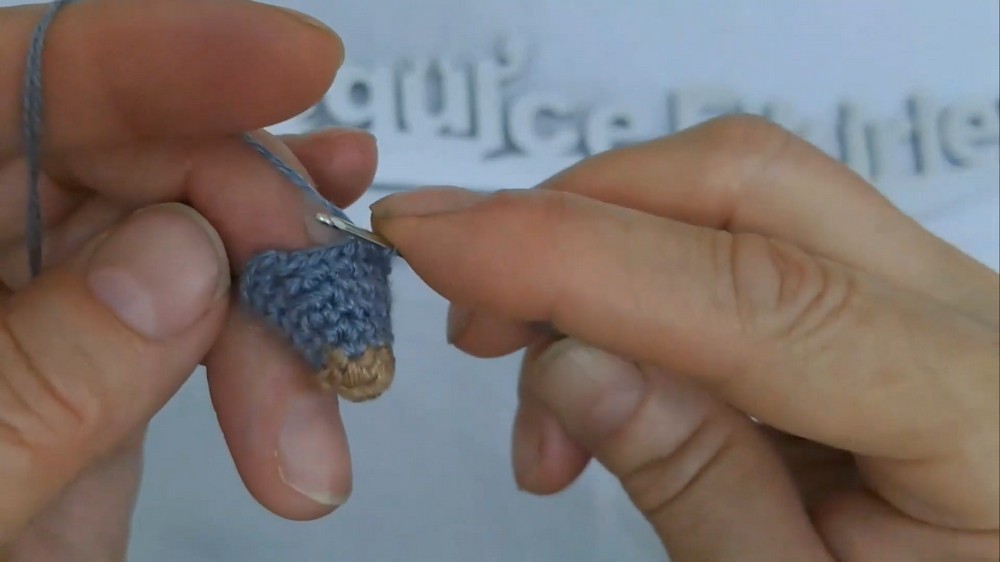
- Work 1 row of regular sc (no increases). Use 18 stitches around.
- Round 10: Again, work 18 sc.
Rounds 11–12 (Decreasing to Shape Head):
- Begin decreasing for the back of the head: (1 sc, dec) repeat across the row. (12 stitches)
- Lightly stuff the head at this stage using fiberfill.
- Round 12: (dec in every stitch). Close the rows completely using sl st, leaving the tail for sewing.

Part 2: Ears
- Round 1 (Base Ear): Start with a magic ring, work 5 sc into the ring, close tightly. (5 stitches)
- Round 2: Work 2 sc in each stitch to increase. (10 stitches)
- Round 3: To shape the edge, work a sl st around the ear, leaving a gap at the bottom edge.
Part 3: Body
Finger Base Setup:
- Start with 20 chains. Adjust the number of chains depending on the finger size of the child.
- Connect the ends of the chain with a sl st, forming a loop. (20 stitches)

Rounds 1–6 (Body Form):
- Round 1: Work sc around the loop of chains to form the base. (20 stitches)
- Rounds 2–4: Work 10 sc to form the finger hole and sl st across the remaining body areas.
Tail:
Attach the yarn to the body base and chain out: 10–12 chains, depending on desired tail length. Work sl st down the length of the chain to keep it slender and neat.
Part 4: Assembly & Final Details
Assembly:
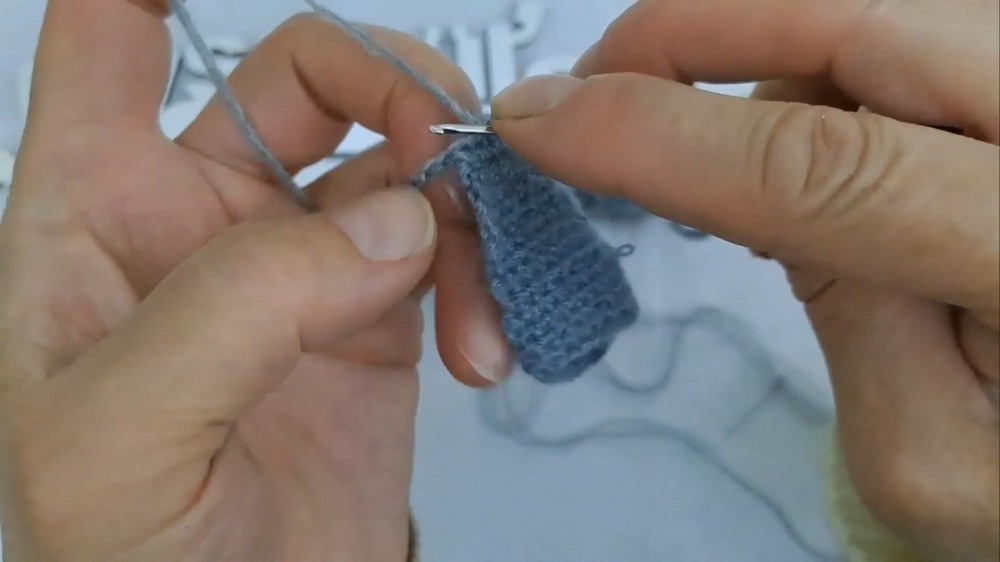
- Sew Ears: Sew each ear securely to the top sides of the head, ensuring symmetrical placements. Use small stitches for firmness (important for safety around children).
- Attach Head to Body:
- Place the head centered on the finger ring body.
- Position the head with the nose pointing outward.
- Use a tapestry needle to securely sew the head, ensuring symmetry.
Facial Embroidery:
- Eyes: With black yarn, embroider simple eyes near the nose, ensuring even spacing between them.
- Nose Details: Add a triangular or small stitch for the nose tip beneath the eyes.
Customization Ideas
- Different Animals:
- Use the same body structure to create other finger animals like cats, dogs, bunnies, or birds by adjusting feature shapes and colors.
- Example: Longer ears for rabbits, triangular ears for cats.
- Variety in Colors:
- Experiment with multi-colored yarn for a playful appearance!
- Textured Yarn:
- Plush yarn can give a more unique tactile feel, especially for children.
Conclusion
Your finger puppet mouse is complete! This charming, interactive toy is great for entertaining kids during playtime or story reading sessions. Its compact design ensures portability, and the pattern allows flexibility for different shapes and features.
Tips to Maintain Your Crochet Mouse
- Care:
- Handwash the puppet gently using mild soap and water if needed.
- Ensure to dry completely before storage.
- Safety for Kids:
- Double-check assembly to ensure pieces like ears and facial embroidery are tightly secured.
- Gift Packaging: Present in a small, colorful box with additional finger puppets for a memorable gift.