
Fun Crochet Brachiosaurus Pattern for Tiny Dino Fans
Play with a whimsical Crochet Brachiosaurus Pattern that brings tiny dino friends to life perfect for gifts toys and playful handmade charm every day.
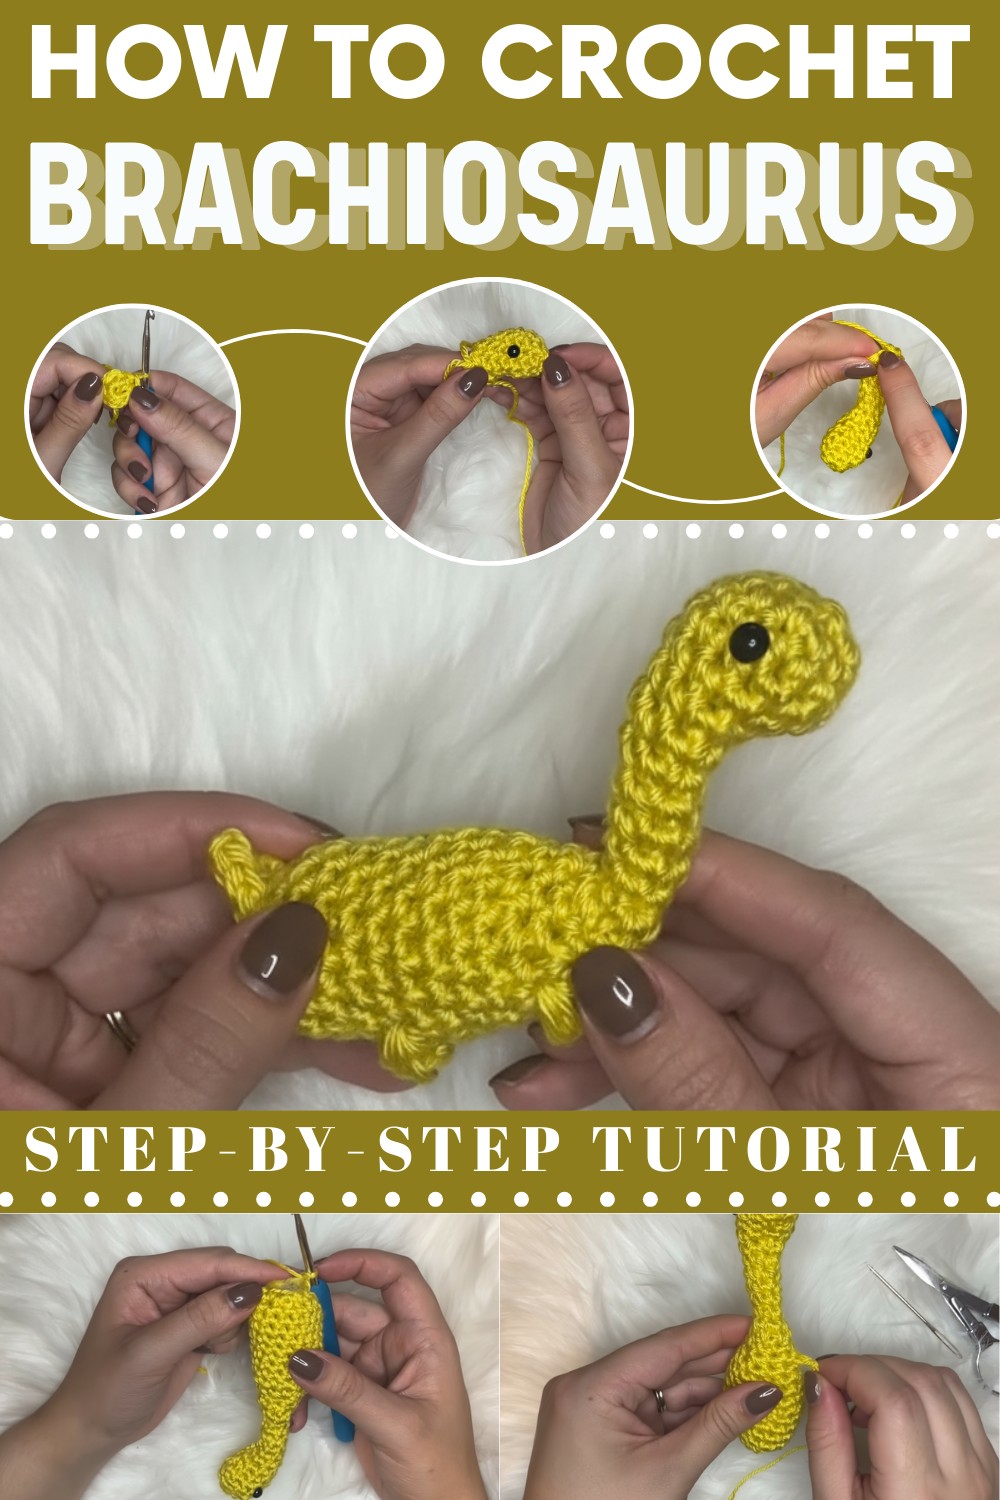
There’s something magical about bringing a beloved dinosaur to life with just a hook and yarn. Using a Free Crochet Brachiosaurus Pattern, you can create a charming, long-necked dinosaur that’s perfect for kids, decor, or gifting to a dino-loving friend.
This design typically features an adorable mix of soft curves and sturdy limbs, making it both cuddly and visually striking. Whether you go for classic earthy tones or bright, playful colors, the pattern allows endless customization to suit your creativity.
Crochet a Brachiosaurus That's Perfect for Kids or Dino Décor
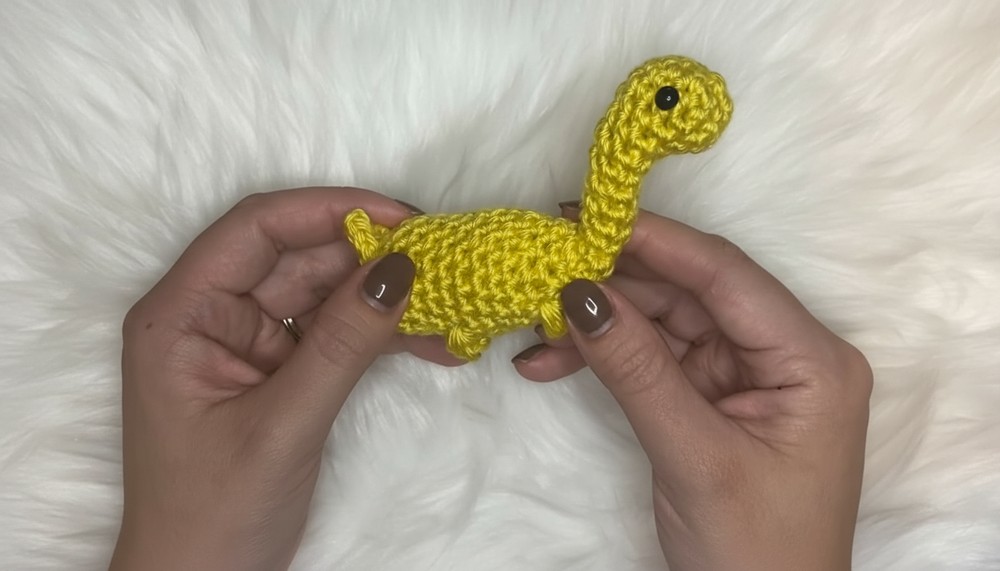
Ideal for nurseries, playrooms, or even as a nostalgic keepsake, the Brachiosaurus is a versatile crochet project that’s full of personality. The instructions are beginner-friendly yet detailed enough to keep experienced crocheters engaged.
Crochet No-Sew Brachiosaurus Amigurumi
Key Features:
- No sewing required: All parts are crocheted directly onto the body.
- Customizable: Choose your favorite yarn colors to personalize your dino.
- Kid-friendly: A wonderful handmade gift for little dino lovers.
Materials Required
Here are the materials you’ll need to create this project:
- Yarn: 10g of worsted weight yarn (color of your choice for the dino).
- Crochet hook: 4mm (or size G).
- Stuffing: Polyfill or toy stuffing.
- Safety eyes: One pair.
- Scissors.
- Tapestry needle.
Abbreviations
Below are the crochet abbreviations used in this pattern:
- MR: Magic Ring.
- sc: Single Crochet.
- inc: Increase (2 single crochets in 1 stitch).
- dec: Decrease (single crochet two stitches together).
- ch: Chain.
- sl st: Slip Stitch.
- st(s): Stitch(es).
- hdc: Half Double Crochet.
Level of Difficulty
- Beginner to Intermediate: While basic crochet stitches are used, the shaping techniques (e.g., strategic increases and decreases for curves) and no-sew technique may pose a slight challenge for beginners.
Step-by-Step Pattern
1. The Head
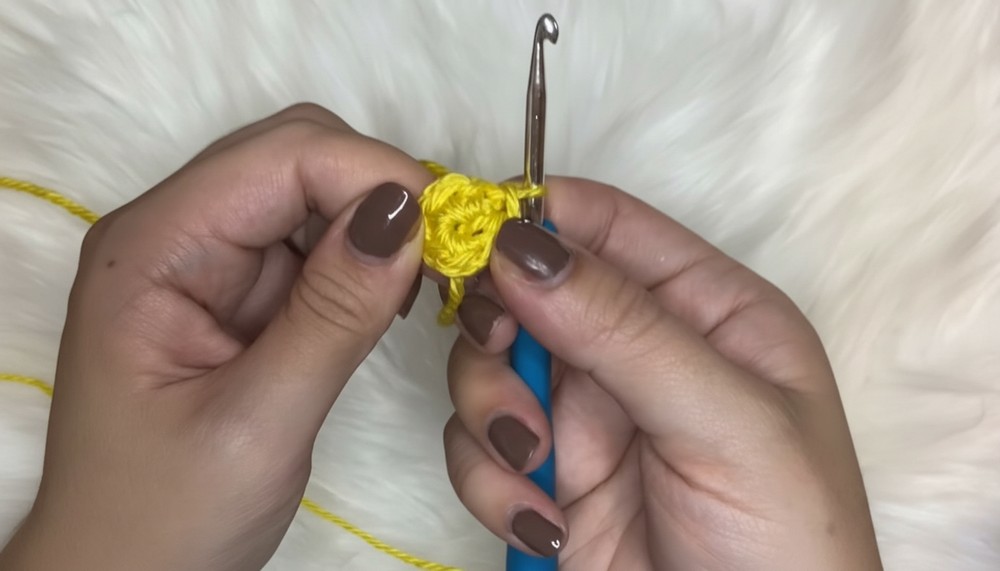
Round 1: Create a magic ring and work 6 sc into the ring. Pull the yarn tail tight to close the ring. Slip stitch into the first stitch to close the round. (6 sts)
Round 2: Work 1 inc in each stitch around. (12 sts)
Rounds 3-5: Work 12 sc per round. (12 sts each round)
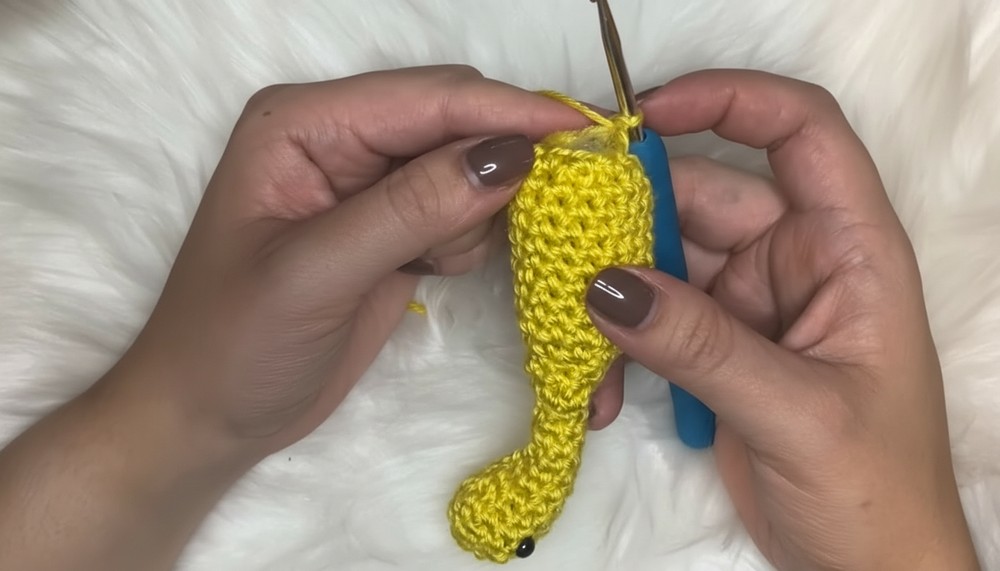
Adding the Neck Curve
Round 6: [dec 3, sc 6]. This decreases your stitch count to 9 sts.
Round 7: Work 9 sc in the round.
Add the Safety Eyes:
- Place the eyes between Rounds 3 and 4, with 4 stitches between them. Position the safety eyes on both sides of the head, ensuring they are symmetrical and aligned with the neck curve. Once satisfied with placement, secure the safety eye backings.
Stuff the Head and Neck: Add stuffing to the head before continuing, filling as you crochet further.

2. The Neck
Round 8: [dec 3, sc 3]. This decreases your stitches to 6 sts.
Rounds 9-13: Work 6 sc in each round. Continue stuffing the neck as you go.

3. The Body
Round 14: [1 inc in each st around]. (12 sts)
Round 15: Work [dec 3, sc 6]. This reduces the stitch count to 9 sts.
Round 16: Work 9 sc in this round.
Round 17: [sc 1, inc 1] x6. (18 sts)
Rounds 18-24: Work 18 sc per round for 7 rounds to shape the body. Stuff the body as you crochet.
Round 25: [sc 1, dec 1] x6. This reduces the stitch count to 12 sts.
Final Round: Work 6 decreases in total to close the body. Use a tapestry needle to weave through the remaining loops and close off the bottom. Secure the yarn end by pulling the needle through the body and trimming any excess.
4. No-Sew Feet
The four feet are created using puff stitches.
- Insert your hook into a stitch at the bottom of the body (evenly space the feet in a square-like pattern: 2 at the front and 2 at the back).
- Attach the yarn by creating a ch1 and then work the puff stitch.
- To create the puff stitch:
- Yarn over, insert hook into the same stitch, pull up a loop.
- Repeat this step three times until you have 7 loops on your hook.
- Yarn over and pull through all 7 loops on the hook.
- To create the puff stitch:
- Fasten off the yarn and weave the ends into the body using a tapestry needle.
- Repeat this process for all four feet, ensuring they are spaced evenly so the dino can stand.
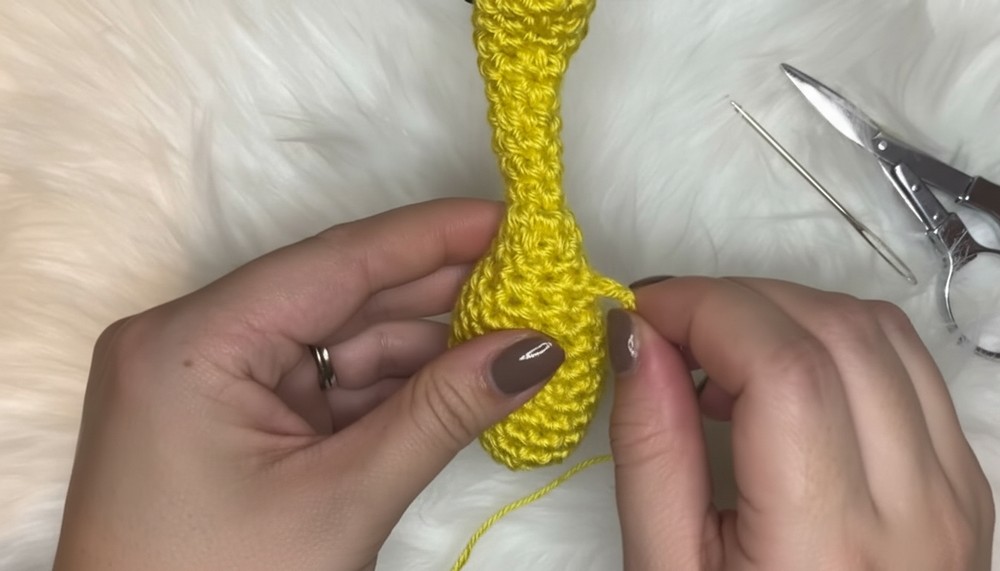
5. No-Sew Tail
- Locate a stitch at the back of the dino (slightly to the right of center) and insert your hook.
- Attach the yarn with a chain stitch (this chain doesn’t count as a stitch).
- Work 1 sc in the same stitch.
- In the following stitch, work:
- 1 hdc.
- ch 3, sl st in the first chain (to form the tip of the tail).
- 1 hdc in the same stitch.
- In the next stitch, work 1 sc, then fasten off.
- Weave in the yarn ends using a tapestry needle.
Tutor’s Suggestions
- Position safety eyes carefully: Align them evenly and adjust if necessary before attaching backings.
- Stuff as you go: Keep stuffing the head, neck, and body progressively to ensure the dino retains its shape.
- Use stitch markers: Track your rounds to avoid mistakes, especially when working with decreases.
Special Features & Uses
What makes this amigurumi special?
- No-sew design: The feet and tail are crocheted directly onto the body, so no sewing is required!
- Cute curves: Clever decrease rounds shape the neck and body into the characteristic smooth curves of a brachiosaurus.
- Customizable: With only 10g of yarn needed, you can make dino designs in different colors, perfect for personalizing this craft for kids or adults alike.
- Gift-worthy: Ideal as a handmade children’s toy or adorable nursery decor!
Crochet Tip
When working puff stitches for limbs or details, ensure your gauge is consistent so all the stitches are the same size. A slight difference can make your dino’s legs or tail uneven, which can affect the finished look.
Conclusion
Congratulations! You’ve finished your very own No-Sew Brachiosaurus Amigurumi. With its adorable design, lovable curves, and a unique no-sew feature, this pattern is both fun and convenient to make. Whether you’re creating it as a charming gift or for your own collection, this cute dino is sure to bring joy to everyone who sees it.