
Fun Crochet Black Devil Fish Pattern Adds Character to Any Space
Illuminate your crochet collection with the Free Crochet Black Devil Fish Pattern, a whimsical project perfect for décor, gifts, and marine life fans.
Deep beneath the ocean's surface, the black devil fish, or anglerfish, thrives in the pitch-black depths, luring prey with its bioluminescent appendage. This captivating creature has inspired a delightful crochet project that brings the mysterious allure of the deep sea to your fingertips. The free crochet black devil fish pattern offers a unique opportunity to crochet a miniature version of this fascinating marine animal, complete with its signature glowing lure and toothy grin.
Whimsical Crochet Black Devil Fish Pattern Perfect for Display and Gifts
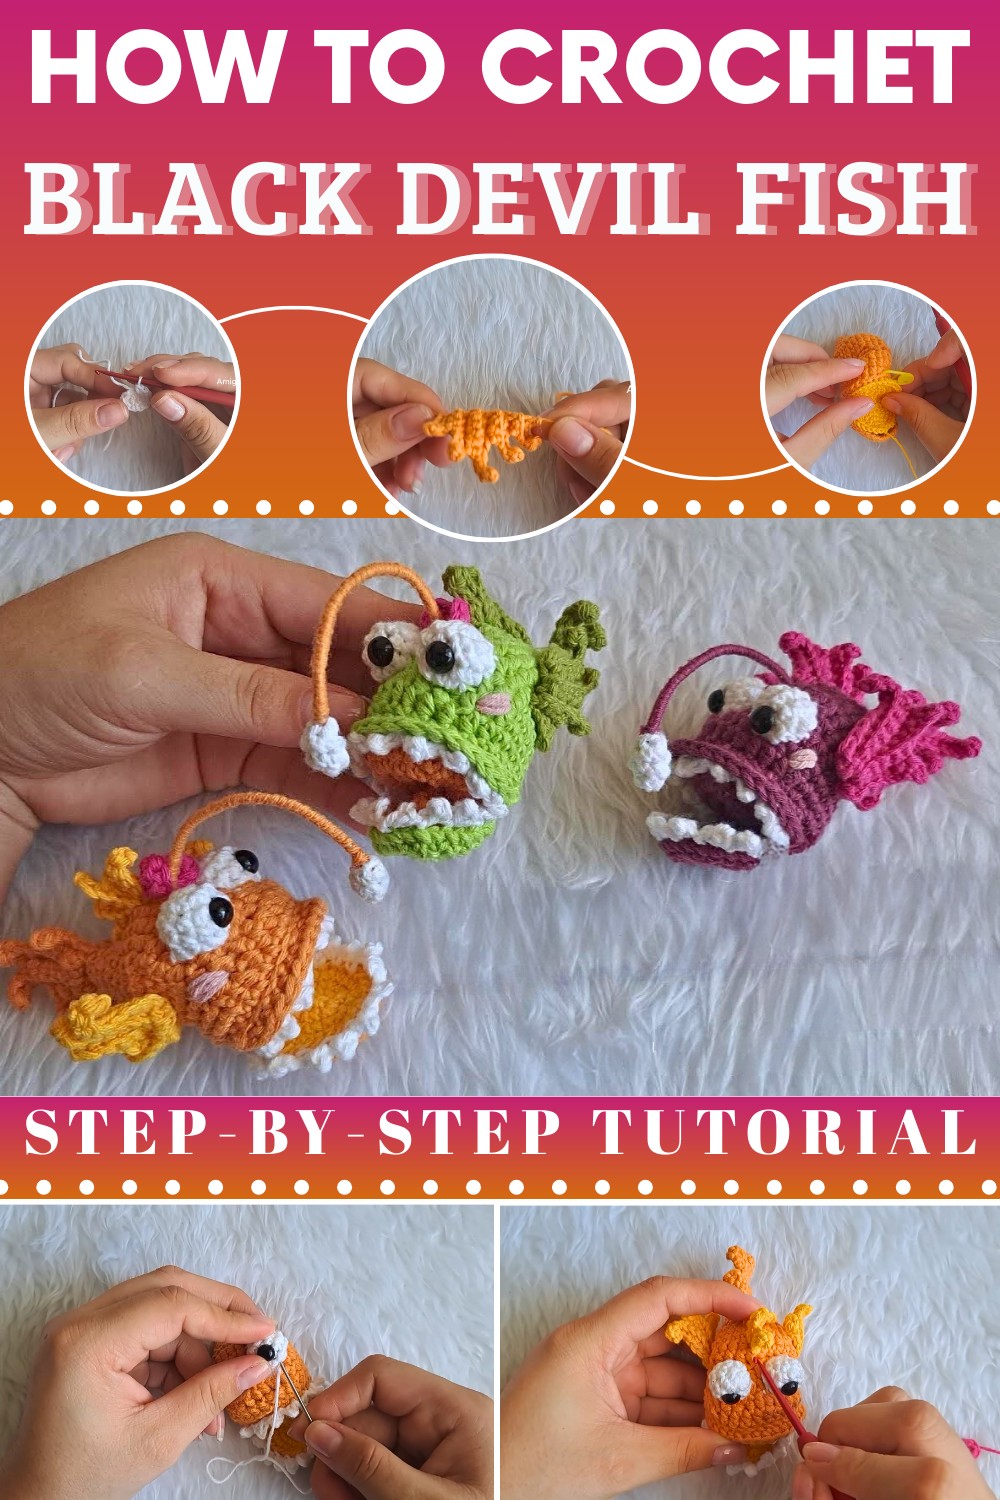
Its whimsical appearance and intricate details make it a standout piece in any collection. This project not only enhances your crochet repertoire but also provides a tangible connection to the wonders of marine life. Dive into this creative endeavor and let the allure of the deep sea inspire your next crochet masterpiece.
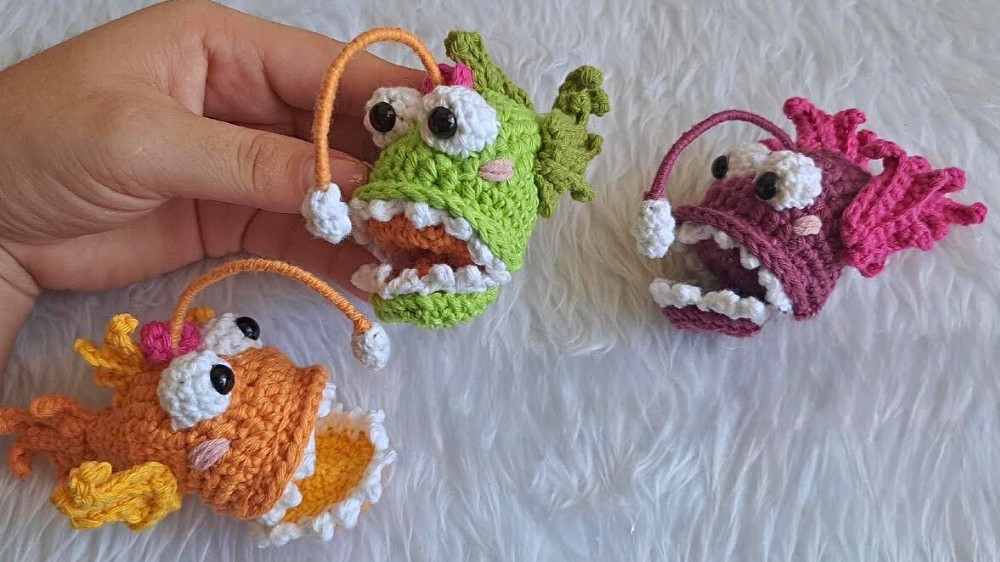
Finished Size:
- Approximately 7-9 inches depending on yarn weight and tension.
Materials Needed:
- Yarn:
- Cotton yarn in various colors:
- Primary body color (dark tones recommended for realism, e.g., black or navy blue).
- Accent colors for fins and mouth (choose contrasting shades for detail).
- Light color for teeth.
- Bright/different color for antenna light.
- Recommended yarn thickness: DK (double-knit) or worsted weight.
- Cotton yarn in various colors:
- Hook Size:
- Recommended 2.5–3.5 mm crochet hook, depending on yarn thickness.
- Safety Eyes:
- 7 mm safety eyes.
- Stuffing:
- Polyester fiberfill for shaping.
- Wire or Pipe Cleaner:
- Wire between 17-18 cm long for shaping the antenna.
- Needles for Sewing:
- Tapestry needle or yarn needle.
- Scissors.
- Stitch Marker (optional): To mark rounds and track progress.
Special Techniques:
- Magic Ring: Used to begin circular pieces.
- Decreases:
- Single crochet decreases: Insert hook into one stitch, yarn over, pull through; insert hook into next stitch, yarn over, pull through; yarn over, pull through all loops.
- Working in Back Loops Only:
- Insert hook under the loop farthest from you (back loop) instead of the whole stitch for texture detailing.
Pattern Instructions:
1. Eyes:
- Start with a magic ring:
- Work 6 single crochet (sc) stitches into the ring, pull tight to close.
- Round 2:
- Work 6 increases (2 sc in each stitch) to reach a total of 12 sc.
- Rounds 3-5:
- Work 12 sc in each round (no increases).
- Finish:
- Slip stitch into the back loop of the last stitch to smoothen the edge.
- Place 7 mm safety eyes between Round 3 and Round 4, secure them firmly.
- Stuff lightly and close the eyes by sewing through the front strands of the last round.
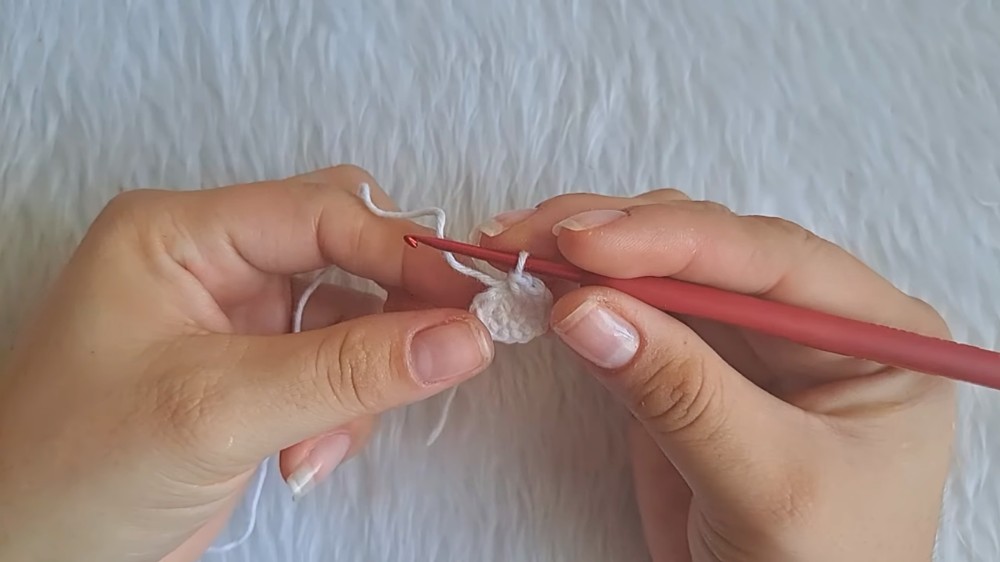
Repeat for the second eye.
2. Illuminated Antenna:
- Base:
- Work a magic ring with 5 sc.
- Round 2:
- Work 5 sc (no increases).
- Round 3:
- Work the pattern 3 sc, 1 decrease across the round.
- Finish off and leave a long tail for sewing.
- Antenna Light:
- Cut a wire (17-18 cm long) and bend the tips for safety.
- Wrap the wire fully with yarn.
- Attach the crocheted piece onto the top of the wire.
- Outer Color:
- Change yarn color after the third round and work 4 sc rounds around the base.
Set aside.
3. Body:
- Start:
- Work a magic ring with 6 sc.
- Round 2:
- Repeat 1 sc, 1 increase three times to reach 9 sc.
- Round 3:
- Repeat 2 sc, 1 increase three times to get 12 sc.
- Round 4:
- Repeat 3 sc, 1 increase three times for 15 sc.
- Round 5:
- Continue repeating 3 sc, 1 increase across the round for 18 sc.
- Round 6:
- Work the sequence 2 sc, 1 increase six times for 24 sc.
- Round 7:
- Repeat 3 sc, 1 increase six times for 30 sc.
- Rounds 8-9:
- Work 6 half double crochet (hdc) stitches, followed by 18 slip stitches (sl st).
- Finish the round with 6 hdc.
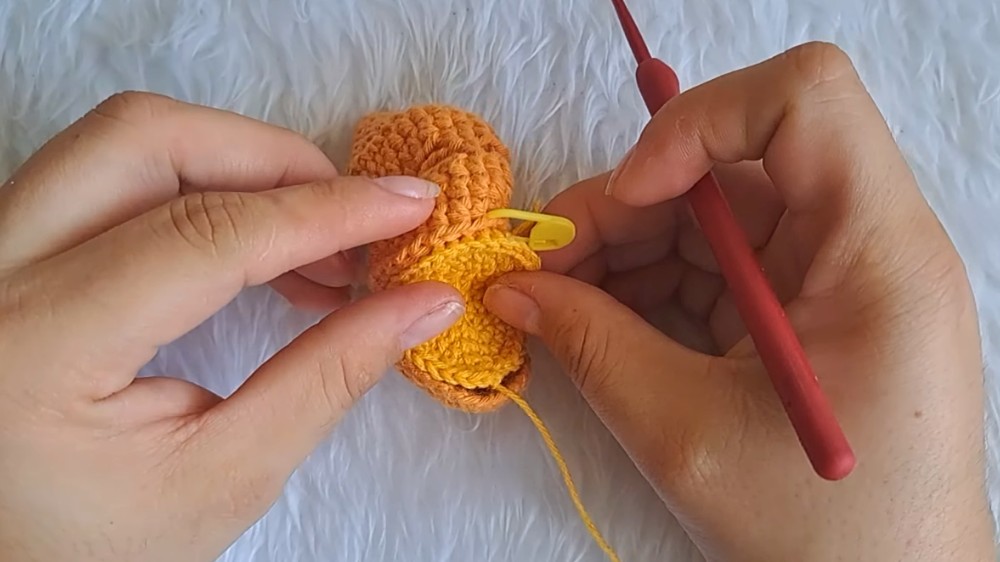
Continue following this pattern to shape the body.
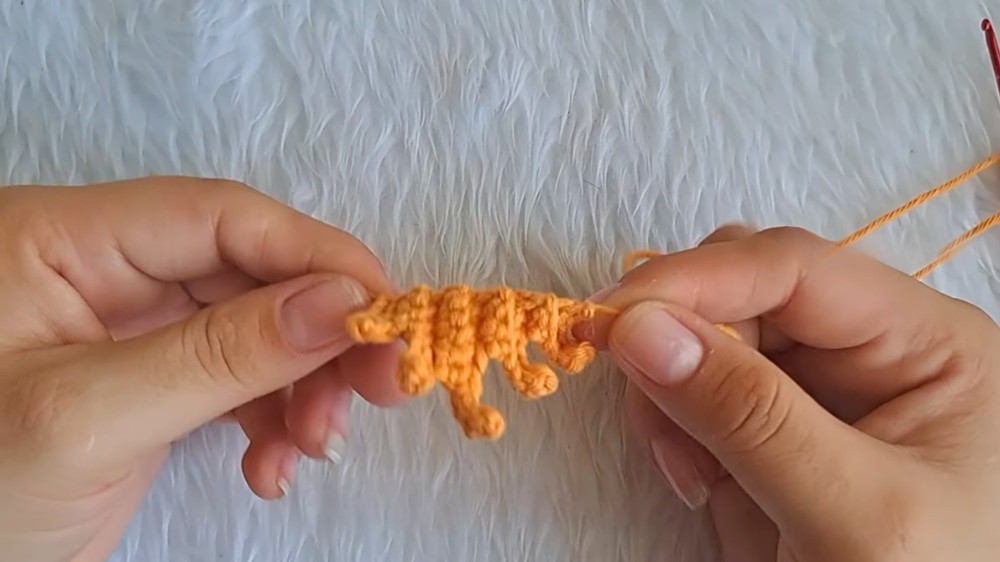
4. Fins (Side Fins):
Repeat the following sequence twice for both fins:
- Foundation Chain:
- Chain 6.
- Skip the last chain and work 4 sc into the next 4 chains.
- Second Round:
- Chain 1, turn, and work 3 sc, followed by 5 chains.
- Third Round:
- Skip the last 2 chains and work 6 sc into the next chains, only using the back loop to create texture.
- Fourth Round:
- Chain 1, turn, and work 5 sc, followed by 5 chains.
- Final Round:
- Skip the last 2 chains and crochet 10 sc into the remaining chains.
Finish with a long tail, leave for sewing, and set aside.
5. Tail:
Follow the fins pattern for Rounds 1-3. For Round 4 and 5:
- Round 4:
- Work 3 sc in back loops only.
- Round 5:
- Skip the last 2 chains; crochet 5 sc into the remaining chains.
Set aside.
6. Teeth:
- Foundation Chain:
- Chain 21.
- Work 20 sc into each consecutive chain.
Leave a tail for sewing and set aside.
Finishing (Assembly):
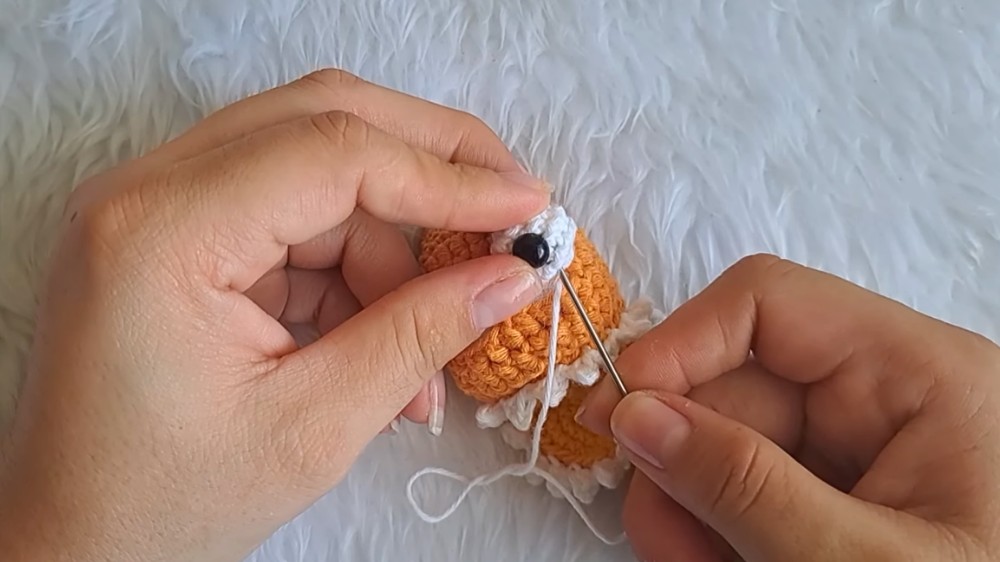
- Sew Eyes:
- Attach the eyes to the reserved spots on the head.
- Sew down securely and hide ends.
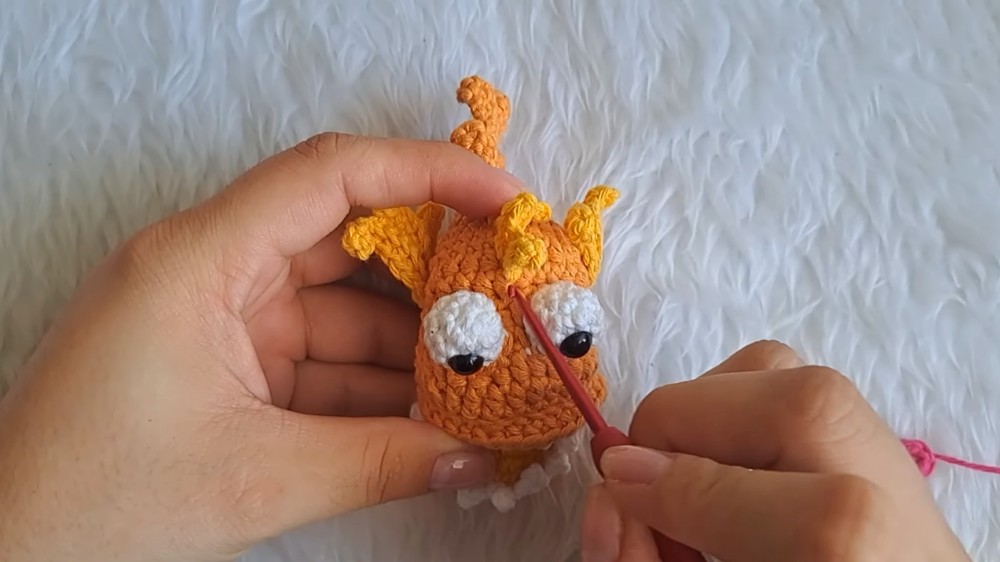
- Attach Fins and Tail:
- Side fins: Sew fins between Rounds 5–10 of the body.
- Tail: Sew between Rounds 1–2.
- Mouth:
- Fold the mouthpiece into an "L" shape and attach to the marked area on the body.
- Teeth:
- Add teeth along the mouth edge by attaching the chain stitch detail evenly.
- Antenna:
- Attach the antenna above the dorsal fin, aligning its base near the eyes.
Final Words:
You've now created the amigurumi Blackfish/Raptor Fish! Its detailed features and playful design make it perfect for display or gifting. Customize colors for variety or add small embroidered details like gills or scales for a more realistic effect.
Tips to Maintain the Pattern:
- Blocking:
- Lightly steam-block the fins and tail to ensure they hold their shape.
- Thread Management:
- Secure all ends tightly to prevent unraveling.
- Durability:
- If gifting to children, replace wire with pipe cleaner for safety.