
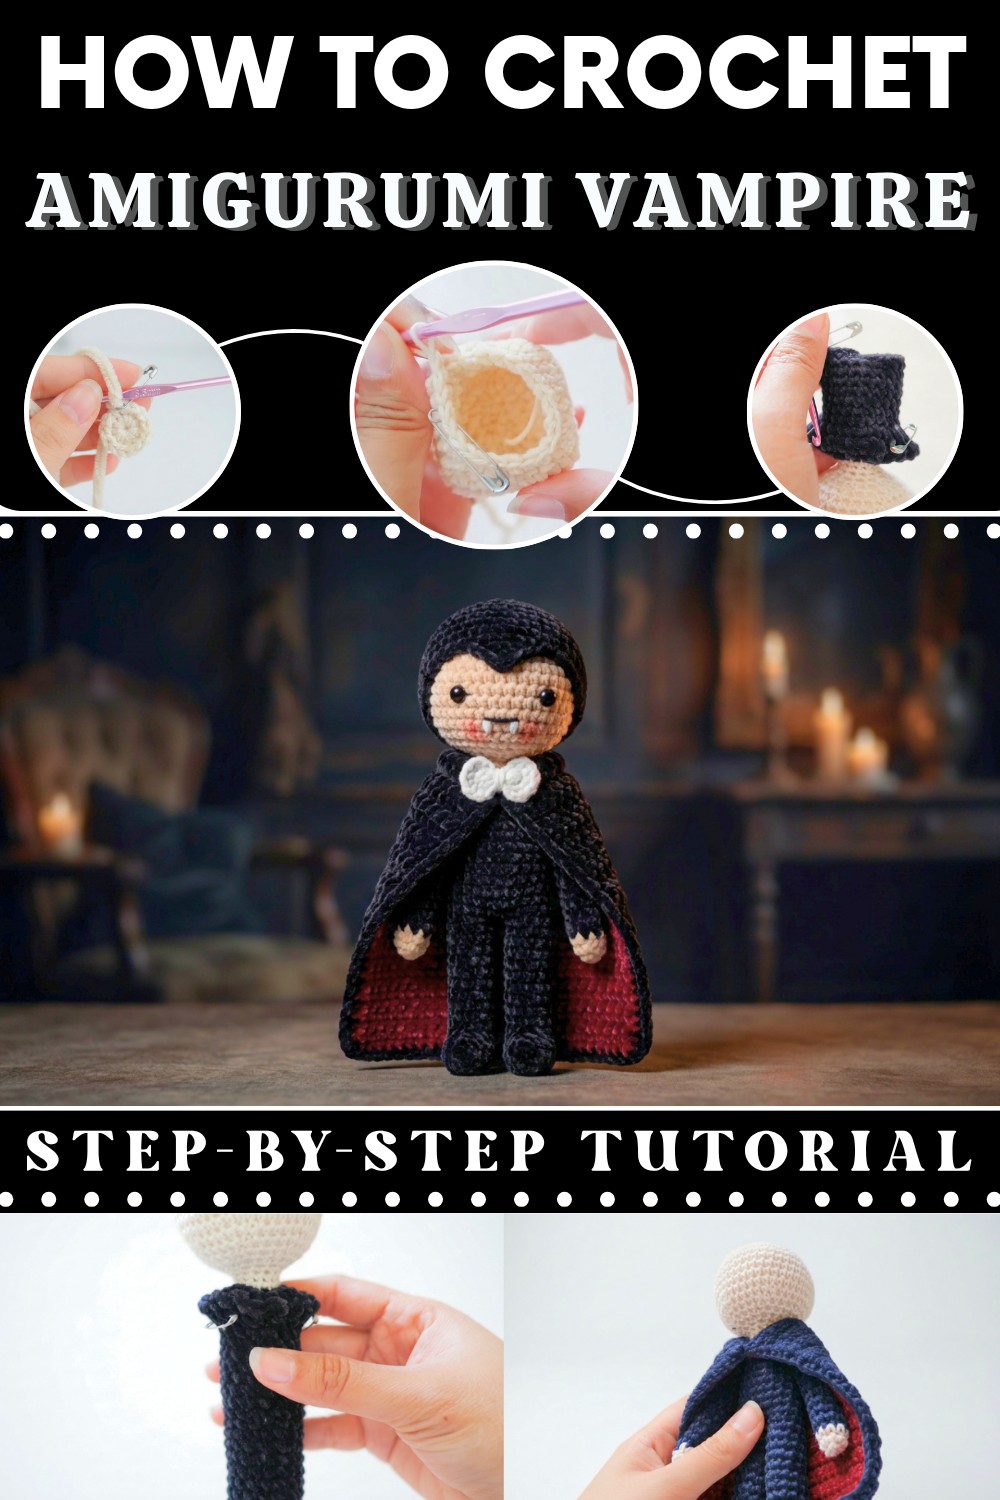
Free Mini Crochet Vampire Pattern That Brings Halloween Fun
Celebrate Halloween with this Cute Crochet Vampire to enjoy a fun project that adds playful spooky charm.
Bring a touch of spooky charm into your home with a handmade friend that is surprisingly sweet. This little character captures the essence of classic gothic lore, reimagined as a soft, squishy companion. Because of its playful grin and a tiny cape, this figure is far more interested in cuddles than frights, making it a delightful addition to your seasonal decor or a whimsical gift for a fan of the supernatural.
Cute Crochet Vampire Free Amigurumi Pattern with Spooky Charm
This amigurumi project features a compact, rounded shape that fits perfectly in the palm of your hand. Although the design includes sophisticated details like a pointed collar and bat-like wings, it remains quite accessible for those with intermediate crochet skills. You will surely love how the clean lines and clever construction bring such a distinct personality to this figure. Indeed, it stands out as a unique collectible that adds a bit of handmake mystery to any bookshelf.
To achieve that professional finish, working with smooth cotton yarn is highly recommended. Consequently, this choice ensures your single crochet stitches look crisp, keeping the stuffing securely tucked away. Mastering the invisible decrease and tight color changes will certainly elevate your work, giving your creation a polished, heirloom quality.
Whether you are looking to build your soft toy collection or simply want a quick, rewarding project for October, this cute crochet vampire is the perfect choice. Finally, grab your hook and get ready to stitch up a hauntingly adorable masterpiece that will surely become a favorite in your handmade menagerie.
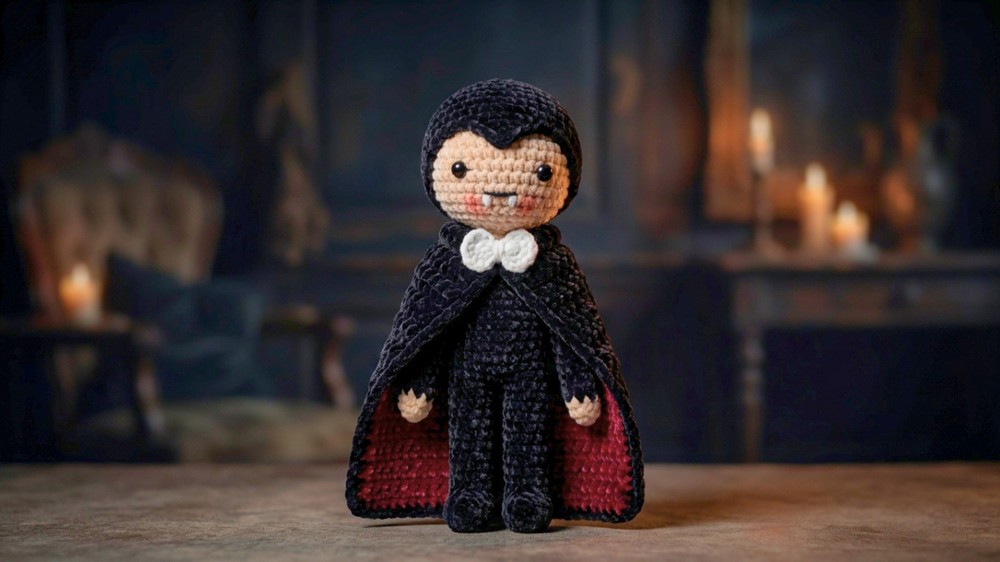
Crochet Vampire Pattern
Notes
- The pattern is worked mostly in continuous rounds with a stitch marker to keep track of beginning of rounds.
- Invisible decreases are made working through front loops for a neat finish.
- Use pipe cleaners or wire optionally inside limbs for added firmness and poseability.
- Yarn tails should be woven in securely after finishing parts.
- Beads are used for eyes; black yarn is used for sewing lips.
- The cape combines red and black yarns worked together and decorated with clusters of stitches for texture.
- Links to referenced one-piece amigurumi body patterns are provided for arm partition details.
Skill Level
Intermediate: Requires knowledge of
- Magic ring start
- Single crochet (sc), increases (inc), and invisible decreases (dec) using front loop only
- Working in rounds using stitch marker
- Color changes between yarns
- Basic sewing and embroidery
- Crochet shaping for limbs and body parts
Materials
- Skin tone cotton or acrylic yarn
- Red yarn (cotton or acrylic)
- Black yarn (cotton or acrylic)
- 3.5 mm crochet hook
- Toy stuffing fiberfill or scrap yarn
- Pipe cleaners or wires (optional)
- Needle and safety pins as stitch markers
- Two beads for eyes
- Scissors
Measurements / Sizing
- The finished vampire doll is approximately 15–18 cm tall, depending on yarn and tension used.
- Arms and legs are sized proportionally with 8 stitches for arms and 10 stitches for legs.
Gauge and Stitch Pattern
- Work in single crochet stitches to create a tight, dense fabric suitable for amigurumi.
- Invisible decreases help maintain smooth shaping.
- Body is worked mostly in rounds of single crochets with strategic increases and decreases.
- Arms and legs are worked as separate tubes, stuffed, and then attached.
Stitch Abbreviations
- ch = chain
- sc = single crochet
- st(s) = stitch(es)
- inc = increase (2 sc in one stitch)
- dec = invisible decrease (work through front loops only)
- MR = magic ring
- sl st = slip stitch
Special Stitches
- Magic Ring: Technique to start crocheting in the round with a tight center.
- Invisible Decrease: Insert hook through front loop of two stitches, pull up a loop, yarn over and pull through loops on hook to decrease stitch cleanly.
- Arm Partition: Marking specific stitches to separate arms in the body rounds (8 stitches per arm between increases), details and links provided in original tutorial.
The Crochet Pattern
Head and Neck (Skin Tone Yarn)
Round 1:
- Make a magic ring (MR), ch 1, work 6 sc in ring. Pull tail to close tightly. Place stitch marker at end.
- (6 sc)
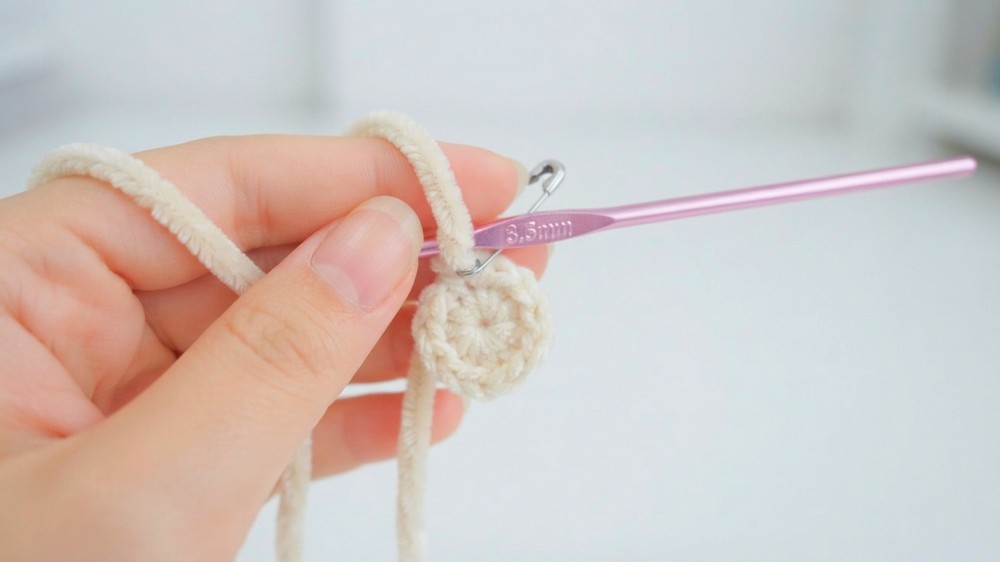
Round 2:
- Increase in every stitch (2 sc in each st around).
- (12 sc)
Round 3:
- 1 sc, inc repeat around.
- (18 sc)
Round 4:
- 2 sc, inc repeat around.
- (24 sc)
Round 5:
- 3 sc, inc repeat around.
- (30 sc)
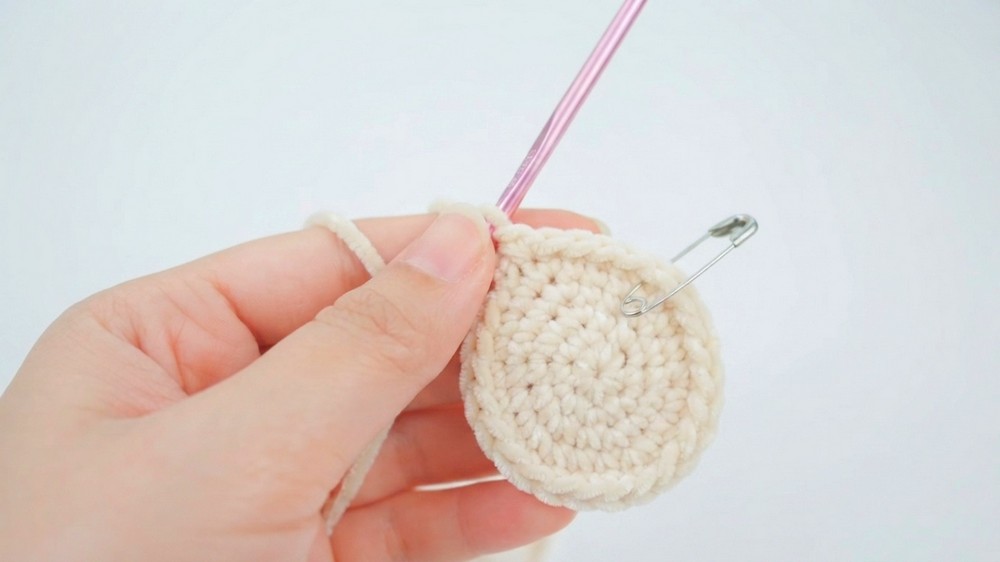
Round 6:
- 4 sc, inc repeat around.
- (36 sc)
Round 7:
- 5 sc, inc repeat around.
- (42 sc)
Rounds 8–12:
- 1 sc in each stitch around (no increases).
- (42 sc each round)
Round 13:
- 5 sc, dec (invisible decrease) repeat around.
- (36 sc)
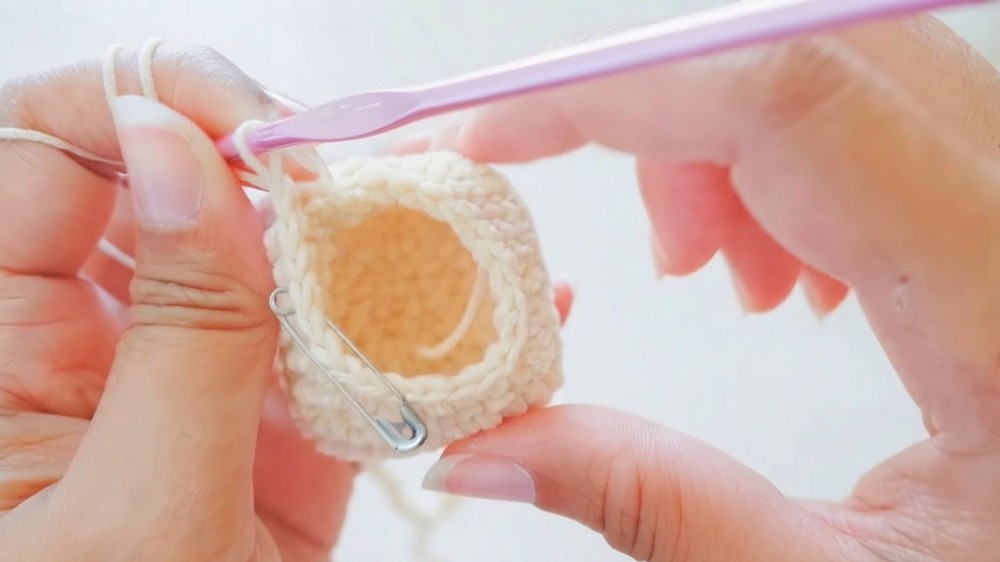
Round 14:
- 4 sc, dec repeat around.
- (30 sc)
Round 15:
- 3 sc, dec repeat around.
- (24 sc)
Round 16:
- 2 sc, dec repeat around. Stuff lightly.
- (18 sc)
Round 17:
- 1 sc, dec repeat around. Add more stuffing.
- (12 sc)
Rounds 18–20 (Neck):
- 1 sc in each stitch around.
- (12 sc)
Color Change and Head Detail (Black Yarn)
Round 21:
- Remove stitch marker and switch to black yarn.
- 1 sc, inc repeat around.
- (18 sc)
Round 22:
- 2 sc, inc repeat around.
- (24 sc)
Round 23:
- 3 sc, inc repeat around.
- (30 sc)
Round 24:
- 4 sc, inc repeat around.
- (36 sc)
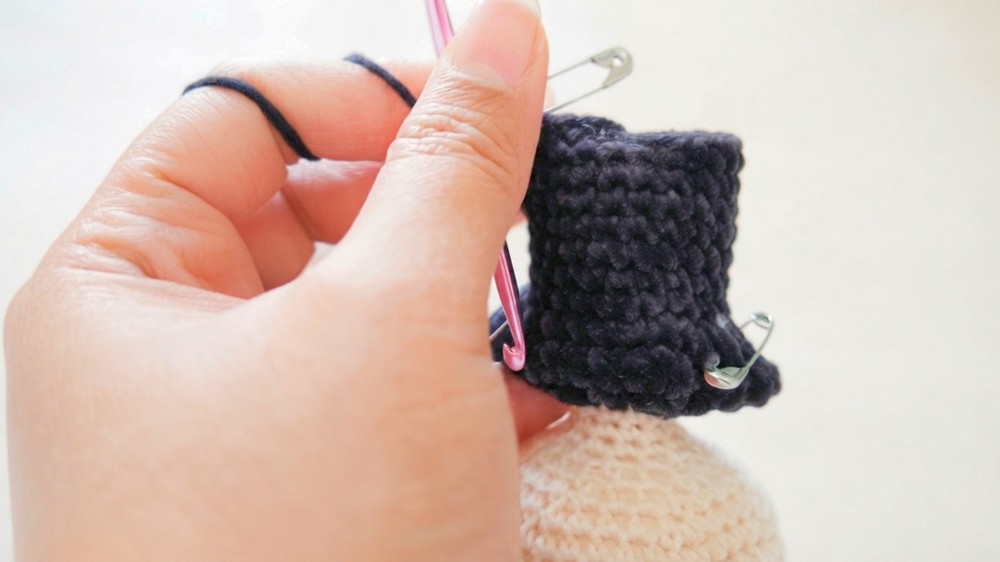
Arm Partition
- Fold work so the stitch marker is on the side of your work, not in the center.
- Marker first increase on one side and count 4 stitches, place stitch marker for arm start.
- Repeat on the other side for second arm.
- Each arm partition has 8 stitches (four stitches plus the increase).
- This divides body with 8 stitches per arm area, totaling 16 stitches reserved for arms.
Body Work
Round 1:
- Crochet 20 sc all around (excluding arms). Count to confirm 20 stitches.
Rounds 2–7:
- Work 1 sc in each stitch around for 6 more rounds, totaling 7 rounds.
Leg Partition and Legs
- Divide the 20 body stitches into two equal parts for legs—10 stitches each.
Step:
- Confirm 10 stitches for each leg section by counting.
Rounds 1–15:
- Crochet 1 sc in each stitch of leg sections for 15 rounds for both legs.
- Insert pipe cleaners or wires inside legs optionally for support and stuff firmly.
- Close openings with yarn needle and sew securely.

Arms
Setup:
- Remove stitch marker from arm openings. Join yarn with black yarn at any stitch in the arm area.
Round 1:
- Chain 1 (does not count).
- 8 sc evenly around arm opening, place stitch marker.
Rounds 2–10:
- Crochet 1 sc in each stitch (8 sc per round), stuff or insert pipe cleaners optionally.
Rounds 11–12 (Switch to White Yarn):
- Change to white yarn and crochet 2 rounds of single crochet around arm.
- Fasten off and sew ends securely.
Cape
Foundation:
- Chain 26.
Rows 1–27:
- Begin in second chain from the hook, sc across the row (25 sc).
- Repeat this row using red or black yarn for 27 rows.

Joining and Detailing Cape:
- Join red and black pieces side by side by single crocheting together all edges with black yarn.
- Make clusters of 3 sc at cape corners and edges for textured effect.

Hair
Round 1:
- Magic ring with 6 sc.
Rounds 2–6:
- Work increasing rounds to shape the hair cap similar to head increases.
Final Round:
- Work 41 double crochets (dc) around hair edge for styling.
- Slip stitch and fasten off.
Assembly & Finished Size
- Sew the head, arms, and legs securely onto the body.
- Attach cape to the back using needle and yarn.
- Hot glue beads for eyes onto face.
- Embroider lips with black yarn.
- Optional: Add a bow or other accessories.
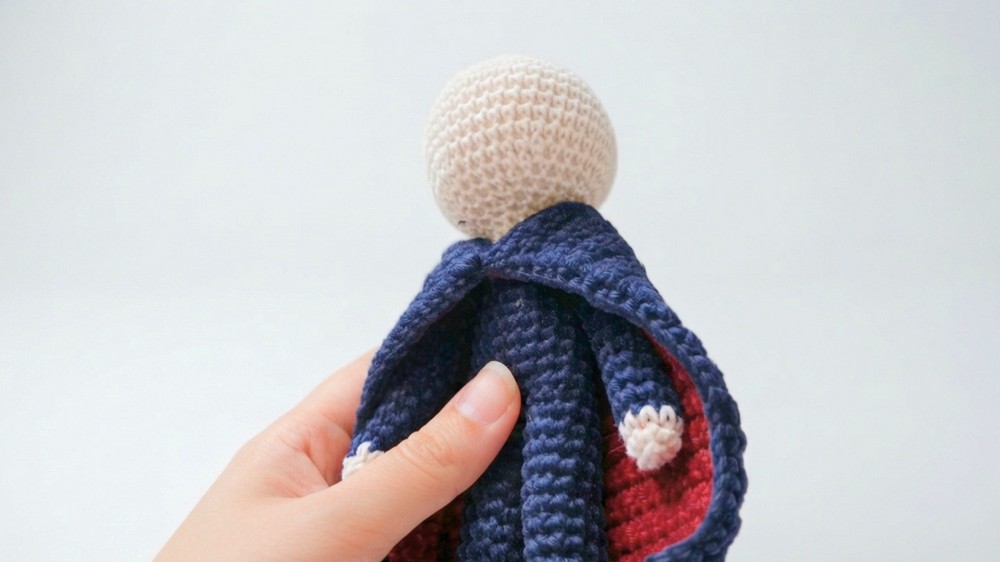


Finished vampire doll: Approximately 15 to 18 cm tall, perfect as a decorative or gift item.
Quick Overview of Pattern
- Crochet the head and neck in skin tone yarn using magic ring and increasing rounds.
- Switch to black yarn for the vampire’s hair and upper clothing details.
- Crochet the vampire’s body in black and red yarn, incorporating arm and leg partitions.
- Construct the arms and legs separately with stuffing and optional pipe cleaners for structure.
- Crochet and attach a two-color cape.
- Make hair, sew parts together, and add final details such as eyes, lips, and optional bow.
