
FREE Crochet Tiny Taco Pattern for the Cutest DIY Project
Spice up your crocheting with this playful Crochet Tiny Taco Pattern—perfect for creating adorable, bite-sized fun that’s irresistibly creative!
Tiny tacos are the perfect blend of charm and functionality, bringing a playful twist to your crochet projects. This free crochet pattern allows you to stitch adorable tacos that can serve a variety of purposes. Whether you’re making keychains, magnets, decorative bowl fillers, or even unique gifts for friends, these tiny tacos are sure to spark smiles. Their vibrant design and small size make them easy to complete, ideal for beginners and seasoned crocheters alike.
Crochet Mini Tacos in Minutes with This FREE Pattern!
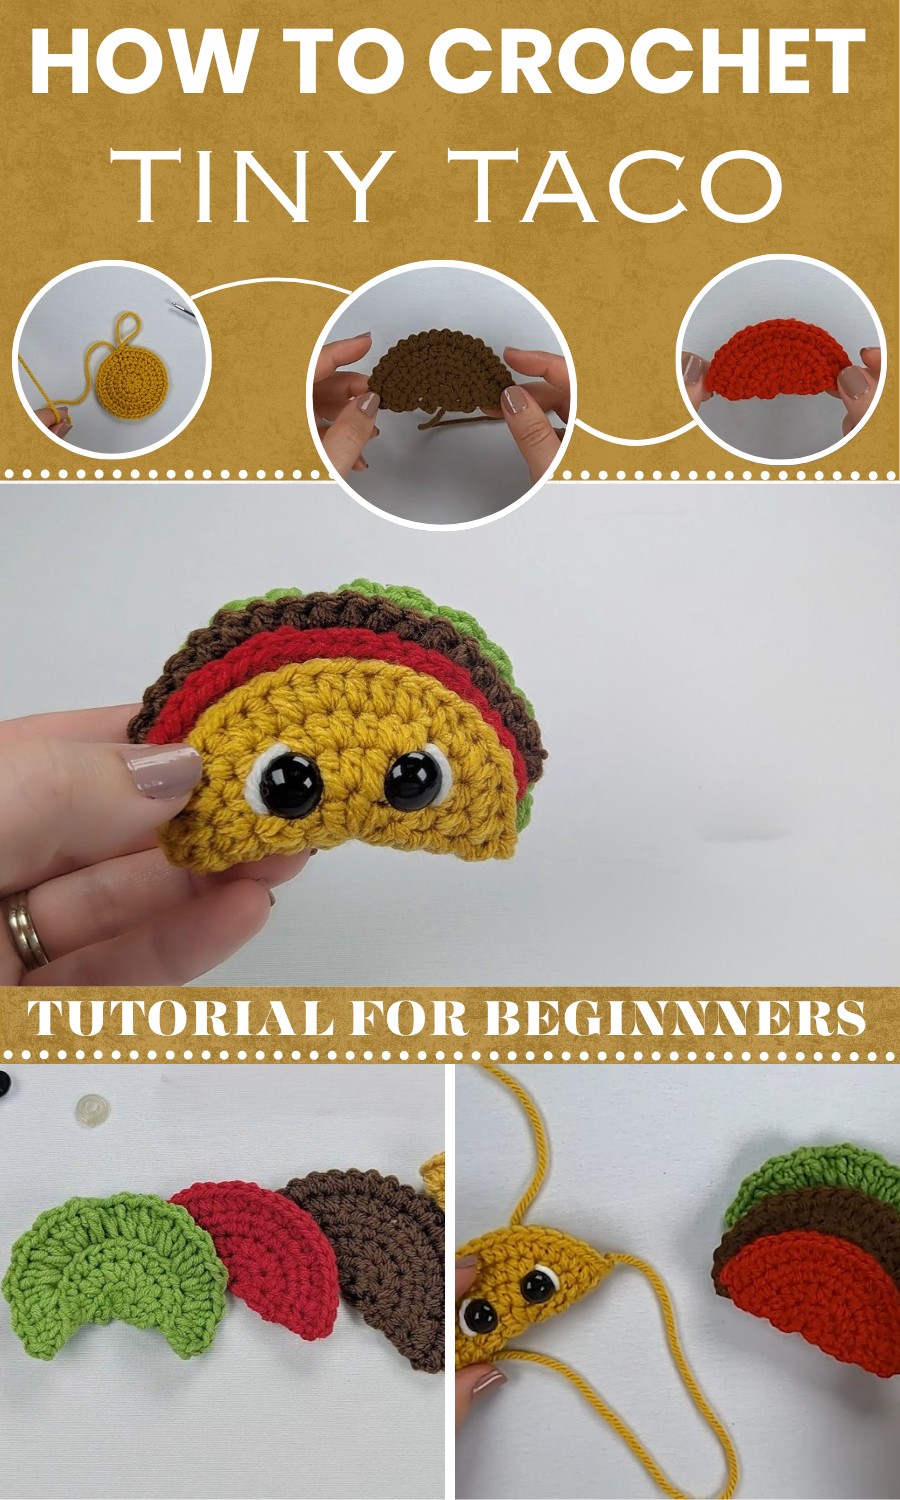
The benefits go beyond aesthetics; these tiny tacos are great conversation starters and can brighten any space. They add personality to a home, make for delightful party favors, and even work as educational tools for kids learning about food. Plus, crocheting these miniature designs is a calming and rewarding activity, helping you de-stress while building something beautiful.
The free pattern lays out every detail you need to bring your tacos to life, ensuring a fun and fuss-free experience. With just a little yarn and creativity, you’ll have fantastic decorative pieces that showcase your skills in an eye-catching way. Compact, functional, and heartwarming, these tiny tacos make your crochet time both enjoyable and stylishly productive.
Step-by-Step Instructions to Make a Tiny Crocheted Taco
Introduction
This project demonstrates how to crochet a fun and festive miniature taco, perfect for occasions like Cinco de Mayo, Taco Tuesday, or adding a touch of handmade charm to your day.
Supplies Needed
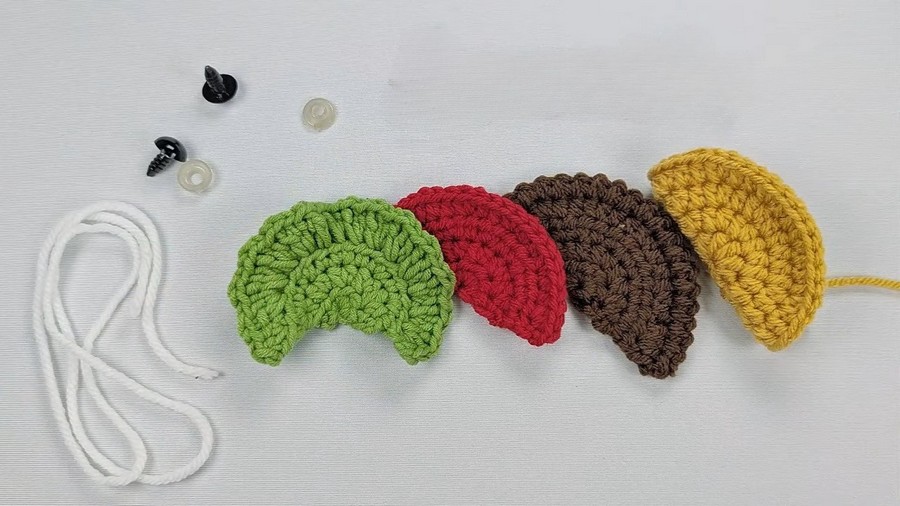
- Yarn: Four colors (worsted weight #4 yarn)
- Shell: Yellow yarn
- Meat: Dark brown yarn
- Tomato: Red yarn
- Lettuce: Green yarn
- Hook: 3.5 mm (US E hook)
- Safety Eyes: Two 12 mm safety eyes
- Other Tools:
- A small amount of white yarn (for lining the eyes)
- Scissors
- Yarn needle
Steps to Make the Tiny Taco
1. Taco Shell
Making the Base
- Create a magic ring:
- Wrap yellow yarn around three fingers, cross over the top, grab the yarn with your hook, and pull up a loop.
- Remove yarn from fingers, chain one to secure, and add one extra chain (total chain 2).
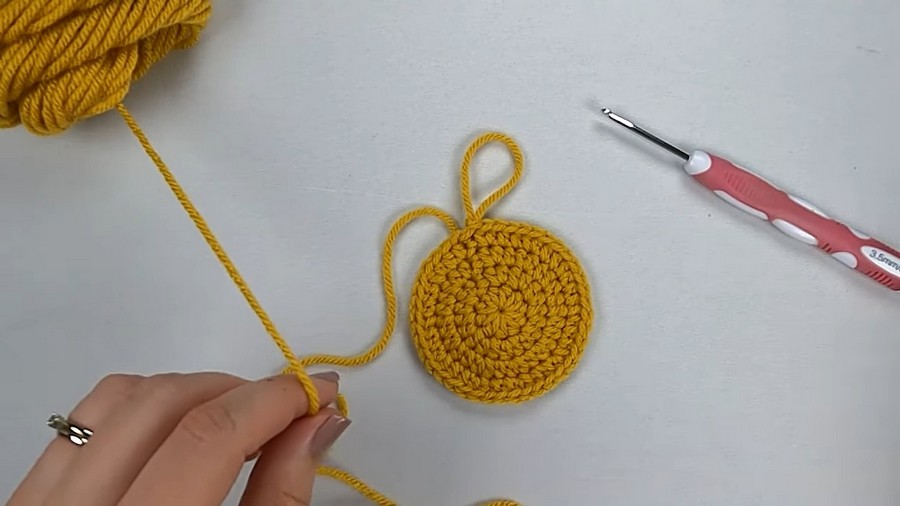
- Round 1 (Start):
- Make 10 half double crochets (HDC) in the magic ring.
- Pull the tail to close the ring.
- Slip stitch into the first HDC to finish the round.
- Round 2:
- Chain 2.
- Increase (add 2 HDC in each stitch) around for a total of 20 HDC.
- Slip stitch into the first HDC.
- Round 3:
- Chain 2.
- Alternate between 1 HDC in the first stitch and 2 HDC in the next stitch.
- Repeat the sequence to the end of the round (total 30 HDC).
- Slip stitch into the first HDC.
- Round 4 (Final):
- Chain 2.
- Alternate between 1 HDC in two stitches and 2 HDC in the third stitch.
- Repeat the sequence to the end of the round (total 40 HDC).
- Slip stitch to finish and leave a long tail for assembly.
- Set the shell aside.
2. Beef (Brown Yarn)
Making the Beef Base
- Create a magic ring and chain 2.
- Round 1 (Start):
- Make 5 HDC into the ring.
- Pull the tail to close.
Flat Rows (For Beef Shape)
- Round 2:
- Chain 2 and turn the piece.
- Add 2 HDC in each stitch (total 10 HDC).
- Round 3:
- Chain 2 and turn.
- Alternate between 2 HDC in the first stitch and 1 HDC in the next stitch (total 15 HDC).
- Round 4:
- Chain 2 and turn.
- Alternate between 2 HDC in the first stitch and 1 HDC in the next two stitches (total 20 HDC).
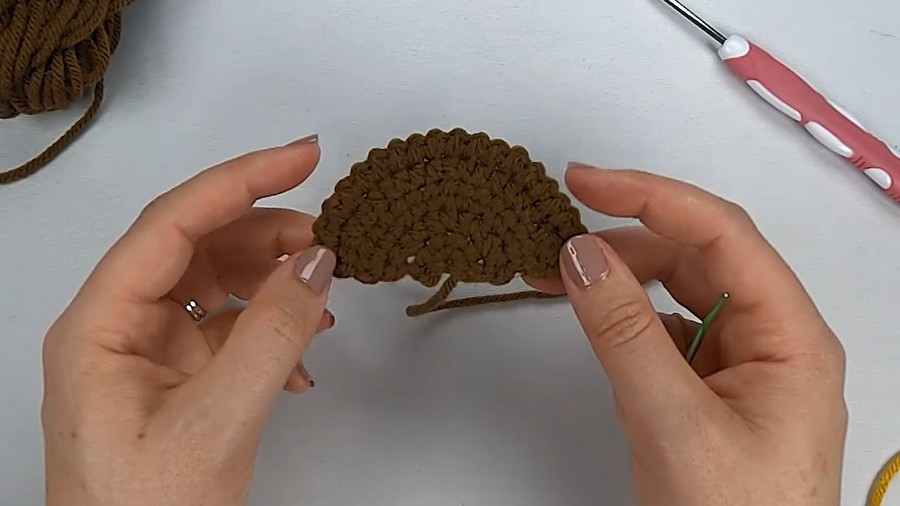
Finishing Edge
- Chain 1 and turn.
- Slip stitch into each stitch across to finish the piece.
- Weave in and cut both tails.
3. Tomato (Red Yarn)
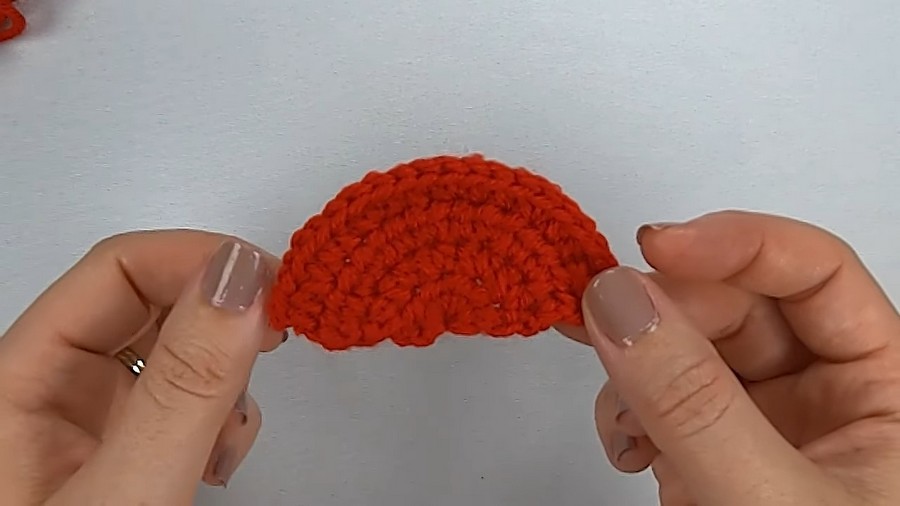
The process is similar to the beef piece.
- Magic Ring, Chain 2:
- Make 5 HDC, close the ring, chain 2, and turn.
- Rounds 2-3:
- Follow the same increase pattern as beef (Round 2: 2 HDC in each; Round 3: 2 HDC in first stitch, 1 HDC in the next).
- Round 4:
- Alternate between 2 HDC in the first stitch and 1 HDC in the next two stitches.
- Weave in ends and set it aside.
4. Lettuce (Green Yarn)
Making the Base
- Follow the same initial steps as for beef and tomato.
Adding Texture (Leafy Shape)
- Round 4:
- After the third row, alternate as follows:
- Start with 1 HDC in the first stitch.
- Add 2 double crochets (DC) into the same stitch.
- Repeat the sequence (1 HDC, 2 DC) for every stitch across (total of 45 stitches).
- After the third row, alternate as follows:
- Weave in ends once complete.
5. Assembling the Taco
Adding the Eyes
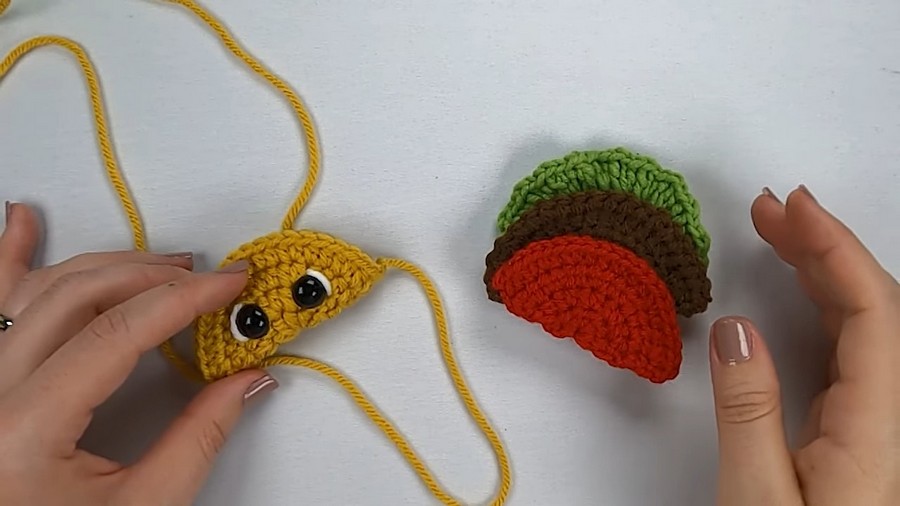
- Fold the taco shell in half.
- Attach safety eyes between rows 2 and 3, spacing them a few stitches apart.
- Line the eyes with white yarn using the yarn needle:
- Insert white yarn from the inside of the shell, loop it around the eye, and knot securely.
Layering Ingredients
- Place the lettuce at the back (next to the fold).
- Add the beef layer in front of the lettuce.
- Layer the tomato in front of the beef.
Sewing Ingredients Together
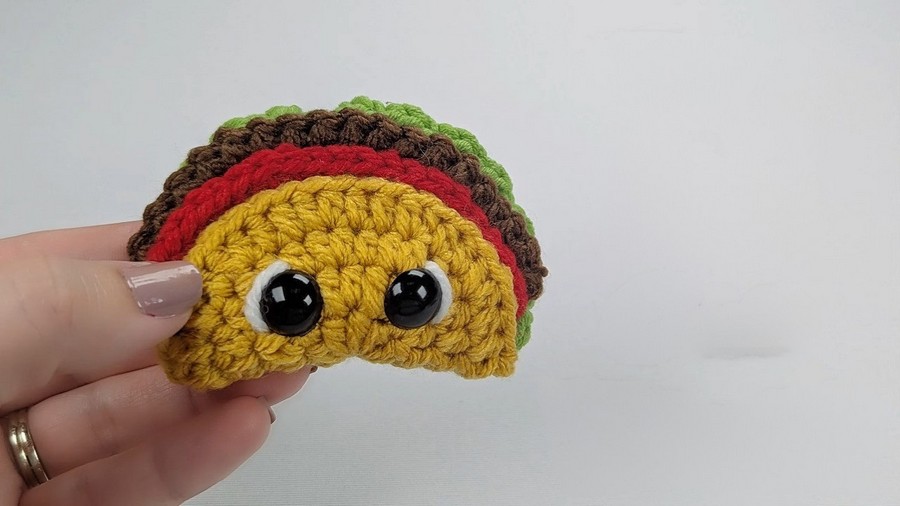
- Using the long tail from the taco shell and your yarn needle:
- Sew through all layers of the shell and ingredients.
- Repeat across the taco until everything is secured.
- Weave in the tail to the back of the taco.
Final Touches
- Trim any excess yarn.
- Admire your finished taco creation!
Closing Remarks
Congratulations! You've completed your handmade tiny taco. Feel free to customize colors, adjust stitching, and display your project with pride. If you enjoyed this tutorial, don't forget to give it a thumbs up and subscribe for more creative crochet projects!