
Free Crochet Tinkerbell Amigurumi Pattern for Doll Lovers
See the magic come alive with our free crochet Tinkerbell amigurumi pattern, featuring simple instructions to make a delightful fairy doll for all ages.
If adding a sprinkle of pixie dust to your crochet projects sounds like fun, the free crochet TINKERBELL AMIGURUMI pattern is a perfect way to do just that! This little fairy is bursting with charm, featuring a smooth, snug texture and delightful details like her iconic wings and twirling skirt that bring her to life. She strikes a lovely balance—firm enough to hold shape but soft enough to cuddle.
Free Crochet Tinkerbell Amigurumi Pattern with Cute Details
This project is great for crochet fans at any skill level—whether you’re just starting out and want a playful challenge or you’re a seasoned crocheter craving a magical creation. You can keep her small and sweet or customize her size by using different yarn weights and hook sizes, making each fairy unique.
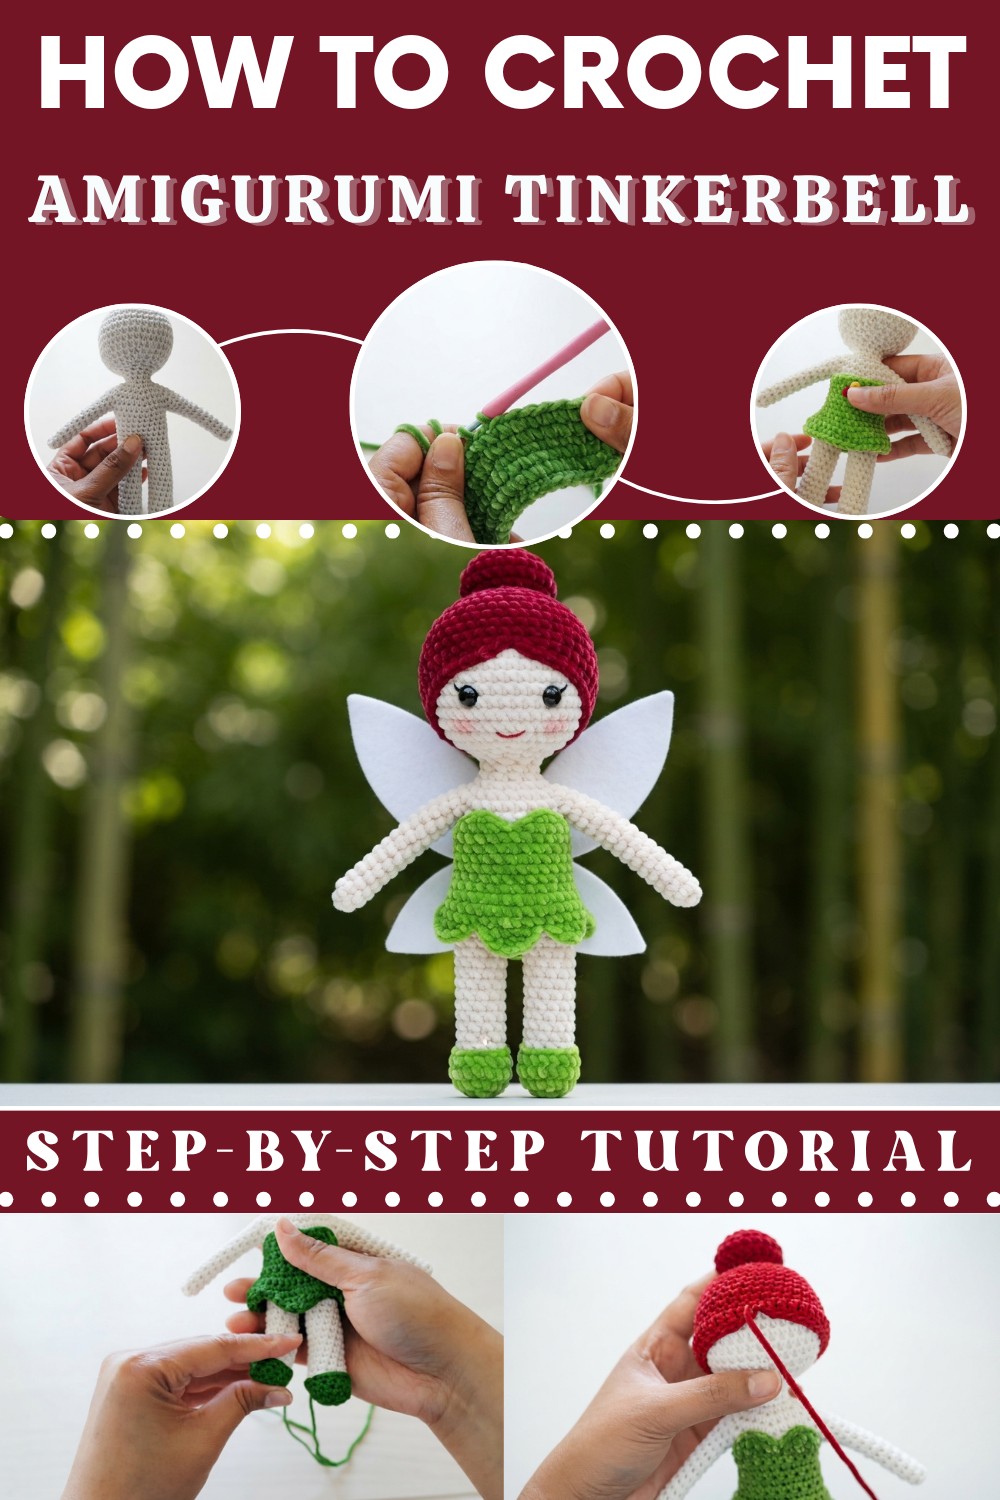
The Tinkerbell is made mostly in rounds, shaping her body and limbs step by step, with wings and hair added later to create depth and personality. Pro tip: stitch markers are super helpful to keep track of your work, and choosing smooth cotton or a cotton-blend yarn really makes those stitches stand out while maintaining a nice structure.

Inspired by timeless fairy tales and childhood wonder, this amigurumi makes a fantastic gift for birthdays, holidays, or just because. Plus, there’s plenty of room to add your own flair—think embroidery, sparkly accents, or even a teeny crochet wand to make your Tinkerbell truly magical and one of a kind.
Amigurumi Tinkerbell: Step-by-Step Crochet Pattern
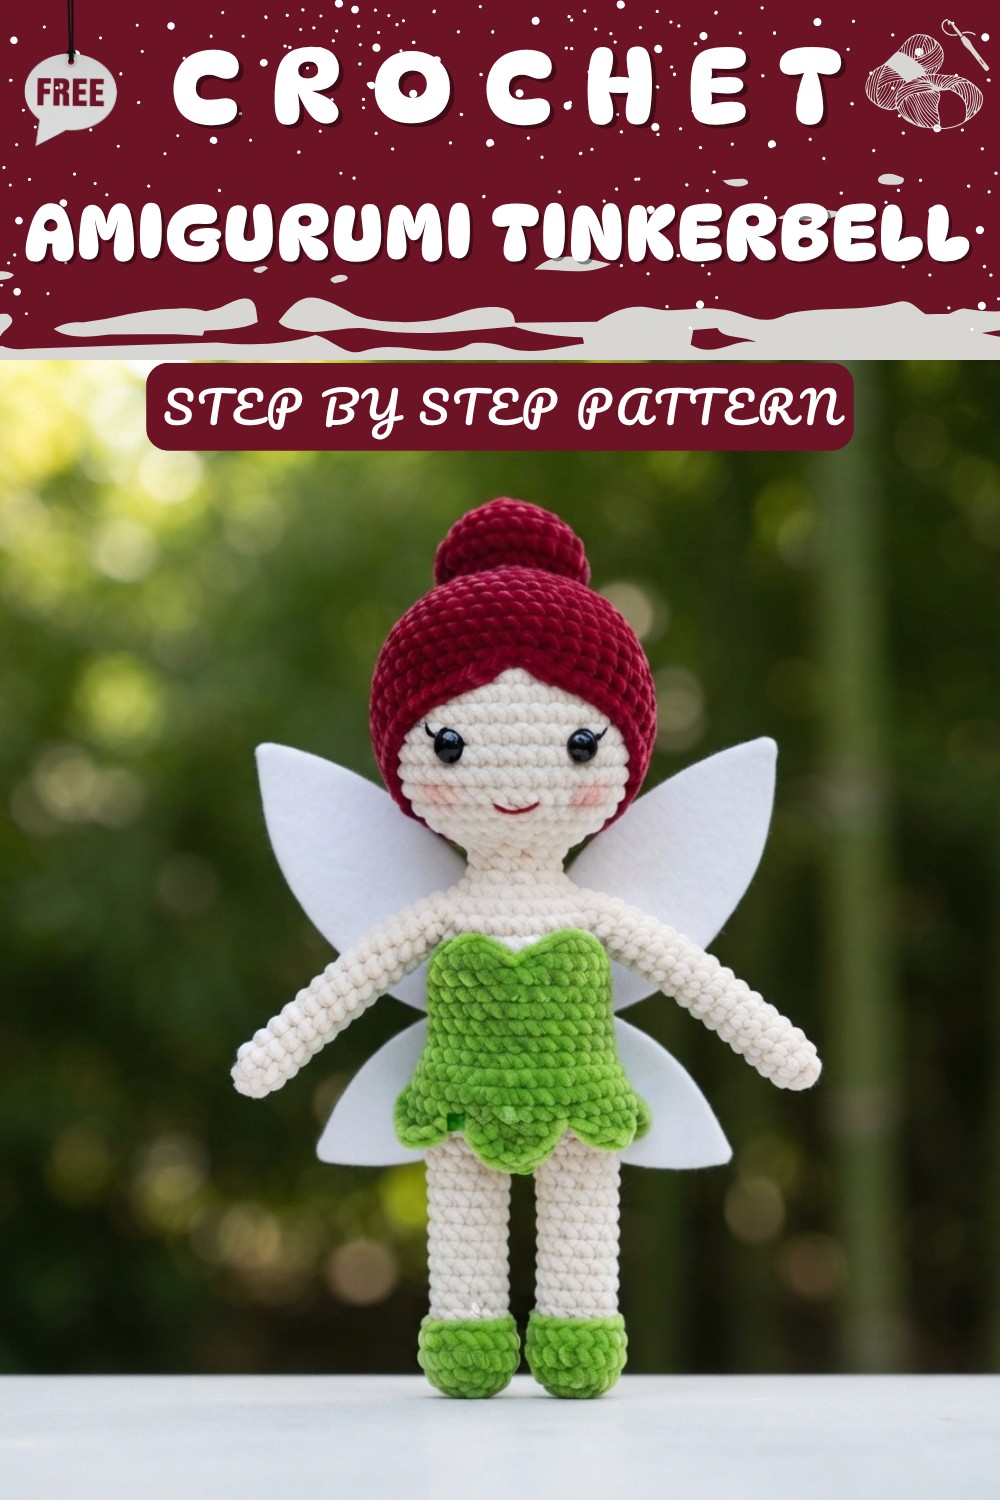
Welcome, crocheters! In this pattern, we’ll learn how to transform a basic amigurumi doll into beloved Tinkerbell, complete with a magical dress, dainty shoes, iconic bun, and felt wings. This pattern is approachable for beginners seeking to practice essential amigurumi techniques, color changes, and decorative finishing. Let’s make our own fairy companion!
Skill Level & Terminology
Skill Level: Advanced Beginner
Terminology: Pattern uses US crochet terms throughout.
Not confident about pattern reading?
Every step is carefully explained! Look for the summary lines after each section if you need extra reassurance.
Materials & Tools
- Amigurumi doll body, approx. 4–6 inches tall
- Yarn:
- Reddish brown (hair)
- Yellow green (dress, shoes)
- White felt cloth (wings)
- Two small pom-poms (shoe decoration)
- Safety eyes for the doll
- 2 snap buttons (for dress closure)
- 3.5 mm crochet hook
- Sewing needle and safety pin/stitch marker
- Toy stuffing or yarn scraps (for bun)
- Hot glue
- Scissors
- Black embroidery thread (optional for shaping eyes/eyelashes)
Gauge
Gauge isn’t critical, but for reference:
- 8 sc x 8 rows = 2 inches x 2 inches using 3.5 mm hook and cotton yarn.
If adjusting size, check fit against your amigurumi after initial dress rows.
Abbreviations
- sc – single crochet
- dc – double crochet
- hdc – half double crochet
- tr – treble crochet
- inc – increase (2 stitches in one)
- sl st – slip stitch
- ch – chain
- st – stitch/space
- rnd – round
Special Stitch Instructions
- Magic Ring: Loop yarn into a ring, work stitches into the center, then pull yarn tail to close tightly.
- Increase (inc): Work two stitches into one base stitch.
- Slip Stitch (sl st): Insert hook, pull up a loop, then pull through both loops.
Finished Size
- Designed for an amigurumi doll roughly 4–6 in. (10–15 cm) tall
- Skirt fits snugly; shoes and hair cap are slightly stretchy
- Wings approx. 1.5–2 inches wide
The Pattern Itself
How to start and what techniques are used:
This pattern assumes you have a crocheted amigurumi body ready.

You’ll crochet the dress, shoes, hair cap, hair bun, and add wings and finishing details. The stitches used are single crochet, double crochet, half double crochet, treble crochet, slip stitch, and basic increases.
DRESS (Skirt & Bodice)
Foundation Chain and Base Rows:
- With yellow-green yarn and 3.5 mm hook, ch 28
- Row 1: Starting in 2nd ch from hook, sc in each ch across. (27 sc)

If you’re unfamiliar with patterns: Chain 28, then single crochet into the second loop and every loop after. You’ve just made your first row!
- Rows 2–7: Turn, sc in each st across. (27 sc each row)
For the dress body, repeat single crochet rows for a straight panel. After 7 rows, wrap the piece around your doll to check fit.
Row 8 (Increase Row):
- Turn. In 1st st: inc (2 sc in 1 st).
- Next st: 1 sc.
- Alternate across the row (inc, 1 sc) to end. (Should have 41 sc at end)

This step adds volume for Tinkerbell’s flared dress. You should see a gentle ruffle forming.
- Row 9: Turn, sc in each st across.
Row 10 (Make Petal Hem – Repeat for 5 sets):
Each set is worked across 8 stitches. Work the following across the row, repeating for a total of 5 sets:
- 1 sc in next st
- 1 hdc in next st
- 1 dc in next st
- 1 tr in next st
- 1 dc in next st
- 1 hdc in next st
- 1 sc in next st
- 1 sl st in next st
If you prefer: Think of the petal as a "hump"—work sc, hdc, dc, tr, dc, hdc, sc, then sl st for a nicely shaped point. Make 5 humps across the hem.
- Fasten off and set aside.
Top of Bodice:
- Join yellow-green yarn to the 8 middle stitches (from edge or “just eyeball” center).
- (You’ll be working a small rectangle for the bodice front.)
- Ch 1.
- Work across next 8 sts:
- 1 sc, 1 hdc, 1 dc, 1 hdc, 1 sc, sl st.
- Repeat once for a layered finish.
- Fasten off. Weave in ends.

This shapes the top of the dress. Just make sure you center your stitches and use two layers if you want a fuller look.
Dress Closure:
- Sew snaps to dress edges or back seam for easy removal.
SHOES (Make 2)
- With yellow green, make a magic ring.
- Rnd 1: Ch 1, 6 sc in ring. Do not join; mark first stitch.
- Rnd 2: Inc in each sc around. (12 sc)
- Rnds 3–5: Sc in each st around. (12 sc per rnd)

This creates a tiny shoe; repeat same for second shoe. Try on doll foot for fit.
- Fasten off, weave in ends, & sew/glue pom-pom to each shoe tip.

HAIR CAP (Tinkerbell’s Head)
- With Reddish brown yarn, make a magic ring.
- Rnd 1: Ch 1, 6 sc in ring. Pull tail tight.
- Rnd 2: Inc in each sc around. (12 sc)
- Rnd 3: (1 sc, inc) repeat around. (18 sc)
- Rnd 4: (2 sc, inc) repeat around. (24 sc)
- Rnd 5: (3 sc, inc) repeat around. (30 sc)
- Rnd 6: (4 sc, inc) repeat around. (36 sc)
- Rnd 7: (5 sc, inc) repeat around. (42 sc)

You are making a gentle hemisphere. By round 7 it should be wide enough for the head.
- Rnds 8–14: Sc around. (Work 5–7 rounds; test for fit on doll's head. Adjust as needed.)
- At end, sl st to next st, 40 dc in next 40 sts (creates hair edge).
- Sl st in last st, fasten off, leaving a tail for sewing.
HAIR BUN
- With Reddish brown, make a magic ring.
- Rnd 1: 6 sc in ring.
- Rnd 2: Inc in each st around. (12 sc)
- Rnd 3: (1 sc, inc) repeat around (18 sc)
- Rnds 4–6: Sc in each st around (18 sc)
- Slip stitch in next st, fasten off.
- Stuff lightly, sew to top of hair cap.


WINGS (Make 2)
- Cut 2 leaf shapes from white felt (about 1.5" tall).
- Hot glue or sew to each side of back, or glue both wings together and attach to dress center back.
- For extra firmness, glue edges and sides, letting them dry completely before attaching.

Assembly & Finishing
- Slip dress around amigurumi body, close with snaps.
- Attach shoes to feet, using a glue gun if desired. Add pom-poms as a finishing touch to toes.
- Slide hair cap over doll’s head, whip stitch gently along hairline if desired.
- Sew or hot glue bun securely on top of hair cap.
- Hot glue wings on back.
- Attach safety eyes & embroider face details if needed.
- Weave in all ends for a neat finish.
Not comfortable with the above?
Simply follow along step by step—crochet top, bottom, and shoes, then decorate according to the instructions. The wings and bun are just cut-and-sew, so no difficult stitches required.
Conclusion
Congratulations! You now have a completed Tinkerbell for your amigurumi collection. This project covers essential amigurumi techniques and simple wearables. Adapt colors for other fairies, embellish with beads, or embroider details as you wish. Enjoy gifting or displaying your tiny magical friend!
For those who don’t read pattern format:
First, crochet the panels for the dress and sew or snap them to the doll. Crochet two shoes and slip them on. Build the hair cap working in rounds and stuff and attach a small bun at the top. Cut and glue felt for wings and finish with details. Have fun and enjoy your own crochet Tinkerbell!