
Free Crochet Scented Sachet Pattern to Keep Clothing Fresh
Freshen drawers and closets with this Free Crochet Scented Sachet Pattern, for adding lasting fragrance and a touch of handmade elegance anywhere.
A lovely scent can instantly make any environment feel warmer and more inviting. Small touches like a scented sachet are a wonderful way to add a fresh, calming aroma to your home or wardrobe. This free crochet scented sachet pattern offers an easy and charming way to create a practical decorative item. By adding fragrant herbs or essential oils inside, it provides ongoing freshness, helping to reduce odors and promote a peaceful atmosphere. The beauty of this project lies in its simplicity and versatility, perfect for personal use or as a thoughtful gift. The crochet scented sachet combines functionality with aesthetic appeal, making it a delightful addition to any space.
Free Crochet Scented Sachet Pattern That Keeps Rooms Lovely
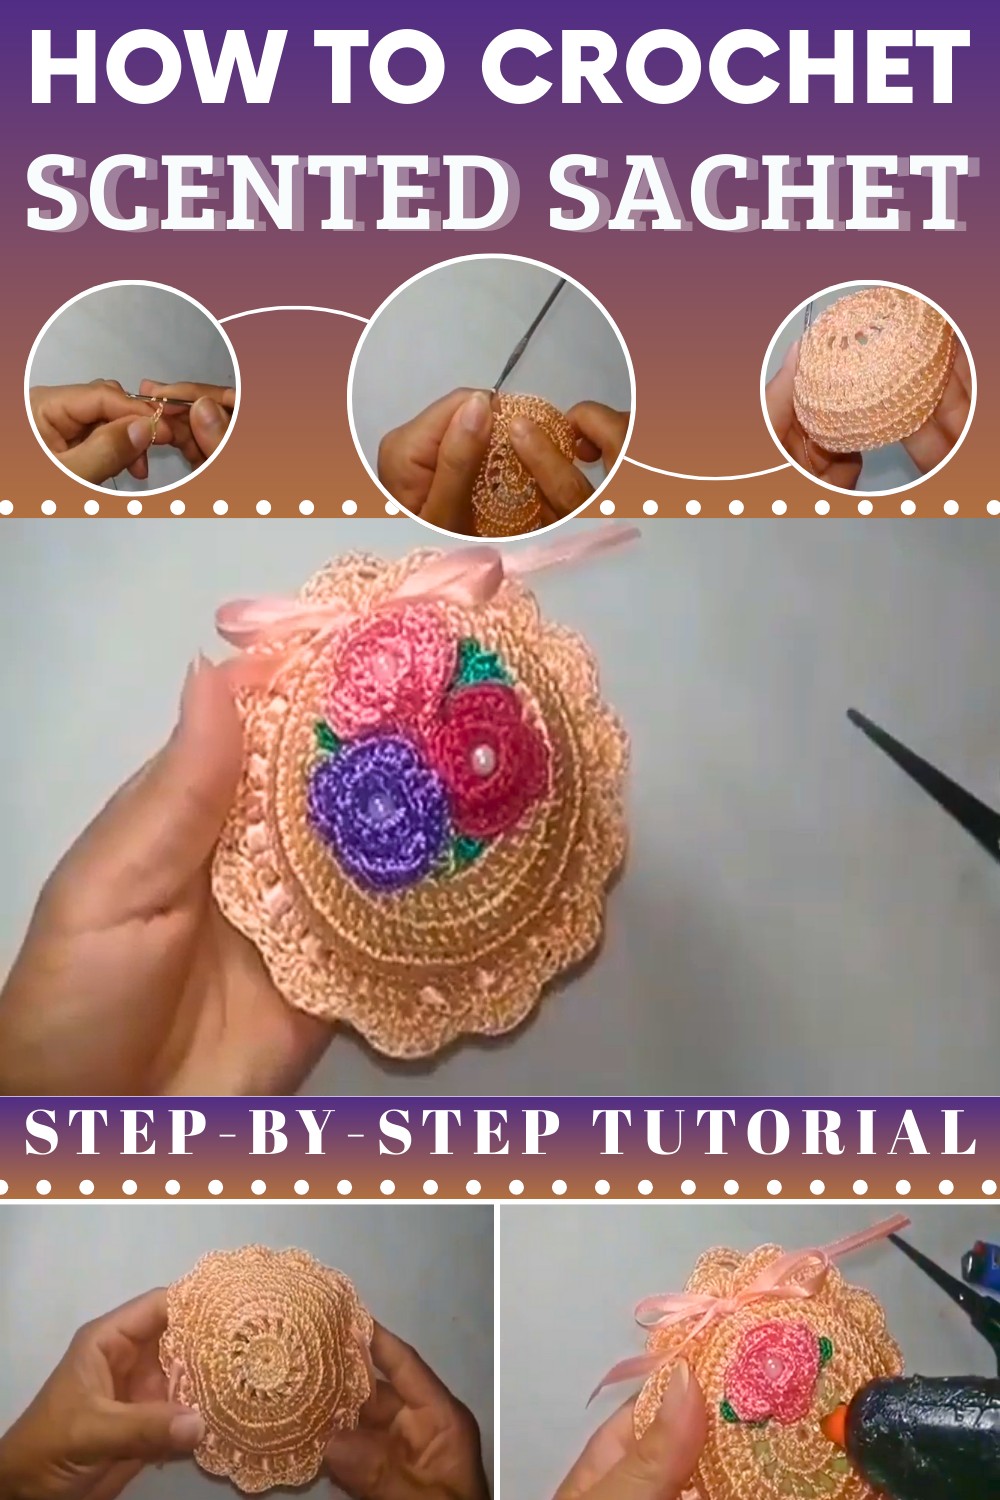
The key features of this free crochet scented sachet pattern include simple steps for forming the base, shaping the sides, and finishing with a clean, neat closure. The pattern guides you through working in rounds, adding increases, and creating a charming, textured appearance. The fragrant filling ensures that the sachet remains pleasantly scented over time, and it can be refreshed whenever needed.
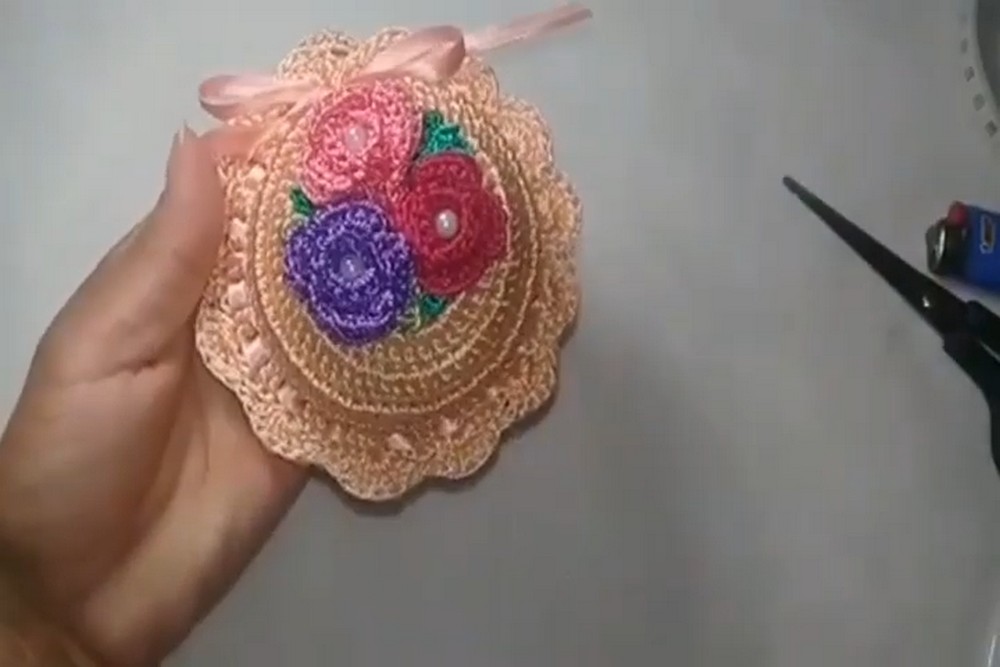
Its compact size makes it perfect for placing in drawers, closets, or even cars. Whether you’re a beginner or an experienced crocheter, this pattern is easy to follow and produces a beautiful, functional item. The scented sachet is a lovely way to bring a touch of handmade beauty and aromatic delight into everyday life, making any space feel more cozy and inviting.
Crochet Pattern: Scented Sachet with Decorative Flowers
1. Materials Needed
Yarn and Hook
- Yarn:
- Fine peach or beige thread (uncertain exact color; feel free to use your preferred color).
- Use two strands together if the thread is thin (or one strand of thicker yarn).
- Hook: 1.75 mm crochet hook.
Other Notions
- Soap: A small round or rectangular fragrant soap for the contents of the sachet.
- Ribbon: Tape number 1 (~0.6 cm wide) for tying the sachet.
- Decorative Flowers: Crocheted flowers (made in a previous video) or purchased artificial flowers.
- Scissors: For cutting yarn and ribbon.
- Lighter: Optional; for sealing ends of the ribbon.
- Hot Glue Gun: For attaching the flowers.
2. Finished Size
- Approximate diameter: Suitable for holding a small round or rectangular soap.
- Length: Will depend on the height of the final sachet; roughly 8–10 cm in depth.
3. Gauge
Gauge is not critical for this project, but it should snugly encase the soap or scented materials you plan to use. Adjust thread thickness or hook size as needed.
4. Special Techniques
- Magic Ring:
- Wrap yarn around your finger, insert the hook, pull up a loop, and twist to form a ring. Work specified stitches into the loop, then tighten it.
- Slip Stitch:
- Insert hook into the stitch, yarn over, and pull through all loops on your hook.
- Increase:
- Work 2 stitches into the same base stitch.
- Dealing with Double Yarn Strands:
- When using two thin strands together, hold them evenly throughout for consistent tension.
- Low and High Stitches:
- Low stitch (single crochet): Insert hook, pull up loop, yarn over, pull through both loops.
- High stitch (double crochet): Yarn over, insert into stitch, pull up loop, yarn over, pull through two loops, yarn over, pull through the final two loops.
5. Pattern Instructions
Base of the Sachet – Round Structure
1. Begin with a Magic Ring
- Wrap yarn around your finger and create a magic ring.
- Chain 3 to establish height (counts as your first double crochet).

2. First Round (Foundation)
- Work a total of 14 double crochets (dc) into the magic ring.
- This includes the chain 3 “double crochet”.
- As you work, ensure stitches are spaced evenly into the ring.
- Pull the tail of the magic ring tight to close the circle.
3. Join the Round
- Find the third chain of your starting chain 3.
- Slip stitch into this chain to join and close the round.
Second Round
1. Chain and Begin
- Chain 5:
- This consists of 3 chains for height and 2 chains for spacing.
2. Work a New Pattern
- Yarn over, then:
- Skip 2 base stitches.
- Insert hook into the next base stitch and work 1 double crochet.
- Chain 2 again for spacing.
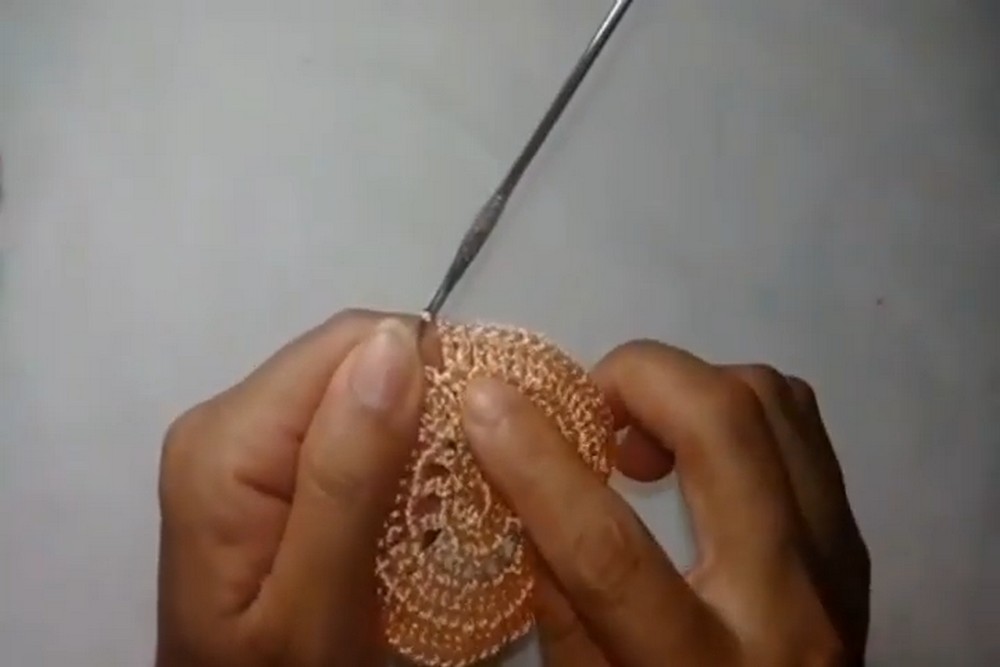
3. Repeat
- Continue this pattern (chain 2, 1 double crochet into the next third base stitch) around the circle.
4. Close the Round
- Slip stitch into the third chain from your original chain 5 to join the round.
Third Round
1. Work Increases
- Chain 3 (counts as the first double crochet).
- Into each chain space from the previous round:
- Work 2 double crochets.
- Into each raised stitch from the previous round (the single stitched double crochet bases):
- Work 1 double crochet.
2. Repeat and Join
- Follow this pattern around: 2 dc in space, 1 dc in stitch.
- Join with a slip stitch into the third chain.
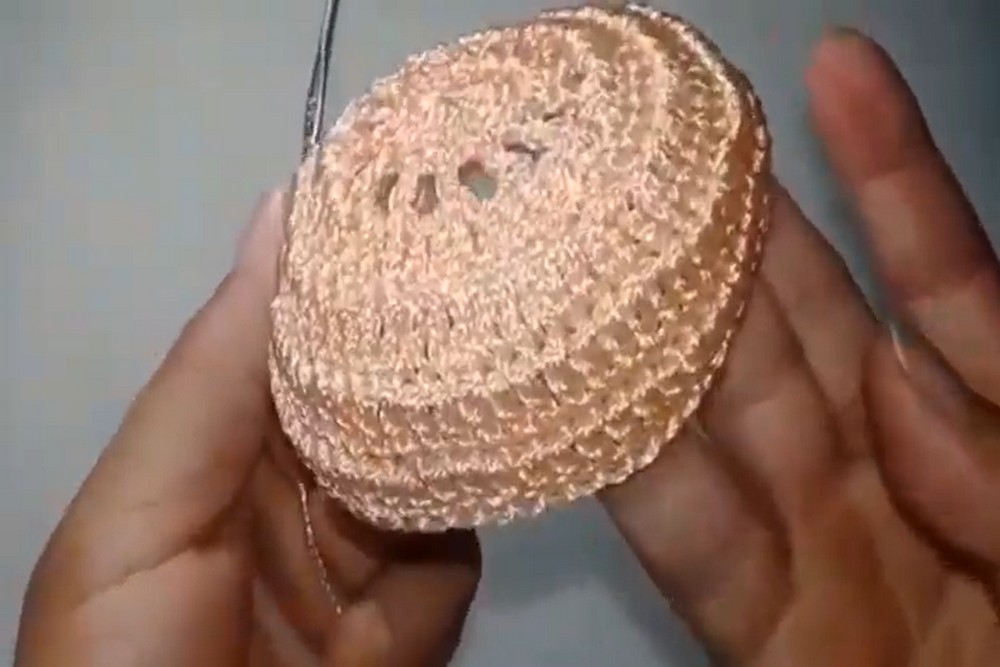
Fourth Round: Normal Points
- Point-on-Point Rows:
- Chain 3.
- Work 1 double crochet in each stitch around, without any increases.
- Join and Fasten:
- Slip stitch into the top of the original chain 3.
Assess Size
Ensure the base depth of the sachet meets your desired size for enclosing the soap or scented material.
Opening and Hanging Loop
1. Create a Hanging Loop
- Chain 10 stitches.
- Skip 2 base stitches (of the edge) and insert into the third stitch.
- Secure with 1 single crochet.
2. Reinforce the Loop
- Turn the work, and:
- Work 10 single crochets back into the chain space.
- At the end, slip stitch into the next base stitch and fasten off.
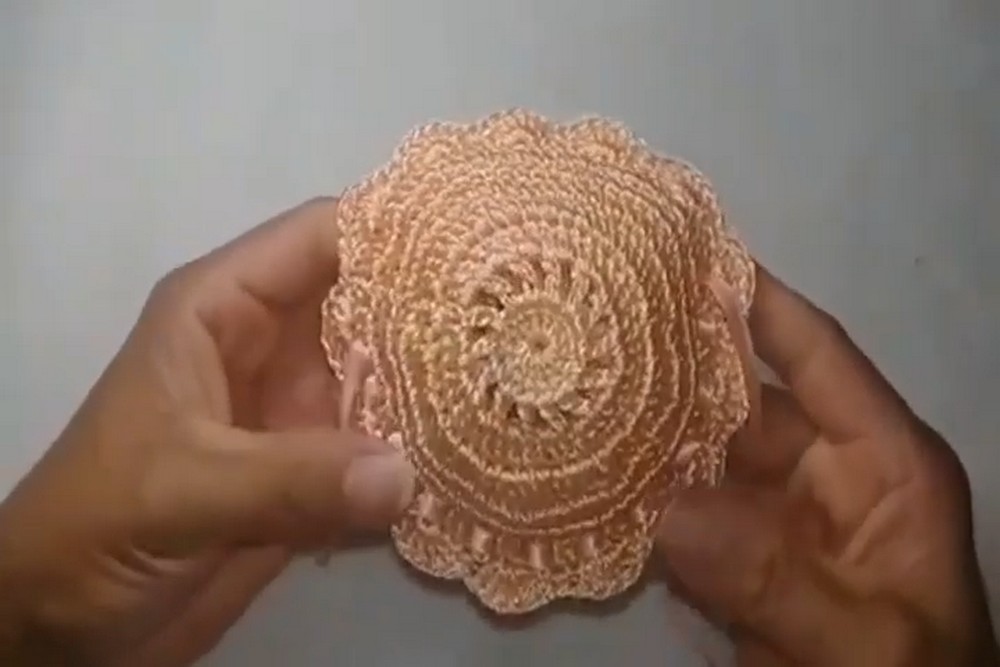
Decorative Edge (Beak Design)
Create a scalloped, decorative edge around the top of the sachet.
1. Begin Beak Pattern
- Start with chain 1.
- Skip 2 base stitches, then in the third base stitch:
- Work 6 double crochets into the same stitch.
2. Anchor and Repeat
- Skip 2 base stitches again.
- Slip stitch into the third base stitch to anchor.
3. Create the Scallops
Repeating the skip, work 6 dc, slip stitch sequence around the opening edge creates scallops.
6. Finishing
- Stitch Closure:
- Thread ribbon through the final round of the sachet (before the decorative edge).
- Alternate between “skipping two stitches” and threading the ribbon through the next two.
- Insert Soap or Scented Material:
- Position the soap well, ensuring it fits snugly.
- Tie Ribbon:
- At the end of threading, tie the ribbon into a decorative bow.
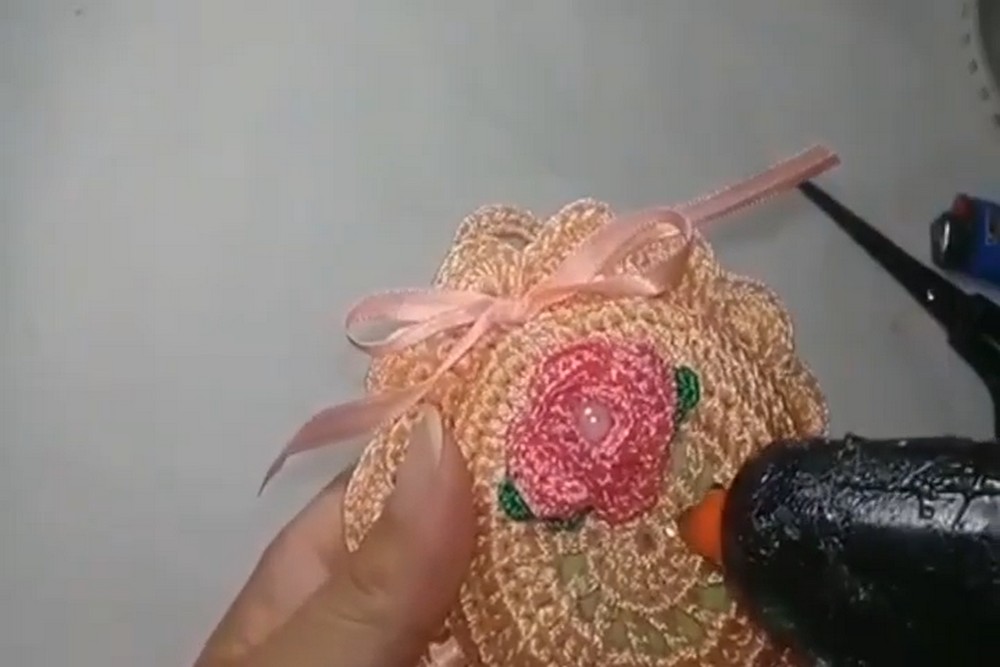
7. Decorating the Sachet
- Attach Flowers:
- Use hot glue to attach crocheted or artificial flowers to the sachet’s surface.
- You can arrange flowers in clusters or evenly spaced.
- Sealing Ribbon Ends:
- Lightly burn the ends of the ribbon with a lighter to prevent fraying.
8. Final Words and Maintenance Tips
- Custom Colors:
- Experiment with pastel colors for feminine tones or vibrant colors for a playful effect.
- Cleaning:
- If the yarn used is washable, gently hand wash and allow to air-dry. Remove the soap securely if stiffened with glue.
- Storage:
- Store in a dry, cool place to preserve fragrance and structural integrity.
Materials Needed:
- A fine Raissa yarn (using two strands) or a single strand of thick yarn
- A piece of ribbon for stitching
- A lighter
- A pair of scissors
- A 1.75 mm crochet hook
- A round, scented soap
- A brooch or other tool to help pass the ribbon
- Hot glue (optional, for attaching decorations)
Special Features and Uses:
- The sachet includes a loop for hanging in places like closets, bathrooms, or bedrooms to keep them smelling fresh.
- It's a great gift idea.
- The video suggests decorating the sachet with crochet flowers, which can be attached with hot glue, to enhance the fragrance and appearance.
Step-by-Step Instructions:
This tutorial provides a step-by-step details on how to crochet a perfumed sachet. The sachet is both quick and easy to make, and it can be used to perfume various areas of your home. The video mentions that the project is simple and suitable for all skill levels.
Conclusion:
This project is a simple, quick, and beautiful way to make a fragrant sachet for your home or to give as a gift. The video demonstrates the entire process, including preparing the base, adding the soap, and finishing with decorations.
Tip:
When lacing the ribbon through the sachet, adjust the number of stitches you skip. While you may start by skipping two stitches, to ensure the sachet closes correctly and looks neat.