
FREE Crochet Pennywise Amigurumi Pattern That’s Creepily Cute
Chill in style with the Free Crochet Pennywise Amigurumi Pattern, bringing a creepy-cute clown that’s perfect for horror lovers and collectors alike.
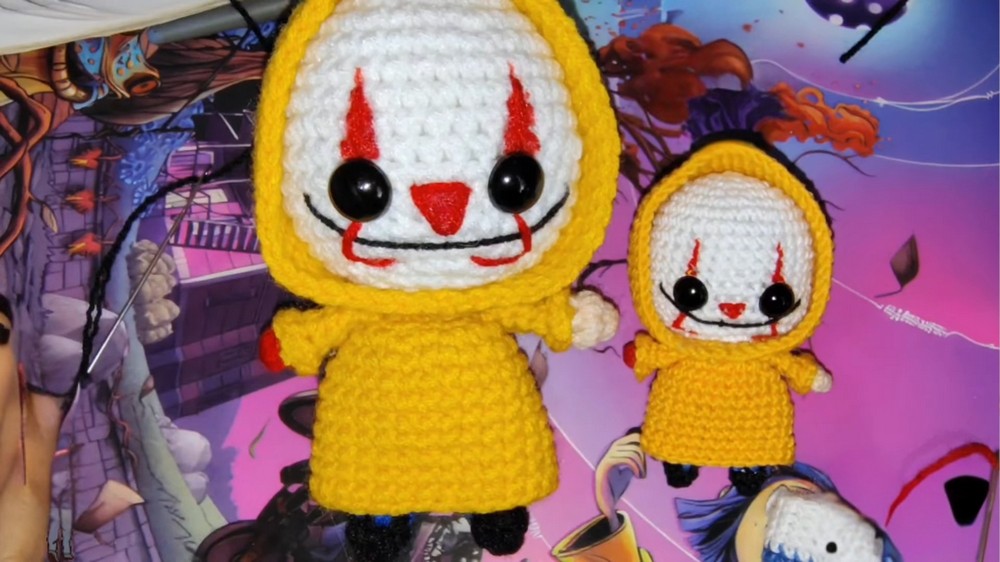
Thrilling stitches await as you bring a mischievous grin and haunting charm to life in yarn form with this themed amigurumi project. In this detailed overview, the Free Crochet Pennywise Amigurumi Pattern invites you to craft a delightfully eerie embodiment of the clown from Georgie’s puddle scene. With its signature balloon‑holding pose, flowing red hair and the striped outfit with oversized collar, this pattern offers both spooky fun and collectible appeal.
How to Crochet Pennywise Amigurumi Pattern Easily
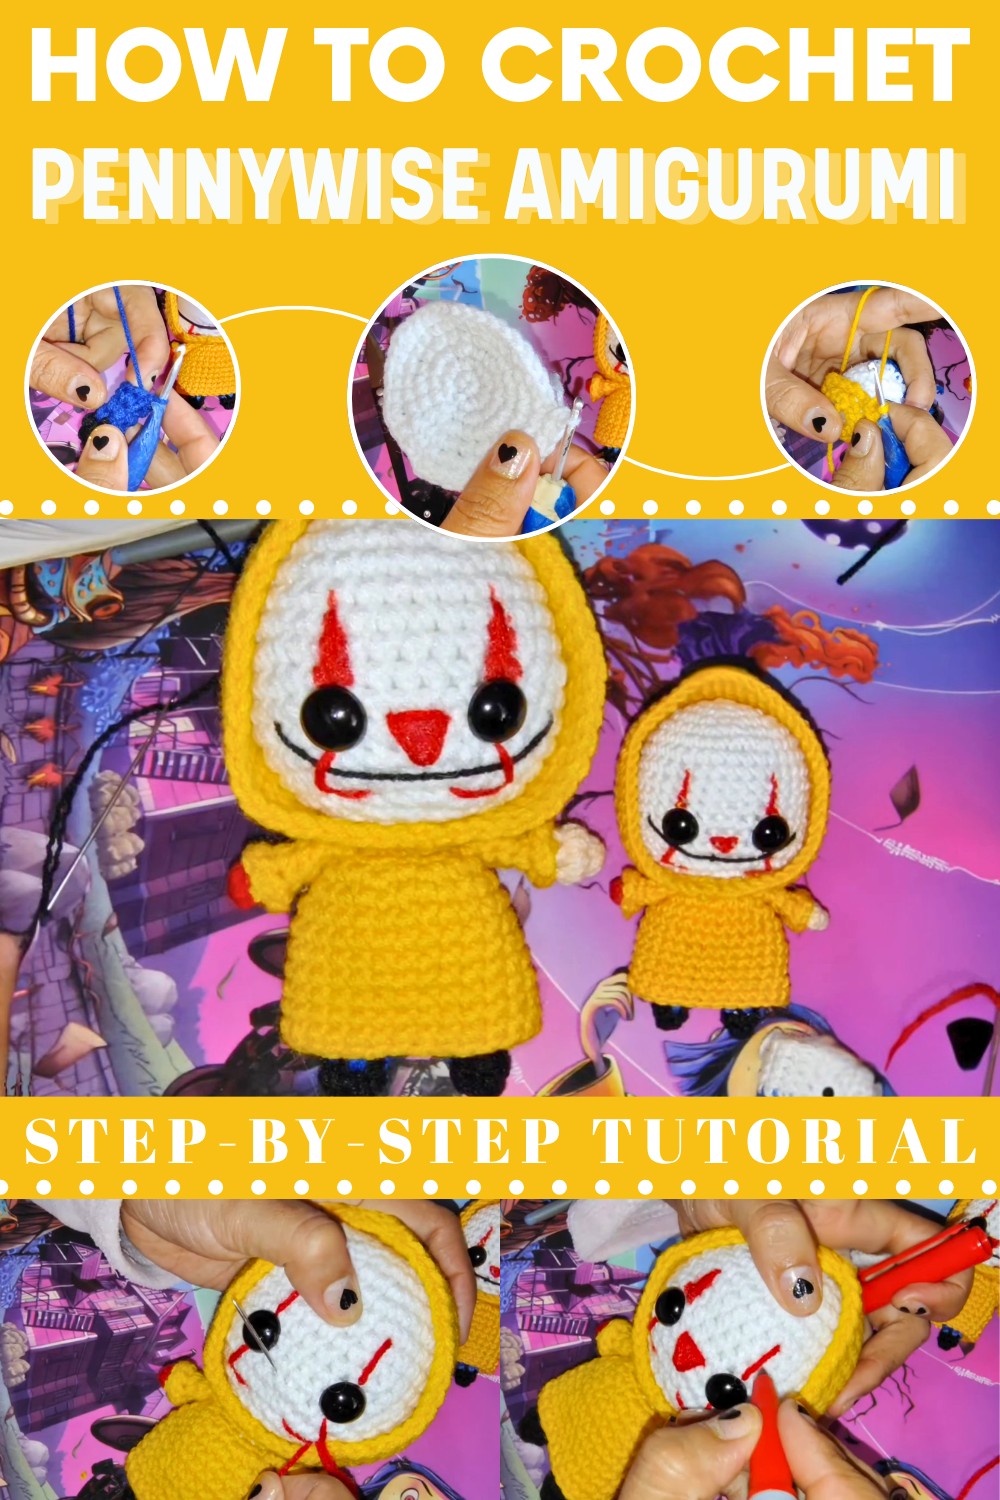
Beyond its eye‑catching aesthetic, this free crochet Pennywise amigurumi pattern delivers benefits like honing your continuous‑round technique, challenging your color‑change skills, and resulting in a unique handmade décor piece or gift for horror‑fans and collectors alike. Designed to be approximately 20 cm tall using medium‑weight yarn and a 3.0 mm hook, the amigurumi features a head worked in continuous rounds, a body crocheted seamlessly from the torso down, and separate limbs attached with whip‑stitch for full stability per the pattern.
Materials
- Yarn:
- White (head)
- Yellow (raincoat, hat/hood, part of arms)
- Red (hand, details)
- Skin tone (arms, legs/feet)
- Hooks:
- 1.75 mm (for smaller doll—optional)
- 3.0 mm (for larger doll)
- Stuffing: Polyester fiberfill
- Yarn needle
- Scissors
- Safety Eyes: 9 mm or 14 mm (depending on your chosen size)
- Embroidery Thread: Red, Black (for mouth and details)
- Stitch marker
- Optional:
- Fabric or permanent markers (for details)
- Glue, if not sewing parts (recommended to sew)
Key Abbreviations (US TERMS)
| Abbreviation | Meaning |
|---|---|
| MR | Magic ring |
| sc | Single crochet |
| inc | Increase (2 sc in 1 st) |
| dec | Decrease (sc2tog) |
| st(s) | Stitch(es) |
| FO | Fasten off |
| BLO | Back loop only |
| FLO | Front loop only |
| ch | Chain |
| sl st | Slip stitch |
Special Notes
- The body is worked from the feet up; the head and hat/hood are made separately and attached at the end.
- All parts are worked in continuous spiral rounds unless noted otherwise.
- Use a stitch marker to keep track of rounds.
- Adjust yarn and eye size for your desired scale (e.g., 9 mm eyes for ~8cm, 14 mm for ~15cm doll).
- Stuff limbs and pieces firmly for best shape, especially before closing.
Pattern
FEET & BODY
Feet (make 2):
- Rnd 1: With skin color yarn, MR, 6 sc (6)
- Rnd 2: Sc in each st (6)
- Rnd 3: Sc in each st (6)
- Rnd 4: Sc in each st (6)
- Rnd 5: (2 sc, inc) x2 (8)
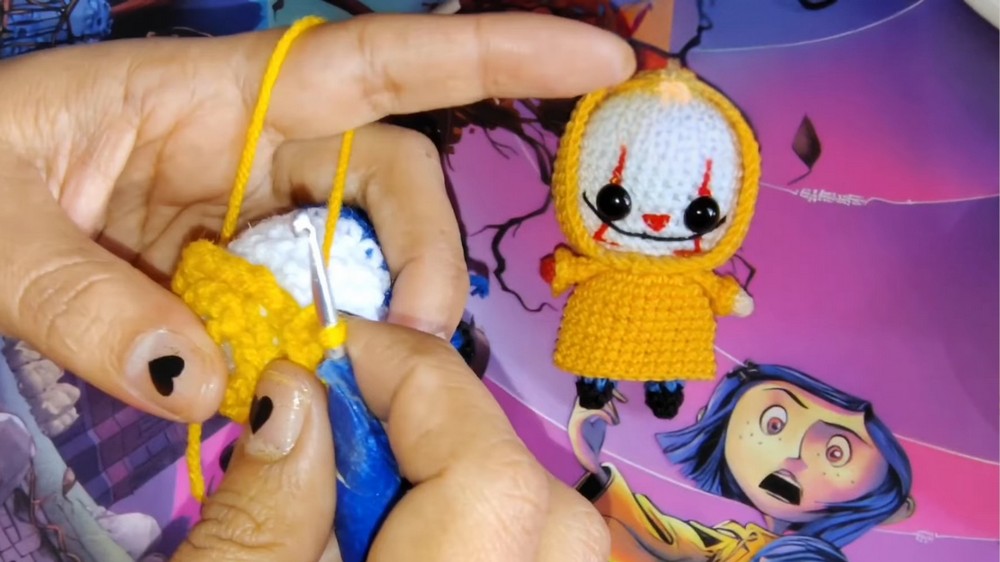
- Repeat steps 1–5 for second foot.
- Do not cut yarn on second foot; ch 1 and join both feet with a slip stitch to start creating the body as follows. This creates a shared stitch.
LEGS & BODY
- Rnd 6: Sc around first foot (8), 1 sc in ch, sc around second foot (8), 1 sc in ch (total 18).
- Rnd 7: Sc in each st (18)
- Rnd 8: Change to white yarn (pants/socks), sc in each st (18)
- Rnd 9: (7 sc, dec) x2 (16)
- Stuff both feet now before the opening gets smaller.
- Rnd 10: Sc in each st (16)
- Rnd 11: (6 sc, dec) x2 (14)
- Rnd 12: (5 sc, dec) x2 (12)
- Rnd 13: Change to yellow (raincoat). BLO: Sc in each st (12)
- Cut yarn here and set body aside for now.
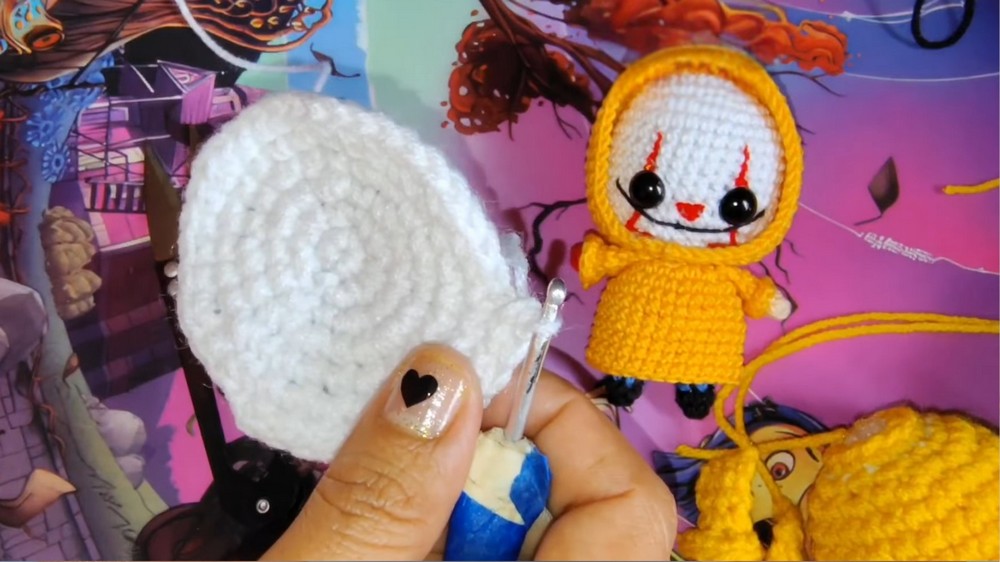
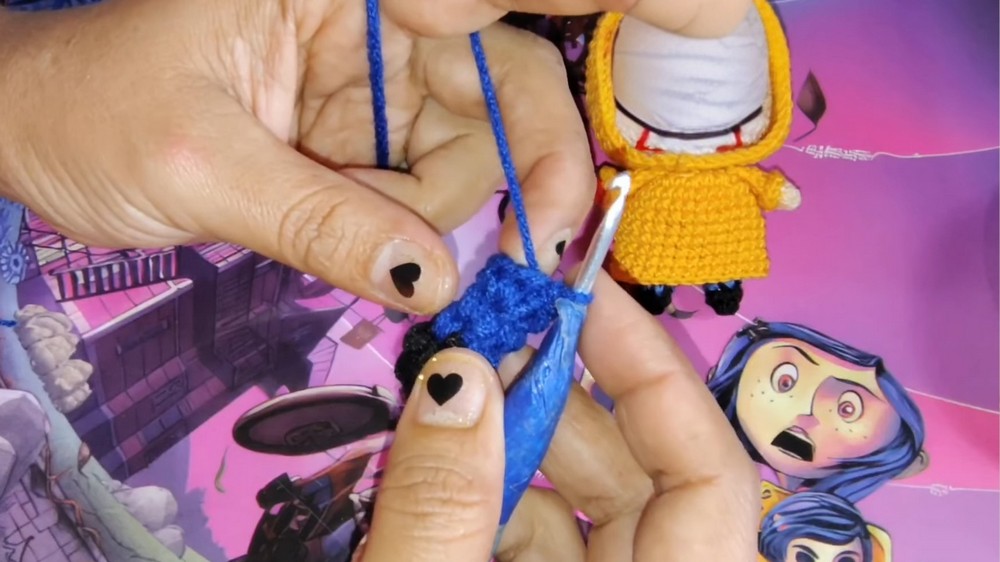
RAINCOAT FLARE/SKIRT
- Attach yellow to FLO of Round 13: (sc, inc) around (18)
- Rnd 2: (sc, inc) around (27)
- Rnd 3–10: Sc in each st (27)
- FO, weave in ends.
ARMS
Right Arm ("normal")
- With skin yarn: MR, 6 sc (6)
- Rnd 2: Sc in each st (6)
- Rnd 3: Change to yellow, sc in each st (6)
- Rnd 4: BLO, sc in each st (6)
- Rnd 5: Sc in each st (6)
- Rnd 6: Flatten and close with 3 sc through both sides.
- FO, Leave long tail for sewing.
- Lightly stuff arm, mostly skin-color portion before closing.
Cuff (Hem):
- Attach yellow to FLO of round 4: (sc, inc) in each st (9)
- Sl st to join and FO.
Left Arm ("short, red hand")
- With red: MR, 6 sc (6)
- Rnd 2: Change to yellow, sc in each st (6)
- Rnd 3: BLO, sc in each st (6)
- Rnd 4: Sc in each st (6)
- Close as for right arm with 3 sc through both sides.
- FO, long tail, stuff lightly.
HEAD
With white:
- Rnd 1: MR, 6 sc (6)
- Rnd 2: Inc in each st (12)
- Rnd 3: (sc, inc) x6 (18)
- Rnd 4: (2 sc, inc) x6 (24)
- Rnd 5: (3 sc, inc) x6 (30)
- Rnd 6: (4 sc, inc) x6 (36)
- Rnd 7–14: Sc in each st (36, 8 rounds)
- Rnd 15: (4 sc, dec) x6 (30)
- Rnd 16: (3 sc, dec) x6 (24)
- Insert safety eyes between rounds 12 & 13, 5 sts apart.
- Rnd 17: (2 sc, dec) x6 (18)
- Stuff head firmly.
- Rnd 18: (sc, dec) x6 (12)
- FO, leaving a long strand for sewing.
HAT/HOOD
With yellow:
- Rnd 1: MR, 6 sc (6)
- Rnd 2: Inc in each st (12)
- Rnd 3: (sc, inc) x6 (18)
- Rnd 4: (2 sc, inc) x6 (24)
- Rnd 5: (3 sc, inc) x6 (30)
- Rnd 6: (4 sc, inc) x6 (36)
- Rnd 7: (5 sc, inc) x6 (42)
- Rnd 8: (6 sc, inc) x6 (48)
- Rnd 9–18: Sc in each st (48, 10 rounds)
- FO, leave long yarn to sew hood to head.
ASSEMBLY
- Sew arms to the sides of the body: Attach "normal" right arm and then the "short red hand" left arm.
- Sew head to the body: Center and attach firmly.
- Position hood over head: Align so the hood frames the face, then carefully sew or glue in place.
- Attach body to hood (inside edge): Sew through base of hood and upper edge of body for added security.
FACIAL DETAILS & EMBROIDERY
- Red lines: Use red yarn or embroidery thread to make Pennywise’s signature eye and face markings. Start from above the eyes, down through the eyes, to corners of the mouth.
- Nose: Use red yarn or a fabric marker to make a small red nose.
- Mouth: Embroider a slightly arched black mouth beneath the nose and red lines.
- Optional: Use blush or pink coloring for cheeks.


Conclusion
You have now created “Pennywise as Georgie” as an adorable Halloween amigurumi! The pattern incorporates color changes, an attached raincoat, and unique facial embroidery for personality. Adjust size and facial features as desired for your collection.
Pattern Correction & Tips
- When changing colors (especially for arms and clothing), always finish the previous stitch with the new color for a clean transition.
- Attach limbs before closing the body for easier assembly.
- Sew parts rather than glue for a more durable and secure finish.
- For facial embroidery, lightly mark positions first or use pins as a guideline for symmetry.
- After assembly, shape the doll and steam block lightly if needed.