
Free Crochet Pacifier Clip Pattern Adds Safety & Style
Secure pacifiers easily with this Free Crochet Pacifier Clip Pattern, a practical and stylish accessory that adds safety, charm, and ease to baby care
Parents know how quickly a pacifier can slip from tiny hands and end up lost or on the floor, especially during outings or playtime. That simple challenge inspired the idea of a thoughtful accessory that keeps pacifiers secure, easy to find, and hygienic. The Free Crochet Pacifier Clip Pattern offers just that solution in a stylish and practical way, combining function with charm. This pacifier clip attaches firmly to baby clothing, preventing constant drops and the need for frequent washing.
Adorable Crochet Pacifier Clip Pattern for Everyday Convenience

Lightweight and gentle, it ensures comfort for little ones while providing peace of mind to parents. Its customizable length makes it safe and convenient, while the secure loop easily holds a pacifier, teether, or small toy. The clip is reusable, washable, and durable, making it a reliable companion for everyday use.
Beyond its function, this accessory can be worked in various colors to match outfits or nursery themes, turning a daily essential into something delightful. The Free Crochet Pacifier Clip Pattern is also an ideal handmade gift for baby showers, offering both beauty and practicality in one piece. With this thoughtful accessory, parents can keep pacifiers close at hand while adding a personal, charming touch to baby care.

Special Features
- Handcrafted crochet design with decorative pearls and rhinestones for an elegant finish.
- Includes optional hot glue tips for durability, ensuring the work stays intact when used.
- Combines utility with aesthetics, allowing it to be used as part of a baptism kit or customized in various colors for other occasions.
Materials Needed
Here is a list of materials used in the tutorial:
- Silk Thread: Two strands are needed for crocheting.
- Crochet Hook: Size 0, 1.75 mm.
- Nylon Thread: Thin for durability.
- Scissors
- Lighter: Used for sealing ends of the thread.
- Rhinestone Strip: Cut into 4 light points (length) and 3 points (width).
- Pearls: Size 4, used for embellishment.
- Duckbill Clip: Main pacifier clip component (4–5.5 cm).
- Felt Fabric: Used as a base for the rhinestones.
- Hot Glue: For securing parts.
- Needle: For threading pearls for embroidery.
Step-by-Step Process
Step 1: Preparing the Chains
- Start by creating a chain of 25 loops using silk thread and a size 1.75mm crochet hook. Form a slip knot and begin your chain.
- Once you've created 25 chains, join the ends with a slip stitch to make a circle.

Step 2: Working Stitch Rows
- Crochet back and forth around the base using half stitches. Insert the crochet hook into each chain, yarn over, and pull through all loops to create smooth stitches.
- Create 10 rows, taking only one leg of each stitch to create a relief effect. This forms the body of the clip.

Step 3: Adding Embellishments
- Use felt fabric as a base for rhinestones. Cut the rhinestone strip into 4×3 light points and attach it onto the felt using cold glue.
- Stitch 3 pearls onto the felt, spacing evenly for decorative purposes.
Step 4: Folding and Securing the Duckbill
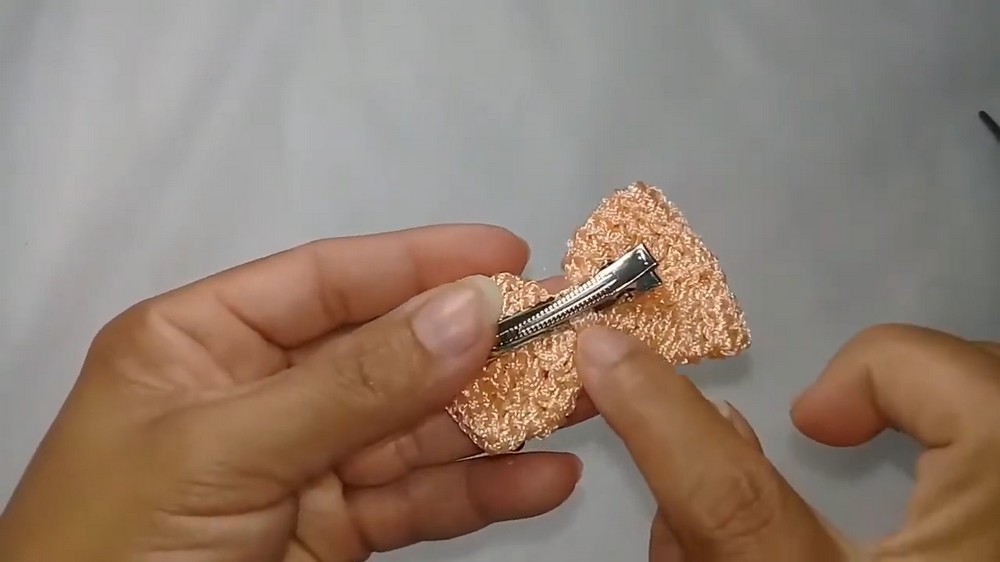
- Fold the crocheted strip and insert the duckbill clip into the seam, securing it with thread. Hot glue can be used for added firmness if desired.
- Wrap thread around the duckbill area 3–4 times to ensure it is tight and stable.
Step 5: Finishing Details
- Stitch around the edges using crab stitch to close seams and ensure durability.
- Seal the nylon thread gently using a lighter to give the work a polished appearance.

Step 6: Creating the Pacifier Attachment
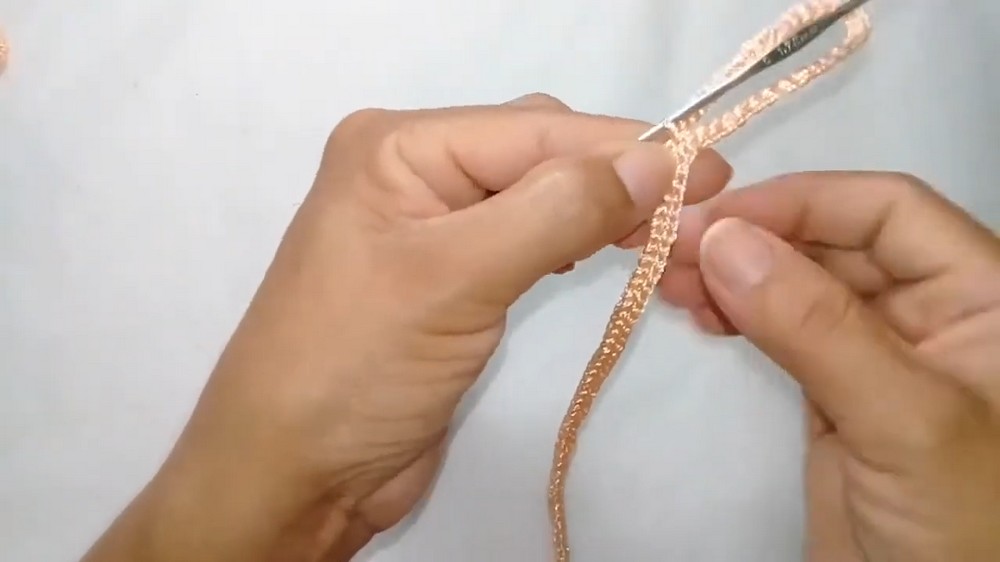
- Start with 50 chains to form the loop for attaching a pacifier.
- Mark the loop area using thread and add another 30 chains. Join the ends and crochet around the loop using low stitches.
- Embellish the loop with 3 pearls and finish with thread seals.
Level of Difficulty
This project is beginner-friendly but requires knowledge of basic crochet stitches such as slip stitch, half stitch, and crab stitch. Following the tutorial step-by-step ensures an easy and enjoyable crafting process.
Tutor's Suggestions
The tutor suggests:
- Using thin nylon thread for flexibility and durability.
- Adding hot glue for securing parts but avoiding glue directly on nylon thread to prevent potential damage.
- Customizing the color and embellishments according to preferences (e.g., red for other occasions, baptism white, etc.).
Uses
- Perfect as part of a baptism kit, offering elegance and functionality.
- Can be customized for everyday use or gifting.
- Versatile kit design allows use in scrunchies, bows, or baby accessories.
Tip for Success
Avoid applying hot glue directly onto nylon thread, as it may damage the work. Instead, use a small felt piece as a barrier to secure with glue for added durability.
Conclusion
This pacifier clip tutorial provides a detailed step-by-step guide that's beginner-friendly and adaptable to personal preferences. Whether you're crafting for a baptism kit or creating unique accessories, it combines aesthetics and practicality beautifully. With care and creativity, you can produce a professional-quality piece that’s functional, durable, and charming.