
Free Crochet Nun Amigurumi Pattern That Sparks Creativity
Bless your yarn stash with the Free Crochet Nun Amigurumi Pattern, making a playful, adorable little nun that’s perfect for gifts, décor, and smiles.
Tiny figures of devotion and charm come to life with each stitch in this delightful amigurumi project. The Free Crochet Nun Amigurumi Pattern allows you to create a serene little nun perfect for gifts, display, or meaningful décor.
How to Crochet Nun Amigurumi Pattern with Simple Steps
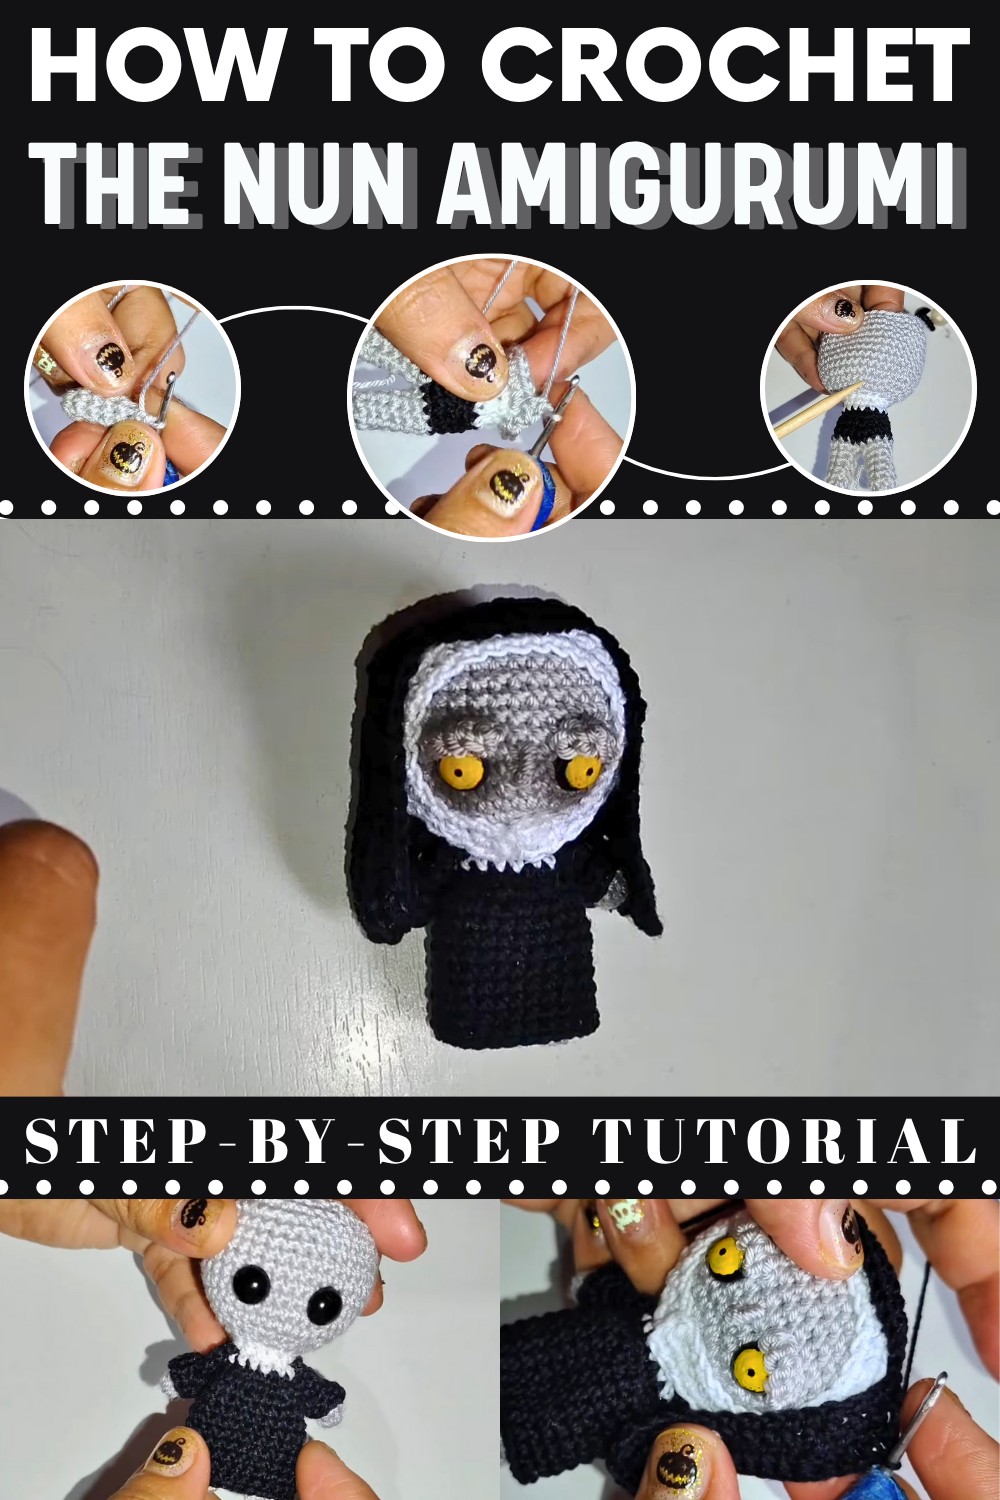
This Free Crochet Nun Amigurumi Pattern combines simplicity and elegance, making it suitable as a thoughtful handmade keepsake, comforting bedside companion, or decorative accent in a home or retreat. Beyond its visual appeal, the pattern helps improve seamless round‑crocheting skills, hones color-changing techniques, and results in a unique finished piece that embodies calm and character, offering both creative satisfaction and a charming, meaningful addition to any space.
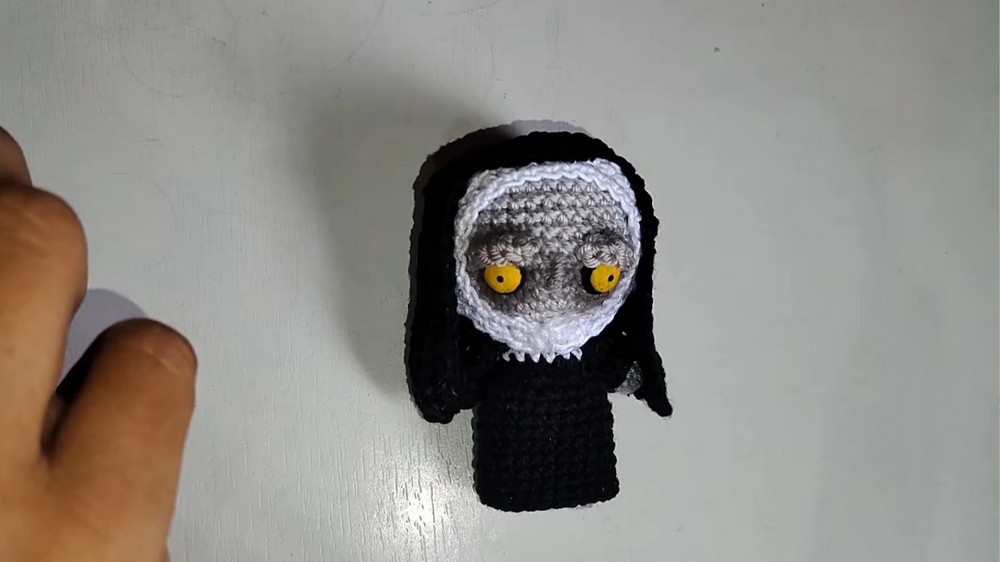
Materials
- Yarn:
- Grey (feet, arms, body base)
- Black (dress, cloak/hood)
- White (head, facial details, cloak details)
- Hook:
- 2.5–3.0 mm (or size suitable for yarn used)
- Stuffing: Polyester fiberfill
- Yarn needle
- Scissors
- Safety eyes: 5–8 mm, yellow paint or thread (for the Nun's signature eyes)
- Embroidery thread: Black, white (eyebrows, mouth, nose, facial accents)
- Yellow & black textile paint or fabric paint (for eye color and shading/eyebrows)
- Stitch marker
- Pins (for positioning parts)
- Optional: Fabric glue (if not sewing)
Key Abbreviations (US Terms)
| Abbreviation | Meaning |
|---|---|
| MR | Magic ring |
| sc | Single crochet |
| inc | Increase (2 sc in 1 st) |
| dec | Decrease (sc2tog) |
| st(s) | Stitch(es) |
| ch | Chain |
| hdc | Half double crochet |
| sl st | Slip stitch |
| BLO | Back loop only |
| FLO | Front loop only |
| FO | Fasten off |
Special Notes
- Work in continuous spiral unless otherwise specified.
- Move your stitch marker as needed to maintain symmetry, especially for oval-shaped bodies.
- Always stuff pieces lightly to avoid bulging.
- Paint facial details only after all pieces are fully assembled and the doll is no longer handled.
Pattern
FEET (Make 2)
With grey yarn:
- Rnd 1: MR, 6 sc (6)
- Rnd 2–5: sc in each st around (6 rounds)
- Rnd 6: (2 sc, inc) x2 (8)
- FO. Make a second foot.
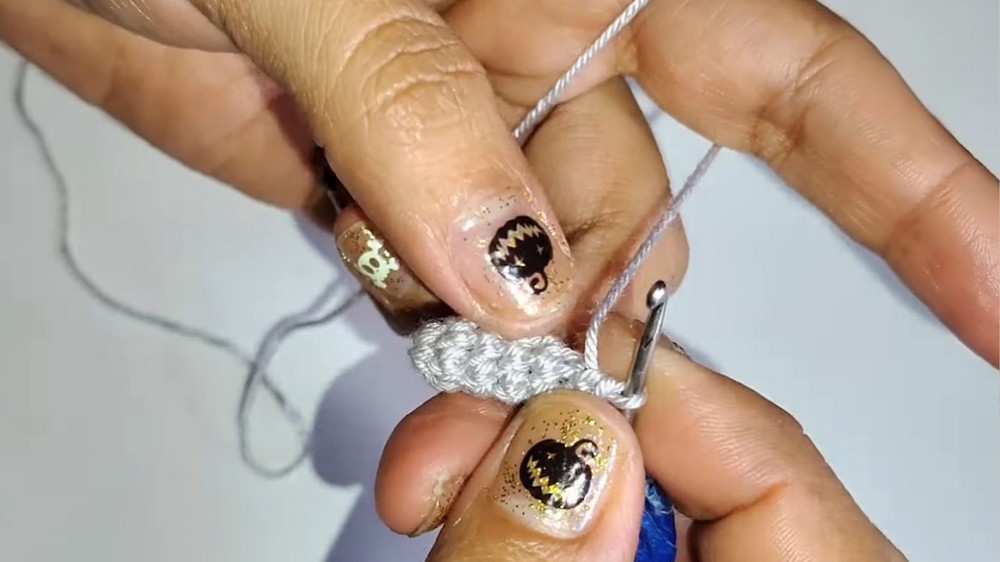
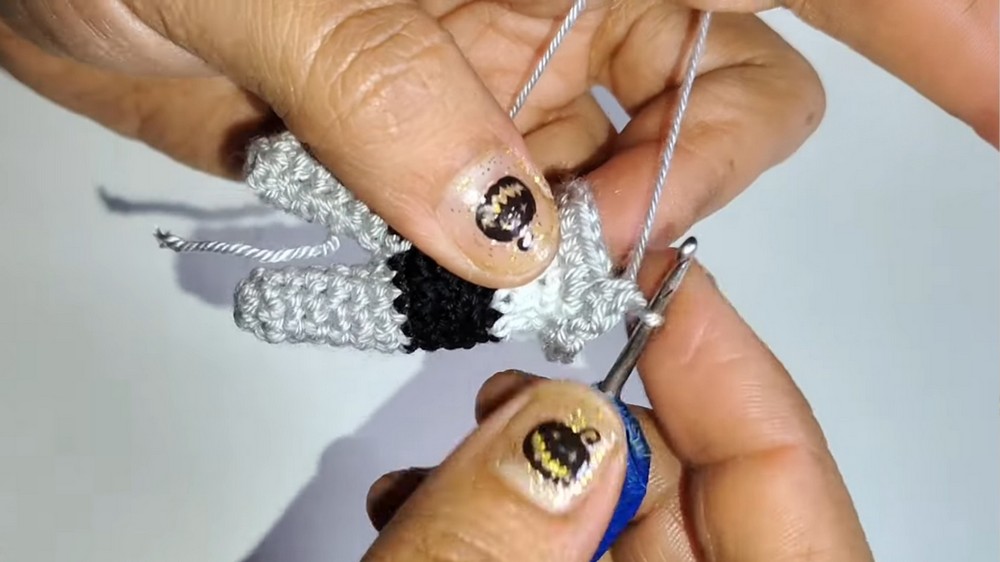
JOIN LEGS & BODY
- Ch 1 between feet, join with sl st to start the body.
- Rnd 7: sc around first leg (8), sc in chain, sc around second leg (8), sc in chain (total 18)
- Rnd 8: Change to black, sc in each st (18)
- Rnd 9: sc in each st (18)
- Rnd 10: (7 sc, dec) x2 (16)
- Rnd 11: BLO, sc in each st (16)
- Rnd 12: Change to white, (6 sc, dec) x2 (14)
- Stuff feet now, before opening gets too small.
- Rnd 13: (5 sc, dec) x2 (12)
- Rnd 14: sc in each st (12)
HEAD
With white yarn:
- Rnd 15: 12 inc (24)
- Rnd 16: (3 sc, inc) x6 (30)
- Rnd 17: (4 sc, inc) x6 (36)
- Rnd 18–25: sc in each st (36, 8 rounds)
- Rnd 26: (4 sc, dec) x6 (30)
- Insert safety eyes between rounds 6–7 from the bottom, 5 sts apart (before closing).
- Rnd 27: (3 sc, dec) x6 (24)
- Rnd 28: (2 sc, dec) x6 (18)
- Rnd 29: (sc, dec) x6 (12)
- Stuff and close top with 6 decreases (6)
- FO, weave in all ends.

DRESS / CLOAK BASE
With black yarn:
- Join in FLO of Rnd 11 on body: (sc, inc) around (24)
- Rnd 2–10: sc in each st (24)
- FO and weave in ends after round 10.
ARMS (Make 2)
With grey yarn:
- Rnd 1: MR, 6 sc (6)
- Rnd 2: sc in each st (6)
- Rnd 3: Change to black, sc in each st (6)
- Rnd 4: BLO, sc in each st (6)
- Rnd 5: sc in each st (6)
- FO, flatten, close end with 3 sc through both sides. Leave a long tail for sewing.
- These arms are NOT stuffed.
SLEEVE HEM
With black yarn:
- Attach in FLO of Rnd 4: (sc, inc) around (9)
- Sl st to join, FO.
- Rnd 2: sc in each st (9)
- FO and weave in ends.
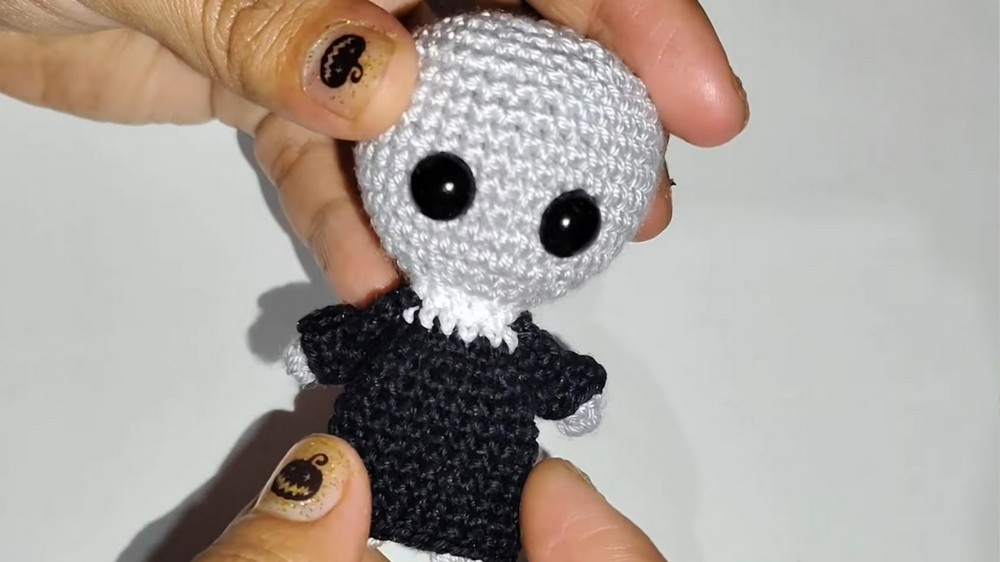
NOSE
With white/skin tone yarn:
- Embroider a tall, vertical nose centered between the eyes, slightly raised as in the film.
- Use three vertical stitches for shape, and add thickness with a second layer if desired.
EYEBROWS
With black thread:
- Ch 5, turn; sc in each st across (4)
- FO, leave a tail to sew above each eye.
- Eyebrow should be raised and thick.
HOOD
With black yarn:
- Rnd 1: MR, 6 sc (6)
- Rnd 2: 6 inc (12)
- Rnd 3: (sc, inc) x6 (18)
- Rnd 4: (2 sc, inc) x6 (24)
- Rnd 5: (3 sc, inc) x6 (30)
- Rnd 6: (4 sc, inc) x6 (36)
- FO.
- Attach around top and back of head, sewn or glued for the "hood" look.
- Leave front open for face visibility.
WHITE CLOAK DETAILS
With white yarn:
- Ch 33, turn, hdc in each st (32)
- Repeat for a second row (2 rows of hdc total).
- FO and sew around crown of head under black hood.
- Optional: Ch 16, turn, hdc in each st (15)
- Sew as an accent across face as desired.

FACIAL EMBROIDERY/PAINT
- Eyes: Paint or embroider yellow irises, a black dot for pupils.
- Eyebrow & facial shading: Using black paint or thread, accentuate brow and cheekbones.
- Nose: Paint or embroider to add definition.
FINAL ASSEMBLY
- Attach arms to sides of body (at dress level).
- Secure the head to body; sew carefully for stability.
- Attach cloak and hood pieces around the head.
- Embroider or paint facial details last once assembly is complete and doll is dry.
Conclusion
Your Nun amigurumi is now ready to haunt Halloween! This pattern showcases techniques such as seamless color changes, hood and cloak shaping, and expressive embroidery for a chilling effect. Use textile paint for realistic eye color and shading.
Pattern Correction & Tips
- The body is constructed in a simple leg-joining oval, allowing a neat transition to the dress and head (seamless).
- Always stuff before closing and assembly for crisp shapes.
- Sewing parts is recommended over gluing for durability.
- Paint eyes and finish facial details last to avoid smudging.
- Adjust cloak and hood width to fit your doll, depending on tension and yarn type.