
Free Crochet Lily of the Valley Keychain Pattern Featuring for Beginners
Start your own unique Crochet Lily Keychain that adds a lovely touch to your accessories and makes a charming gift or personal keepsake.
DIY Yarn Crafts shares a simple project on their original YouTube tutorial, and full credit goes to the creator for this lovely project. The Crochet Lily of the Valley Keychain features small white flowers that look like lilies of the valley, attached to a metal keyring. Watching their full tutorial can help you follow along step-by-step.
Mini Crochet Lily of the Valley Keychain Free Pattern Ideal for Keys
This keychain is small and light, so it is easy to carry on your keys, backpack, or bag. The white and green yarn colors copy the look of the real flowers and leaves, making the keychain fresh and nice. The finished keychain is usually a few inches wide, which is just the right size to add some charm without being too big.
The project is good for people who know some basic crochet stitches and want a small project. It is easy enough for beginners who want to practice and get better. You will only need a few simple supplies: white and green yarn, a crochet hook, stuffing to give the flowers shape, and a metal keyring.This keychain can be a great gift or a pretty item for yourself. It adds a handmade touch to ordinary things like keys or bags. It is also useful for learning crochet while making something nice and handy. Overall, the Crochet Lily of the Valley Keychain is a lovely and easy project for many skill levels and a nice addition to any crochet collection.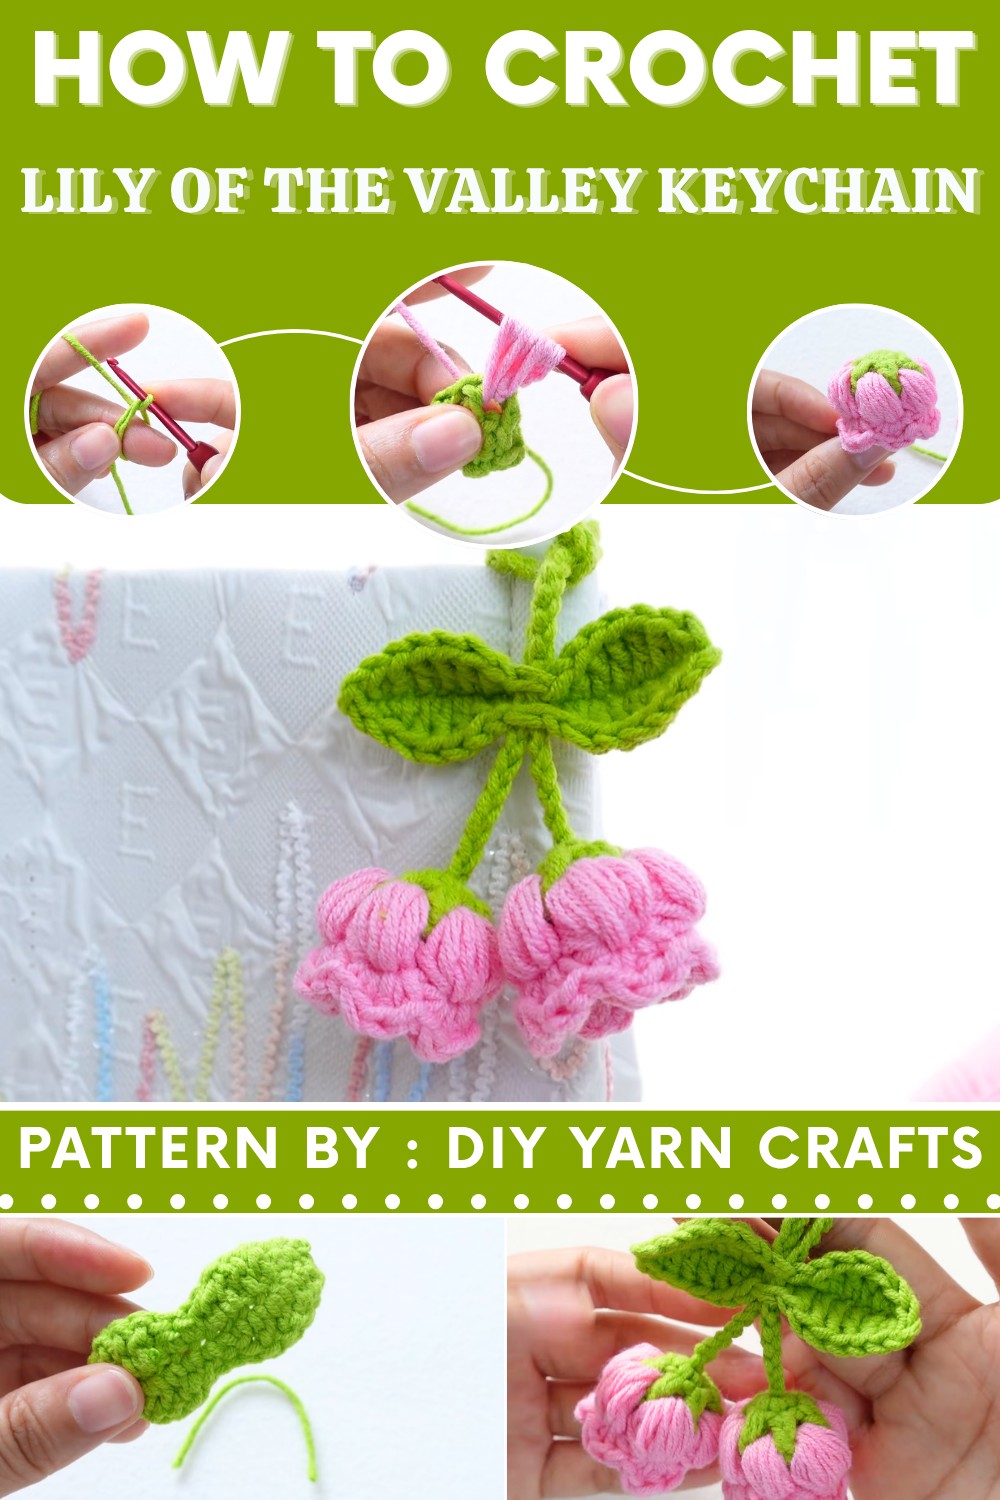

Lily of the Valley Crochet Keychain Pattern
This pattern is designed to be simple, beginner-friendly, and can be completed quickly, making it perfect for gifting or personal use. The pattern features delicate flowers, a textured leaf, and a neat string to assemble everything into a functional accessory.
Quick Overview of Pattern
- This pattern guides you step by step to create two Lily of the Valley flowers, a leaf, and a string, then assemble them into a beautiful keychain.
- Using basic stitches and easy-to-follow instructions, you'll learn to crochet a magic ring, bobble clusters, and shape a leaf, ideal for beginners.

Notes
- Read through the pattern once before starting.
- The flowers and leaf are all worked separately then assembled at the end.
- You can customize the flower colors and string length for personal style.
- Crochet over yarn tails when instructed to minimize weaving in later.
Skill Level
Beginner
Materials
- 5-ply milk cotton yarn in green, white (or flower color of your choice)
- 2.5 mm crochet hook
- Stitch markers
- Darning/tapestry needle
- Small scissors
Measurements / Sizing
- Finished flower diameter: Approx. 4-5 cm
- Leaf length: Approx. 8-9 cm
- String: Approx. 16 cm (add chains for desired length)
Gauge
Gauge is not crucial in this pattern but for reference:
- 6 single crochets in the magic ring measures around 2 cm diameter.
Stitch Abbreviations
- ch = chain
- sc = single crochet
- hdc = half double crochet
- dc = double crochet
- sl st = slip stitch
- st(s) = stitch(es)
- yo = yarn over
- magic ring = adjustable ring
Special Stitches
Magic Ring
Create a loop, insert hook under the loop, pull up a loop, chain 1 to secure.
Bobble Cluster (5 hdc cluster)
(yo, insert hook in same space, yo, pull up loop) repeat 5 times, yo, pull through all loops on hook.
Crochet Pattern
Flower (Make 2)
Round 1
- Begin with green yarn.
- Make a magic ring.
- Into the ring, make 6 sc. Mark the first st with a stitch marker.
- Pull yarn tail to close the ring.
- Sl st into the first sc (stitch with marker). (6 sc)

Round 2
- Ch 3 (mark the 3rd chain).
- Skip the first st, dc into second sc.
- Ch 1.
- Dc in next sc, ch 1—repeat for a total of 5 dc and 5 ch-1 spaces.
- Sl st into the marked 3rd chain. Ch 1 and cut green yarn.
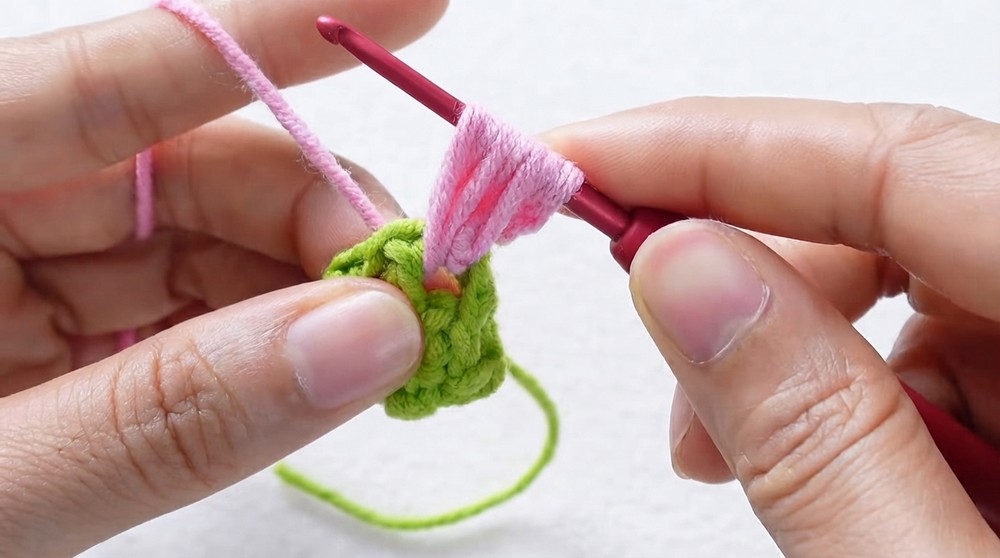
Flower Bobble Petals
- Join flower color yarn (create slipknot and attach to any ch-1 space).
- Into each ch-1 space:
- Ch 3.
- 5-hdc bobble cluster in same space (keep loops loose), crochet over yarn tails.
- Yo, insert hook, yo, pull up loop—repeat total 5 times. Yo, pull through all loops.
- Ch 1, mark this stitch.
- Cut yarn tails as instructed, leave green tail.
- Repeat above steps for all 6 ch-1 spaces (6 bobble petals).
- Sl st into the stitch with the marker.
Final Flower Shaping
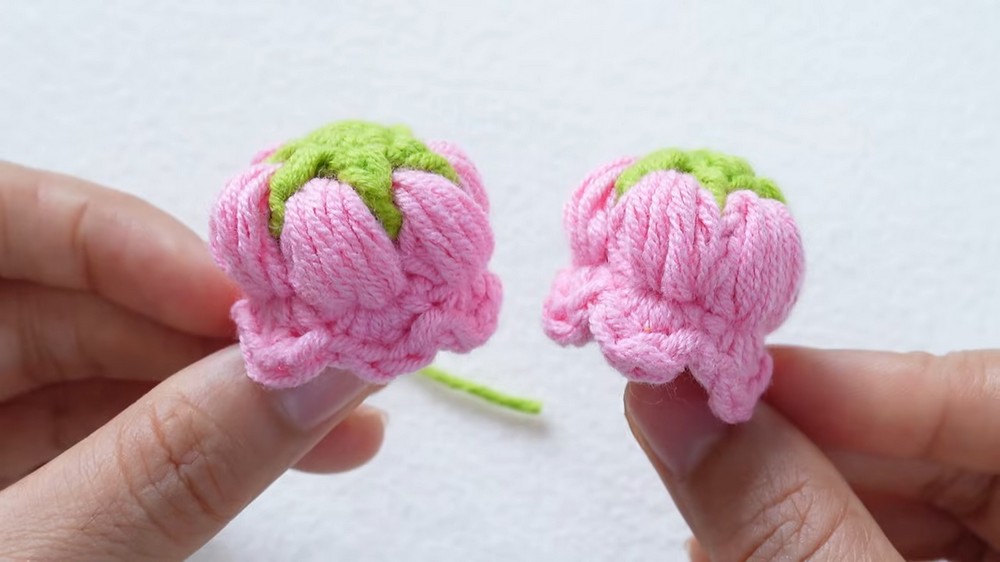
- Ch 1 to start new round.
- In stitch above each bobble:
- Sc, 2 dc, sc in same st—repeat for all 6 petals.
- Sl st into marked stitch.
- Ch 1 and cut yarn.
- Weave in ends.
- Flower is now finished; make two flowers.
Leaf
- With green yarn, make a slip knot.
- Ch 15.
- Skip first ch, sc in 2nd ch.
- Hdc in next ch.
- Dc in next 3 chains.
- Hdc in next ch.
- Sc in next 2 ch.
- Hdc in next ch.
- Dc in next 3 ch.
- Hdc in next ch.
- Sc in last ch.
- Ch 2, sc again in same ch (forms leaf tip).
- Turn and work along opposite side of chain.
- Hdc in next st.
- Dc in next 3 sts.
- Hdc in next st.
- Sc in next 2 sts.
- Hdc in next st.
- Dc in next 3 sts.
- Hdc in next st.
- Sc in next st.
- Sl st in last st.
- Ch 1 and cut yarn.
- Weave in ends; trim yarn tails.

String
- With green yarn (or color of your choice), make a slip knot.
- Ch 50 (or desired length).
- Cut yarn.
Assembly & Finished Size
- With hook, insert into center of flower; pull string tail through.
- Tie string tail and flower magic ring tail together to secure.
- Repeat for second flower, spacing as desired.
- For leaf, insert hook in middle (between two sc), pull string through.
- Arrange elements; tie off and weave in any remaining tails.
- Attach key ring if desired.

Conclusion
This pattern is great for beginners looking to practice new stitches and techniques while creating a lovely accessory. Customize with colors or make more flowers for a fuller look.