
Free Crochet Gummy Bear Pattern for Playful Accessories
Turn simple yarn into adorable and colorful creations with this free crochet gummy bear pattern that is easy to follow and perfect for gifts or decorations.
Making cute, colorful gummy bears out of yarn is a fun and easy craft that everyone can enjoy, even children. These little bears look just like the gummy candies you love and are soft and squishy to the touch. You can use them as toys, decorations, or even as cute little keychains. They add a playful and cheerful feel wherever you put them.
One of the best things about this project is the wonderful colors you can choose from. Pick bright lavender, reds, oranges, yellows, greens, purples, or any color you like. You can create a bunch of gummy bears in different colors to make a playful rainbow, or stick to one color if you prefer. The bright colors make each bear unique and eye-catching.
Free Crochet Gummy Bear Pattern for Colorful Projects

You can also change the size of the gummy bears by using different types of yarn and crochet hooks. If you use thin yarn and a small hook, you can make tiny gummy bears perfect for keychains or charms. If you want a bigger, cuddly bear to hug, use thicker yarn and a larger hook. This flexibility makes the pattern great whether you are a beginner or have some experience.
The important stitch that you’ll use to make these gummy bears is the single crochet stitch. It’s simple to learn and helps create a firm fabric so the stuffing doesn’t show through. Learning this stitch is helpful because it’s used in many other crochet projects as well.
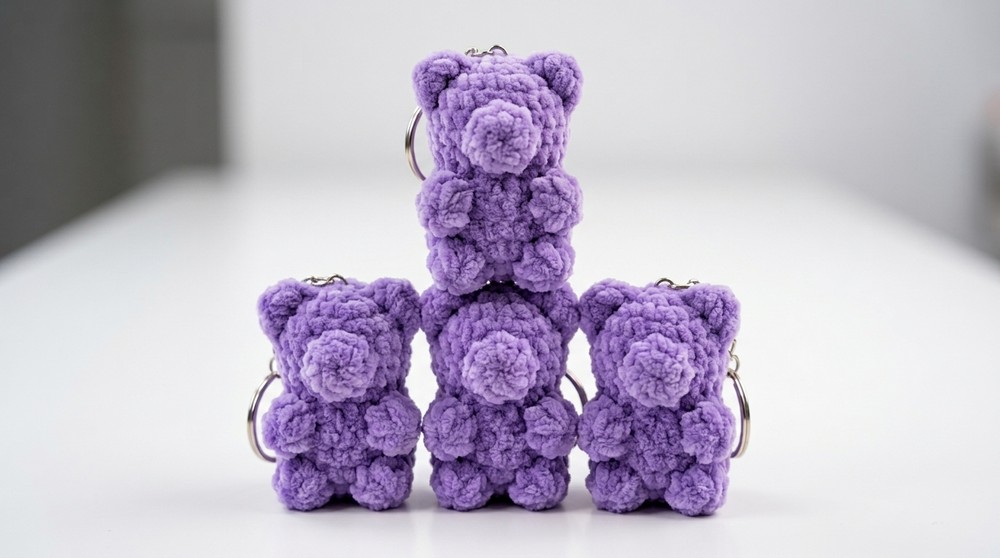
Beyond just being cute and colorful, these gummy bears are extremely useful. You can give them as gifts, play with them as toys, hang them on your bags as charms, or use lots of them to make fun party decorations. With some yarn, a crochet hook, and a little bit of patience, you can make your own adorable gummy bears to enjoy yourself or share with friends and family.
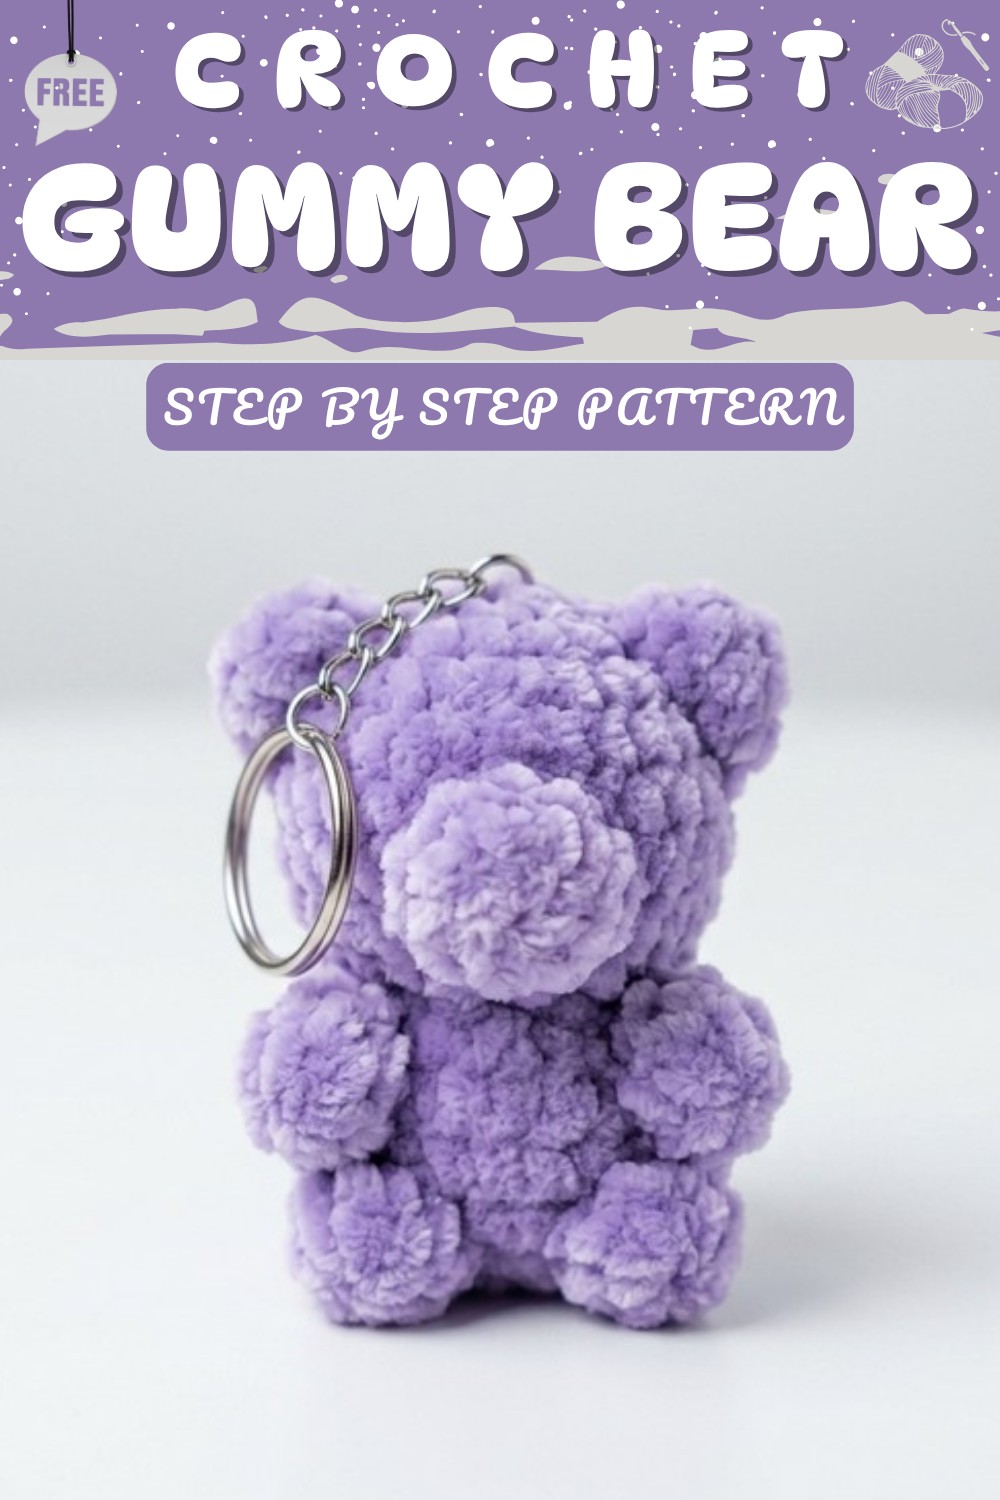
Crochet Gummy Bear Keychain Pattern
Meet your new favorite fast-seller: the mini gummy bear keychain! Designed for vibrant yarns and quick production, this tiny bear is the perfect market make or gift, and totally beginner-friendly. You’ll use single crochet, increases, bubble stitches, and invisible decreases for a cute, chubby result that’s tough enough to hang on any bag or key set.
Pattern Notes
- This cute gummy bear amigurumi is worked in continuous rounds.
- It features classic bubble stitches for the “ears,” “arms,” and “legs,” giving it a chunky, cartoon bear look.
- The pattern is designed as a quick-make—once familiar, you can whip one up in under 60 minutes!
- The keychain is sturdy and reinforced during final assembly so it stands up to daily use.
- All rounds are closed with a slip stitch—be sure to ignore this closing stitch when counting rounds.
- For best results, stuff your bear firmly but don’t overstuff to keep shape.
Skill Level
- Beginner to confident beginner
- Uses basic amigurumi techniques: magic ring, sc, increase, invisible decrease, bubble/puff stitch, slip stitch to join each round.
Materials
- Yarn: Chenille-style or velour/velvet yarn for a plush look, OR cotton DK (choose bold gummy bear colors—lavender, red, blue, yellow, orange, green)
- Hook: 3.0 mm crochet hook (adjust if substituting yarn weight)
- Stuffing: Polyester fiberfill
- Notions: Scissors, stitch marker, yarn or tapestry needle
- Hardware: Keyring or split ring
Gauge (and Stitch Pattern if applicable)
- Gauge isn’t critical. For reference: After Rnd 1–2, the circle should measure about 2 cm (0.75–1 inch) in diameter.
- Stitch Pattern: Continuous spiral in single crochet except where otherwise specified.
Measurements / Sizing
- Finished bear measures approx. 5–6 cm tall (2–2.5 inches) with recommended yarn and hook.
Stitch Abbreviations
- ch: chain
- sc: single crochet
- inc: increase (2 sc in the same stitch)
- dec: decrease (sc2tog or invisible decrease)
- sl st: slip stitch
- st(s): stitch(es)
- BOB: bubble stitch (see Special Stitches)
- MR: magic ring
Special Stitches
- Magic Ring (MR): Loop yarn into a ring, work stitches inside ring, then pull tight.
- Bubble Stitch (BOB): (Yarn over, insert hook in stitch, yarn over, pull up loop, yarn over, pull through 2 loops) five times in the same stitch. You will have 6 loops on your hook. Yarn over and draw through all 6 loops. Secure with a sl st to close.
- Invisible Decrease (dec): Insert hook in front loop of next 2 sts, yarn over and pull through both, yarn over and pull through 2 loops (completes 1 decrease).
The Crochet Pattern!
Body & Head
- Make a MR.
- Rnd 1: 6 sc in MR. Pull tight. Sl st to first sc. (6)
- Rnd 2: Inc in each st around (2 sc in each st). Mark first st. Sl st to first. (12)

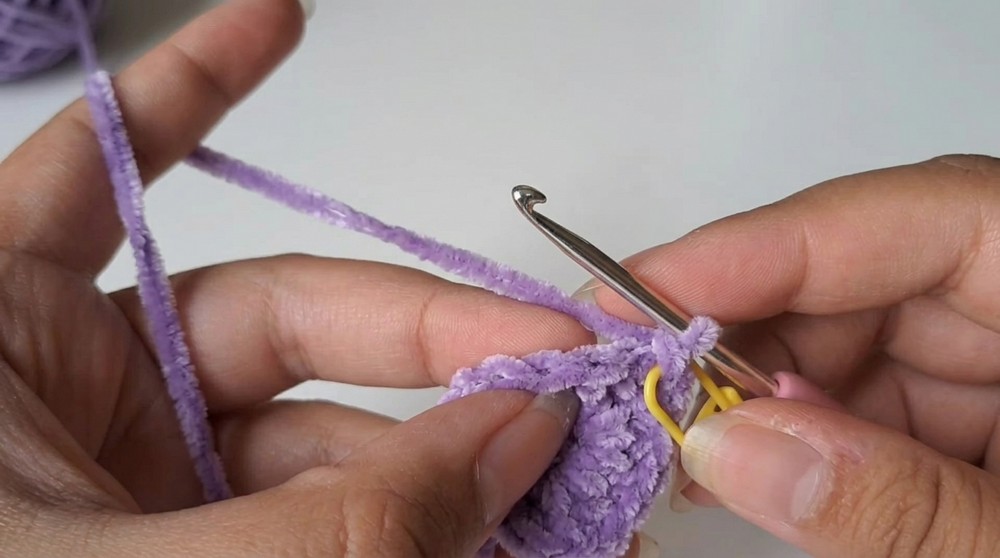
TIP: Each round ends with a slip stitch—this is NOT your first st on next round. Ignore and skip this st when starting new round!
- Rnd 3: [sc 3, BOB, sc 3, 3 inc, BOB, sc 4].
- sc in next 3 sts.
- Work 1 BOB in next st.
- sc in next 3 sts.
- (Inc in next st) 3 times.
- Work 1 BOB in next st.
- sc in last 4 sts.
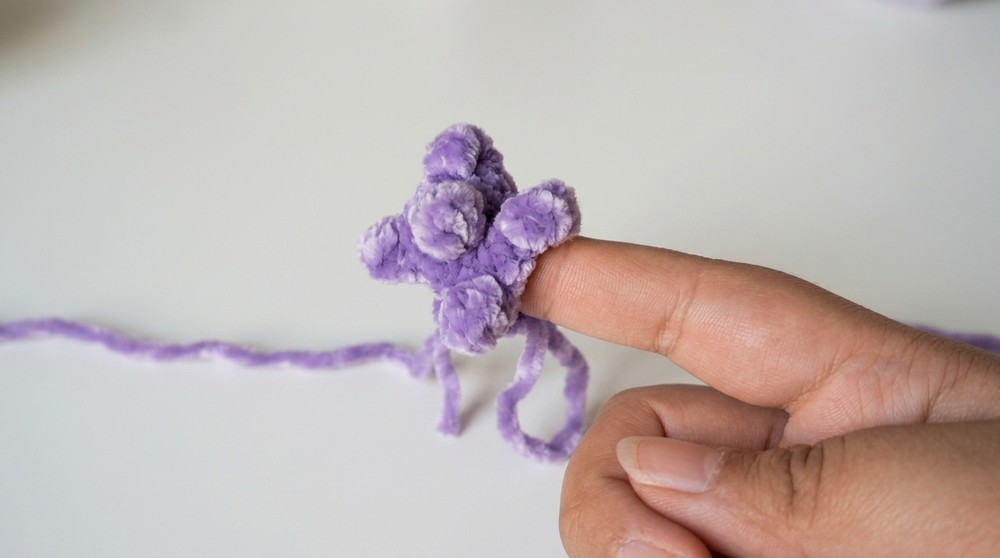
- Sl st to first st. (15 sts after increases; ignore sl st in next round.)
If your bubble points hide the following single crochet, nudge them aside or use a marker to ensure you don’t skip the next st.
- Rnd 4: sc in each st around. (15)
- Mark first st. At end, sl st to first. - Rnd 5: sc 7, BOB, sc 7. (15, ears)
- Mark first st. Sl st to first. - Rnd 6: [sc, dec] around. (decrease round: 10 sc)
- Invisible decrease: Insert hook through next two front loops, pull through, yarn over, pull through both.
- Finish round, sl st to first.
Snout/Nose tip: On the round with the first BOB, the slip st at the end may appear “off.” Always count your stitches and work only into the true first sc on the next round, not the closing sl st.
- Rnd 7: [sc, inc] all around. (15)
- Mark first st. Sl st to close.
Arms/Bubble Rnd
9. Rnd 8: sc 6, BOB, sc 3, BOB, sc 4. Sl st to first.
- Stuff your bear now if you like (helps see the shape), and squish bubble stitches outward with your hook.
- Rnd 9: sc in each st around (15). Close with sl st.
Legs/Bubble Rnd
11. Rnd 10: sc 7, BOB, sc 2, BOB, sc 4. Sl st to first (15).
- Rnd 11: [sc, dec] around. (10)
- Stuff the rest of the bear FIRMLY. - Rnd 12: 3 decs (3 dec = 3 st left). Ch 1, cut long tail. Fasten off.
Assembly & Finished Size
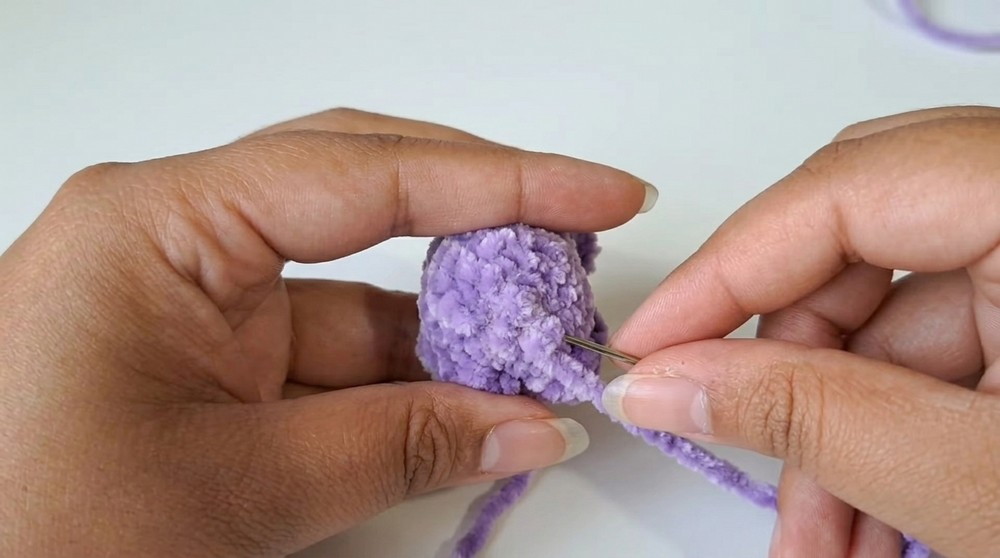
- With needle, sew the tail in and out of the top opening to cinch the body closed.
- Bring needle out through the head (top), then add keyring:
- Place the keyring at the top center, reinforcing by sewing the tail through the ring and the bear several times, firmly securing.
- Knot off, weave in ends.
- Reinforce further (recommended): Take the tail, wrap around the ring and through the bear’s body at least twice more and knot.
- Optional: Attach your brand tag or charm at the base of the ring.
- Finished keychain is about 6 cm (2.5") tall; make them in every color for a rainbow army!

Pattern Recap Notes for Beginners:
- Begin with a magic ring and basic rounds of single crochet increases.
- Bubble stitches form ears, arms, and legs for bear details.
- Use invisible decreases for shaping.
- Firmly stuff before closing.
- Reinforce the ring before trimming tails—this makes your keychain durable!
Your new favorite bear is finished and ready to sell, gift, or keep! Show off your gummy bear army on social media, and don’t forget to tag the designer if you share your make. This easy, detailed project is the perfect treat for beginners who want to master creative amigurumi—and seasoned sellers looking for something cuddly, fast, and fun.