
Free Crochet Granny Flower Pattern for Table Runners
Enjoy your crochet projects with this timeless granny flower pattern that’s easy to follow and great for making blankets, cushions, and more.
Brighten up your crochet projects with a charming Granny Flower pattern that’s simple, versatile, and free to use! This delightful design brings a touch of timeless beauty to blankets, cushions, bags, or even wearable accessories. Featuring layered petals and intricate details, it can be customized with vibrant colors or soft pastels to match your style.
Crochet Flower Granny for Unique Handmade Creations
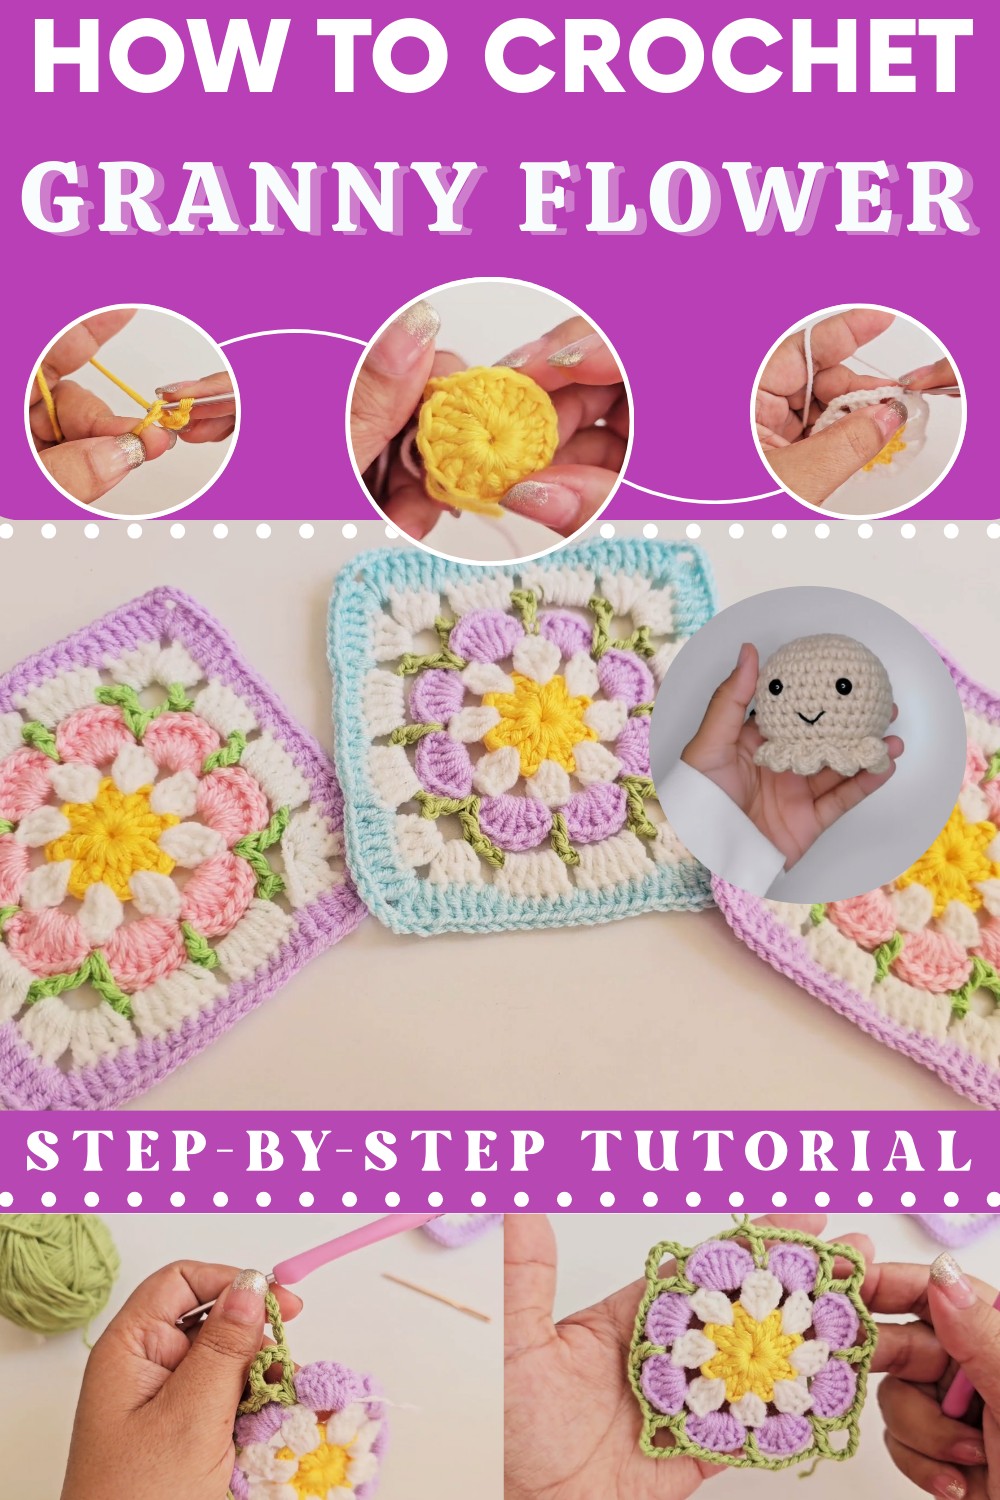
Perfect for beginners and experts alike, the free crochet granny flower pattern lets you experiment with texture, shapes, and connecting techniques to create stunning motifs. Not only does it offer endless creative possibilities, but it’s also a great way to use scrap yarn effectively. Whether you’re adding a vintage flair to home décor or crafting personalized gifts, this pattern is sure to inspire your next project.
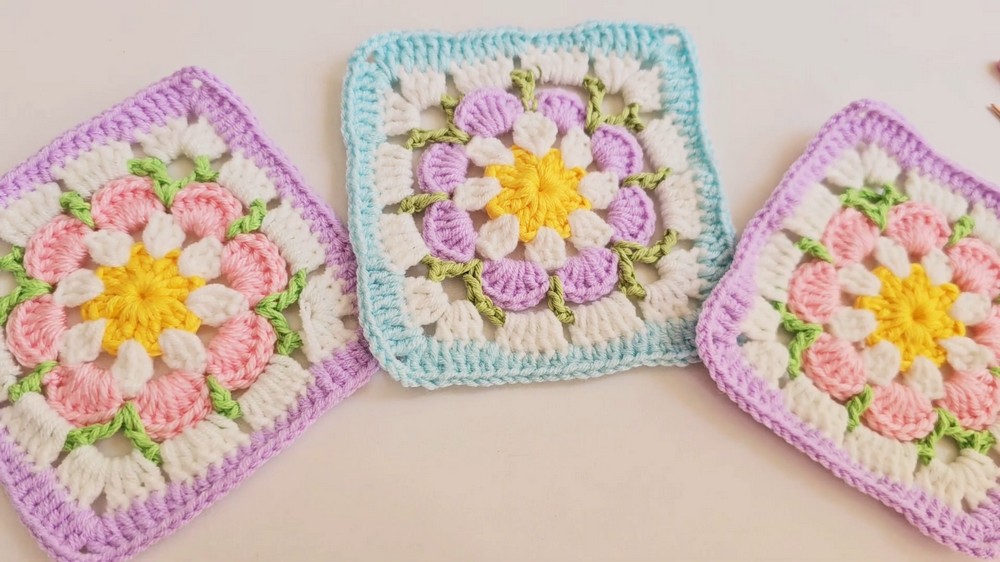
Step-by-Step Detailed Crochet Granny Square Pattern
Materials Needed
- Yarn: Medium-weight (#4) yarn in at least three different colors of your choice.
- Crochet hook: 2.5mm or 2.75mm (as noted in the video).
- Scissors: To cut yarn as needed.
- Tapestry needle: To weave in loose ends for a clean finish.
Special Features
- The granny square has beautiful petal-like patterns and layered color combinations, which make it visually striking.
- Useful for a variety of purposes, including purses, table runners, and room decor.
- It’s easy to customize the design with your favorite color scheme thanks to each round's color changes.
Skill Level
Beginner to Intermediate:
This project requires knowledge of the following stitches: chain, double crochet, single crochet, slip stitch, and cluster stitches. Beginners can follow along, but attention is needed for proper color changes and accurately counting stitches.
Step-by-Step Crochet Pattern
Round 1: Foundation
- Secure your first stitch and chain 5.
- Slip stitch into the first chain to form a circle.

- Chain 3 (this will count as your first double crochet).
- Work 16 double crochets into the circle. Include the chain-3 as the first double crochet. Count them to ensure you have 16.
- Slip stitch into the top of the chain-3 to close the round.
- End of Round 1: Fasten off the yarn and cut if changing colors.
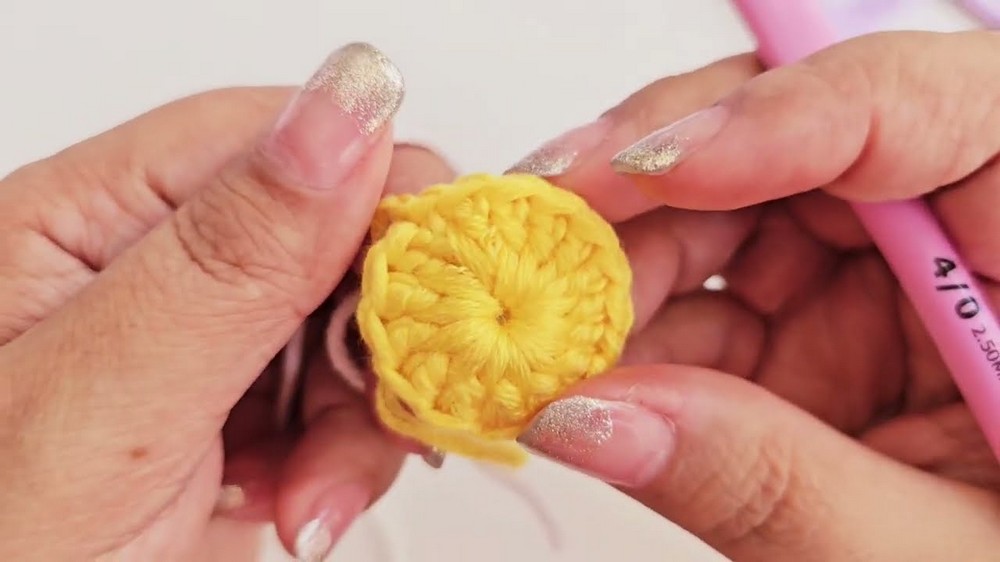
Round 2: Creating Clusters
- Insert another color yarn next to where you fastened off.
- Chain 3 (this counts as your first double crochet).
- Create a cluster block: Work 3 double crochets into the same gap.
- Chain 3. Skip 2 stitches, and make another cluster of 3 double crochets into the next gap.
- Repeat this pattern of "3 double crochets, chain 3" around the circle until you have 8 clusters with chain-3 spaces.
- Slip stitch into the top of the chain-3 to close the round.

Round 3: Adding Petals
- Choose your next color and attach it in any chain space between clusters.
- Work a single crochet in the chain space to anchor the new color.
- Crochet 5 double crochets into the same chain space, forming the petal.
- Single crochet in the next chain space, anchoring the petal. Repeat this pattern for each chain space.
- Once the round is completed, slip stitch to the first single crochet to close it.

Round 4: Establishing Corners
- Join your next yarn color to any chain gap.
- Chain 3, then form a corner cluster: Work 3 double crochets, chain 3, 3 double crochets into the same gap.
- Crochet a single crochet in the next chain space, and then work 3 double crochets into the next gap for the edges.
- Continue alternating between a corner cluster and edge double crochets for each section.
- After completing the round, slip stitch into the chain-3 and fasten off.

Round 5: Border
- Attach the final color yarn to the desired starting point.
- Work single crochets evenly across the edges of the square.
- At each corner, crochet 3 single crochets to maintain the square shape (instead of a chain-3 space).
- Continue evenly crocheting single crochets along all sides and in each corner.
- Use slip stitch to close the final round.
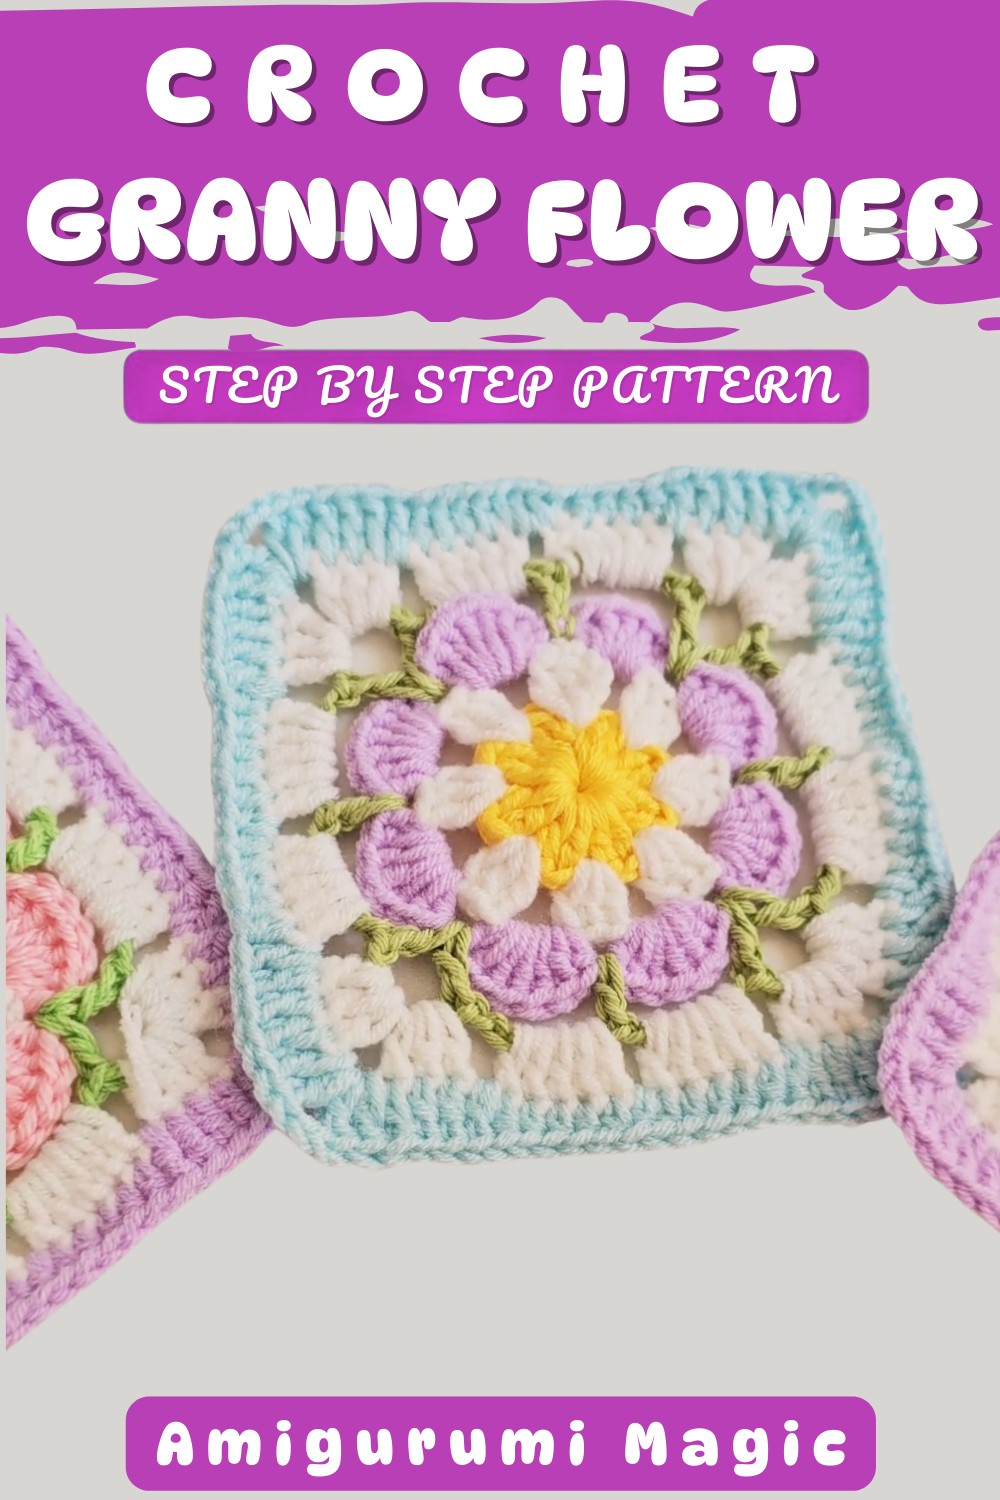
Tutor's Suggestions
- Color Choices: The instructor suggests experimenting with color combinations. For example, you could use alternating pastel shades or bold contrasting colors.
- Yarn Scraps: This project is a great way to use up leftover yarn from bigger projects.
- Blocking: The squares should be blocked (steam or lightly moisten and pin into shape) to ensure they lay flat with crisp edges.
- Accessorizing: The granny squares can be used alone or stitched together into creative projects like bags, blankets, wall hangings, or table runners.
Uses for the Granny Square
- Decor: Use several squares to make table mats, coasters, or an elegant wall hanging.
- Clothing Add-ons: Stitch them together to make scarves, shawls, or even cardigans.
- Bags: Create unique handmade tote bags with a rustic aesthetic using the squares assembled together.
- Blankets: Combine many squares into a patchwork-style blanket.
Special Tip for Success
When joining new colors, ensure that you weave in the loose ends cleanly so that the project looks polished on both sides. Additionally, give some slack at your color change stitches to prevent any distortion.
Conclusion
By following this step-by-step guide, you've now completed a detailed and beautiful granny square! These squares are not just fun to make but also versatile in their use. Whether you're making a decorative runner, a colorful bag, or a stylish pillow cover, this project will showcase your skills and creativity.
Pretty Granny Square Crochet Pattern
Introduction
Welcome to this step-by-step tutorial on creating a beautiful and versatile granny square! These squares are perfect for assembling into bags, table runners, cushions, or any accessory you can imagine. The process is straightforward and customizable—choose your favorite colors and get creative.
Quick Overview Of Pattern
- Worked in rounds from the center out.
- Combines traditional double crochet (US), chains, and slip stitches for joins.
- Color is changed each round for a multi-tone effect.
- Pattern forms a sturdy square with distinct petal and corner sections.
- Squares can be joined together to form larger projects.
Notes
- Instructions are written in US terminology.
- You can use any yarn weight; for best results, adapt hook size accordingly.
- This pattern features both puffed clusters ("petals") and chain spaces for easy joining.
- Fasten off and weave in ends between each color change.
- Blocking is recommended for the final assembly so your squares lay flat.
Skill Level
Advanced Beginner / Intermediate
Knowledge of basic stitches (chain, slip stitch, single crochet, double crochet), as well as changing colors and working in the round.
Materials
- Yarn: Assorted colors (suggested: at least 4 tone changes), any smooth yarn you like.
- Hook: 2.5 mm or 2.5–3 mm crochet hook for DK or sport yarn.
- Scissors
- Yarn / tapestry needle (for weaving ends)
Measurements / Sizing
- Finished Size: Each square is approximately 8–10 cm per side using suggested hook/yarn.
- Size will vary based on yarn and hook choice.
Gauge
- Gauge is not critical. Ensure your tension is even and the square lies flat.
Stitch Abbreviations
- ch: chain
- sl st: slip stitch
- sc: single crochet
- dc: double crochet
Special Stitches
- Cluster: 3 dc worked into one space.
- Petal: 5 dc into chain space.
- Corner: (3 dc, 3 ch, 3 dc) in one space.
- Color Change: Fasten off and join new color in next space as shown.
The Crochet Pattern
Center Circle (Round 1)
- With Color 1, ch 5.
- Join with a sl st to the first ch to create a ring.
- Ch 3 (counts as first dc), work 15 dc inside the ring. (Including the initial ch-3: 16 dc)
- Join with a sl st to the top of ch-3.
- Ch 1 to secure and fasten off.
First Cluster Round (Round 2)
- Join Color 2 to any space between two dc.
- Ch 3 (does not count as a stitch, just to raise height).
- In same space: 2 dc, ch 3, skip 2 dc, (3 dc in next space between 2 dc, ch 3, skip 2 dc); repeat six more times (for 8 clusters total).
- Join with a sl st to first dc. Move with a sl st to next ch-3 space if needed.
- Fasten off.
Petal Round (Round 3)
- Attach Color 3 in any ch-3 space.
- (In each chain space, crochet 5 double crochets between two half double crochets to form the petals.)
- (sc into space, 5 dc into same space, sc in next space); repeat in each chain space around.
- At end of round, join with sl st to first sc.
- Fasten off.
Lattice (Chain & Tall Stitch) Round (Round 4)
- Join Color 4 to any petal tip (top of dc group).
- Ch 3 (height), dc in same space.
- Ch 5, dc in same space, ch 5.
- (dc in next petal tip, ch 5, dc in same, ch 5); repeat for each petal tip.
- Join with a sl st in first dc. Fasten off.
Squaring & Framing (Round 5)
- Join Color 5 (or white) to any ch-5 space.
- Ch 3 (counts as dc), 3 dc in next ch-5 space, ch 1.
- (In next ch-5 space: 3 dc), ch 1; repeat until first corner.
- Corners: In next space: (3 dc, ch 3, 3 dc), ch 1. This makes a firm corner.
- Continue (3 dc in next space, ch 1) on straight edges; in corner spaces do (3 dc, ch 3, 3 dc).
- Complete round, joining with sl st. Fasten off.
- If your last edge doesn’t match, add extra dc as needed to reach corner spacing.
Border & Finishing (Round 6)
- Join Color 6 (or desired border color).
- In each space between clusters: sc (or hdc for a taller border).
- Make a round of half double crochets and complete the corners with groups of 2 double crochets - 3 chains - 2 double crochets to give the final finish to the square.
- Work evenly around; join with a sl st to finish.
- Fasten off, weave ends.
Assembly & Finished Size
- Weave in all yarn tails on the wrong side.
- Each finished square should lay flat and measure approx. 8–10 cm per side.
- Join as many as needed with slip stitch or whip stitch through back loops for your final project: bag, table runner, blanket, etc.
Conclusion and Ending Words
Your granny square is now complete—a versatile motif ready for your next creative project! Mix and match colors, and repeat to make as many as your design requires. With its textured petals and strong corners, this square is ideal for bags, table runners, or any crochet accessory.