
Free Crochet Door Weight Pig Pattern for Playful Home Style
Secure doors with style using the Free Crochet Door Weight Pig Pattern, a cute handmade accent that brings charm, function, and playful appeal to any space
In a cozy home nestled in the countryside, a crafty individual sought to combine functionality with charm. The result was a delightful creation that not only served a practical purpose but also added a touch of whimsy to the living space. This creation, known as the Free Crochet Door Weight Pig, is more than just a doorstop; it's a conversation starter and a testament to the joy of handmade decor.
Free Crochet Door Weight Pig Pattern That Brightens Any Room

This crochet project not only results in a functional item but also provides a sense of accomplishment and a unique piece of decor. The Free Crochet Door Weight Pig serves as a reminder of the joy found in creating something with one's own hands, blending practicality with artistry in a delightful way.
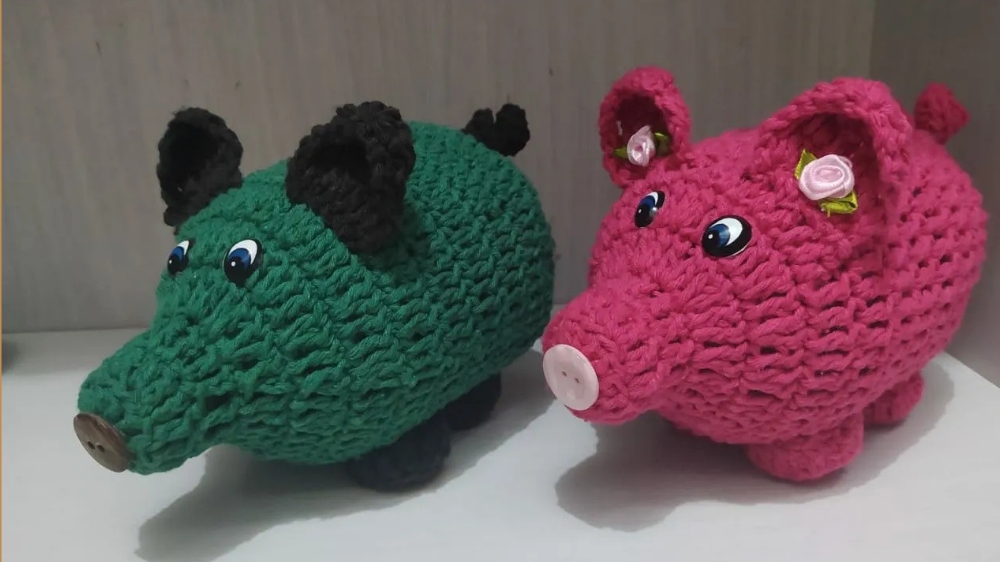
Crochet Door Weight Pig Pattern
Skill Level
Intermediate – This pattern involves crocheting, basic sewing, and assembly techniques.
Finished Size
Approximate dimensions: Height 15 cm (6 inches), Width 10-12 cm (4-5 inches) when assembled.
Materials
Crochet Materials
- Yarn: Size 6 yarn in pink (for the pig’s body, ears, tail, and feet). Alternate colors like white or green may be used for decorative elements.
- Hook: 3.5 mm crochet hook.
- Yarn Needle: For weaving in ends and sewing parts together.
Assembly Materials
- PET Bottle (2 liters): Frevo bottle recommended for its rounder shape.
- Four PET Bottle Caps: For the pig’s feet.
- 1 kg of Sand: For weight to make the doorstop functional.
- Felt: Pink felt for covering bottle caps and optional bottle sections.
- Hot Glue Gun and Glue Sticks: For securing pieces during assembly.
- Decorative Eyes: Buttons, half black pearls, or crocheted eyes.
- Optional Decorations: Rococo bows, flowers, or EVA foam embellishments.
Gauge
Gauge is not critical for this project, but tight and compact stitches are recommended for structural integrity.
Special Techniques
- Magic Ring: Used to start circular crochet patterns.
- Assembly Method: PET bottle is used as a stable base.
- Surface Crochet: Increases are crocheted directly onto the base stitches for shaping.
Pattern Instructions
Part 1: Preparing the Foundation
- Cut the PET Bottle:
- Cut the bottle to a height of 10 cm (4 inches).
- Ensure the edges are smooth to prevent injury.
- Fill the Bottle:
- Fill the bottle with 1 kg of sand, divided into two small bags for stability.
- Seal the cut edge of the bottle using tape or felt to smooth it out and prepare for the crochet cover.
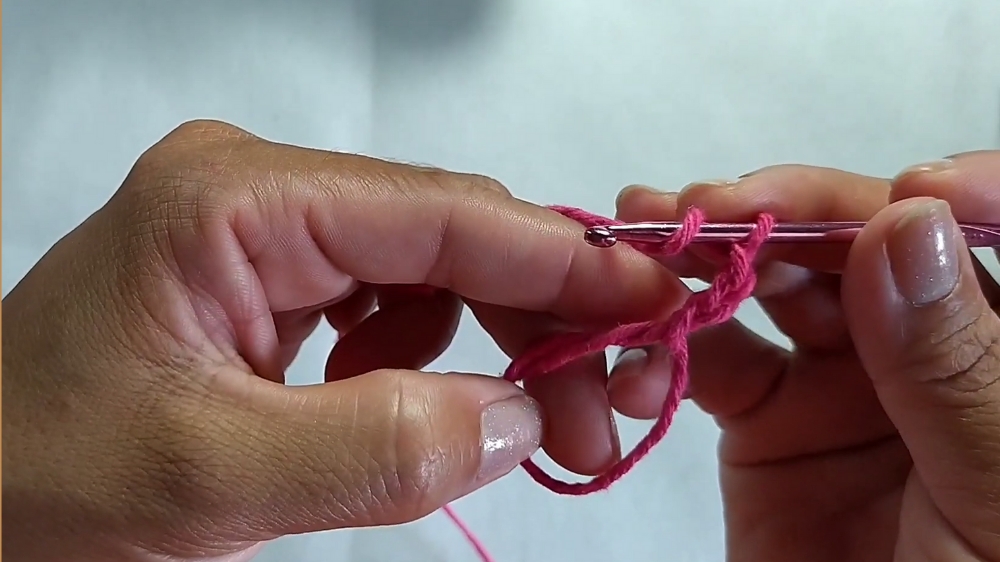
Part 2: Crocheting the Pig’s Body
- Start with a Magic Ring:
- Begin with pink yarn.
- Chain 3 and work 14 double crochet (DC) into the magic ring.
- Slip stitch (SL ST) into the top of the first chain to close the round.
- Round 2:
- Chain 3 and add increases:
- Work 1 DC in the next stitch and 2 DC in the following stitch.
- Repeat this pattern (1 DC, 2 DC) around the ring.
- SL ST into the top of the first chain to close the round.
- Chain 3 and add increases:
- Round 3:
- Chain 3 and work 1 DC in each stitch around, catching only the back loop for texture.
- SL ST into the top of the chain to end the round.
- Continue:
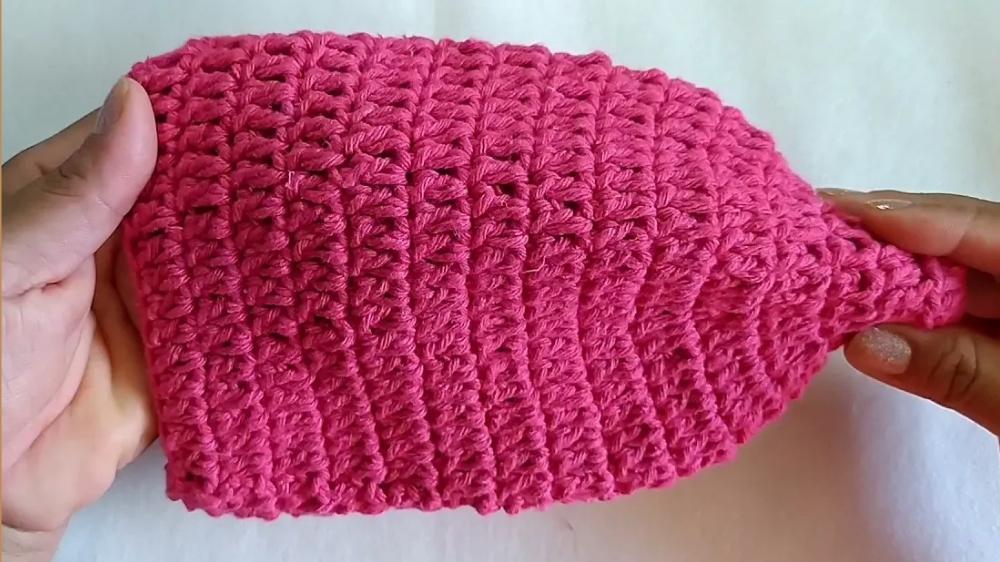
- Repeat Round 3 with no increases for nine rows, adjusting based on the size of the bottle.
- After 10 total rows, the crochet section should fit snugly around the sand-filled bottle.
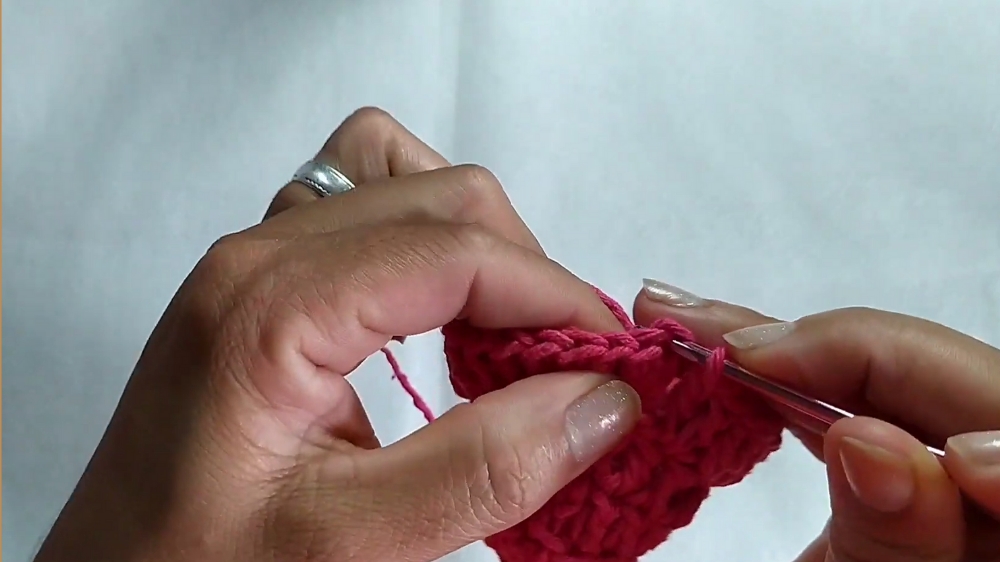
Part 3: Crocheting the Feet
- Start with a Magic Ring:
- With pink yarn, chain 3 and work 12 DC into the ring.
- SL ST to close the round.
- Round 2:
- Chain 3 and work 1 DC in the first stitch and 2 DC in the next stitch.
- Alternate between a single DC and increase (2 DC).
- Catch only the back loop for textured feet.
- Repeat Steps:
- Create four identical feet using this method.
- Cover the PET bottle caps with felt and hot glue, then sew the crocheted covers onto the caps.
Part 4: Crocheting Ears
- Foundation Chains:
- Chain 5 with pink yarn.
- In the second chain, work 1 SC, then DC into remaining chains.
- Shape:
- Chain 3, turn the work, and work DC stitches across the base.
- Finish with 8 points as follows: Work 2 DC together by crocheting into base stitches progressively and leaving loops on the hook.
- Closing:
- Pull the loops closed and single crochet down to flatten the edge.
- Create two identical ears for the pig.
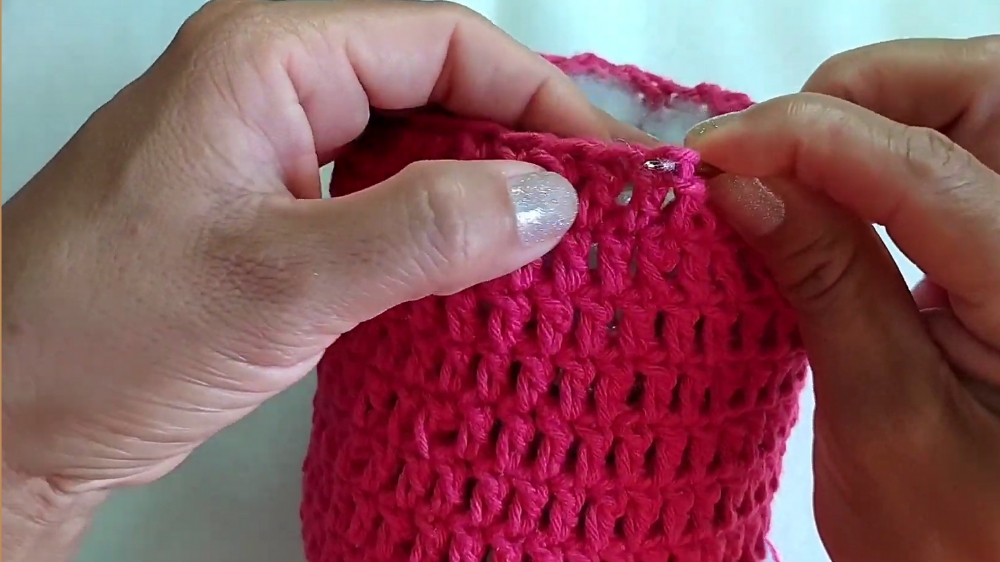
Part 5: Crocheting the Tail
- Chain 16 stitches with pink yarn.
- Work half double crochets (HDC) into each chain, doubling up in each loop to create curl elasticity.
- Finish by cutting the yarn and sewing securely onto the backside of the body.
Part 6: Assembling the Pig
- Secure the Crochet Cover to the Bottle:
- Slide the crocheted body cover over the sand-filled bottle.
- Use twine or scrap yarn to baste closed any loose bottom section.
- Attach Feet:
- Position the felt-covered bottle caps at the base and hot glue them in place.
- Sew the crochet feet onto these caps for added stability.
- Attach Ears and Tail:
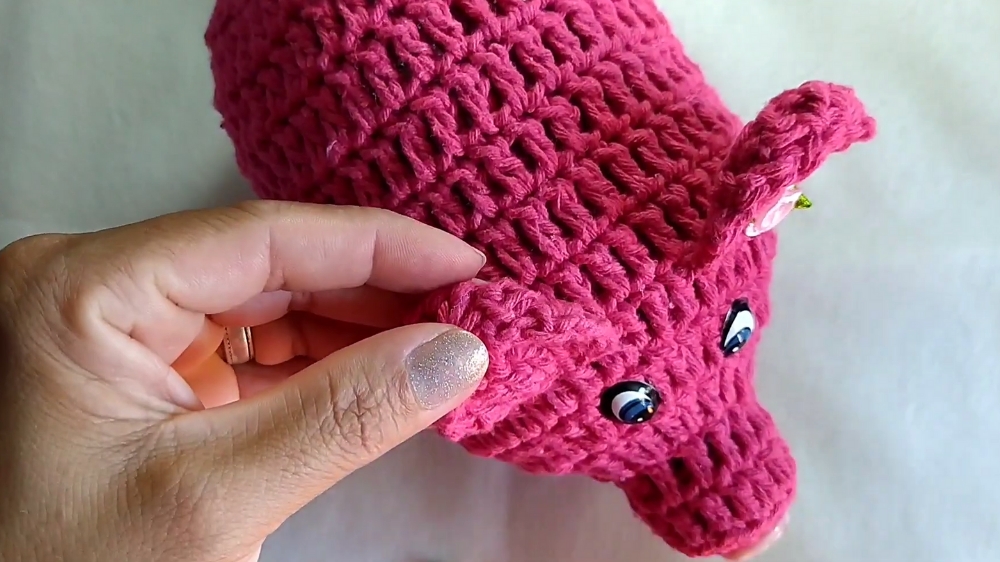
- Sew the ears onto the top of the body. Use a pin to place them symmetrically before sewing.
- Position the tail at the back and secure with glue and thread.
- Add Features:
- Glue decorative eyes and buttons on the ‘face’ using hot glue or sew them securely.
- Optional: Add Rococo decorations or small crochet flowers for embellishment.
Finishing
- Inspect the Pig: Ensure all parts are securely fastened and that the bottle structure is stable.
- Remove Glue Residue: Use scissors to trim excess glue threads.
- Test the Weight: Place the pig near your door to ensure it holds securely.
Tips for Success
- Adjust sizing depending on the bottles available. Rounder bottles (Frevo) work best for this project.
- Keep stitches tight to make the body structure firm and prevent stretching over time.
- If using different yarn weights, adjust the hook size accordingly to maintain tension.
- To avoid errors, use stitch markers to help maintain symmetry when sewing.
Final Words
Congratulations! You’ve completed your adorable Pig Doorstop. This functional craft features recycled materials, cheerful design, and serves as both a conversation starter and a practical addition to your home. If you enjoyed this project, consider creating a collection of doorstops with varying animals and characters.
Special Features and Uses
The pig doorstop is designed to be both decorative and functional. The crochet cover can be removed from the base for washing.
Level of Difficulty
Based on the detailed step-by-step instructions, this project appears to be suitable for those with some experience in crocheting. The creator guides viewers through various techniques, including using a magic ring, single crochet, half double crochet, and slip stitches.
Materials
- Yarn: Size 6 yarn in pink.
- Crochet Hook: 3.5 mm.
- Base: A 2-liter soda bottle, preferably a Frevo brand bottle for its rounded top, and 1 kg of sand for weight.
- Other supplies: A pair of eyes, a button for the nose, felt in a matching color, and four bottle caps for the feet.
Tutor's Suggestions and Tips
- The creator suggests using a Frevo brand 2-liter soda bottle because its rounded top is ideal for shaping the pig's snout.
- When placing the sand, the creator recommends putting it in two bags before inserting it into the bottle to prevent spills.
- After the crochet piece is made, it can be attached to the bottle without glue, as the tight fit will hold it in place and allow it to be easily removed for washing.
- The project can be customized with different-colored yarn for the body, feet, and ears.
- Additional embellishments like a bow or a crocheted flower can be added to the pig's head for decoration.
Step-by-Step Summary
A tutorial is a step-by-step guide that helps learners master specific tasks in an organized and clear manner. Stitches, which are commonly used in sewing, knitting, or crochet, serve as the essential units that form intricate patterns and designs. Moreover, tutorials often utilize a step-by-step approach to break down complex tasks, thereby making them easy to follow for anyone, regardless of skill level. As a result, this combination of guided learning and creativity not only simplifies the process but also allows for the creation of precise and beautiful pieces. Consequently, these tutorials empower individuals to bring their artistic visions to life with confidence and clarity.
Conclusion
The tutorial concludes with a showcase of the finished pig doorstop, which is a companion to another one already made by the creator. The creator thanks the viewers and wishes them well.