
Free Crochet Chaeyoung's lovely Chaengvely Step by Step
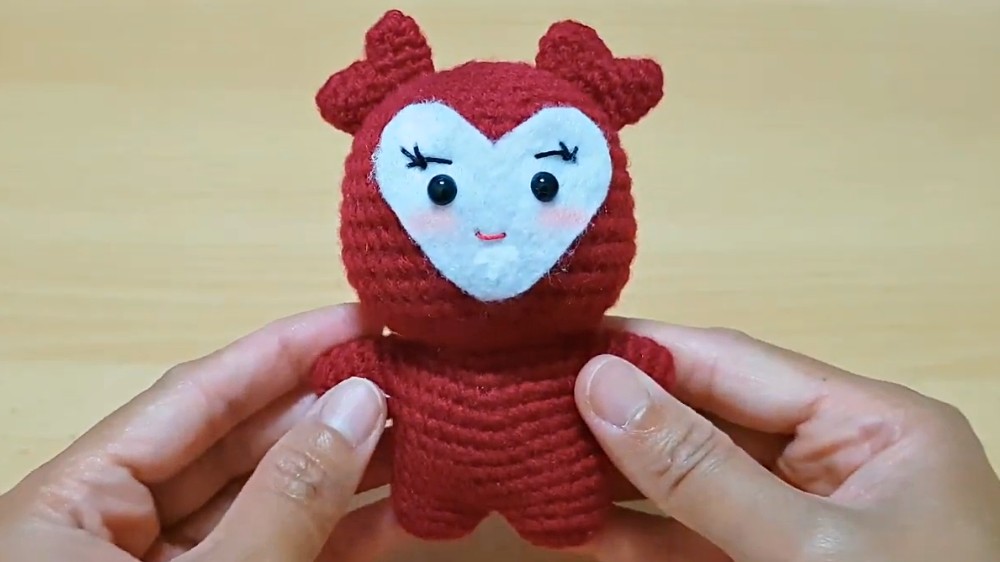
Infuse charm and cuteness with this Crochet CHAEYOUNG'S LOVELY CHAENGVELY Pattern, showcasing playful touches and delightful handmade style.
A character adored for her vibrant personality and playful charm, Chaeyoung’s “Lovely Chaengvely” becomes even more delightful when shaped into a soft, miniature crochet form. This piece reflects not just a figure, but the lighthearted warmth and joyful spirit associated with her, making it a treasured keepsake for admirers and collectors alike. Its small size makes it versatile, easy to display on shelves, carry as a token of inspiration, or gift to someone who shares the same admiration.
Elegant Crochet CHAEYOUNG'S LOVELY CHAENGVELY for Decorative Joy

The process begins with a rounded base that gradually builds into the body, giving structure and balance. A carefully shaped head follows, providing the canvas for embroidered expressions that capture her cheerful personality. Her hairstyle, a defining feature, is added with care, bringing familiarity and detail that fans instantly recognize. Outfits and accessories, often the highlights of her style, are formed separately and attached, adding layers of dimension that enrich the overall look.
Lightweight yet full of character, this figure brings charm to any setting while holding sentimental value for those who connect with the inspiration behind it. Whether displayed as décor, cherished as part of a collection, or presented as a thoughtful gift, it radiates warmth and individuality in every detail.
Materials Required
To make the amigurumi doll, you will need:
- Toy Stuffing
- Felt Cloth (white and red)
- Acrylic or Cotton Yarn (white, red, beige)
- Fabric Glue
- Scissors
- Crochet Hook (3 mm)
- Safety Eyes (Exact size not provided, but smaller eyes are recommended for the doll)
- Red Yarn Thread
- Black Yarn Thread
- Optional White Thread
- Safety Pin (used as a stitch marker)
Step-by-Step Details
1. Head
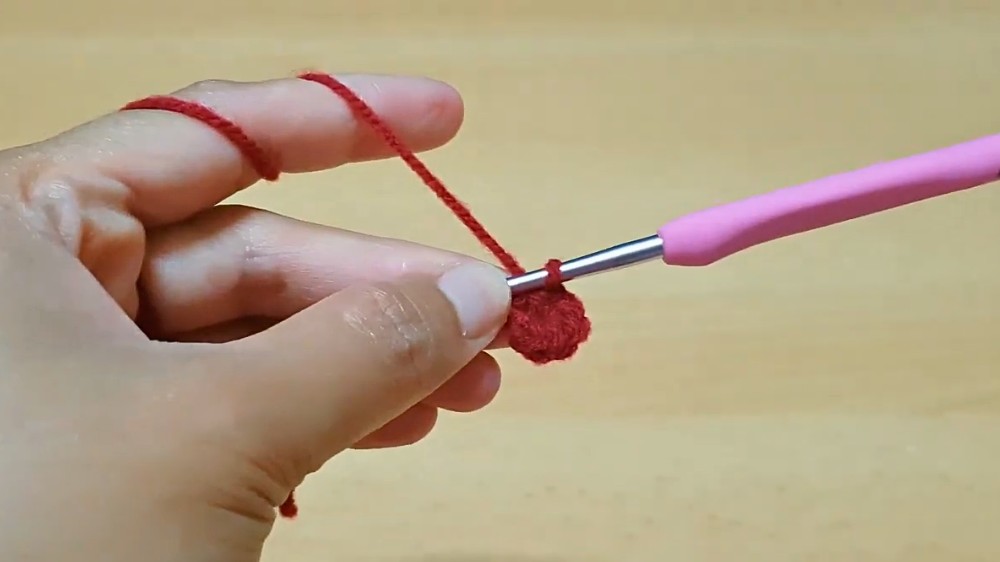
- Start with a magic ring and make 6 single crochets inside the ring.
- Pull the tail to close the ring and place your stitch marker at the last stitch. This project uses continuous rounds, so no slip stitches are needed.
- Gradually increase stitches in each round:
- Round 2: Increase in every stitch (12 stitches).
- Round 3: [1 sc, 1 inc] pattern all the way around (18 stitches).
- Round 4: [2 sc, 1 inc] pattern (24 stitches).
- Continue increasing incrementally until Round 7 ends with 42 sc, then crochet seven more consistent rounds of single crochets (Rounds 8–14).
- Begin decreasing stitches:
- Round 15: [5 sc, 1 invisible decrease], repeated around (36 stitches).
- Round 16: [4 sc, 1 invisible decrease] (30 stitches).
- Round 17: [3 sc, 1 invisible decrease] (24 stitches).
- Round 18: [2 sc, 1 invisible decrease] (18 stitches). Stop and add toy stuffing.

2. Body and Limbs
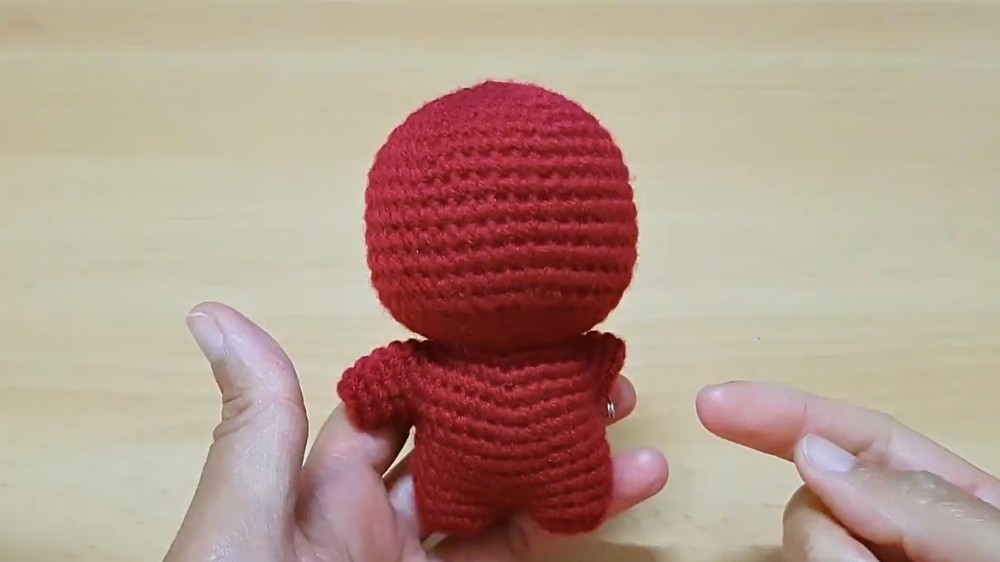
- Rebuild the structure using increases:
- Round 19: [2 sc, 1 inc] (24 stitches).
- Round 20–23: Continue increasing patterns until reaching 48 stitches.
- Create arm partitions by folding the work in half and marking stitches with safety pins for symmetrical placement.
Body:
- Crochet five more consistent rounds of single crochet (Rounds 24–28), maintaining 28 stitches. Add toy stuffing after completing the round.
Leg Partition:
- Divide the stitches evenly between two legs (14 stitches per leg). Mark each partition and work three rounds of single crochet for the legs. Add stuffing and sew each leg closed using a needle and a back loop method.
Arms:
- Insert your hook at the designated arm area and join red yarn. Crochet three rounds of single crochet, maintaining 10 stitches per round. Add stuffing and sew the holes closed using the same back loop method as was done for the legs.
3. Ears
- For the first ear:
- Create a magic ring and work 6 sc inside the ring.
- Pull the tail to tighten, crochet one more round of single crochet, and fasten off.
- For the second ear:
- Repeat the same process but add two rounds of single crochet before fastening off.
Attach Ears:
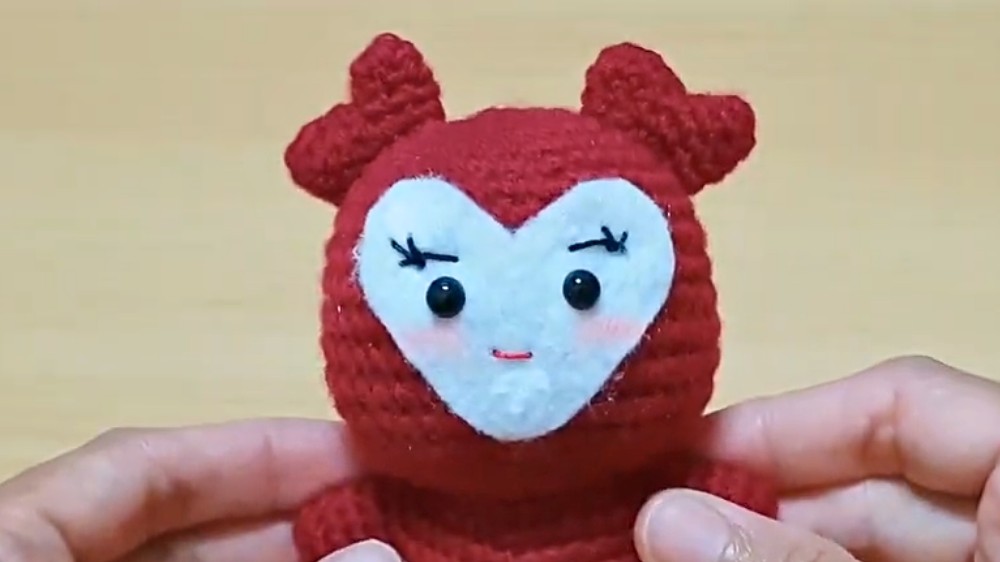
- Sew the ears symmetrically on the head.

4. Felt Hat
- Cut white felt into the desired hat shape and adjust its size to fit the doll's proportions. Fold the felt and sew it securely to the doll.
Special Features
- Detailed Proportions: This pattern focuses on maintaining equal stitch counts and symmetrical placement of partitions to ensure a proportional design for the doll.
- Back Loop Technique: Sewing closures in the back loops ensures that the finish is clean and seamless.
- Customizations: The pattern allows individual creativity by offering options to use different types of yarn and fabric features (e.g., felt hat size).
Level of Difficulty
This project is suitable for beginners to intermediate crocheters. It uses basic techniques such as single crochet, increases, decreases, and the magic ring method. The symmetry and assembly may require extra focus but can be managed easily with stitch markers and careful counting.
Tutor’s Suggestions
- When dividing stitches for the partitions (arms and legs), double-check with a stitch counter to ensure equal sections.
- Adjust the felt hat size multiple times until it fits perfectly to avoid a bulky appearance.
- Safety pins or stitch markers are strongly recommended to track stitch counts and help divide stitches evenly.
Uses
- Decorative Collectible: This doll is ideal for fans of Twice or just cute amigurumi figurines.
- Gift: A handmade present perfect for birthdays, anniversaries, or special occasions.
- Toy: Children can enjoy this doll as part of their play collection.
- Craft Business Idea: If you enjoy making amigurumi, you can sell these adorable dolls as part of a small business venture.
Tip
When working on small details such as the ears and facial features, use tools like safety pins or separators to mark attachment points and ensure alignment. This will make assembly smoother and less prone to mistakes.
Conclusion
This Chuong’s/Chaeyoung’s lovely doll amigurumi project is perfect for crochet fans wanting to create an adorable and customizable doll. Whether you're a fan of Twice, looking for a fun project, or interested in learning new crochet techniques, this tutorial helps you bring a detailed and lovable figure to life. Take your time, follow the steps, and enjoy the process of crocheting this delightful character.