
Free Crochet Camera Coin Purse Pattern for Cute Accessories
Carry style and charm everywhere with the Free Crochet Camera Coin Purse Pattern and create a cute handmade accessory perfect for gifts or daily use.
The adorable design of this tiny camera‑shaped coin purse catches the eye with its playful lens detail and compact hand-crocheted charm. The Crochet Christmas Plushie Pattern enters naturally as you start working with basic stitches to form a rectangular body, then add a detailed “lens” circle and colorful accent stripe for that true camera look.
Fun Crochet Camera Coin Purse Pattern for All Ages
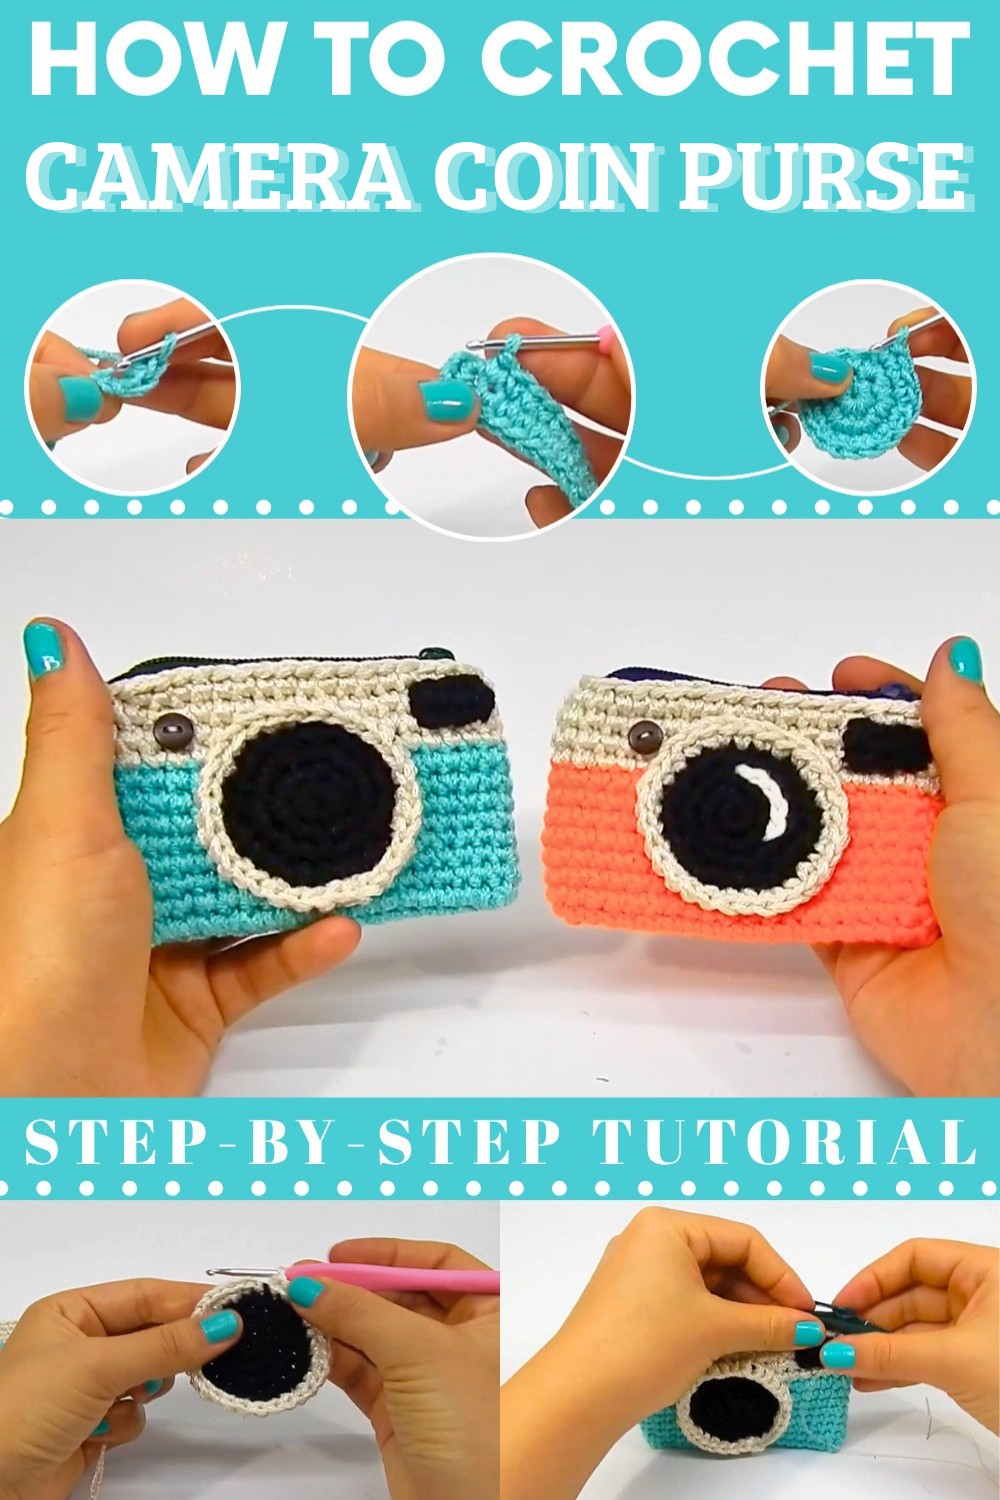
The compact size makes this pattern perfect for on‑the‑go use, gifting, or creating a set for your friends. Inside, the purse holds essentials while looking like a stylish mini accessory rather than just a practical pouch. The pattern encourages precision in stitch count and shaping, ensuring your finished piece lies flat and looks neat. Whether this is your first small crochet bag or just a fun side project, you’ll enjoy turning yarn into something functional with personality.
You’ll follow simple rounds to build the purse body, shape the front piece with careful increases, and attach a flap or zipper closure so it keeps your coins and maybe a few tiny treasures, secure.
Choose traditional holiday hues like deep red and forest green, or go bold with pastel cameras in mint and blush for a modern twist.
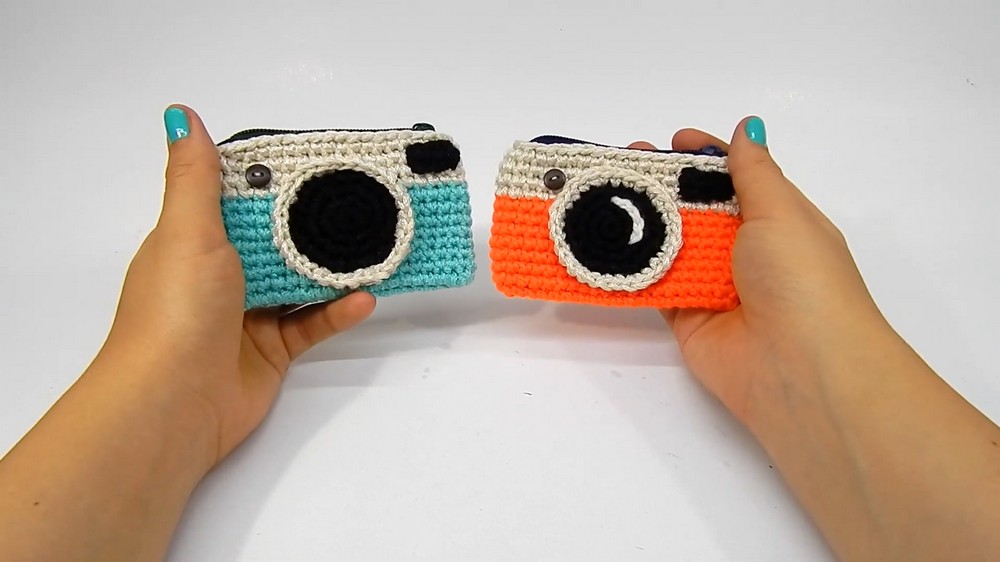
Camera-Shaped Coin Purse Crochet Pattern
Materials
- Yarn: Worsted weight (~4 mm thickness recommended)
- Black (for main body)
- White (for lens detail)
- Additional colors as desired for decoration/accent
- Yarn Used in Video: 2 mm thick, held double for 4 mm
- Crochet Hook: 3.5 mm (US E-4)
- Zipper: Approx. 15 cm (or adjust to fit your purse size)
- Button: 1 cm diameter (for decorative feature)
- Thread & Sewing Needle: For sewing zipper and button
- Stitch Marker: Optional
- Yarn Needle: For sewing on the lens and hiding ends
- Scissors
Key Abbreviations (US Terminology)
- ch: chain
- sc: single crochet
- inc: increase (2 sc in one stitch)
- sl st: slip stitch
- st(s): stitch(es)
- rep: repeat
- rnd: round
- BLO: back loop only
Special Notes
- Begin with a chain to create the base; work around both sides of the chain for an oval shape.
- The purse height, chain count, and zipper size can be adjusted. Measure in centimeters if using different yarn or hook size.
- The lens and accent pieces are worked separately and sewn on.
- The purse is worked in a continuous spiral.
Body of Purse
Base & Main Body
- Foundation Chain:
- With main color, ch 19 (measures ~10.5 cm).
- Adjust the number of chains as needed for your preferred purse size.
- Round 1:
- Start Row: Ch 1, turn. In 2nd ch from hook, work 3 sc (place stitch marker in the first sc for row tracking).
- Side 1: Sc in next 16 ch.
- Other End: In the last ch, work 3 sc.
- Side 2: Working around other side of the starting chain, sc in next 16 ch (going back to start, do not work into the slip knot).
- You should have an oval with increases at both ends.
- Rounds 2 – 8:
- Beginning at the marker, work in continuous spiral:
- Sc in each st around for 7 more rounds (use the marker to track rounds).
- Each round will have 38 sc (if you started with 19 chains; adjust count if changed).
- Beginning at the marker, work in continuous spiral:
- Color Change (for “top” of camera):
- When ready for the camera top, switch to accent color (ex: white or colored yarn).
- On the last pull-through of the second sc (before the color change), draw through with the new color to finish the stitch.
- Work 4 rounds in sc, continuing spiral and marking your rounds.
- Approx. 2.5 cm height or as desired.
- Finish with one round of sl st to neaten edge. Fasten off and weave in ends.


Lens (Front Circle)
- Lens Center (Black):
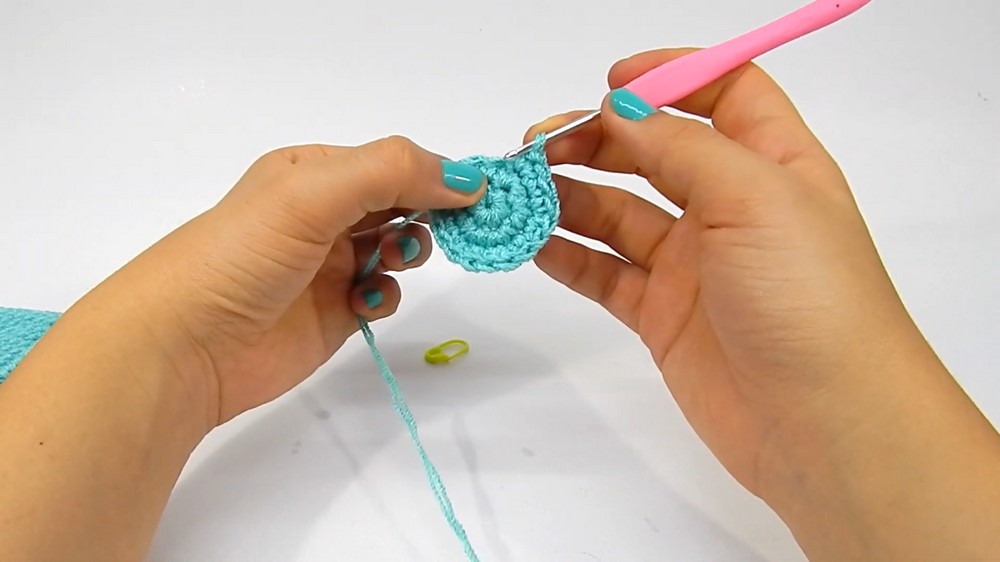
- Rnd 1: Magic ring, ch 1, work 6 sc in ring. Pull tight, join with sl st.
- Rnd 2: Inc in each st around (12 sc).
- Rnd 3: (Sc, inc) around (18 sc).
- Rnd 4: (2 sc, inc) around (24 sc).*
- Each round: Place and move stitch marker as needed.
- If larger lens is desired, add:
Rnd 5: (3 sc, inc) around (30 sc).
- Lens Rim (White or accent color):
- Join color and, starting at any st, (sc in next 3, inc) around or (4 sc, inc) if you completed the previous expansion round.
- End with a sl st, leaving a long tail for sewing to purse front.
Lens Accent Strip (Optional)
- Using black or accent color:
- Ch 5, turn.
- In 2nd ch from hook and each of next 3, sc (for 4 sc).
- Ch 1, turn. Repeat for 1 or 2 more rows for desired thickness (optional).
- Fasten off, leave tail for sewing. This rectangle is stitched to the upper right of the lens as the “viewfinder”.

Assembly
- Sew Lens:
- Attach lens securely to the front center of purse body using a yarn needle and matching yarn. Stitch into the color change “rim” (last round) so the lens stays slightly raised. Be sure the lens is centered.
- Sew Accent Rectangle (Viewfinder):
- Attach to upper right corner/front of camouflage (as the button, if using).
- Button:
- Stitch the small button to upper left or desired spot (refer to reference image).
- Attach Zipper:
- Pin zipper into top opening of purse, adjusting ends so the pull doesn’t get caught.
- Using matching thread and sewing needle, sew zipper in place, being careful to keep stitching even and discreet.
- Fold ends of zipper tape under at the sides if excess.
- Optional: Add stitches at the zipper ends for strength so the pull doesn’t detach.
- (Optional) Decorative Detail:
- For a white accent line on top edge of lens, sl st around the last round using white yarn before attaching lens.

Conclusion
You now have a creative and fun camera-shaped coin purse—an ideal gift for photography lovers, kids, or fans of quirky accessories! The project is easily customizable by adjusting size, colors, or facial details, and is beginner-friendly with room for creativity.
Pattern Corrections & Tips
- Gauge: Adjust purse size by making fewer/more foundation chains, and match zipper size accordingly.
- Color Changes: For crisp, clean color changes, always change yarn on the last pull-through of previous st.
- Spiral Rounds: Use a marker to avoid losing track, as the purse is made in a spiral without joining at round ends.
- Neater Edge: Add one finishing round of sl st to the open edge before adding zipper for stability.
- Circle Lens: Make sure to keep your increases evenly spaced for a smooth circle.
- Sewing Parts: When sewing on the lens and accents, take small stitches for a tidy finish.
- Decorative Sl St: A round or line of sl st in contrasting color gives a “realistic” camera detail; use as desired.
- Care: If giving to a child, securely fasten all buttons and decorative elements.