
Free Crochet Biznaga Cactus Pattern for Unique Decor
Try this free crochet biznaga cactus pattern and make a beautiful handmade decor piece that adds a touch of warmth and creativity to your space.
There’s a unique joy in creating small, charming plants that never need watering. One of my favorite projects to crochet is a lovely little cactus that brightens any space without any fuss. The free crochet biznaga cactus pattern is a perfect way to make a realistic-looking cactus you can display on your desk or shelf. By making a few small changes, you can easily turn this pattern into other cactus varieties or desert plants, adding variety to your handmade greenery collection.
Easy Step by Step Free Crochet Biznaga Cactus Pattern
This crochet biznaga cactus is beautiful in its simplicity. It has a round, barrel-like shape with textured ridges that mimic the real cactus’s spines, giving it a soft but structured feel. The stitch work creates a charming, ribbed texture that stands out, making the cactus look natural and inviting. Its style is both modern and cozy, fitting well as a decorative piece in any home or office. Plus, its size is just right for brightening small areas, and its no-maintenance nature is a big plus.
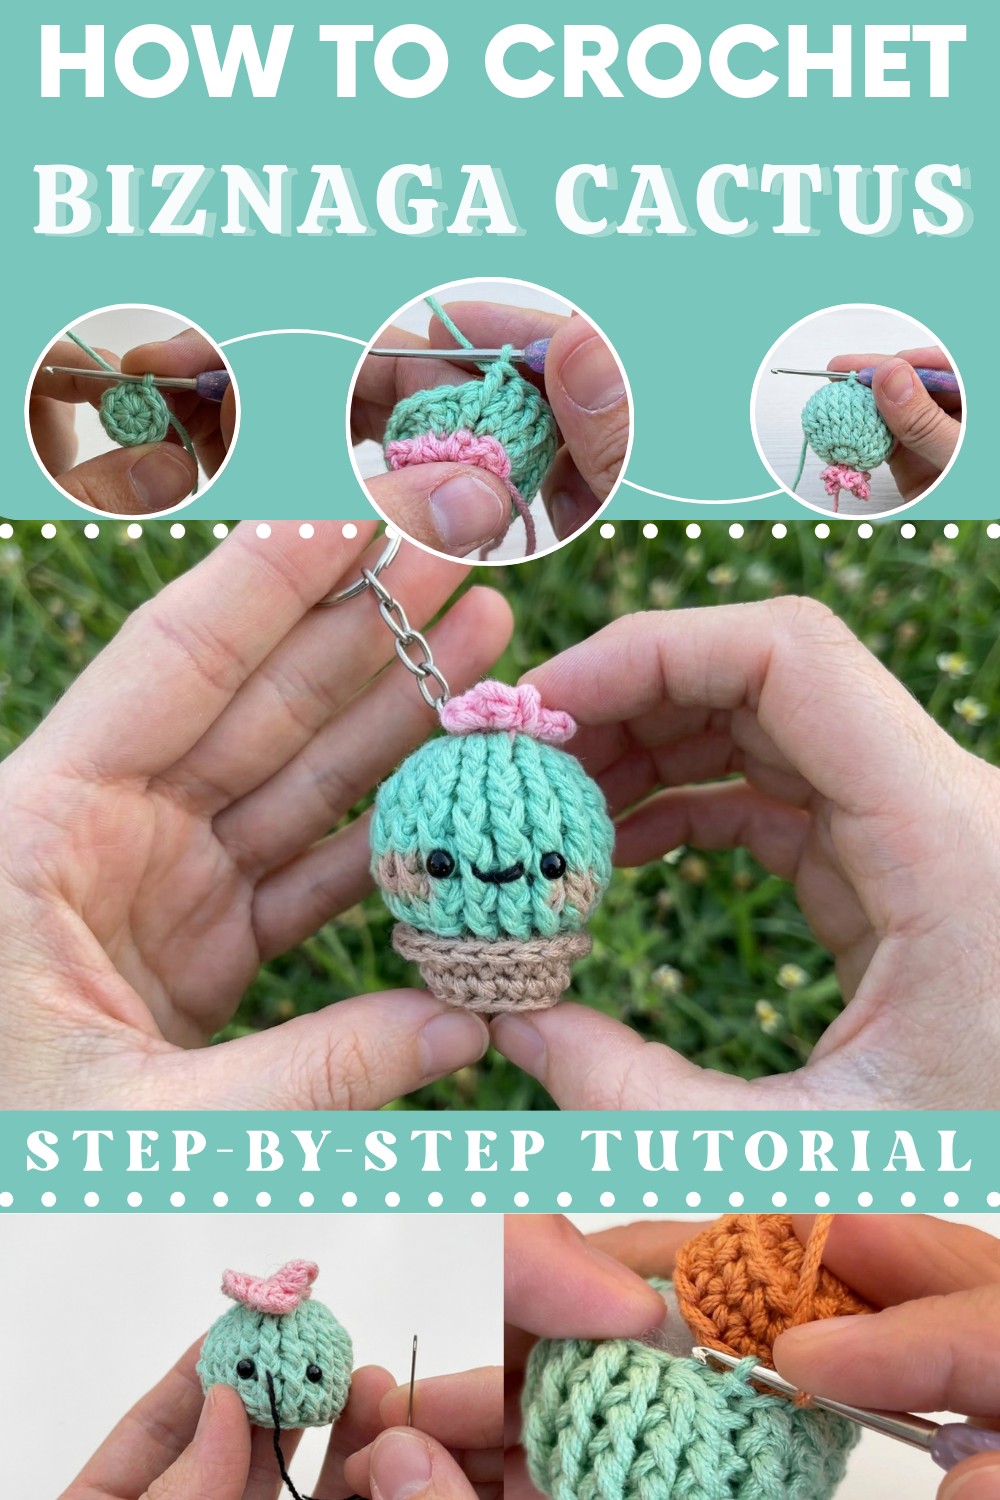
Suitable for beginners and those with basic crochet skills, this pattern mainly uses the single crochet stitch worked in rounds to shape the cactus. The instructions are straightforward, making it a relaxing and rewarding project to complete within a few hours.
Finished, this free crochet biznaga cactus pattern is a thoughtful gift, a charming decoration, or a collectible for plant lovers. If you enjoy simple projects that bring a touch of nature indoors without any hassle, this pattern is a fantastic choice to grow your crochet skills and enhance your home’s style.

Pattern Notes
- Rounds are mostly joined with slip stitch for perfect shaping.
- Flowers are made first, each petal is worked the same.
- The cactus body features front post double crochet for the characteristic “ribs.”
- Minimal sewing—flower is attached during crochet, eyes and mouth are embroidered, and end tails are hidden inside.
- The pot is joined to the cactus body using only the front loops, creating a clean, seamless finish.
- When using safety eyes without backings, the melted end technique ensures durability.

Amigurumi Biznaga (Cactus) Plant Keychain Pattern
This adorable amigurumi biznaga cactus is inspired by Mexican flora and made nearly seamless for a neat finish. Its ribbed body, built-in flower, and realistic pot make it a charming desk or bag accessory. The included steps follow the expert tutorial with detail. Finish with blush on cheeks for personality and a keyring for practical use.
Skill Level
Expert (Amigurumi Proficiency Required)
This “biznaga” cactus design is nearly seamless and uses techniques like magic rings, front post double crochet, invisible joins, color changes for flowers, and as-you-go joining. Some steps require a lighter for safety eyes (advanced technique for secure backing). If you need simpler instructions, see the beginner version.
Materials
- Yarn:
- Green (main cactus)
- Brown (pot)
- Pink (flower)
- Black (embroidery)
- 2 mm crochet hook
- Small amount of stuffing
- 4 mm safety eyes (without backing)
- Yarn needle
- Scissors
- Lighter (for melting eyes)
- Keyring
- Blush/eyeshadow (optional, for cheeks)
Measurements / Sizing
- Finished height: approx. 6–7 cm (pot to flower)
- Diameter: approx. 5 cm
- Ideal size for use as a keychain or desk mascot.
Gauge & Stitch Pattern
- Amigurumi fabric should be tight; use hook and yarn to avoid stuffing peeking out.
- Main stitches: single crochet (sc), double crochet (dc), front post double crochet (fpdc), magic ring (MR), slip stitch (sl st), half double crochet (hdc) for flower.
Stitch Abbreviations
| Abbreviation | Meaning |
|---|---|
| MR | Magic Ring |
| ch | Chain |
| sc | Single Crochet |
| hdc | Half Double Crochet |
| dc | Double Crochet |
| fpdc | Front Post Double Crochet |
| inc | Increase (2 sc/dc in 1 stitch) |
| sl st | Slip Stitch |
| st(s) | Stitch(es) |
| BLO/FLO | Back/Front Loop Only |
Special Stitches
- Front Post Double Crochet (fpdc):
Yarn over, insert hook from front to back around post of indicated stitch, yarn over, pull up loop, complete dc as usual. - Invisible finishes and knot-hiding:
Use needle to weave in ends and make knots inside amigurumi for durability. - Decrease in fpdc:
Work two fpdc together (see details in pattern section).
The Crochet Pattern! (complete and detailed)
A. Flower (Make First, Pink)
- Petal (repeat 5 times):
- Ch 2.
- Hdc in 2nd ch from hook.
- Ch 2.
- Sl st in same spot as hdc.
- Repeat 5 times for 5 petals.
- Ch 1, cut yarn, pull to fasten off.
- Tighten starting tail to close flower center, weave or knot tail for stability.
B. Cactus Body
With green:
Round 1:
MR, 10 sc in ring.
Pull tail tight, sl st in first sc to close round.

Round 2:
Ch 2, 2 dc in each st around (dc inc in every st).
Total: 20 sts.
At halfway point (after 5 inc), attach flower as follows:
- Yarn over, begin dc in next st, insert hook through one flower thread, complete dc through both cactus and flower.
- Repeat for next increase, securing another flower petal thread as you go.
Continue with increases to round’s end, sl st to join.
Round 3:
Ch 1, 20 fpdc:
Work fpdc in each dc from previous round.
At st 11, secure another flower thread by fpdc as above (through flower and cactus), continue to end.
Sl st to join.

Round 4 & 5:
Ch 1, fpdc in each st around (20).
Sl st to join.
Round 6 (Decreasing ‘top’):
Ch 1, [fpdc dec, fpdc x 3] x4.
(fpdc dec: Yarn over, fpdc in 1st st, partway, then in 2nd st, finish dc over all loops on hook.)
Total 16 sts; sl st to join.

Ch 3, cut yarn, pull to fasten off.
C. Eyes & Mouth
- Place safety eyes two rounds before top, spaced by skipping 2–3 sts.
- To secure eyes without backing, melt tips gently with lighter, press with lighter to flatten and lock in place.
- With black yarn and needle, embroider mouth: enter at inside, exit below eyes, travel horizontally, then dip to mid-lower for smile, secure ends inside with knot.

D. Stuffing
- Begin filling cactus firmly with stuffing before joining pot.
E. Pot (Brown)
Round 1:
MR, 8 sc in ring. Pull taut, sl st to join.
Round 2:
2 sc in each st around (inc in each st).
Total: 16 sts; sl st to join.
Round 3:
Working in BLO, sc in each st (16).
Sl st to join.
Round 4:
sc in each st around (16).
Sl st to join.
F. Joining Pot to Cactus
- With cactus and pot pieces open, hold together.
- Ch 1, turn work to ‘inside.’
- Join with sc: insert hook through FLO of both pieces, sc around.
- Work [2 sc, inc] sequence: sc in next 2 paired sts, inc (2 sc) in following pair, repeat around.
Pause midway to finish stuffing cactus before closing. - Sl st to join, cut yarn, pull through, use needle to hide tail inside.

G. Final Details
- Add blush to cheeks with eyeshadow or powder.
- Attach keyring to top or pot with tweezers, threading securely.
Assembly & Finished Size
- Flower is made and joined seamlessly in cactus round 2 & 3.
- Eyes are placed securely; mouth embroidered after body finishes.
- Knot all ends inside and cut excess tails.
- Pot and body are joined perfectly with surface sc through front loops.
- Midway through joining, complete final stuffing.
- Add blush and keyring for finishing touch.
- Finished cactus should stand ~6–7 cm, diameter ~5 cm, keychain ready!
- No large flat pieces or separate sewing—truly seamless construction.
This pattern is both advanced and satisfying, yielding a beautiful, sturdy Mexican biznaga cactus perfect for gifting or display.