
Free Crochet Amigurumi Charmander Pattern That You'll Love
Create a cute Crochet Amigurumi Charmander with this free pattern that guides you step by step to make a charming handmade companion easily and quickly.
For crochet lovers and Pokémon fans, the Crochet Amigurumi Charmander is a delightful project that transforms the iconic character into a charming handmade toy. This pattern captures the essence of Charmander with its bright orange body, signature flame tail, and friendly expression, making it a cheerful addition to any collection.
Easy Crochet Amigurumi Charmander Free Pattern For Kid's Toy
Crocheted through basic amigurumi techniques, this project involves crocheting individual parts—such as the head, body, arms, legs, and tail—in continuous rounds using single crochet stitches. These pieces are then skillfully sewn together to assemble the complete figure. Special attention is given to the flame on Charmander’s tail, which can be crocheted using colorful yarns or embroidery, adding a unique and eye-catching detail. You can also customize the size by adjusting yarn weight and hook size to create either a small keychain or a larger decorative figure.
The finished Crochet Amigurumi Charmander is compact enough to be held comfortably or displayed on a shelf, desk, or as part of a Pokémon-themed décor. It’s a fantastic gift idea for fans of all ages and doubles as a comforting handmade toy.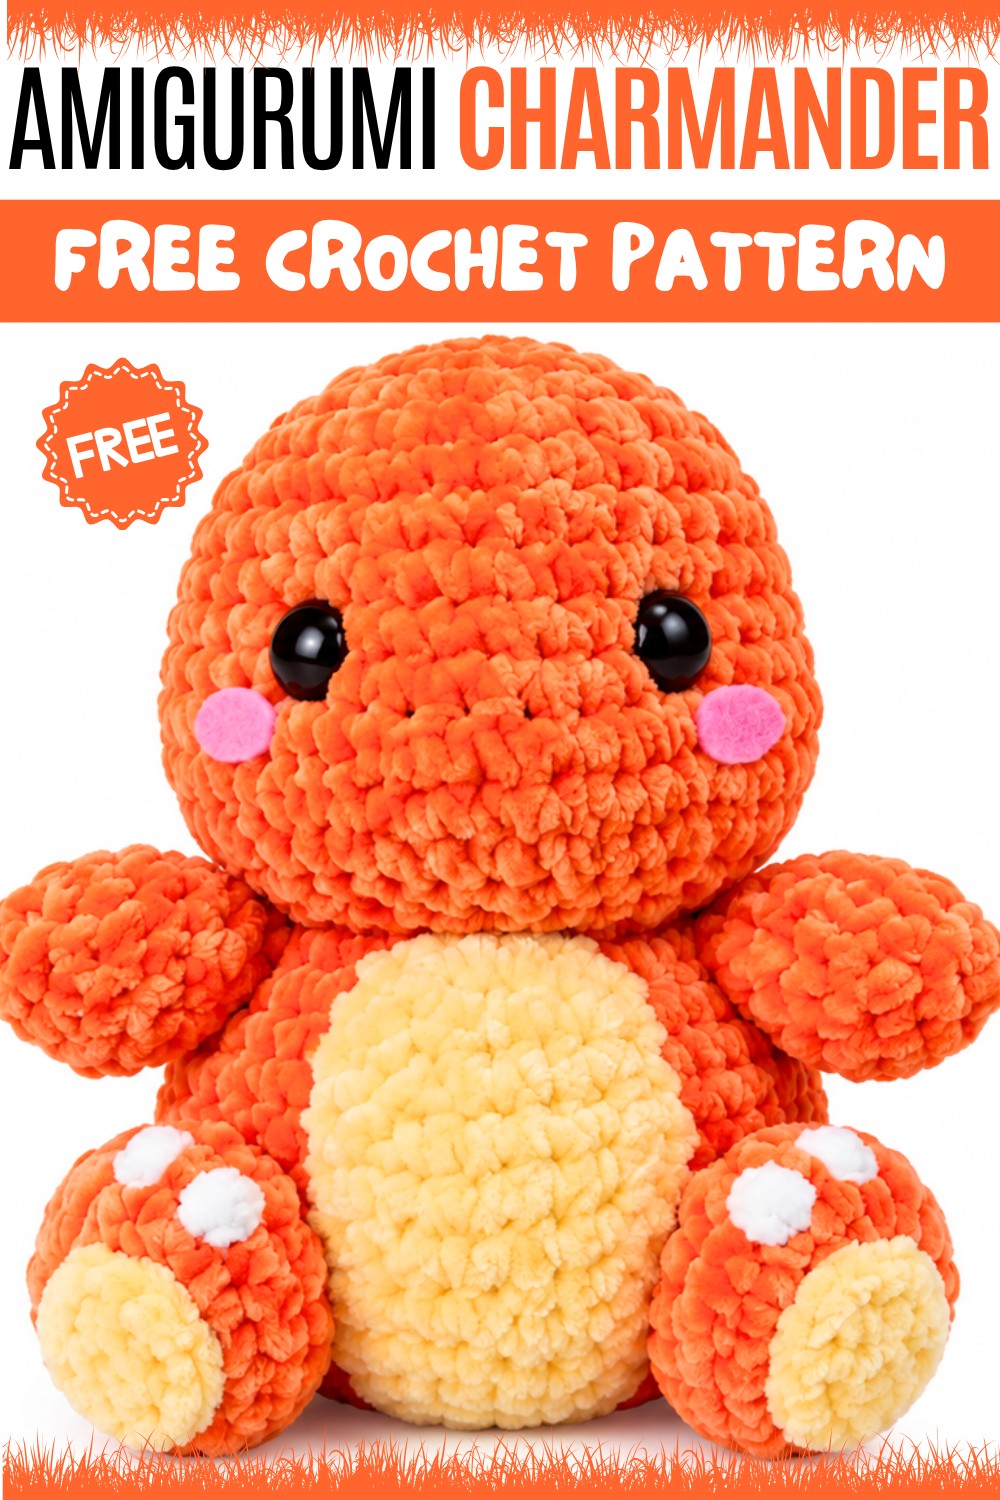
This project is perfect for those with a basic understanding of crochet who want to expand their amigurumi skills. It offers a balance of simple stitches and creative assembly, making the crocheting experience enjoyable and satisfying. With each stitch, you’ll bring this beloved character to life, creating a beautiful, playful piece that reflects your dedication and creativity.
Featured By:
Charmander Amigurumi Crochet Pattern
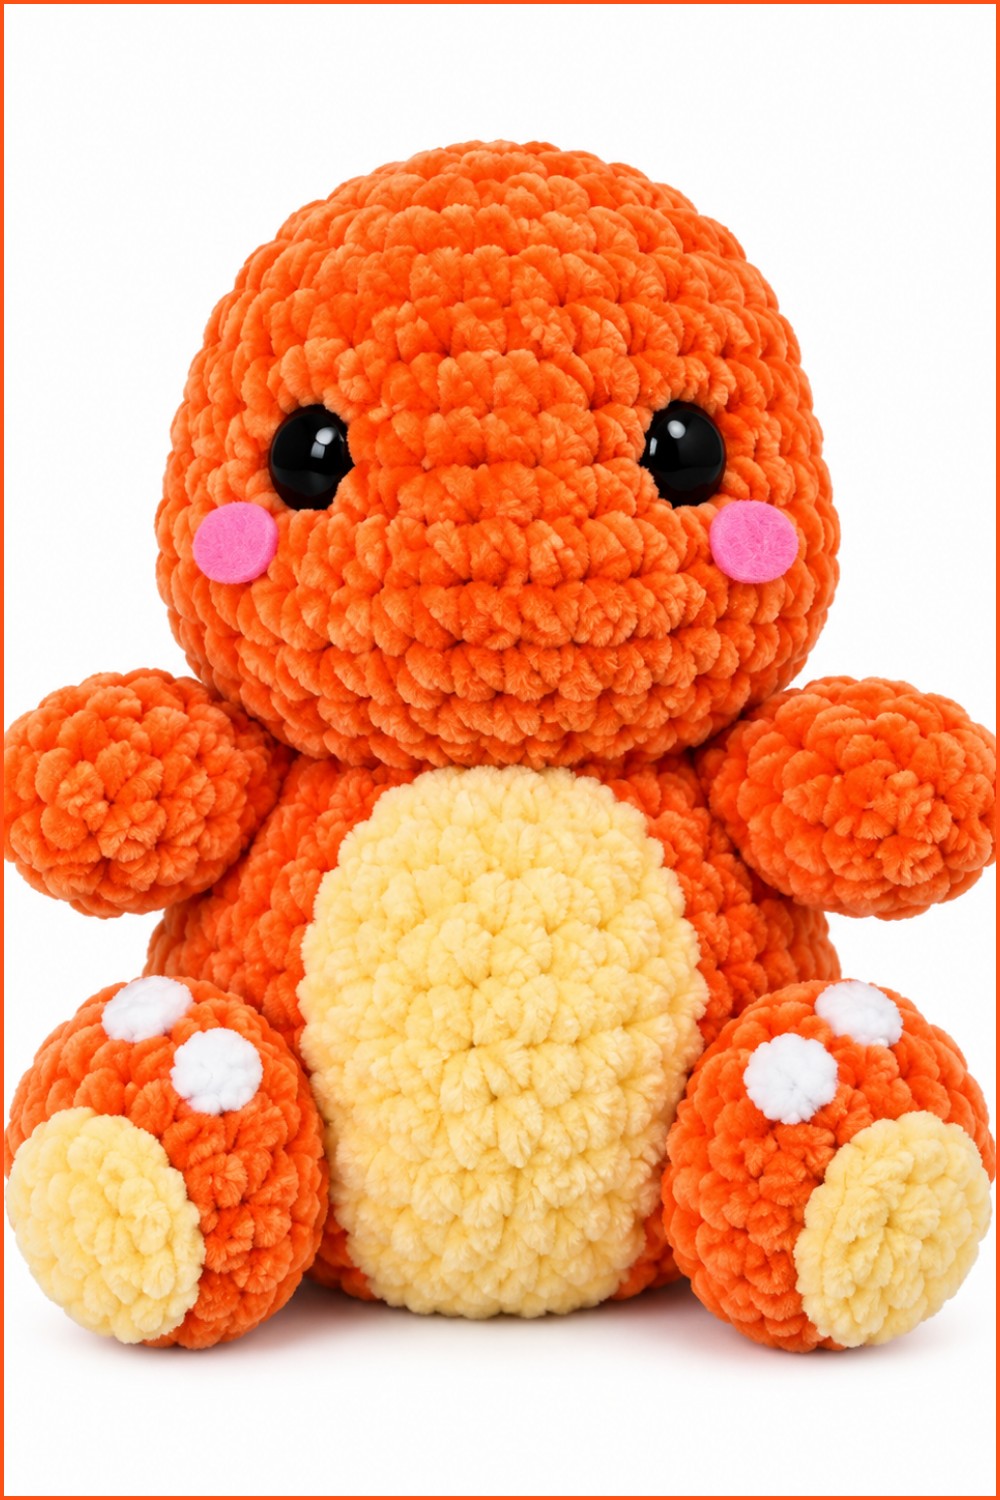
This pattern provides a comprehensive guide to crafting a velvet yarn Charmander plush featuring seamless head and body construction, shaped arms, feet, a signature fiery tail, and an appliquéd yellow belly. By following structured rounds, strategic increases and decreases, and thoughtful assembly, the finished result captures the character’s playful essence and recognizable silhouette.

Pattern Basic Points
- Velvet yarn and 5 mm hook create a soft, chunky plushie.
- Head and body are crafted in one continuous piece for a seamless look.
- Distinct shaping techniques allow for cheeks, nose, and round belly.
- Separate arms, feet, tail, and flame are attached for dimension and durability.
- Appliqué details for belly and feet enhance realism.
- Tail flame is crocheted separately and attached for iconic effect.
Special Notes
- Working with velvet yarn can obscure stitches; count carefully and use stitch markers if needed.
- For smooth body shaping, be precise with stitch increases and decreases—especially in facial and belly rounds.
- Stuff as you go, particularly in head, body, and tail, to achieve a full, rounded shape.
- The flame consists of three parts: two yellow side flames and a central red flame. This layering effect gives dimension and authenticity.
- Secure all joins and appliqué pieces firmly; velvet yarn can slip if not tightly anchored.
Skill Level
Intermediate
This pattern assumes comfort with crocheting in the round, increasing/decreasing, color changes, working with velvet/chenille yarns, and amigurumi assembly. Attention to detailed shaping and applique is required.
Materials
- Yarn: Velvet yarn in orange (main), yellow (belly/flames), red (tail flame), small amount white or cream for foot detail
- Hook: 5 mm crochet hook
- Stuffing: Polyester fiberfill
- Yarn needle: For joining and embroidery
- Scissors
- Sewing pins or stitch markers (recommended for alignment)
- Glue (optional, for flame attachment)
- Safety eyes or black and white felt for eyes (optional)
- Black embroidery thread or yarn for mouth and nose
Measurements & Gauge
- Finished size: Approximately 18–23 cm (7–9") tall, depending on yarn and tension
- Gauge: Not critical for amigurumi, but stitches should be tight so stuffing does not show
- Stitch Pattern: Single crochet (sc) in rounds; chain, increase (inc), decrease (dec); some half double and double crochet for flame shaping
Stitch Abbreviations
- ch: chain
- sc: single crochet
- inc: increase (2 sc in one stitch)
- dec: decrease (sc2tog)
- sl st: slip stitch
- MR: magic ring (magic circle)
- R: Round/Row
Special Stitches Used
- Magic Ring (MR): Begin a round with a tightly closed circle, essential for amigurumi.
- Increase (inc): 2 sc in the same stitch to widen rounds.
- Decrease (dec): 2 sc together to taper shape.
- Slip Stitch (sl st): Joining or finishing round.
Pattern Instructions
Head & Body (0:33 – 23:56)
- R1: MR, 7 sc (7)
- R2: inc in each stitch (14)
- R3: (1 sc, 1 inc) repeat around (21)
- R4: (2 sc, 1 inc) repeat around (28)
- R5: (3 sc, 1 inc) repeat around (35)
- R6-10: sc in each stitch around (35 per round)
- R11: 8 sc, 6 inc (cheek), 2 sc, 4 inc (nose), 2 sc, 6 inc (cheek), 7 sc (51)
- R12: sc around (51)
- R13: 8 sc, 6 dec (cheek), 2 sc, 4 dec (nose), 2 sc, 6 dec (cheek), 7 sc (35)
- R14: (3 sc, 1 dec) repeat (28)
- R15: (2 sc, 1 dec) repeat (21)
- R16: (1 sc, 1 dec) repeat (14)
- R17 (Body begins): inc in every stitch around (28)
- R18: (1 sc, 1 inc) repeat (42)
- R19-22: sc in each stitch around (42 per round)
- R23: (5 sc, 1 inc) repeat (49)
- R24: sc around (49)
- R25: (5 sc, 1 dec) repeat (42)
- R26: (4 sc, 1 dec) repeat (35)
- R27: (3 sc, 1 dec) repeat (28)
- R28: sc around (28)
- R29: (2 sc, 1 dec) repeat (21)
- R30: (1 sc, 1 dec) repeat (14)
- R31: dec around (7)
- R32: dec to close, sl st to finish
- Stuff firmly before final closing.


Arms (23:56 – 28:00)
Make two.
- R1: MR, 4 sc (4)
- R2: inc in every stitch around (8)
- R3: (1 sc, 1 inc) repeat (12)
- R4: sc in each stitch around (12)
- R5: (1 sc, 1 dec) repeat (8)
- R6–7: sc in each stitch around (8, for 2 rounds)
- Squish flat and leave a long tail for sewing.
Feet (28:00 – 31:45)
Make two.
- R1: ch 5, skip first ch, 3 sc, 1 inc (in last ch), continue on other side: 3 sc, 1 inc (10)
- R2: inc in every stitch around (20)
- R3: sc in each stitch around (20)
- R4: dec in every stitch (10)
- Slip stitch to finish, stuff lightly, leave a tail for sewing.
Tail & Flames (31:45 – 46:30)
Tail:
- R1: MR, 4 sc (4)
- R2–14: Gradually increase to reach 16 sc at R14, spacing increases around each round as follows:
- R2: inc to 6, R3: inc to 8, R4: inc to 10, R5: inc to 12, R6–9: sc around (12 per round)
- R10: (1 sc, 1 inc) repeat (18)
- R11–12: sc around (18 per round)
- R13: (2 sc, 1 inc) repeat (24)
- R14: sc around (24)
- Stuff as you go, especially at the base and middle for support.
Flames:
- Yellow Flames (make 2): ch 7, work sc up chain, create 2–3 points by chaining 2 or 3 and working back along them with sl st or sc for mini-spikes.
- Red Flame (center): ch 8, with more points (use combinations of ch 2–3, sl st, sc) to form irregular flame spires.
Yellow Belly & Foot Detail (46:30 – 51:42)
Belly:
- Foundation: ch 11
- Row 1: 9 sc, 2 sc in last ch, turn and work 9 sc back up the other side, 2 sc in final ch for symmetry (22)
- Work 2–3 more rounds, increasing 1 st at each end to form an oval.
Foot Detail:
- MR, 5 sc, sl st to join. Make 2, sew to feet as claws/toes.
Assembly (51:42 – 53:03)
- Arms: Stitch arms between R17–21 of the body sides, angling slightly downward.
- Feet: Sew flat ends to the underside of the body, aligned so the plush stands/sits upright.
- Tail: Attach to lower back near R19–26, angle slightly downward and outward so the end of the tail can rest behind.
- Belly Patch: Centered on front body, whipstitch in place.
- Flames: Glue or stitch yellow flames to either side of red flame, then attach finished flame assembly securely to the tip of the tail.
- Face Embroidery: Insert safety eyes between R10 and R11 (optional), or glue felt for eyes. Use black yarn or thread to embroider a small nose and mouth to finish Charmander’s friendly expression.

Finished Size
Completed Charmander is typically 18–23 cm (7–9") tall when worked with 5 mm hook and velvet yarn, resulting in a plush, textured finish with pleasing weight and tactile appeal.
Conclusion
This Charmander pattern combines expressive shaping and velvet yarn texture to evoke the beloved Pokémon’s warmth and personality. Essential amigurumi skills—magic ring foundation, increment/decrement shaping, round and oval applique, and multi-part assembly—produce a well-balanced 3D plush. The iconic flame tail is rendered with simple chain, spike, and color-layering techniques for playful realism. This project supports development of advanced beginner to intermediate crochet skills and yields a collectible creature suitable for fans of all ages. The soft bulk and fine details make it both a fun challenge and a rewarding addition to any amigurumi menagerie.