
Feisty Crochet Lion Amigurumi Pattern for a Wild Adventure
Shape a bold safari look with this Crochet Lion Amigurumi Pattern, a trendy and vibrant style to provide a splash of wild energy to any room.

Regal Crochet Lion Amigurumi Pattern to Roar with Personality
A majestic king of the savanna transforms into a snuggly friend through a Crochet Lion Amigurumi Pattern. This golden feline treasure features a thick, textured mane that looks striking and feels soft to the touch. Making this sophisticated piece offers a calming experience, as the repetitive loops help you relax while improving your skills. This miniature monarch is more than just a toy; it serves as a beautiful decoration for a nursery, a brave mascot for a desk, or a special gift for a child.

Its smart design often includes moving limbs and a warm, expressive face. Engaging in this tactile work allows you to master fun textures like loop stitches, resulting in a strong and beautiful masterpiece. Whether sitting on a shelf or being carried by a toddler, this charming plush lion brings handmade style and joy to any room.
Materials
-
Yarn: Medium weight (Number 4) yarn in golden-yellow (base color), brown (paws, mane, and accents), and white (muzzle).
-
Hook: 4.25 mm crochet hook [00:52].
-
Safety Eyes: 14 mm [00:52].
-
Stuffing: Polyester fiberfill [01:31:07].
-
Notions: Stitch marker, tapestry needle, pins, and scissors [01:00].
Step-by-Step Pattern
1. Limbs (Make 4: 2 Arms, 2 Legs)
-
Start (Brown): 6 sc in a magic ring. Increase to 12 sc. Change to golden-yellow on the final stitch of Row 2 [02:52].
-
Growth: Increase to 18 sc in Row 3, and 24 sc in Row 4 [05:22].
-
Shaping: Sc 24 for 3 rows [07:48]. Use "invisible decreases" (front loops only) in Row 8 and 9 to taper the limb down to 12 stitches [11:42].
-
Length: Sc 12 for 9 rows [15:28].
-
Finishing: For legs, stop after the sc rows. For arms, add 3 extra sc to shift the fold. Stuff paws firmly, fold the top flat, and sc 5 across to close [21:26].


2. Head and Upper Body
-
Head (Golden): Start with 6 sc in a magic ring. Follow standard increase rounds (12, 18, 24, 30, 36, 42) until Row 7 [26:27].
-
Length: Sc 42 for 7 rows [35:48].
-
Neck Taper: Decrease rounds (36, 30, 24, 18) [49:49].
-
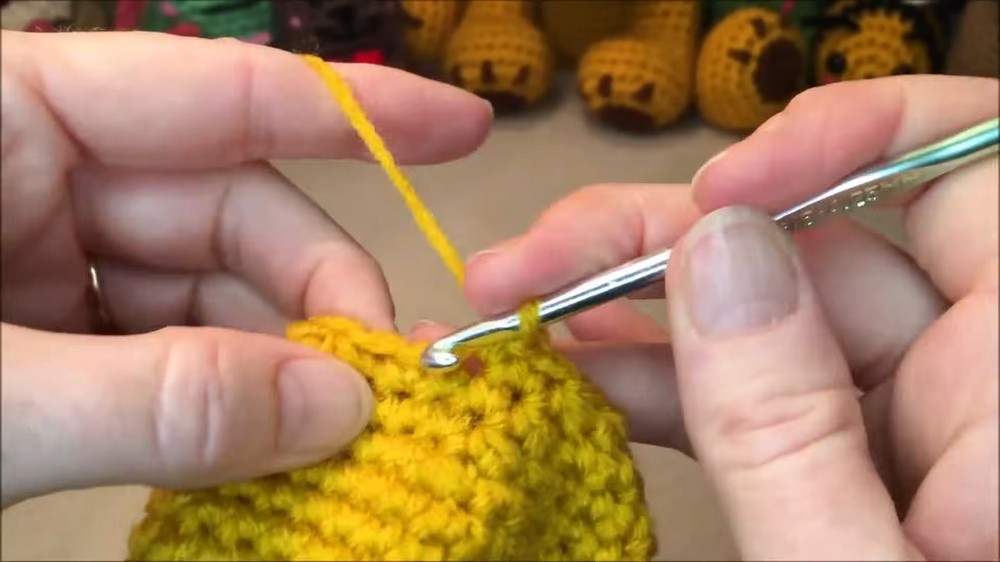
Arm Integration: Sc 2, then work 5 sc through the first arm and head simultaneously. Sc 4 across the front, work 5 sc through the second arm and head. Finish with 2 sc [57:10].
3. Lower Body and Legs
-
Expansion: Increase to 24 sc, then work 1 row even [01:00:21]. Continue increases to 30 sc, then 36 sc [01:03:24].
-
Body Length: Sc 36 for 6 rows [01:06:55].
-
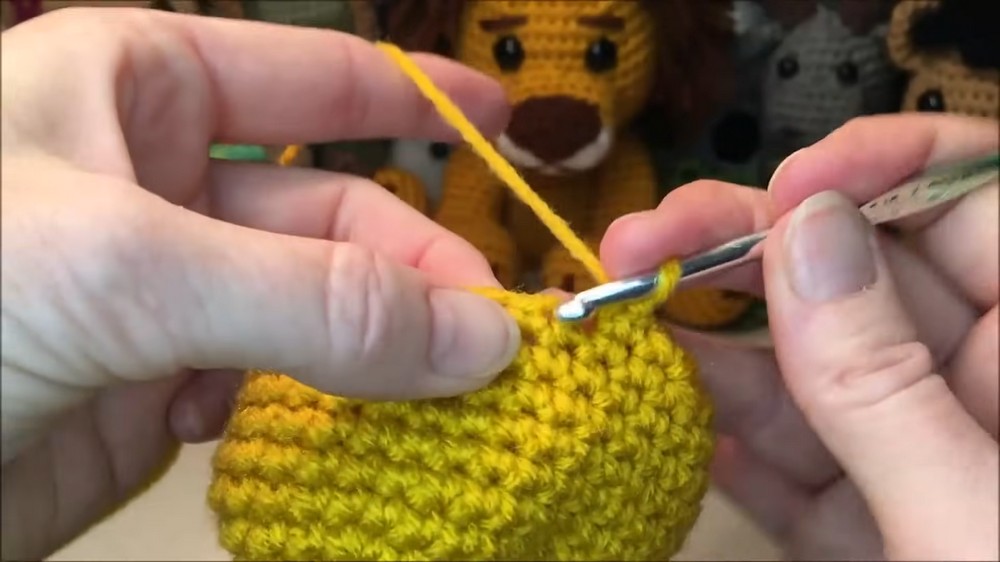
Leg Integration: Position the legs at the front so the lion sits. Work 5 sc through each leg and the body, with 2 sc between them [01:27:33].
-
Closing: Decrease down to 12 sc. Change to back loops for Row 36 to create a flat sitting base [01:32:05]. Finish with 6 dec and weave closed [01:34:46].
4. Face and Mane
-
Eyes: Place 14 mm safety eyes between Rows 9 and 10 of the head, 4 holes apart [01:22:22].
-
Muzzle (White): Crochet an oval by working around both sides of a chain-5 [01:44:26]. Stuff lightly and sew between the eyes [01:56:31].
-
Mane (Brown): Cut short yarn strands (approx. 3 inches). Use a latch-hook method to attach the hair in a spiral from the top of the head down to the neck [02:53:44].

Special Features
-
No-Sew Integration: Limbs are crocheted directly into the body rows, making the toy more durable for play [00:14].
-
Sitting Position: The placement of the legs on Row 32 ensures the lion remains stable and upright on flat surfaces [01:33:05].
Level of Difficulty
This project is Intermediate. It uses basic stitches but requires careful attention to limb orientation and specific integration rows to ensure the lion sits correctly.
Tutor's Suggestions
-
Invisible Decreases: Always use front loops only for decreases to avoid creating large holes in the fabric, especially on the face [01:12:09].
-
Stuffing Strategy: Push stuffing out to the sides of the head to create a wider, more realistic feline face shape [01:31:39].
Uses
-
Heirloom Gift: A perfect, sturdy toy for children.
-
Themed Decor: Great for "Wild One" or safari-themed nurseries.
Conclusion
By following these detailed steps, you create a character-filled lion with a thick, impressive mane. This pattern provides an excellent lesson in amigurumi structural shaping and component integration.
Pro-Tip
Use a needle to "puff out" the muzzle after sewing it on. This hides the stitches and gives the lion a softer, more professional facial profile [02:21:58].