
Farmcore Crochet Cow Amigurumi Pattern for Rustic Homes
Kickstart smiles with this Free Crochet Cow Amigurumi Pattern that forms a lovable farm figure perfect for cheerful rooms and cozy spaces.

Adorable Crochet Cow Amigurumi Pattern Everyone Loves
Imbued with charm and a playful spirit, the Crochet Cow Amigurumi Pattern is sure to brighten any setting with its endearing features, such as soft horns, floppy ears, and a cheerful expression. From nursery decorations to sentimental gifts, its versatile design makes it suitable for a range of purposes while adding a touch of warmth to any space. The pattern is adaptable, allowing for experimentation with colors, textures, and sizes to suit personal preferences or themes.

Its soft and cuddly appearance makes it particularly appealing for children’s toys or cheerful additions to farm-inspired collections. Beyond its aesthetic value, the process of assembling this Crochet Cow Amigurumi Pattern offers a soothing and enjoyable activity, perfect for unwinding and expressing creativity. The completed piece, full of personality, is not only a lovable companion but also a symbol of thoughtful care, ensuring its place as a cherished accessory or thoughtful keepsake.
Step-by-Step Details
Materials Needed
- Yarn:
- Small Cow: #4 medium-weight yarn and 4.25mm crochet hook.
- Large Cow: #6 bulky yarn (approximately 4.5–5 oz) and 5.5mm crochet hook.
- You'll need two colors: one for the accent color (hooves, muzzle) and one for the main color (body).
- Safety Eyes: Typically 10mm eyes for the smaller cow or larger sizes for the plush cow (such as 12–20mm depending on your preference).
- Polyester Stuffing: Light stuffing to shape the cow.
- Scissors: For trimming yarn and shaping details.
- Yarn Needle: For attaching features like ears and horns.
- Stitch Marker: Optional but helpful for tracking stitches.
- Scrap yarn pieces (optional) for embellishments like the Highland cow tail tuft.
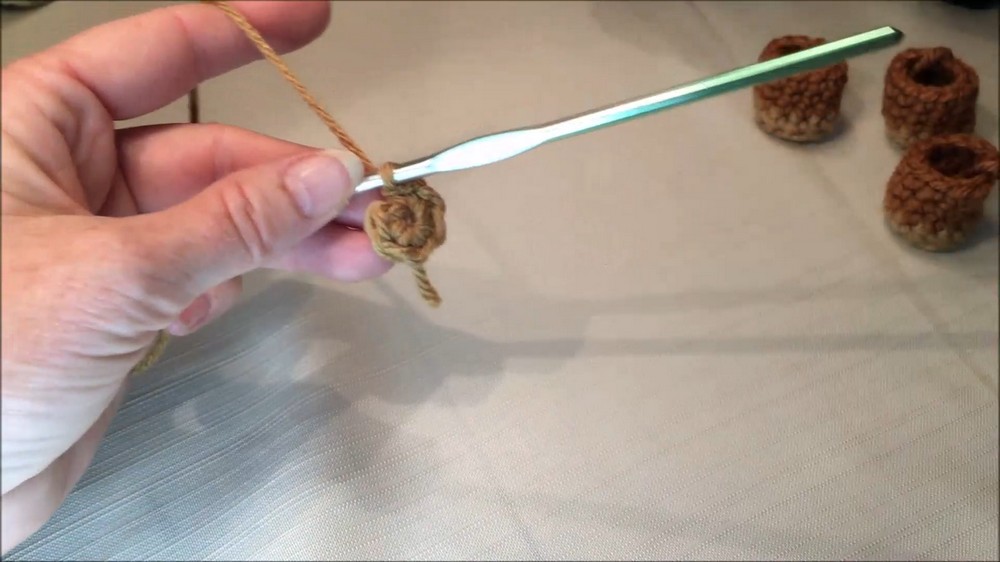
1. Start with the Legs (Make 4)
- Using Accent Color (Hooves):
- Create a magic ring or a loop to begin.
- Work 6 single crochets (SC) into the ring for Round 1.
- Round 2: Make 6 increases (2 SC per stitch) for a total of 12 stitches.
- Round 3: Work 12 single crochets in the back loops only to create a defined top edge for the hooves.
- Switch to Main Color (Body):
- Tie on the main color yarn securely.
- Rounds 4-6: Work 12 SC in each row (three rows total), crocheting normally under both loops.
- Slip stitch to finish and tie off, leaving a small tail for later assembly.
- Repeat for Four Legs, ensuring each leg looks consistent.
2. Create the Head (Magic Ring Method)
- Begin with a magic ring:
- Round 1: Work 6 SC into the ring.
- Round 2: Make 6 increases for a total of 12 SC.
- Round 3: Alternate 1 SC, 1 increase (18 SC).
- Round 4: Alternate 2 SC, 1 increase (24 SC).
- Round 5: Alternate 3 SC, 1 increase (30 SC).
- Rounds 6-9: Crochet evenly in 30 SC per round to shape the head fully.
- Lightly stuff the head before moving on to the next steps. Place your safety eyes between Rows 5 and 6, leaving about 3–4 stitches between them.

3. Work on the Body
- Round 10 - Create a Base for the Body:
- Chain 7 stitches and work around the chain and the bottom of the head to form a base. Attach securely with single crochets.
- Increase Rounds for Body Dimensions:
- Round 14: Alternate 3 SC, 1 increase (30 SC).
- Round 15: Alternate 4 SC, 1 increase (36 SC).
- Attach the Legs:
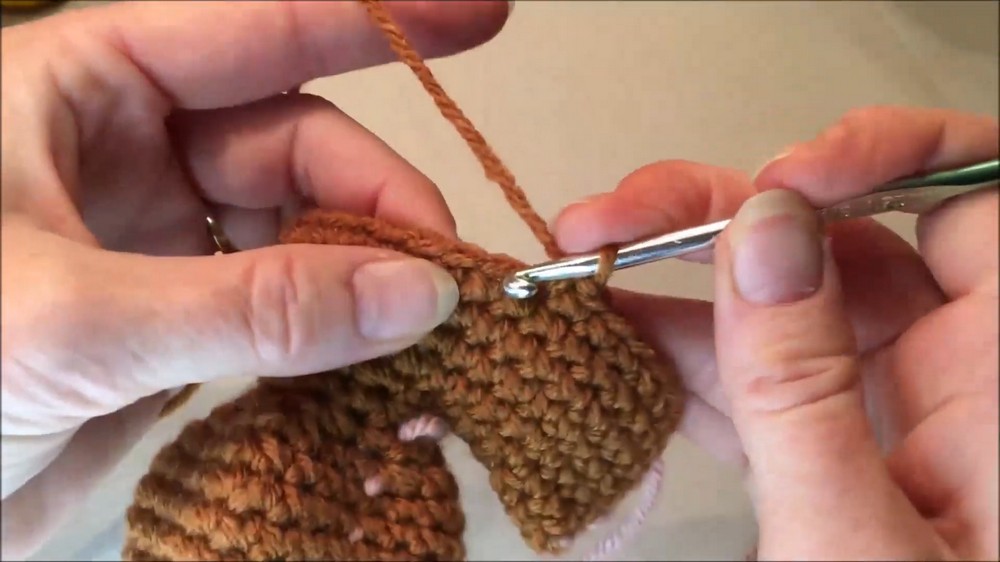
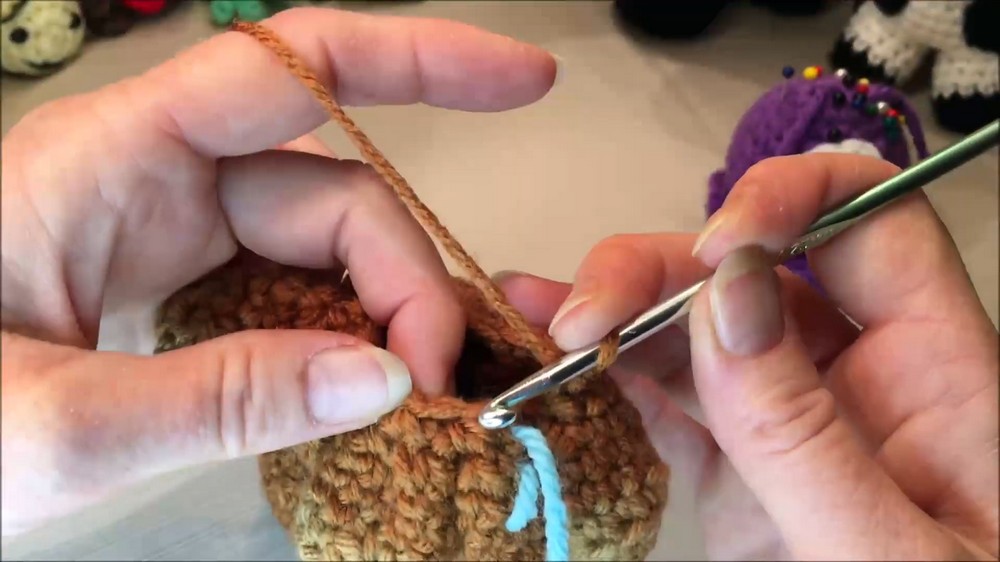
- Position the legs evenly around the body. Attach with 6 SC per leg and space them out using 2–3 SC each between legs. Careful placement ensures structural integrity and prevents gaps.
- Complete the body shape by crocheting evenly for additional rounds (typically reaching 36 SC per round). Sculpt the body by stuffing gradually and evenly.
4. Horns and Ears
Horns (Make 2)
- Begin with a magic ring:
- Round 1: Work 6 SC into the ring.
- Rounds 2-3: Crochet 6 SC in each round evenly.
- Tie off and lightly stuff to maintain shape.
Ears (Make 2)
- Start with a magic ring:
- Round 1: Work 6 SC into the loop.
- Round 2: Alternate 1 SC, 1 increase for 9 SC total.
- Round 3: Alternate 2 SC, 1 increase for 12 SC total.
- Round 4: Alternate 2 SC, 1 decrease for 9 stitches total.
- Round 5: Alternate 1 SC, 1 decrease for 6 stitches total.
- Fold the ear in half and crochet through both sides to close. Leave a tail for sewing.
5. Muzzle and Tail
Muzzle
- Create a chain of 8 stitches:
- Work increases at the ends and SC evenly along the top and bottom edge of the chain to create a rounded shape.
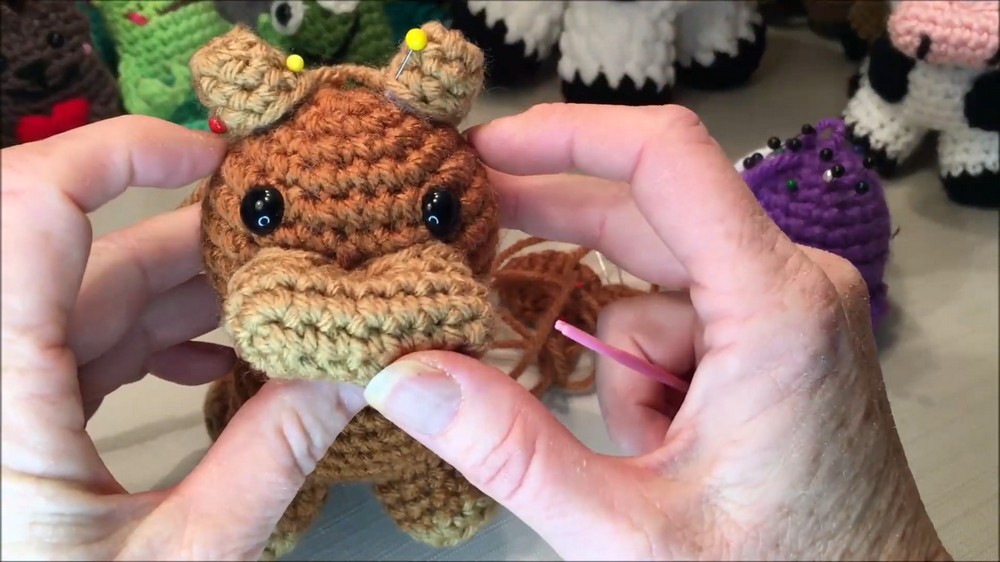
- Add light stuffing and attach below the safety eyes. Optionally embroider nostrils using black yarn.
Tail
- Create a short chain (approximately 6 chains).
- Add scrap yarn pieces to create the tuft of the Highland cow’s tail, attaching securely at the edge of the tail.
Special Features
- Two Sizes: Choose between a small (6-inch) version or a large (10-inch) plush Highland cow based on yarn weight.
- Crochet-Along Style: The tutor works through every stitch with you, providing visual guidance and on-screen patterns for the first few rows of each segment.
- Customizable: You can choose colors for the cow’s hooves, horns, body, and muzzle to create farm-inspired or whimsical designs.
- Amigurumi Design: Features realistic details, including horns, ears, muzzle, and tufted tail for a playful finish.
Level of Difficulty
The project is beginner-friendly with detailed step-by-step guidance. Certain parts like the muzzle shaping, adding features, and attaching legs may require additional patience, making it suitable for beginners to intermediate crocheters.
Tutor’s Suggestions
- Be Careful with Blanket Yarn: When using bulky yarn, pull gently to avoid breakage during stuffing or pulling stitches.
- Adjust Placement: Pin down features like horns, ears, and muzzle before attaching permanently to ensure a balanced and accurate design.
- Use Stitch Markers: Mark the start of rounds and use markers for complex sections, such as aligning the legs during attachment.
- Stuff Lightly: Avoid overstuffing, especially around curved areas like the head and legs, as it may stretch the stitches or distort the shape.
Uses
- Toys: A cute handmade toy for children or Highland cow lovers.
- Decor: Utilized as farm-inspired décor for nurseries, offices, or shelves.
- Gifts: Thoughtful handmade present for friends, family, or special occasions.
- Crochet Market: Perfect for selling in craft fairs, markets, or gifting during farm-themed events.
Tip for Success
When attaching legs, horns, and ears, use pins to secure each piece before sewing. This ensures accurate placement and balance, especially for symmetrical features like horns and legs.
Conclusion
This Highland cow crochet pattern provides everything you need to confidently make a cute and customizable farm animal. With its crochet-along format, special features, and adaptable sizing, it's perfect for beginners and intermediate-level crafters alike. Whether you use plush bulky yarn for a larger cow or medium-weight yarn for a smaller version, the end product is sure to delight.