
Elegant Free Crochet Table Napkin Holder To Beautify Your Dining
Elevate your dining decor with this Crochet Table Napkin Holder Pattern, blending handmade charm and practical style for every occasion.
A quiet shift from disposable holders and metal racks has brought forward a softer, more elegant touch to table settings, the crochet napkin holder. This understated piece adds grace to dining arrangements, offering both structure and beauty in one refined accent. With gentle curves and openwork stitches, it keeps napkins neatly arranged while doubling as a centerpiece that draws the eye without demanding attention.
Free Crochet Napkin Holder For Effortless Elegance
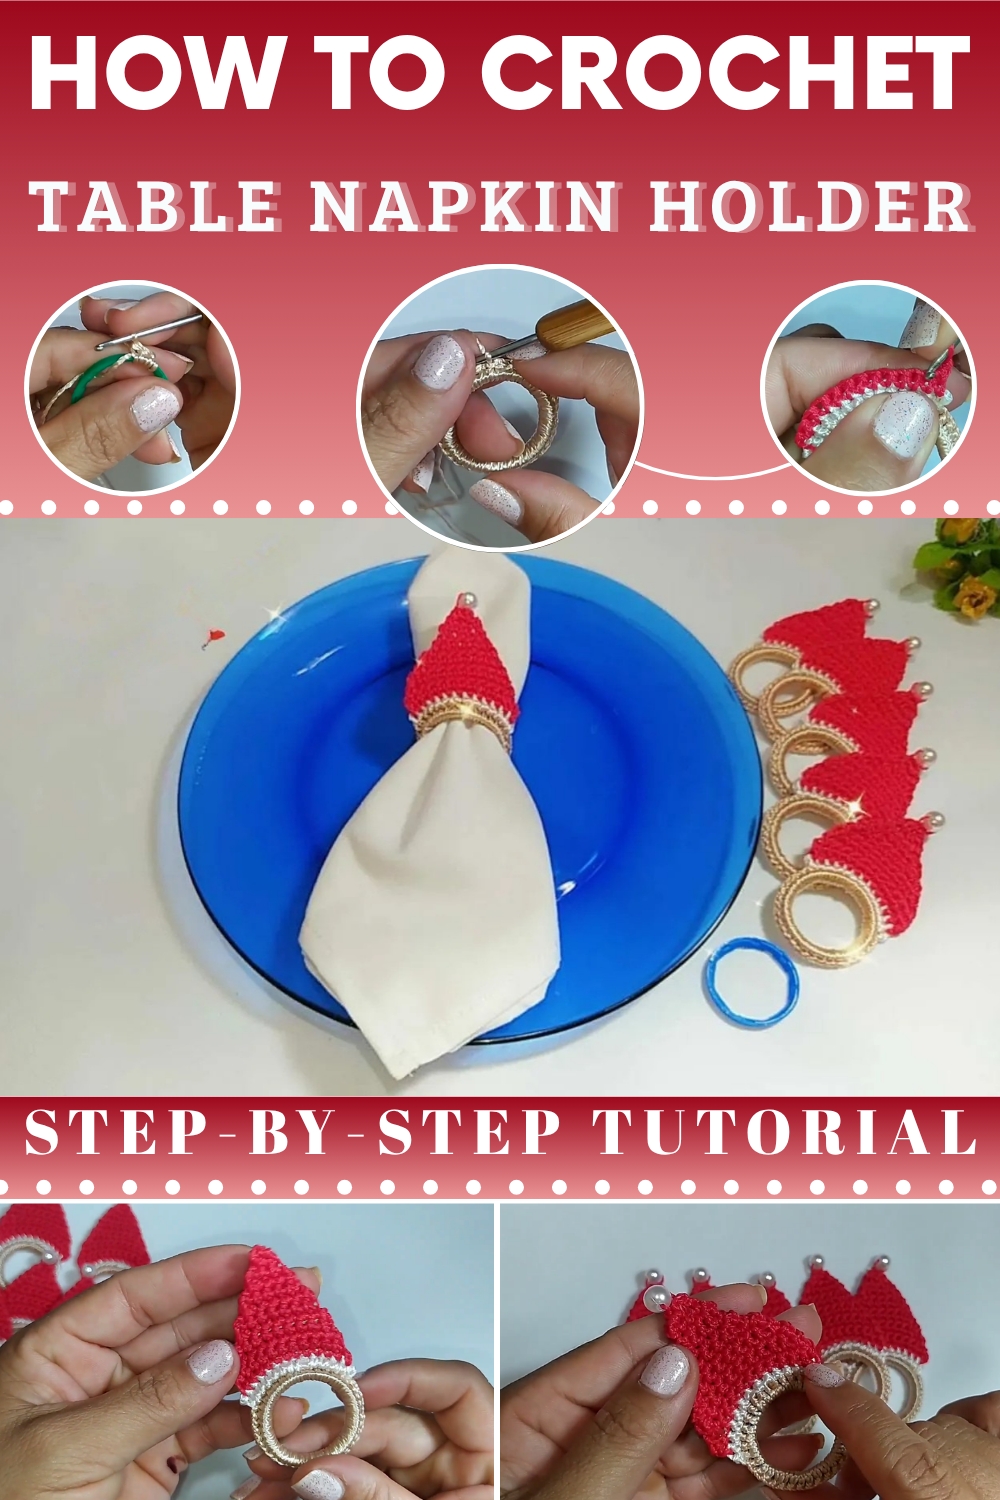
Each element serves a purpose: sturdy edges maintain form, while the breathable texture ensures linens stay fresh and uncreased. Whether placed at a weekend brunch or a formal dinner, its presence signals thoughtful preparation. It doesn’t just hold napkins; it frames them, offering a backdrop of warmth and texture that complements both rustic and contemporary tablescapes.
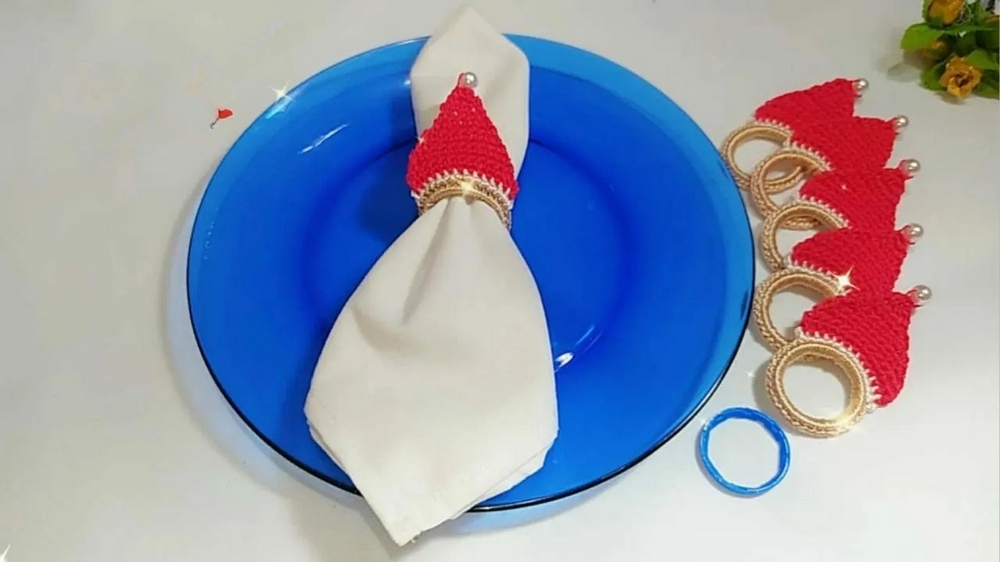
Lightweight yet steady, it’s easy to move, store, or personalize to suit various styles—from classic neutrals to seasonal tones. It reflects a slower, more intentional rhythm in home life, where even the smallest details matter. Ideal for those who value both order and aesthetics, this napkin holder blends refinement with practicality. With its enduring charm and timeless appeal, it serves as a subtle reminder that elegance often lives in the everyday—right at the center of the table.
Recycled PET Bottle Ring Napkin Holder (Little Hat) Pattern
Materials
- PET bottle ring: Clean, burr-free (sanded if necessary)
- Yarn: Thick silk thread, Tex 288, 100% polypropylene (or any strong cotton/acrylic yarn)
- Main color (beige): for ring cover
- Contrast color (white): for hat band
- Accent color (red): for hat top/finishing
- Hook: 1.75 mm steel crochet hook
- Scissors
- Yarn needle
- Pearl bead (#8 size) or other embellishment (optional, for hat top)
- Matches/lighter (for sealing ends, if using polypropylene)
- Hot glue (for attaching pearl, optional)
Key Abbreviations (US Terms)
| Abbreviation | Meaning |
|---|---|
| ch | Chain |
| sc | Single crochet |
| sl st | Slip stitch |
| st(s) | Stitch(es) |
| lace st | Sl st, ch 1 (decorative edge) |
Special Notes
- Work stitches snugly to ensure complete coverage of the ring and neat finish.
- Carefully sand or remove burrs from the PET ring for safety and aesthetics.
- You can adapt colors and embellishments as desired.
Pattern
Step 1: Covering the Ring
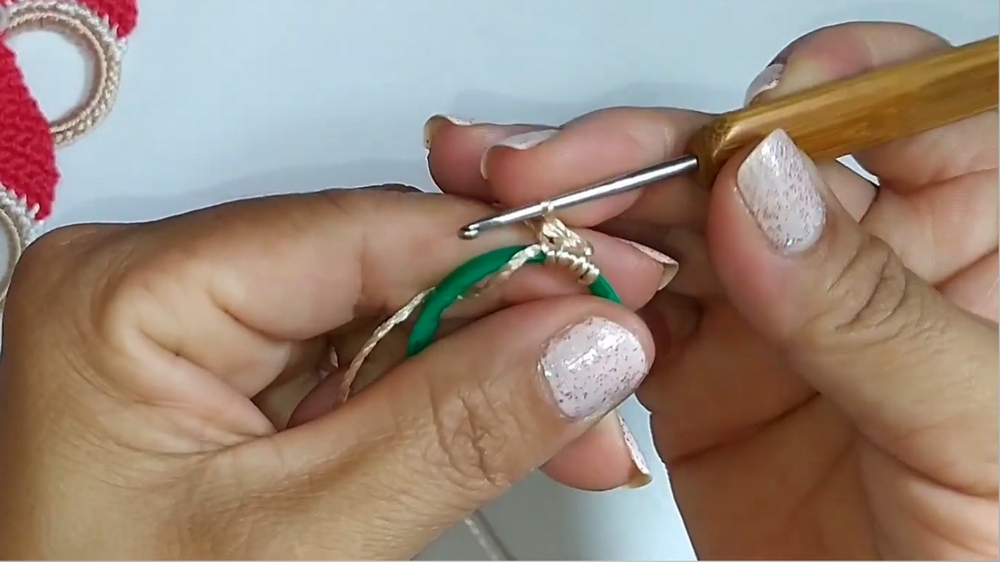
- Attach beige yarn to ring with slip knot.
- Work sc closely all around the ring, until completely covered.
- There is no fixed stitch count, just cover evenly.
- Join with a sl st to the first sc.
- Fasten off; cut and seal or weave in end.
Step 2: Hat Band (White)
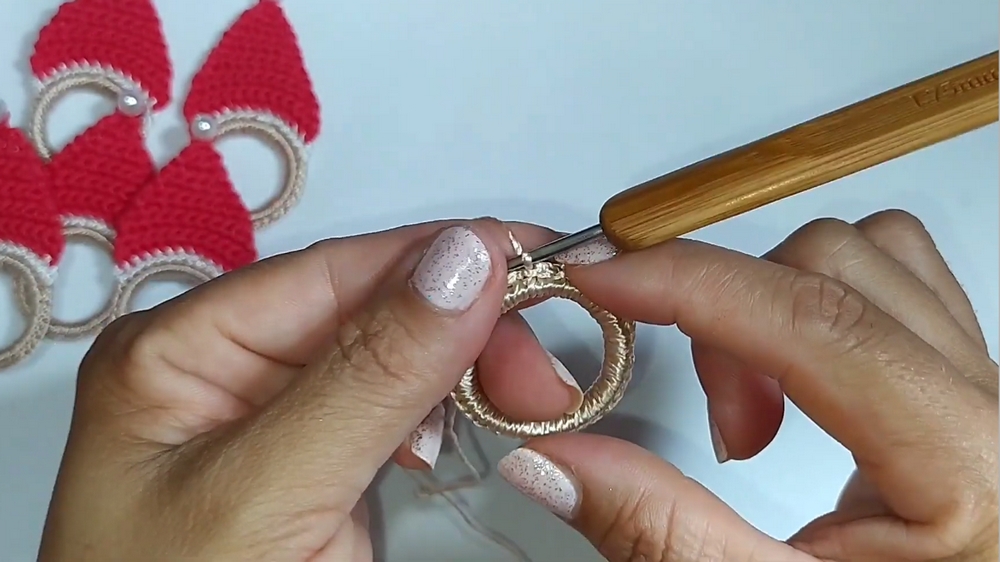
- Attach white yarn in any sc of the covered ring.
- Ch 1, then work 14 sc evenly along the ring.
- Fasten off. Cut and seal or weave in end.
Step 3: Hat Top (Red)
- Attach red yarn between the first and second sc of the hat band (white section).
- Ch 1, then work 1 sc in each sc along the hat band (14 sc).
- At end, ch 1, turn your work.
Rows of Hat Top
- Repeat:
- Do not sc in first ch, sc in next st and across.
- At end, ch 1, turn.
- Repeat rows as above, always skipping the base of the turning chain to avoid increasing.
- Continue until only 2 sc remain at the top of the hat.
- Fasten off, cut and seal end.
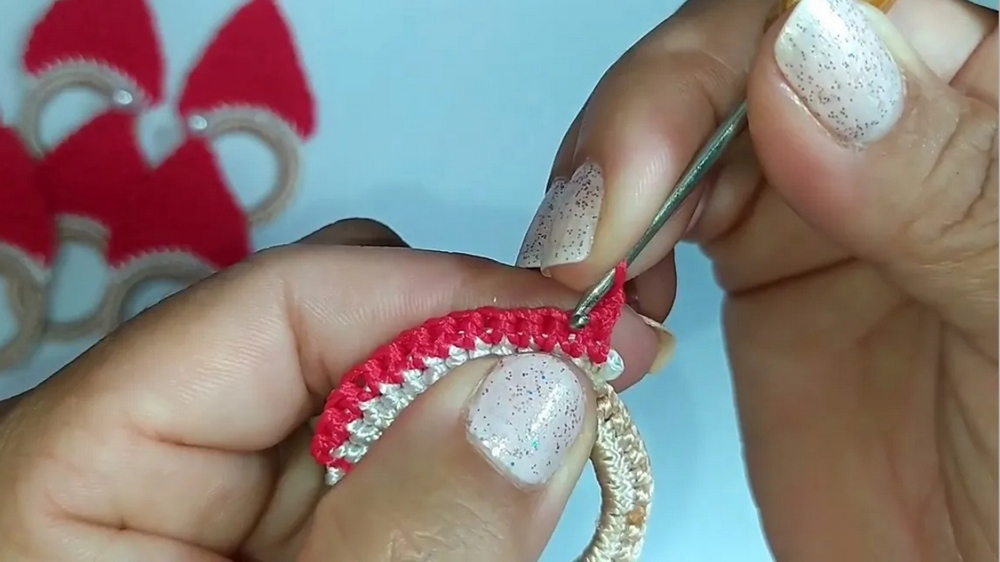
Step 4: Hat Finishing/Lace Edge
- Attach red yarn at the beginning of the hat top edge.
- Lace stitch row (decorative edge):
- Insert hook in first st, sl st, ch 1.
- In next st: sl st, ch 1.
- Continue this sequence (sl st, ch 1) in each st around the hat top.
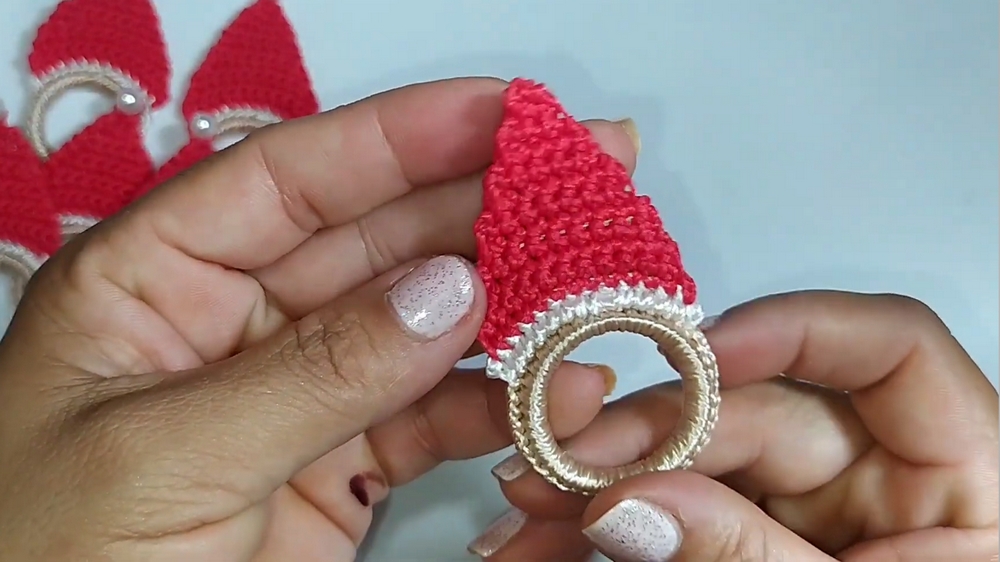
- At hat peak, attach a pearl bead with sl st (optional).
- Continue lace edge around.
- Fasten off, cut and seal or weave in end.
Conclusion
This napkin holder is a charming, sustainable project, ideal for gifts, sales, or home use. The recycled PET ring provides a sturdy base, and the little hat design adds a whimsical touch. Kits can be assembled in a variety of colors for broader appeal.
Pattern Corrections & Tips
Corrections:
- Always sand ring burrs for safety and appearance.
- Adjust stitch count as needed to fit your ring perfectly.
Tips:
- Polypropylene ends can be burned/sealed; cotton or acrylic should be woven in.
- Use a hot glue gun to attach the pearl or embellishments securely.
- Make matching sets for sale—suggested retail kits are popular.