
Easy FREE Crochet Stegosaurus Pattern for Dino Lovers
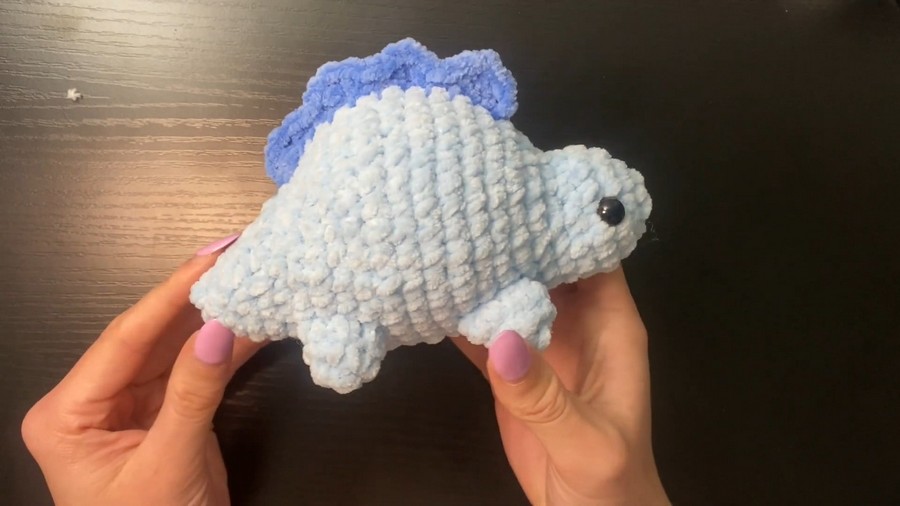
Turn a playful prehistoric design into a cuddly treasure with this Crochet Chubby Steggo Plushie Pattern – perfect for gifts, décor, or snuggles!
Who would have thought a prehistoric creature could turn into something so adorable and functional? The chubby stegosaurus plushie pattern is a fun and versatile crochet design that brings charm and practicality together. This stylish and cuddly dinosaur isn’t just a cute décor piece; it’s also perfect as a handmade gift or a soft companion for kids. Its chunky design, made with plush yarn, provides an extra-fuzzy and comforting feel, ideal for display on a shelf or as a snuggle buddy. The pattern is beginner-friendly, allowing even those with minimal crochet experience to enjoy making this quirky addition to their collection.
Beginner-Friendly Crochet Chubby Dinosaur Pattern
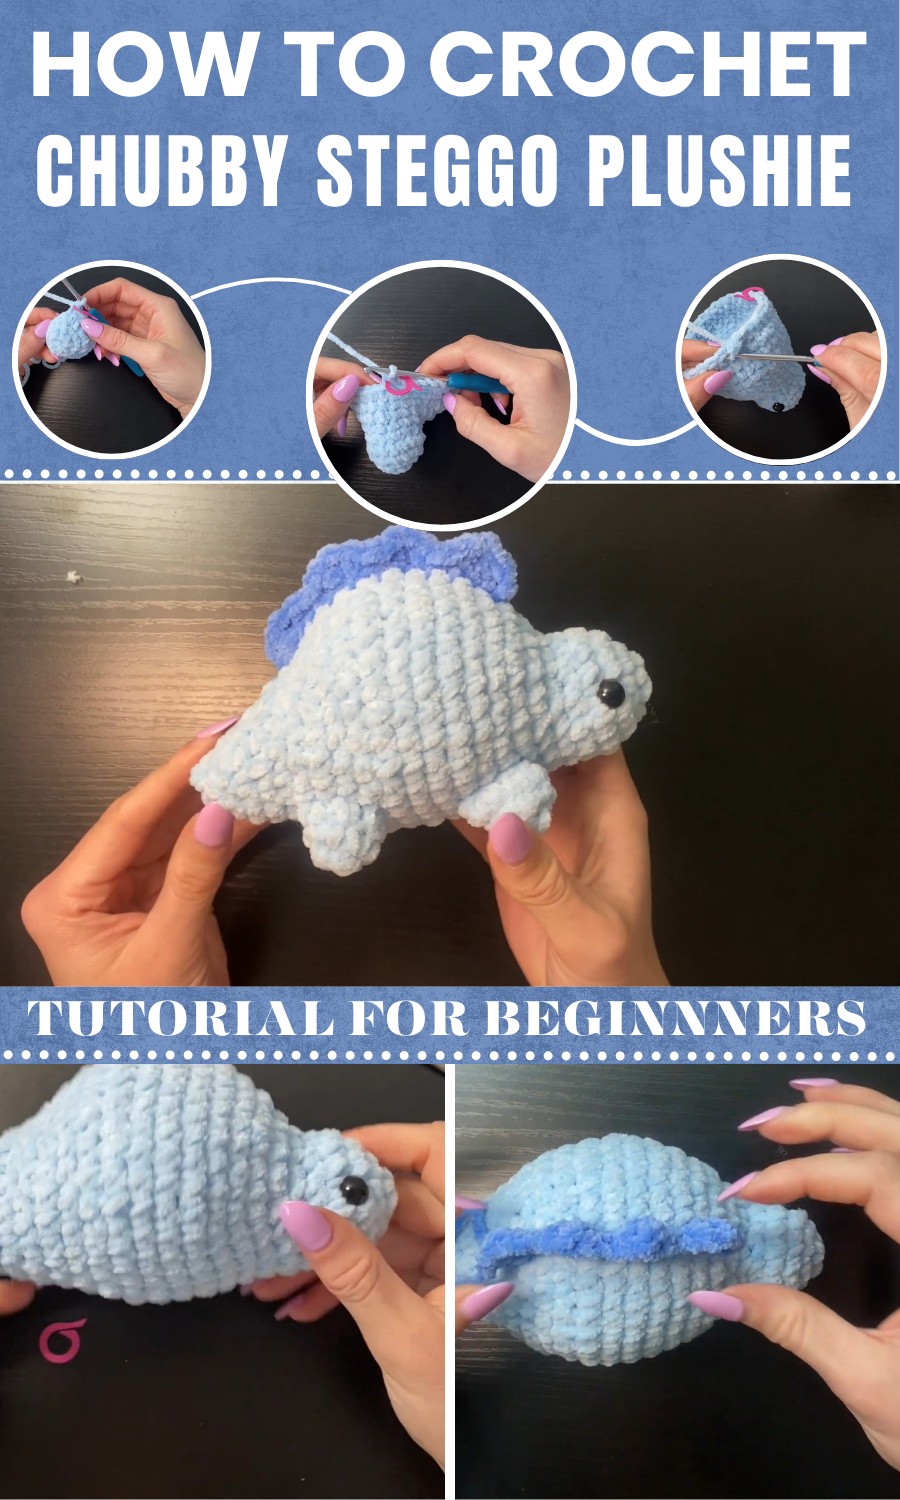
With its compact size and customizable design, you can experiment with colors to give your stegosaurus a unique personality. From safety eyes to chubby little legs and iconic spikes, every detail adds character to this plushie while keeping it quick and simple to make. Plus, its lightweight stuffing ensures it retains its shape without being overly firm. Whether it becomes a nursery gem, a desk buddy, or part of a handmade gift set, this dinosaur stands out as a charming and functional treasure in the world of crochet projects.
Chubby Crochet Stegosaurus Plush
Materials
- Yarn:
- Chunky chenille yarn (James C. Brett Flutterby yarn is recommended).
- Body and Legs: Light blue (or any desired base color).
- Spikes: Contrasting color for decorative features.
- Hook Size:
- 4 mm crochet hook (or the size appropriate for your chosen yarn).
- Eyes:
- 9 mm–10 mm safety eyes (adjust size according to your yarn).
- Optional: You can embroider eyes for babies or young children.
- 9 mm–10 mm safety eyes (adjust size according to your yarn).
- Stuffing:
- Polyester fiberfill/toy stuffing to give the stegosaurus shape.
- Accessories:
- Tapestry needle for sewing and finishing.
- Stitch marker (helpful for keeping track of rounds).
- Pins for positioning body parts (e.g., legs, spikes, etc.).
- Scissors:
- For cutting yarn tails.
Gauge
- Gauge is not crucial for this plushie. However:
- Crochet tight enough to ensure no stuffing shows through the stitches.
- Adjust hook size if your stitching feels too loose or tight.
Finished Size
- Approximately 6–8 inches (15–20 cm) long and 4–5 inches tall, depending on your yarn, hook size, and tension.
Special Techniques
- Magic Ring (MR):
An essential technique for beginning the body and limbs with minimal gaps. Alternatively, you can use the chain-2 method if you prefer. - Invisible Decreases:
- To create subtle decreases: Insert your hook into the front loops only of the next 2 stitches, yarn over, pull through the loops, and then yarn over and pull through all 3 loops.
- Pinning for Assembly:
- Pin the limbs and spikes in place before sewing to ensure precise, symmetrical placement.
Pattern Instructions
Body
- Round 1:
- Start with a Magic Ring (MR) or Chain 2 method. Work 6 single crochets (SC) into the MR. Pull ring closed. (6 stitches)
- Round 2:
- Work 2 SC in each stitch (increase) around. (12 stitches)
- Round 3:
- SC 1, increase in the next stitch. Repeat 6 times around. (18 stitches)
- Round 4:
- SC in each stitch around. (18 stitches)
- Round 5:
- SC 1, invisible decrease (dec) into the next 2 stitches. Repeat 6 times around. (12 stitches)
- Round 6:
- SC 3, increase (2 SC in one stitch). Repeat 3 times and SC 3 to finish. (18 stitches)
- Round 7:
- *SC 3, (SC 1, inc) repeat 6 times, then SC 3. (24 stitches)
- Round 8:
- SC 3, (SC 2, inc) repeat 6 times, then SC 3. (30 stitches)
- Round 9:
- SC in each stitch around. (30 stitches)
- Round 10:
- SC 3, (SC 3, inc) repeat 6 times, then SC 3. (36 stitches)
- Rounds 11-14:
- SC in each stitch around. (36 stitches per round)
Insert safety eyes between Rows 3 and 4, leaving about 6–8 stitches apart. Stuff the body as you proceed to maintain shape.
- SC in each stitch around. (36 stitches per round)
- Round 15:
- SC 3, (SC 3, dec) repeat 6 times, then SC 3. (30 stitches)
- Round 16:
- SC in each stitch around. (30 stitches)
- Round 17:
- SC 3, (SC 2, dec) repeat 6 times, then SC 3. (24 stitches)
- Round 18:
- SC 3, (SC 1, dec) repeat 6 times, then SC 3. (18 stitches)
Continue stuffing firmly as you go.
- SC 3, (SC 1, dec) repeat 6 times, then SC 3. (18 stitches)
- Rounds 19-20:
- SC in each stitch around. (18 stitches per round)
- Round 21 (Forming Tail):
- SC 3, 6 decreases (dec). (12 stitches)
- Round 22:
- SC in each stitch around. (12 stitches)
- Round 23:
- (SC 1, dec) repeat 4 times. (8 stitches)
- Stuff the tail lightly before closing.
- Round 24 (Final Round):
- Decrease in every stitch to close the hole. (4 stitches)
- Fasten off and sew the tail shut with a tapestry needle. Weave in the yarn end.
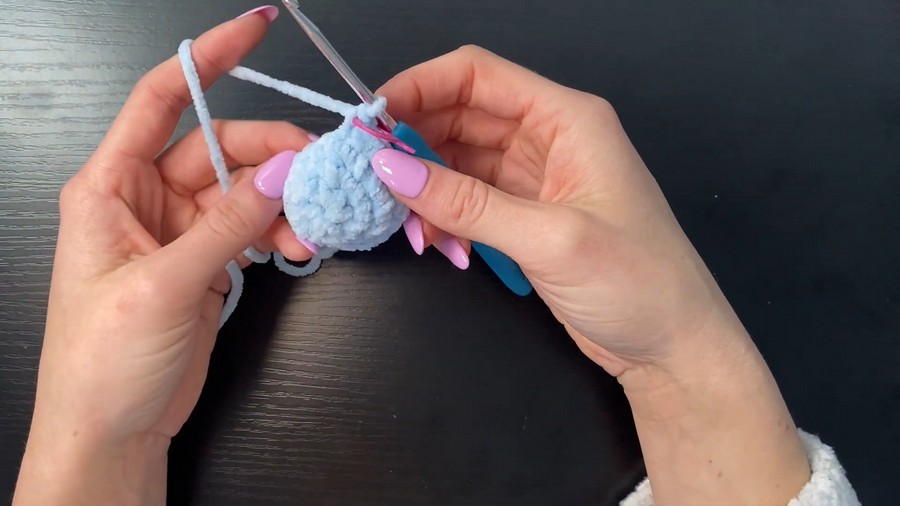
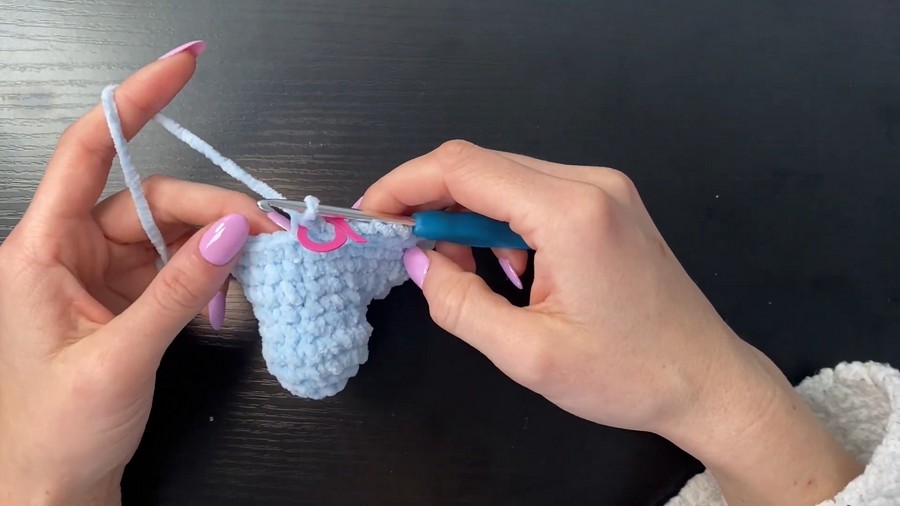
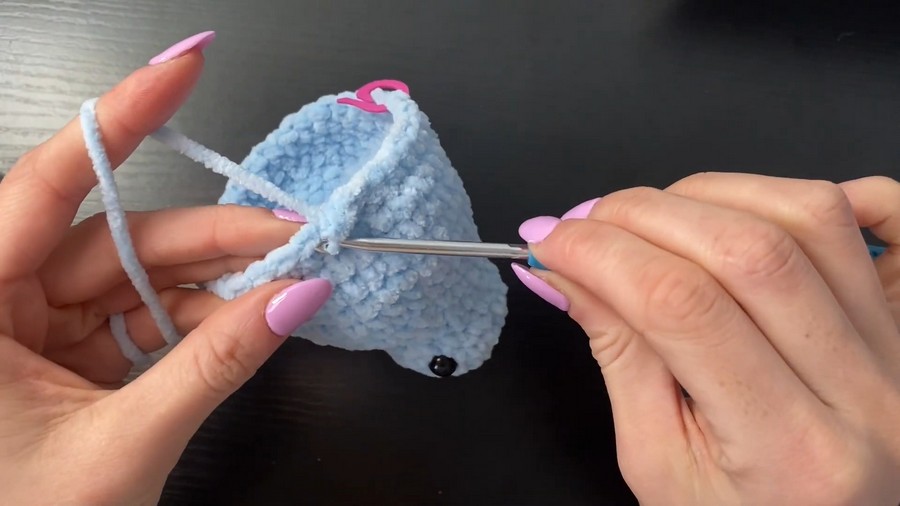
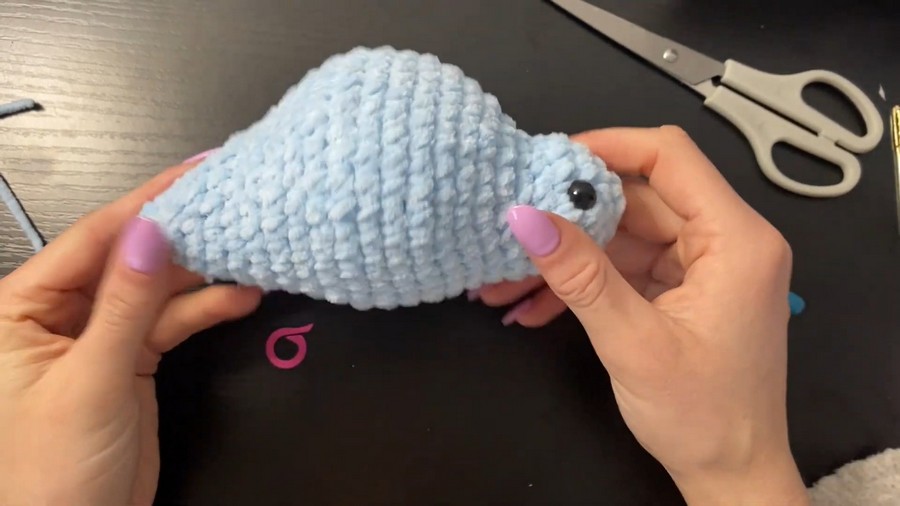
Legs (Make 4)
- Round 1:
- Start with a MR. SC 5. (5 stitches)
- Round 2:
- Inc in every stitch around. (10 stitches)
- Round 3:
- SC in each stitch around. (10 stitches)
- Finishing:
- Leave a long tail for sewing. Make 4 legs in total.
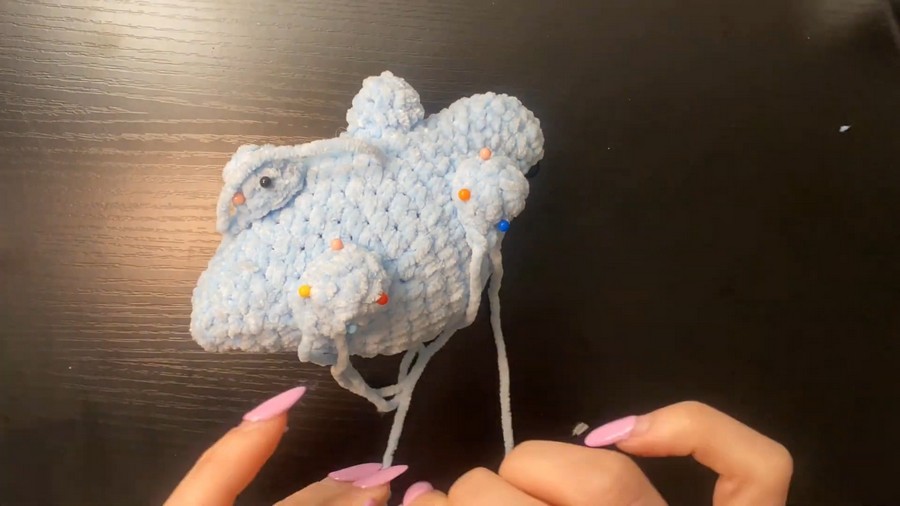
Spikes
- Foundation Chain:
- Chain 13 stitches and slip knot to begin.
- First Spike:
- In the 3rd chain from hook, work one Half-Double Crochet (HDC), one Double Crochet (DC), and another HDC in the same chain.
- Then, slip stitch (SL ST) in the next 2 chains.
- Repeat Spike Pattern:
- Repeat the pattern of HDC, DC, HDC, followed by SL ST in the next 2 chains, a total of 4 times until the end of the foundation chain.
- Finishing:
- Leave a long tail for stitching.
- Make as many spikes as required (usually 4 for this design).
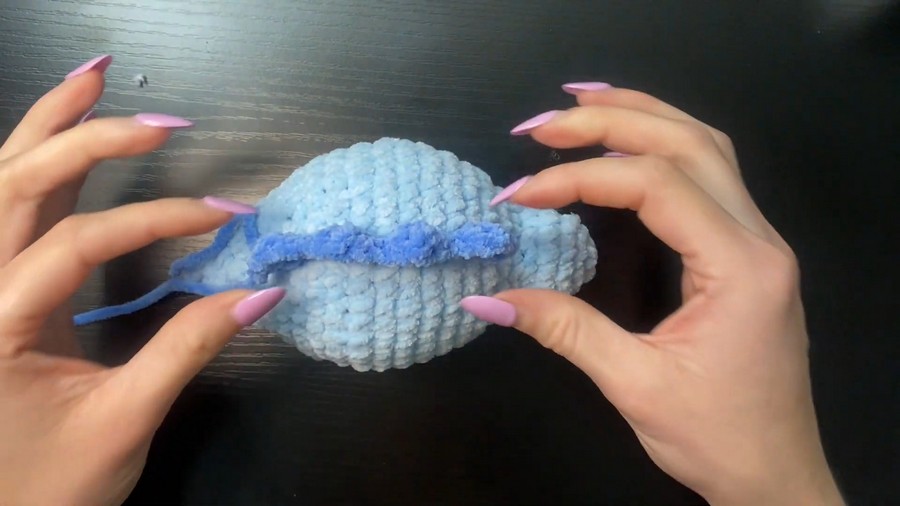
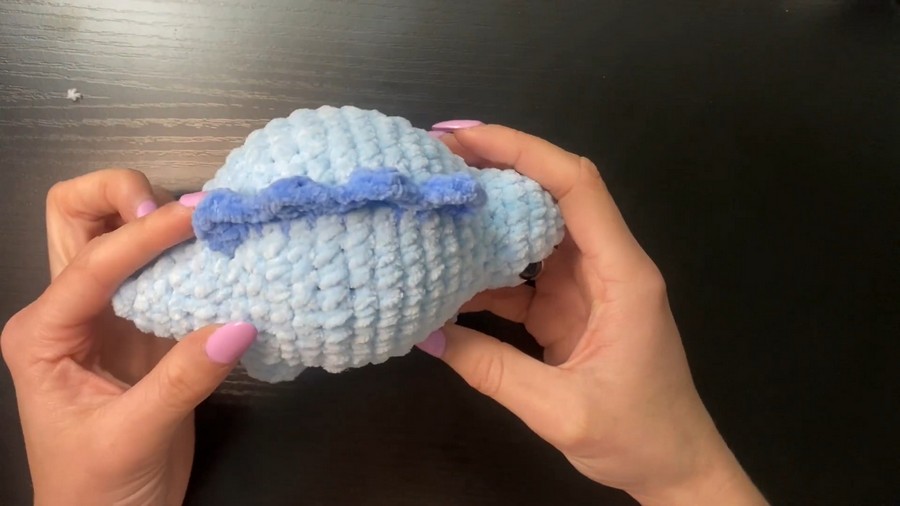
Assembly
- Legs Placement:
- Lightly stuff each leg before sewing.
- Sew front legs between Rounds 8–11, and back legs between Rounds 15–18. Pin the legs to ensure accuracy before sewing with yarn tails and a needle.
- Spikes Placement:
- Position the spikes along Rounds 9–19, starting at the top-center of the body and extending down the tail. Pin spikes evenly and sew in place using their long tails.
Tips & Customization Ideas
- Colors:
- Experiment with bold or pastel colors. Choose complementary or contrasting shades for an eye-catching stegosaurus.
- Accessories:
- Add details like spots or stripes on the body by embroidering with contrasting yarn, or crochet circles and sew them on.
- Size Variations:
- For a larger stegosaurus, use a thicker yarn (e.g., Bernat Blanket Yarn) and a larger hook (5–6 mm). For a smaller version, use lightweight yarn and a 2.5-3 mm hook.
- Safety:
- Always securely attach safety eyes or embroider features for baby-safe toys.
- Even More Personality:
- Try mixing colors on the body for a striped or multicolored dinosaur. You can also give your stegosaurus a scarf or hat for holiday themes.
Conclusion & Final Look
Congratulations! You’ve just completed your Chubby Stegosaurus Plushie. With its adorable design and chubby body, it’s a perfect gift for kids, décor, or even a creative project for yourself.