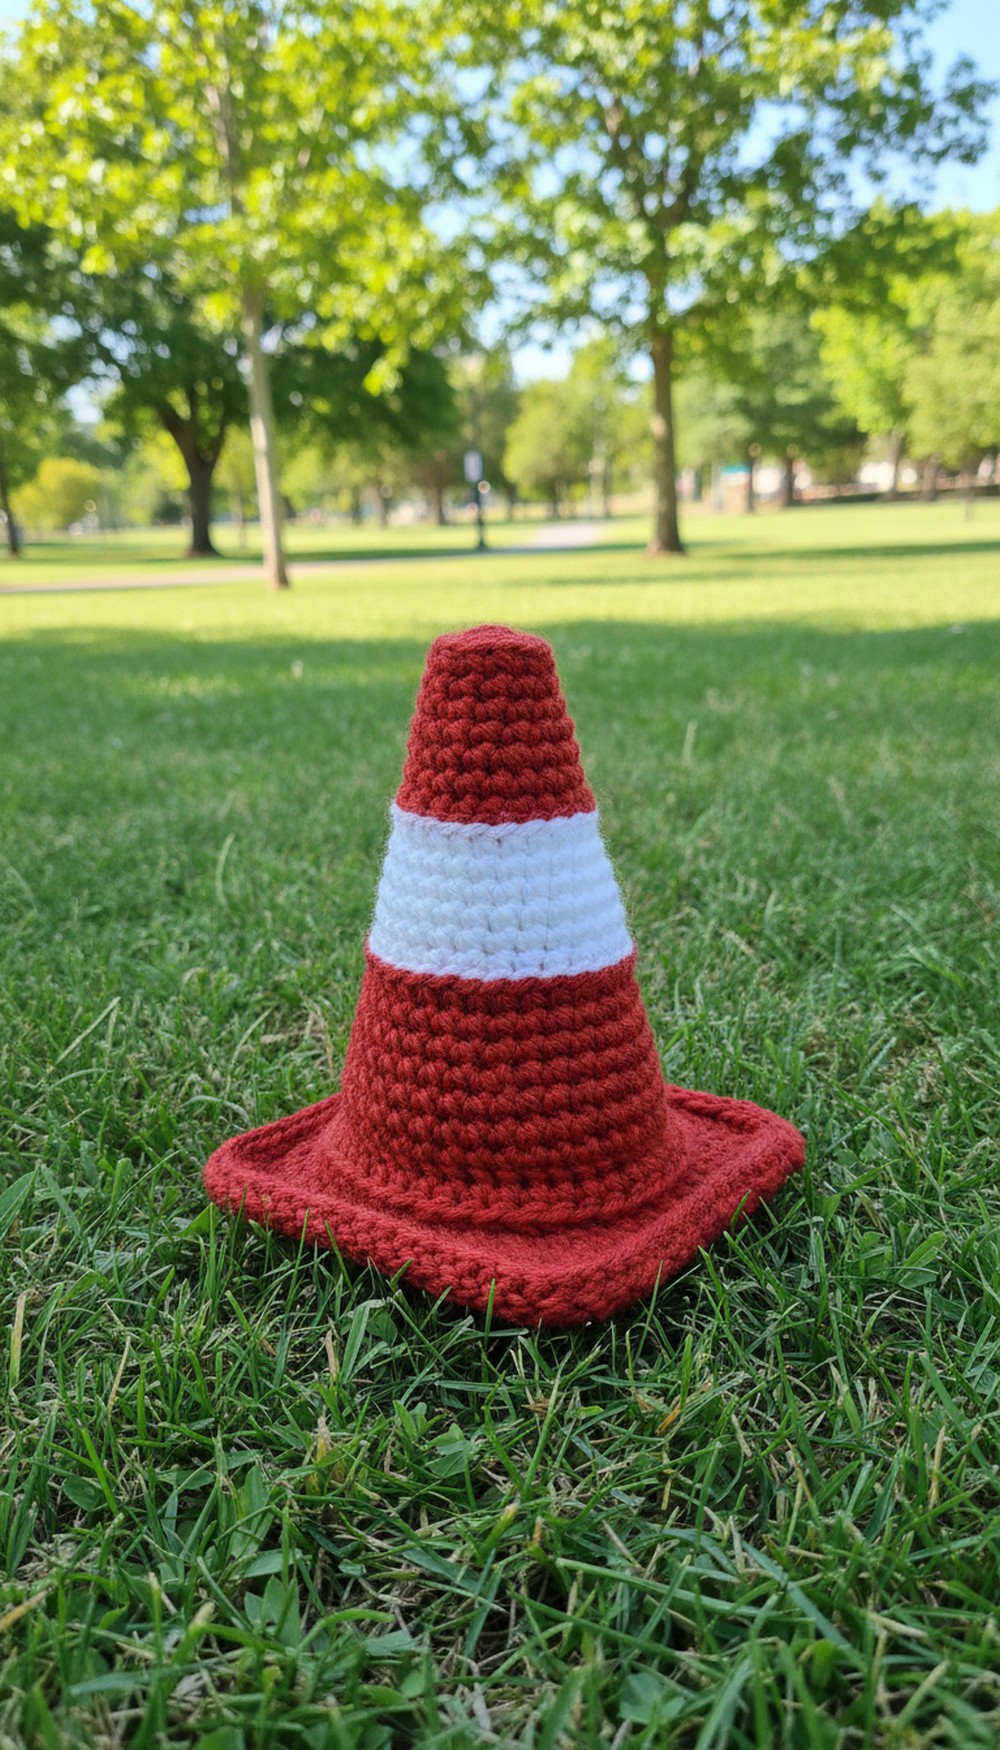
Easy Crochet Traffic Cone Pattern Perfect for Fun Desk Decor
A small handmade cone with eye-catching orange and white stripes is not only adorable but also incredibly versatile. This Crochet Traffic Cone Pattern is perfect for teaching traffic rules to kids in a fun and creative way or adding a playful vibe to any room. It can be used as an educational toy in classrooms, as part of a themed decor setup, or even as a cute conversation starter on your desk.
Its soft and safe design makes it ideal for kids to play with, while its bright colors make it stand out as a unique piece of decor. You can also attach it to a keychain, use it for projects, or gift it to someone who loves creative and quirky designs. Whether for learning, decorating, or gifting, this tiny, handmade cone is a practical and fun creation that effortlessly combines cuteness with purpose.
Give a playful twist with this Crochet Traffic Cone Pattern forming a lively piece full of charm that livens up any space too.
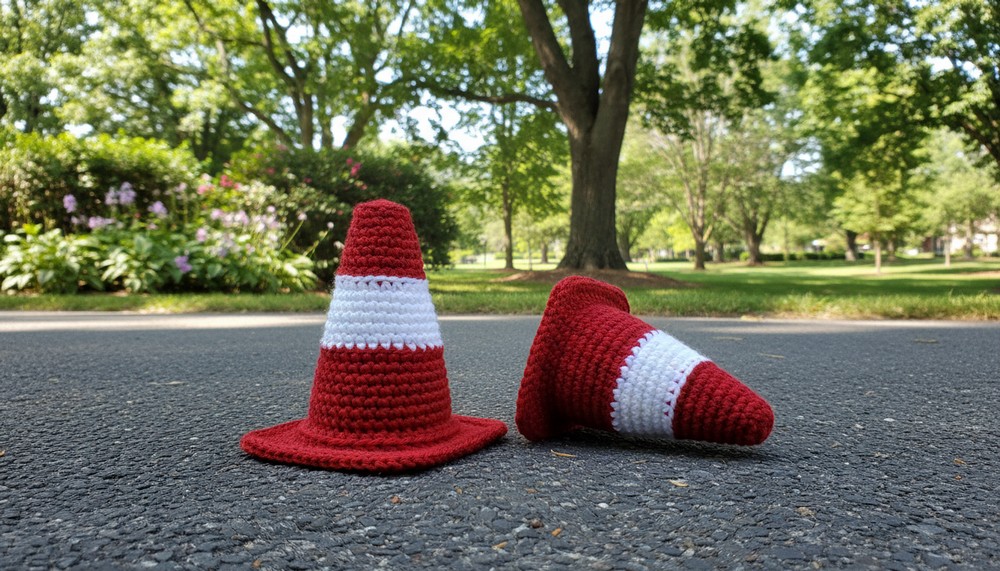
Adorable Crochet Traffic Cone Pattern That Everyone Will Admire
Materials:
To successfully create this wonderful 3-inch crochet ice cream cone, you will need the following:
- DK weight yarn in orange and white
- C (2.75 mm) crochet hook
- Stuffing for filling your project
- Scissors for cutting your yarn and trimming loose ends
- Yarn needle for sewing and weaving in ends
Optional Materials:
- Stitch markers to keep track of progress in rounds
- Scrap yarn or contrasting color to mark rounds

Key Abbreviations:
Below are the definitions for all stitches, techniques, and terms used in this pattern:
- ch = Chain
- sc = Single crochet
- inc = Increase (work multiple single crochets into one stitch)
- dec = Decrease (crochet two stitches together)
- ss = Slip stitch
- BLO = Back loop only
- FP = Front post stitch
- F/O = Finish off
- [ ] x = Repeat instructions within brackets x number of times
- ( ) Total number of stitches
Pattern Steps
Cone Base
- Begin with orange yarn:
- In a magic ring, work 8 sc. (8 stitches)
- Round 2: [sc, inc] around. (16 stitches)
- Round 3: [2 sc, inc, sc] around. (24 stitches)
- Round 4: [3 sc, inc, 2 sc] around. (32 stitches)
- Round 5: [4 sc, inc, 3 sc] around. (40 stitches)
- Round 6: [5 sc, inc, 4 sc] around. (48 stitches)
- Round 7: [6 sc, inc, 5 sc] around. (56 stitches)
- Round 8: [7 sc, inc, 6 sc] around. (64 stitches)
- Round 9: [8 sc, inc, 7 sc] around. (72 stitches)
- Round 10: [FP sc] around. (72 stitches)
- F/O (Finish off) and weave in loose ends.
Cone Top
- Begin with orange yarn:
- In a magic ring, work 6 sc. (6 stitches)
- Round 2: [inc] around. (12 stitches)
- Round 3: [sc, inc] x3, stop halfway. (15 stitches total)
- Round 4: [BLO sc] around. (15 stitches)
- Round 5: [sc] around. (15 stitches)
- Round 6: [2 sc, inc, 2 sc] around. (18 stitches)
- Round 7: [sc] around. (18 stitches)
- Round 8: [5 sc, inc] around. (21 stitches)
- Round 9: [sc] around. (21 stitches)
- Round 10: [3 sc, inc, 3 sc] around. (24 stitches)Switch to White Yarn
- Round 11: [BLO ss] around. (24 stitches)
- Round 12: [BLO sc] around. (24 stitches)
- Round 13: [7 sc, inc] around. (27 stitches)
- Round 14: [sc] around. (27 stitches)
- Round 15: [4 sc, inc, 4 sc] around. (30 stitches)
- Round 16: [sc] around. (30 stitches)
- Round 17: [9 sc, inc] around. (33 stitches)Switch Back to Orange Yarn
- Round 18: [BLO ss] around. (33 stitches)
- Round 19: [BLO sc] around. (33 stitches)
- Round 20: [5 sc, inc, 5 sc] around. (36 stitches)
- Round 21: [sc] around. (36 stitches)
- Round 22: [11 sc, inc] around. (39 stitches)
- Round 23: [sc] around. (39 stitches)
- Round 24: [6 sc, inc, 6 sc] around. (42 stitches)
- Round 25: [sc] around. (42 stitches)
- Round 26: [FP sc] around. (42 stitches)
- Round 27: [sc] around. (42 stitches)F/O, leave long tail for sewing, stuff firmly.
Assembly
- Ensure both pieces are securely stuffed.
- Using the long tail left from the cone top, sew the Cone Top to the Cone Base using matching colored yarn or your yarn needle.
- Weave in all remaining ends.
Customization Ideas:
- Color Changes: Utilize other colors (like pink for strawberry or brown for chocolate) to create different "flavor" tops.
- Embellishments: Add sprinkles by stitching tiny crosses in contrasting yarn colors on the white or decorate with a tiny cherry at the top.
- Size Alteration: Use heavier yarn or a larger hook to create a bigger ice cream cone.
Special Notes:
- Magic Ring: If you’re unfamiliar with creating a magic ring, an alternative is to start your piece with a foundation chain, then slip stitch into the first chain to create a ring. Work your initial stitches into this ring.
- Stitch Count: Always ensure you're correctly counting your stitches at the end of each round. If the count is off, retrace your steps and correct any missed stitches.
- Joining Rounds: Slip stitch only into the very first stitch of each round to join and chain-1 before the next round. The slip stitch and chain are not included in the stitch count for that round.
Conclusion:
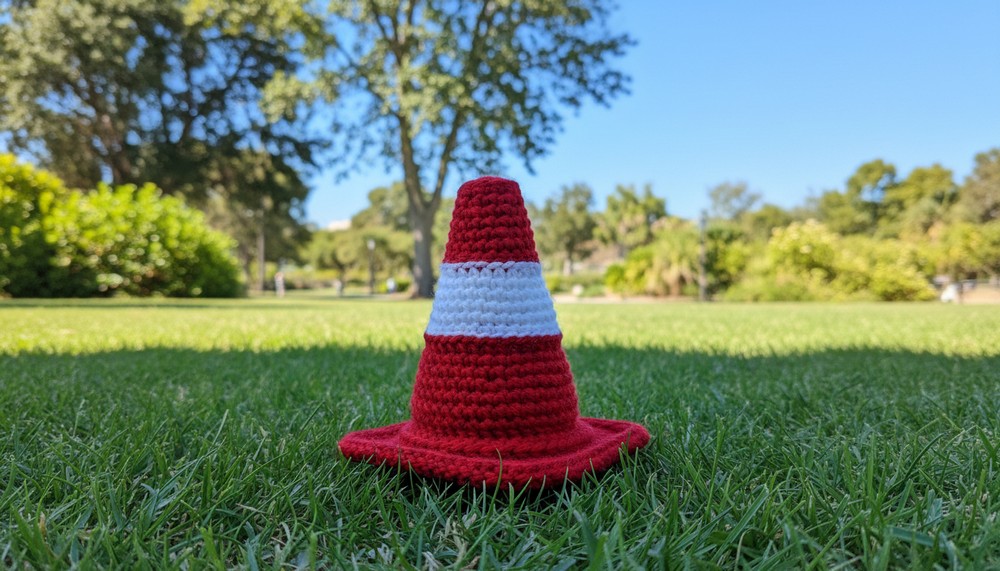
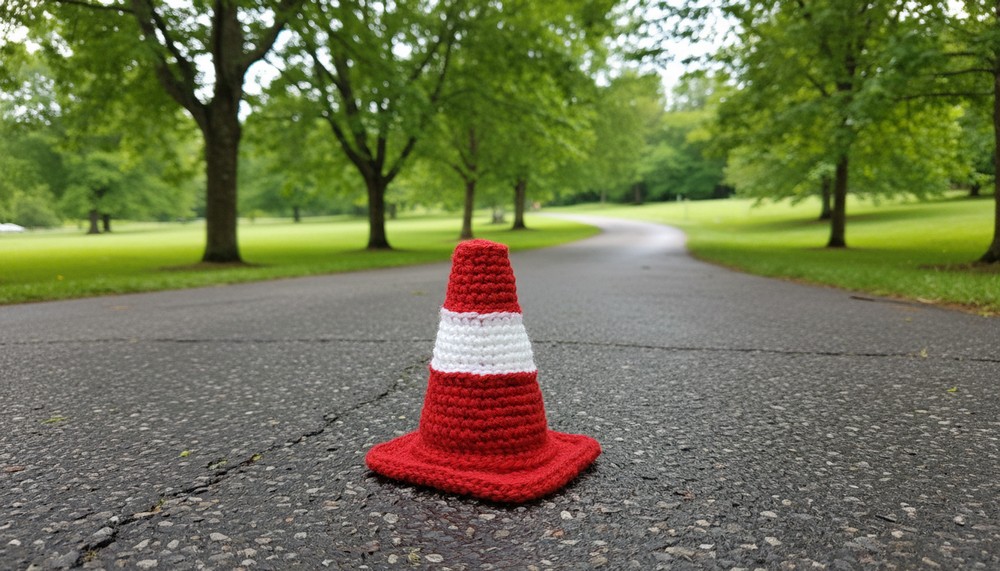
You’ve created an adorable, Traffic Cone. This pattern worked up a delightful cone base and top seamlessly connected to complete your project. Take pride in your craftsmanship and display your finished work as a decorative piece or unique gift!
Pattern Corrections & Tips:
- Correction: In the Cone Top, Round 3, it may be more direct to complete all six increments (sc, inc x6 to make 15 stitches) if preferred.
- Tip: Be mindful when switching yarn colors, ensure smooth transitions by weaving the previous tail properly for a clean look.