
Easy Crochet Saint Jude Keychain Free Pattern with a Tutorial
Create a Crochet Saint Jude Keychain that offers comfort and style while showing your faith with this simple and beautiful handmade design.
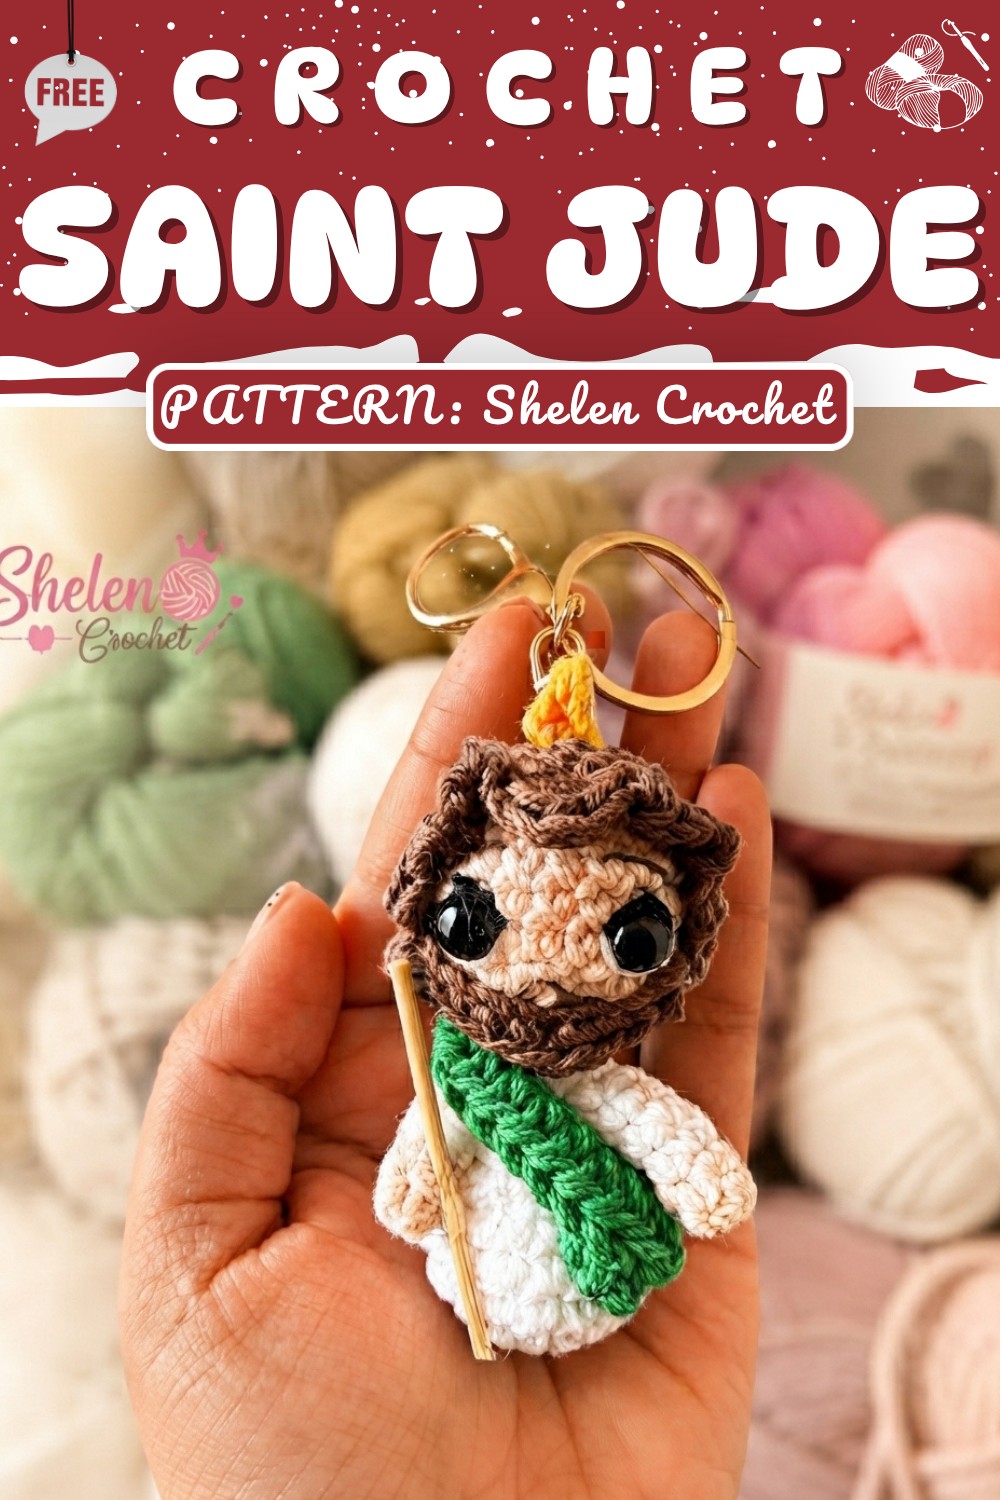
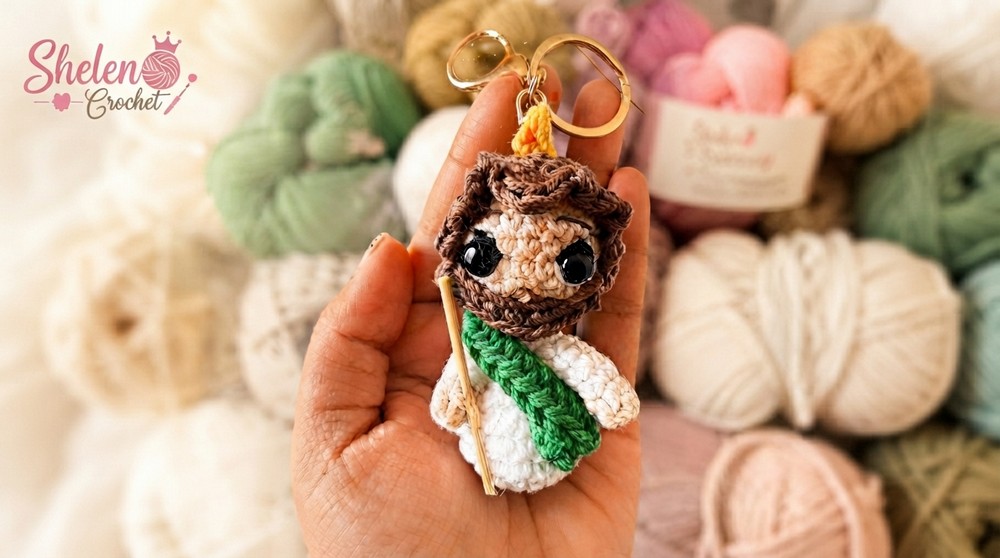
Shelen Crochet introduces a simple and meaningful project called the Crochet Saint Jude Keychain. This small keychain features a soft texture and a clear shape of Saint Jude, making it a lovely symbol of hope and protection that you can carry with you. It fits easily on keys, backpacks, or purse zippers, adding a personal touch wherever it goes.
Quick Crochet Saint Jude Keychain Free Pattern That Creates a Special Keepsake
The keychain is made using basic crochet stitches that hold the shape well while still feeling gentle in your hand. It usually comes in one handy size but can be adjusted to be a bit larger or smaller to suit your needs. For the best results, choose yarn that is smooth and firm enough to keep the keychain’s shape without being rough or stiff. This balance helps highlight the fine stitches and gives the piece a neat, polished look.
The inspiration behind this keychain comes from wanting to combine a meaningful symbol with a simple handmade item. It makes a thoughtful gift for friends and family during birthdays, religious events, or just as a small gesture of encouragement. Adding your own choice of colors or little decorations can turn each keychain into a unique keepsake. This project is approachable and enjoyable for anyone wanting to crochet something small, special, and full of heart.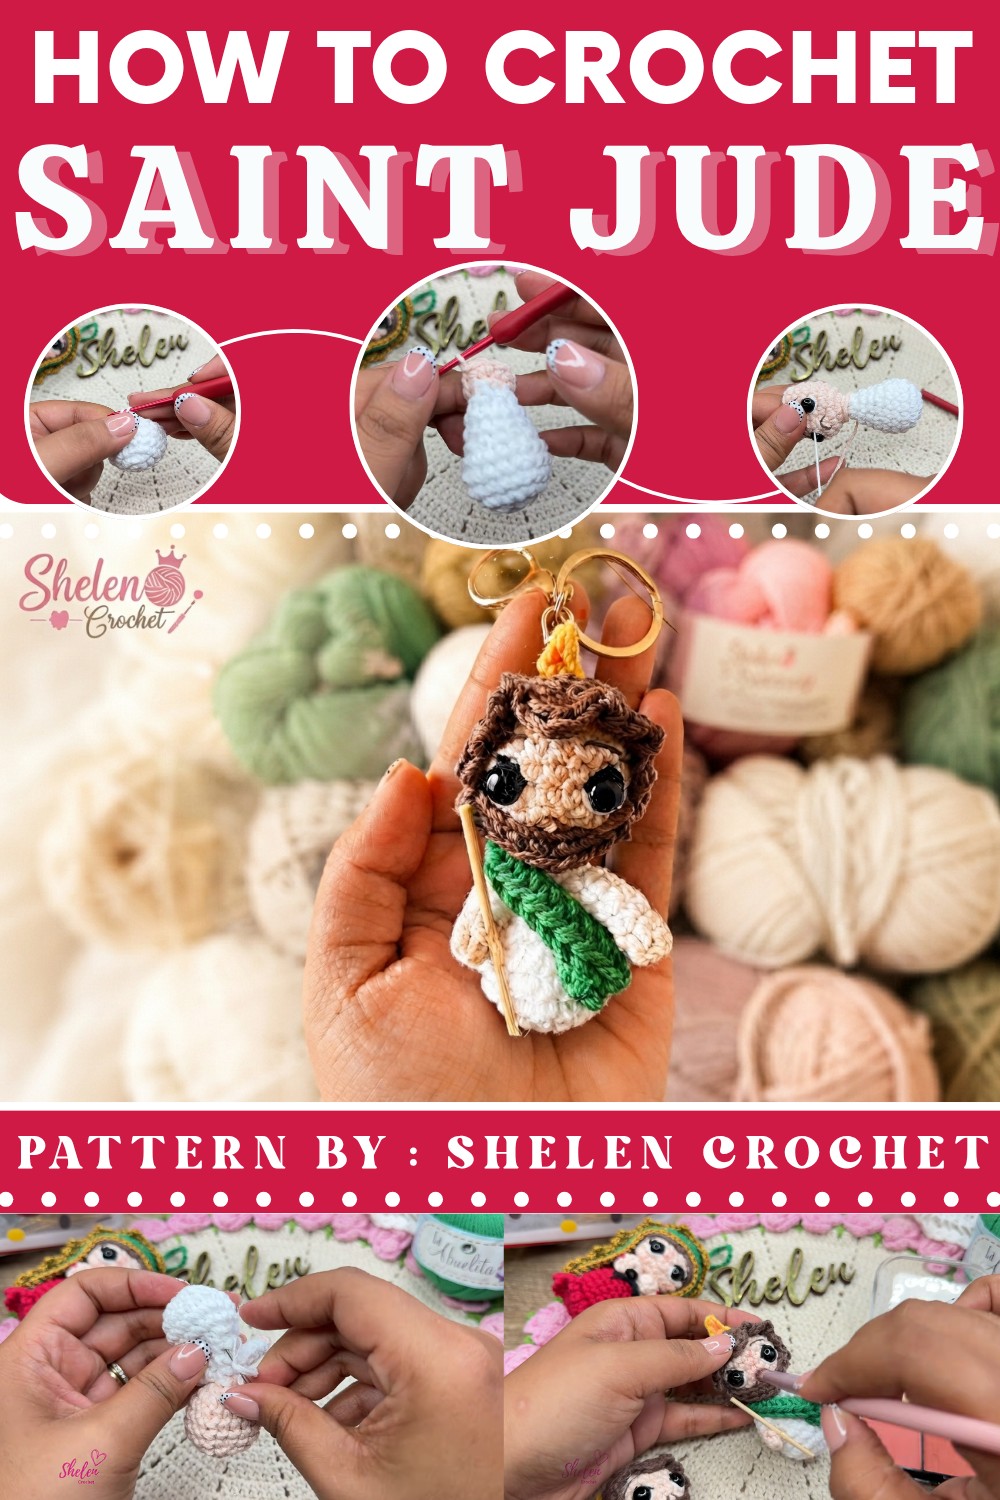
Saint Jude Keychain: Step-By-Step Crochet Pattern
Today, we'll make these adorable Saint Jude keychains. At just 8 cm long, these miniature figures are perfect tokens—easy to make and delightful to share.
Quick Overview Of Pattern
- Amigurumi Body: Simple, classic shaping for head and tunic.
- Expressive Face: Safety eyes, embroidered nose, brows, mustache, and face highlights.
- Mini Staff and Cloak: Saint Jude’s signature attributes with crafted stick and crocheted garment.
- Decorative Hair & Beard: Crocheted and embroidered details for the final touch.
- Sturdy Keychain Finish: Assembled securely for everyday use.
Notes
- Work in continuous rounds for all amigurumi parts; always use a stitch marker for clarity.
- Safety eyes should be placed firmly; if for small children, embroider eyes instead.
- Change colors as indicated for realistic details.
- Stuff lightly—do not overfill, so stitches do not stretch.
- Use hot or cold silicone glue for assembly as shown for durability.
- Embroidery needles are used for facial features and assembly.
- All pieces can be sewn or glued for finish, according to preference.
Skill Level
Beginner to Confident Beginner
Knowledge of single crochet in the round, basic increases and decreases, color changes, embroidery, and simple sewing techniques.
Materials
- Cotton yarn in:
- Flag green
- Flesh (skin tone)
- White
- Black
- Yellow
- Brown
- Crochet hook: 2.5 mm
- Keyring (hardware)
- Safety eyes: size 8 mm
- Embroidery needle (two sizes recommended)
- Bamboo stick (approx. 5 cm) for the staff
- Pillow stuffing
- Silicone glue (hot/cold)
- Scissors
Measurements / Sizing
- Finished Saint Jude: 8 cm tall (includes head, body, hair, and cloak)
Gauge
- Gauge is not critical for the amigurumi figure; maintain consistent tension so body is smooth and stuffing does not show.
Stitch Abbreviations
| Abbreviation | Description |
|---|---|
| ch | Chain |
| sc | Single crochet |
| sl st | Slip stitch |
| hdc | Half double crochet |
| dc | Double crochet |
| inc | Increase (2 sc in same st) |
| dec | Decrease |
| MR | Magic ring |
| st(s) | Stitch(es) |
Special Stitches
- Magic Ring (MR): Form a ring, work first round of single crochets into it, then pull closed.
- Invisible Decrease (dec): Insert hook into front loops of next two sts, yarn over, pull through, yarn over, pull through last two loops.
Crochet Guide
Basic Body
Round 1:
With white yarn, make a magic ring, ch 1 (does not count as a sc).
Crochet 6 sc into ring.
Pull tight and join with sl st.
[6 sc]
Round 2:
Ch 1, increase in each st: 2 sc in every stitch around.
Join with sl st.
[12 sc]
Round 3:
Ch 1, work (1 sc, inc) all around.
[18 sc]
Round 4:
Ch 1, sc in each st (stitch by stitch).
Join with sl st.
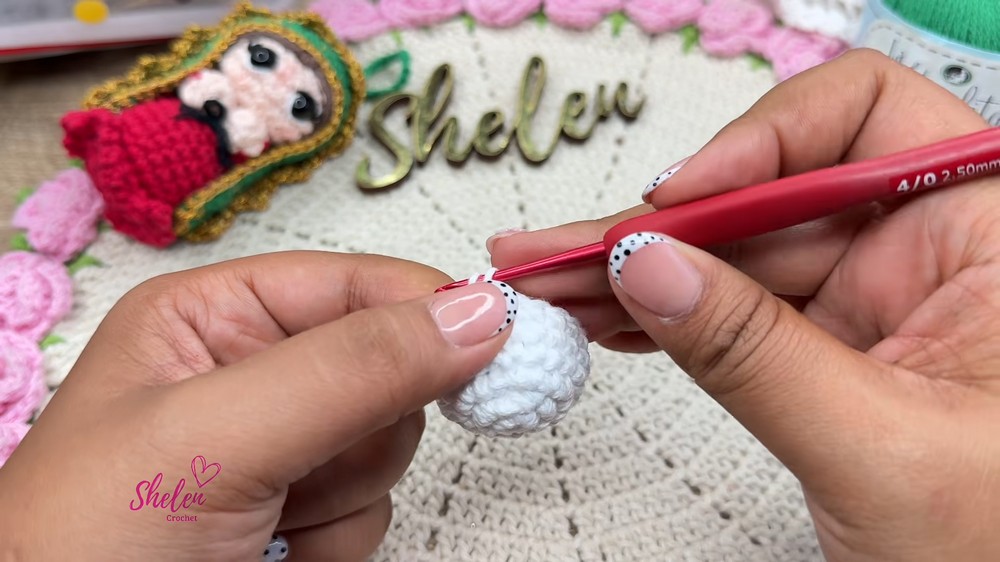
[18 sc]
Rounds 5-6:
Ch 1, sc in each st around.
Join each round with sl st.
[18 sc per round]
Round 7:
Ch 1, (1 sc, dec) repeat all the way around.
[12 sc]
Round 8:
Ch 1, sc in each st.
[12 sc]
Round 9:
Repeat sc in each st.
[12 sc]
Stuff lightly.
Round 10:
Ch 1, work 6 decreases (dec in every other st).
[6 sc]
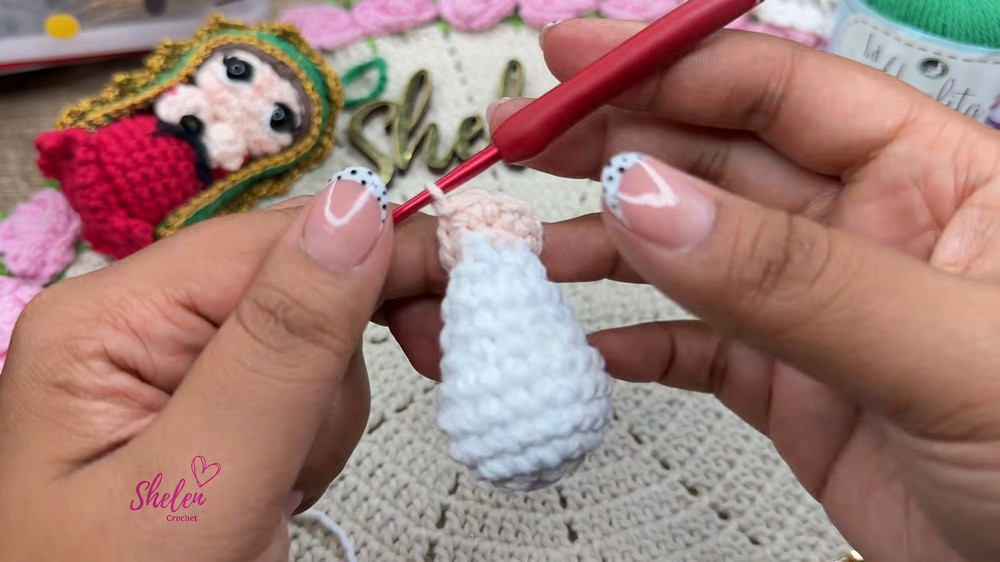
Before closing last st, join flesh-colored yarn.
Head
Round 11:
Using flesh color, ch 1.
Work sc in every st around.
[6 sc]
Round 12:
Ch 1, increase in each st: 2 sc in every stitch.
[12 sc]
Round 13:
Ch 1, (1 sc, inc) around.
[18 sc]
Round 14:
Ch 1, sc in each st.
[18 sc]
Rounds 15-17:
Ch 1, sc in each st.
[18 sc per round]
Round 18:
Ch 1, (1 sc, dec) repeat.
[12 sc]
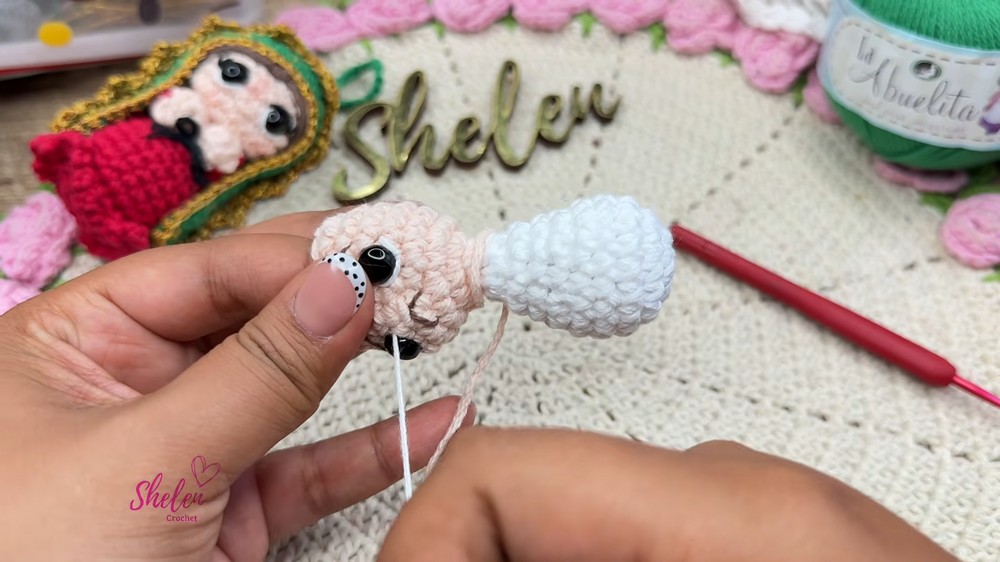
Place safety eyes between rounds 15/16. Insert eyes, secure washers.
Facial Embroidery
- With flesh color/fine yarn and embroidery needle, stitch nose: center between eyes, small vertical bar, filling by passing several times.
- Use brown for brows: starting edge of eye, angled upward, pass yarn twice.
- For mustache: brown, triangular shape under nose.
- Whiten yarn, doubled, for eye sparkle: tiny stitches near bottom of eyes.
- Black, doubled, to outline eyes: stitch around outside, secure both sides.
- Cut and secure all embroidery threads.
Finish Head
Round 19:
Ch 1, work 6 decreases (dec in alternate sts).
Join with sl st, leaving a long tail.
Using embroidery needle, go through front loops of each st, pull to close.
Hide thread.
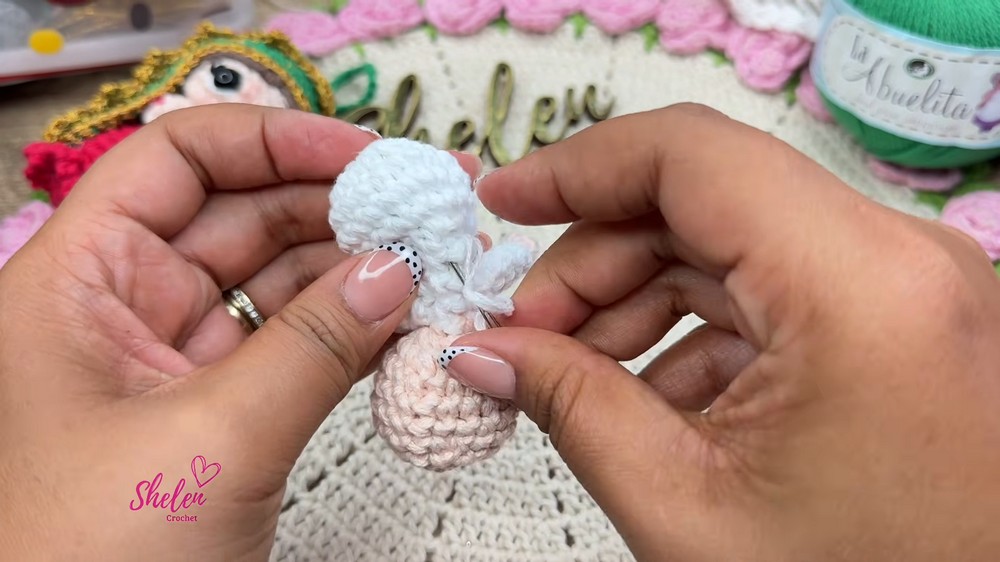
Hands (Make 2)
Round 1:
With flesh color, MR, ch 1, 4 sc in ring.
Join with sl st.
Round 2:
Ch 1, sc in each st (4 sc).
Join.
Switch to white at closing.
Round 3:
Ch 1, (1 sc, inc); repeat for 6 sc.
Join.
Round 4:
Ch 1, sc in each st (6 sc).
Join.
Rounds 5-6:
Repeat sc in each st.
Leave a long tail.
Sew hands to sides of body with embroidery needle.
Hairpiece
Round 1:
Brown, MR, ch 1, 6 sc in ring.
Join.
Round 2:
Ch 1, inc in each st (12 sc).
Join.
Round 3:
Ch 1, (1 sc, inc) around (18 sc).
Join.
Round 4:
Ch 1, sc in all sts.
Join.
Rounds 5-6:
Repeat sc in all sts (18 sc).
For fringe:
Repeat: ch 3, sc in next stitch for 7–8 times, making seven little fringes.
In last st, work: hdc, 2 dc, hdc, sc (all in one) to shape.
Finish off, cut thread. Attach to head with glue or sewing.
Beard
Brown yarn, ch 10.
Work sc starting second ch from hook (sc in next 4 sts).
In fifth ch: 2 sc.
Continue sc to end (remaining 4).
Finish off, shape and glue/sew under mouth.
Flame
Yellow, ch 3.
Work sl st in second ch, sc in third ch.
Cut, leave tail. Attach above head fringe.
Cloak
Flag green, ch 25.
Starting in second ch from hook, hdc across (24 hdc).
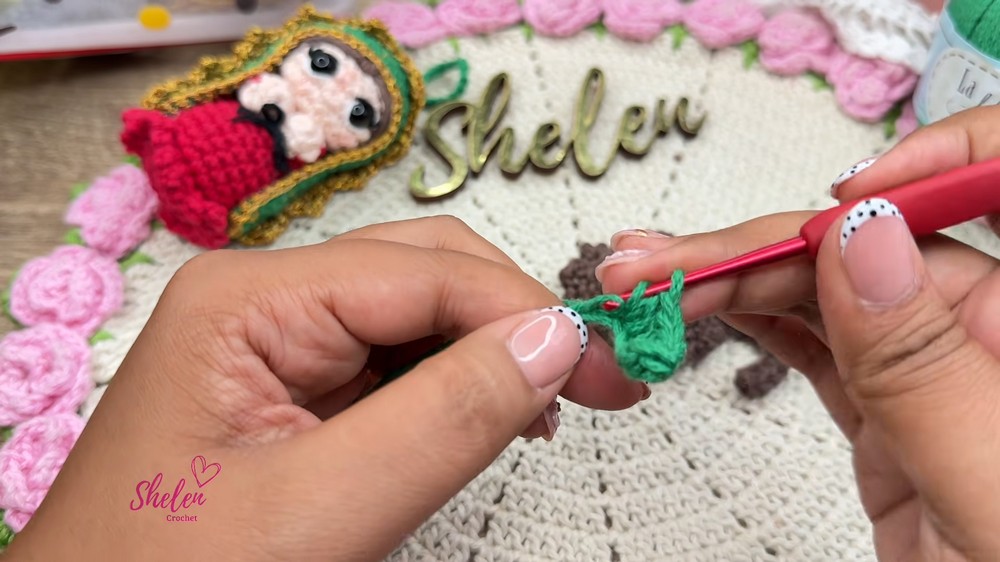
Finish, weave ends.
Attach at neck on back, wrap around and glue at front side with silicone.
Staff
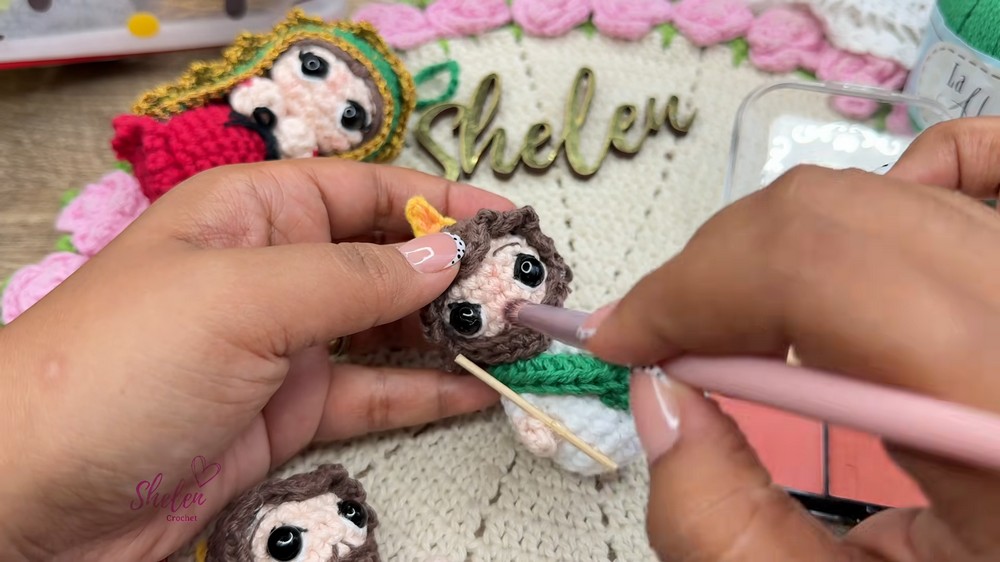
Glue bamboo stick to right hand, above cloak.
Assembly & Finished Size
- Attach all embroidered features and amigurumi parts securely.5
- Sew or glue hair, beard, and flame for durability.
- Glue cloak and staff for signature Saint Jude look.
- Attach keyring at top with embroidery needle, making several passes for strength.
- Finished keychain: approx. 8 cm tall.
Conclusion and Ending Words
Your Saint Jude keychain is now complete: featuring symbolic details, sturdy construction, and expressive embroidery. It’s an inspiring and heartfelt miniature that combines tradition with craft. Take a moment to admire your work—and share your creation with loved ones. Thank you for following along this step-by-step pattern; may your handwork bring comfort and joy. See you in the next video and pattern!