
Easy Crochet Amigurumi Koala Free Pattern For New Beginners
Treat your loved ones to this Crochet Amigurumi Koala Free Pattern and enjoy a small gray toy that brings smiles to kids and friends.
A sleepy koala with big fluffy ears and a funny little nose can easily steal everyone's heart. This Crochet Amigurumi Koala brings a happy feeling to any toy collection and looks adorable sitting beside your favorite decorations.
Soft Crochet Amigurumi Koala Free Pattern For Baby Rooms
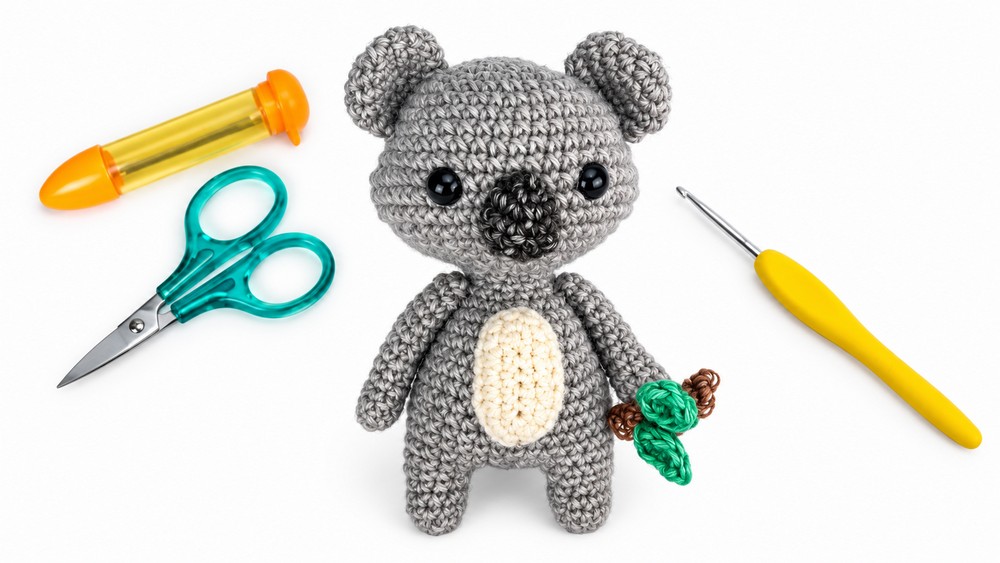
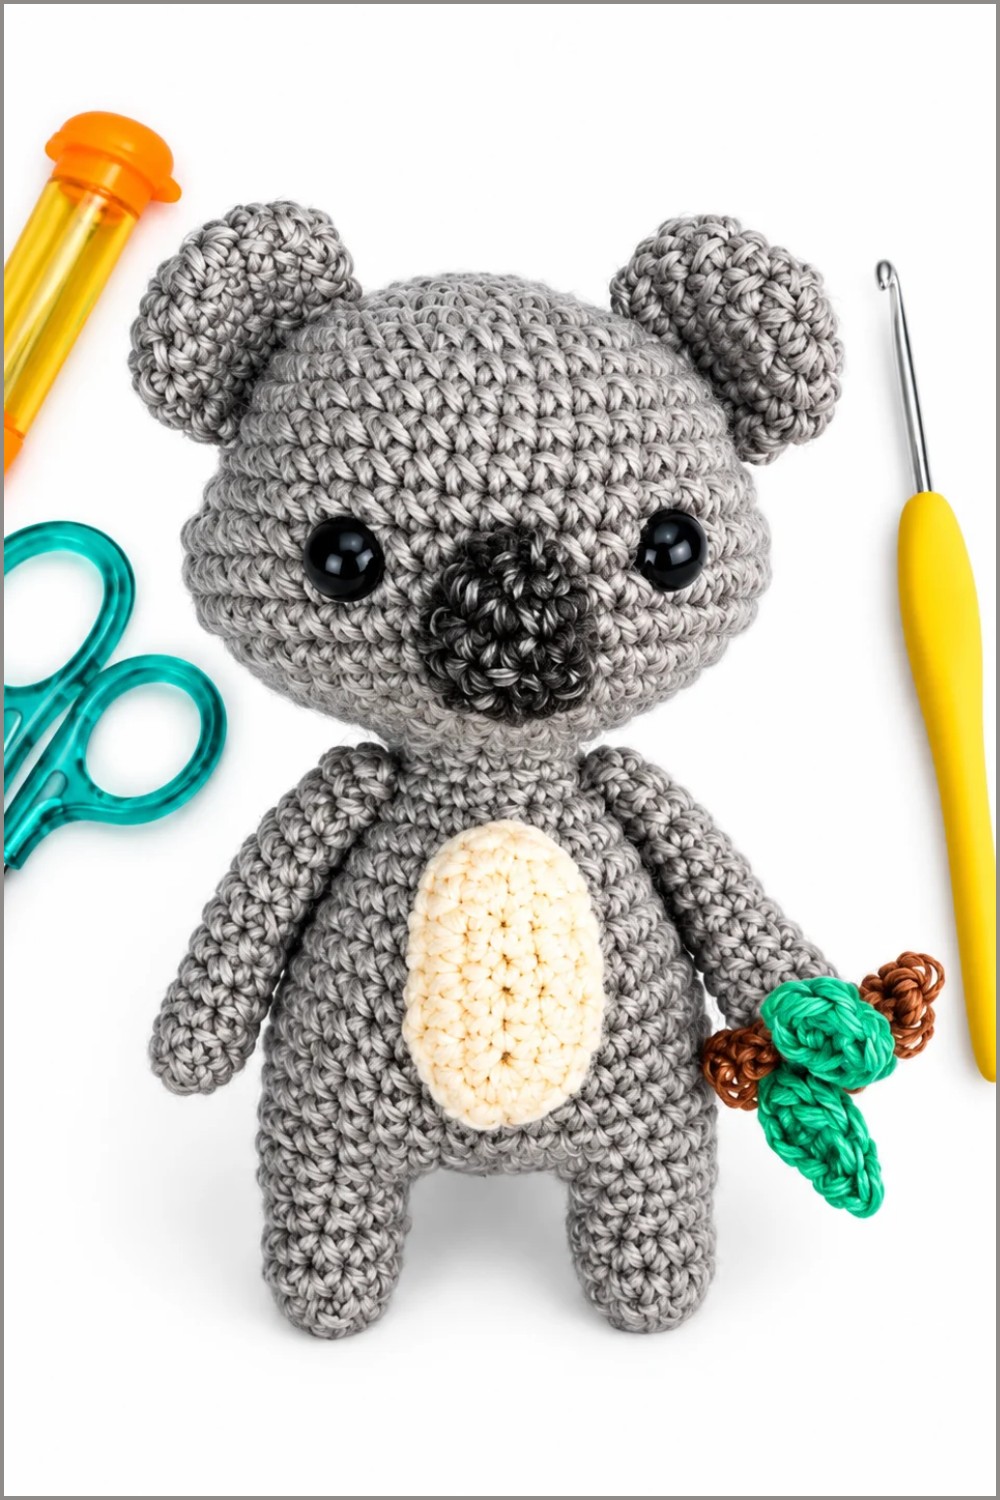
This Crochet Amigurumi Koala is a small stuffed toy inspired by the gentle animals of Australia. Its round head, large ears, dark oval nose, and short paws give it a lovable appearance. The soft gray body and white details create a natural look, while the neat yarn texture adds a pleasant finish.
The koala's oversized ears are one of its most interesting features. They frame its tiny face beautifully and give the toy a cute, sleepy expression. Light gray yarn works well for a traditional style, while brown or pastel shades can give your koala a more colorful personality.
This animal created by NJCraftyCreations is a wonderful choice for decorating a bedroom, living room shelf, or nursery. You can also give it as a handmade gift for birthdays, baby showers, or other special occasions. Children who love animal toys may especially like having this friendly koala in their collection.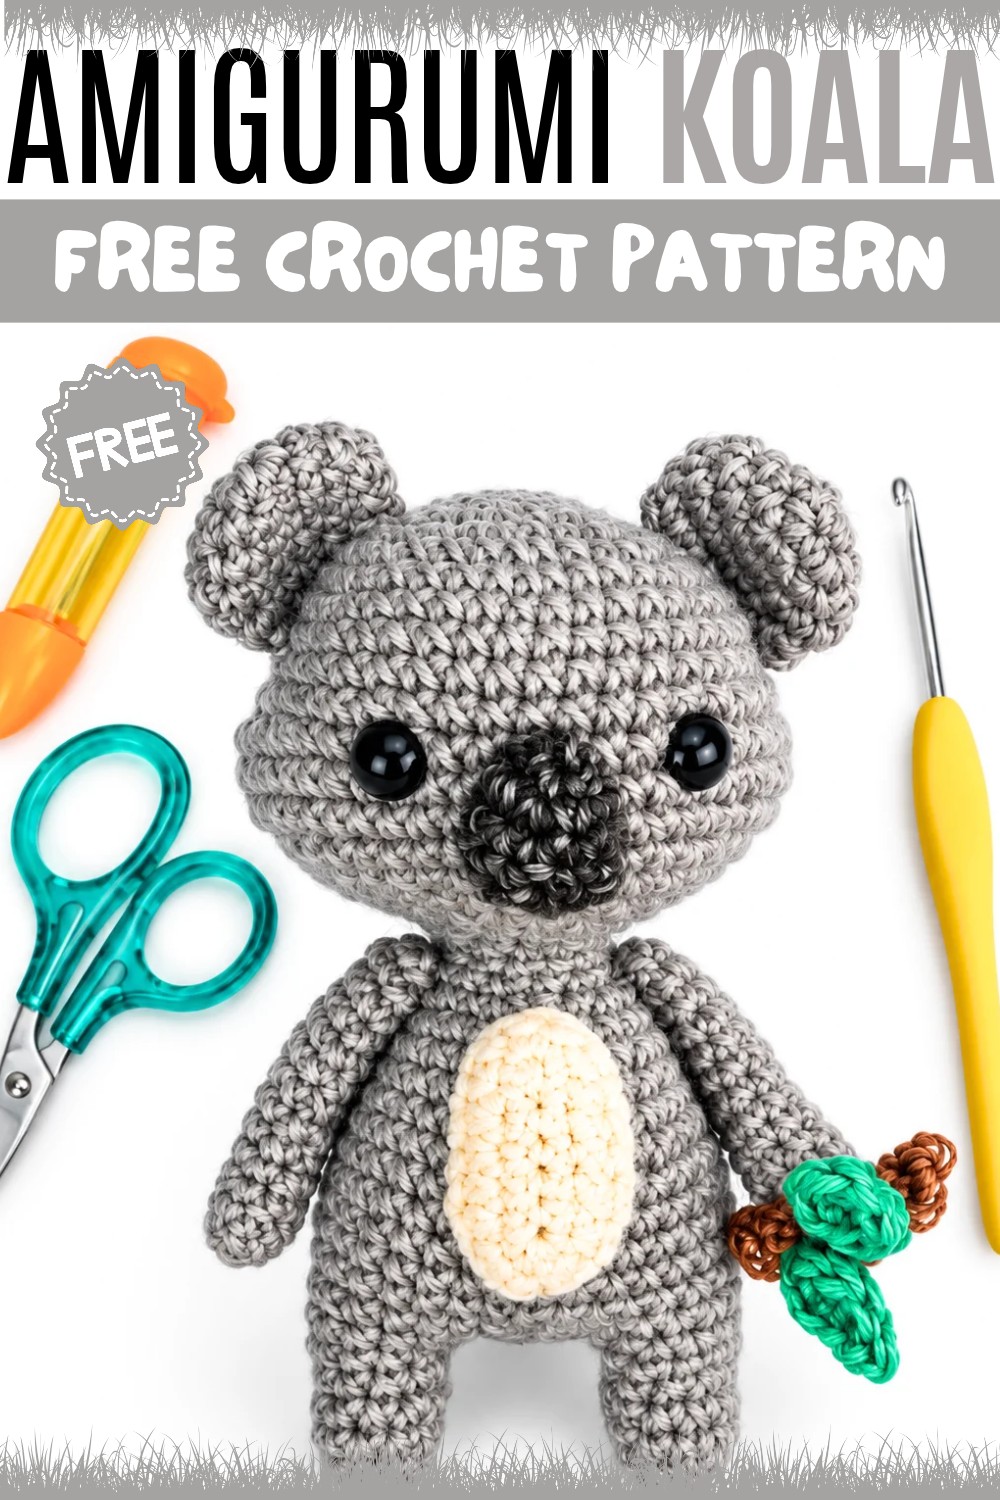
The project can be made using basic crochet stitches to shape the head, body, and smaller parts. After adding stuffing, the ears and paws are joined to complete the figure.
Pick this free crochet koala pattern for your next project and have fun making a tiny Australian friend!
About The Pattern
This crochet koala project is thoughtfully constructed in clearly defined sections, including the head, body, ears, limbs, facial features, and accessories such as a snack stick and leaves. The design prioritizes seamless transitions, sturdy shaping, and expressive facial assembly to create a highly recognizable and cuddly koala companion. Each element is detailed step-by-step, offering a comprehensive approach ideal for crafters who appreciate careful construction and customization.
Pattern Basic Points
- Continuous construction: Most parts are made in the round, many with seamless joins.
- Component assembly: Individual elements (head, body, ears, arms, legs, nose, belly, and food) are crocheted separately and then sewn together.
- Direct attachment: Legs are crocheted directly onto the body base; arms, ears, and nose are sewn into positioned placements.
- Surface shaping: The use of increases, decreases, and ovals creates both 2D and 3D shaping, including a realistic koala belly and snout.
- Accessory detail: The snack stick and leaves add an extra playful detail and finishing touch.
Special Notes
- Use tight and even tension to minimize stuffing visibility and maximize stitch definition, especially for facial and belly pieces.
- Markers are essential for leg placement on the body; precise alignment creates even posture.
- Attach safety eyes and sew the nose before attaching other face details for symmetrical results.
- Folding and crocheting over certain pieces (ears, arms) gives realistic curvature and dimensionality.
- Stuff all pieces firmly for a plump, sturdy koala with lasting shape.
- Always check yarn and safety accessory suitability for intended recipients (children under 3 require embroidered or crocheted facial features for safety).
Skill Level
Intermediate.
This project requires comfort with multiple techniques, including magic ring, working in the round, increases, decreases, simple color changes, oval shaping, direct attachment of limbs, and sewing individual pieces. Clear understanding of pattern reading and confidence in shaping is beneficial.
Materials
- Yarn: Worsted-weight acrylic or cotton in the following colors:
- Gray (main body, head, ears, limbs)
- White (belly)
- Black (nose)
- Brown (snack stick)
- Green (leaves)
- Crochet Hook: 2.5 mm–3 mm (use hook size for a tight amigurumi tension)
- Stuffing: Polyester fiberfill
- Safety Eyes: 8–10 mm black (or black yarn for embroidery)
- Stitch Markers
- Yarn Needle (blunt tip, for sewing pieces and embroidery)
- Scissors
Measurements and Gauge
- Finished Size: Approximately 14–18 cm (5.5–7 in) tall, depending on yarn type, hook, and stuffing
- Gauge: Not critical, but expect 7 sc x 8 rows ≈ 3 cm x 3 cm with worsted yarn and 2.5–3 mm hook
- Stitch Pattern: Majority is single crochet in the round; ovals are made by working around both sides of a chain
Stitch Abbreviations
| Abbr | Description |
|---|---|
| MR | Magic Ring |
| SC | Single Crochet |
| INC | Increase (2 sc in same st) |
| DEC | Decrease (sc 2 together) |
| HDC | Half Double Crochet |
| Sl st | Slip Stitch |
| Ch | Chain |
| st(s) | Stitch(es) |
| FLO | Front Loops Only |
| BLO | Back Loops Only |
Special Stitches
- Magic Ring (MR): Adjustable starting loop for working in the round.
- Increase (INC): Crochet two single crochets in the same stitch.
- Invisible Decrease (DEC): Crochet two stitches together with minimized gap.
- Oval foundation: Starts with a chain that’s worked around both sides to form an oval, ideal for the belly.
- Shaping with folding and crocheting across: Used for constructing the koala’s characteristic curved ear and arm ends.
Detailed Pattern
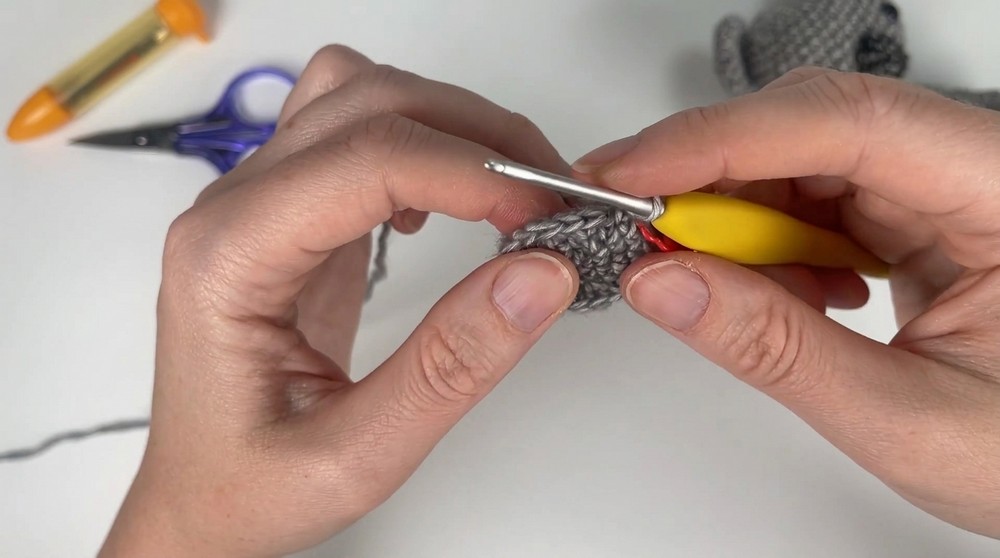
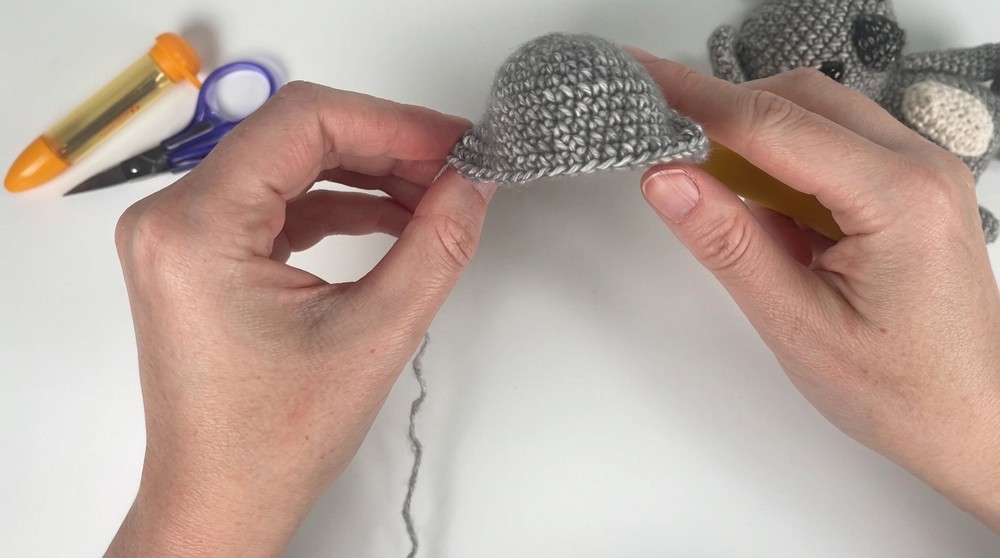
Ears (Make 2, Gray)
- R1: MR, 6 SC.
- R2: INC in each st around (12 SC).
- R3: (1 SC, 1 INC) x 6 (18 SC).
- Fold ear in half.
- R4: Crocheting through both layers across the gap, work 6 SC to close and curve the ear.
- Fasten off, leaving a long tail for sewing.
Nose (Black)
- R1: MR, 4 SC.
- R2: INC in each st around (8 SC).
- R3: 4 SC to close and create an oval nose shape.
- Fasten off, leave a tail for attaching.
Belly (White)
- Foundation: Ch 7.
- R1: Starting from 2nd ch from hook: 5 SC, 3 SC in last ch, continue on underside: 4 SC, 2 SC in last ch. (14 SC)
- R2: 1 SC in each st around, working increases at the curves if necessary to maintain a flat oval (~18 sts).
- Fasten off, long tail for sewing.
Head (Gray)
- R1: MR, 6 SC.
- R2: INC in each st around (12 SC).
- R3: (1 SC, 1 INC) x 6 (18 SC).
- R4: (2 SC, 1 INC) x 6 (24 SC).
- R5: (3 SC, 1 INC) x 6 (30 SC).
- R6: (4 SC, 1 INC) x 6 (36 SC).
- R7: (5 SC, 1 INC) x 6 (42 SC).
- R8: (6 SC, 1 INC) x 6 (48 SC).
- R9: (7 SC, 1 INC) x 6 (54 SC).
- R10: (8 SC, 1 INC) x 6 (60 SC).
- R11: (9 SC, 1 INC) x 5, then SC to finish (50 SC).
- R12–13: SC in each st around (50 SC).
- R14: (7 SC, 1 DEC) x 5, then SC to finish (45 SC).
- R15: (6 SC, 1 DEC) x 5, then SC to finish (40 SC).
- R16: (5 SC, 1 DEC) x 5 (35 SC).
- R17: (4 SC, 1 DEC) x 3, then SC to finish (18 SC)
- Begin stuffing head firmly as you decrease.
Face Assembly
- Nose: Sew the nose to the center of face, between rounds 11–14.
- Eyes: Attach safety eyes or embroider eyes between rounds 11–12, spaced evenly on either side of the nose.
Body (Gray)
- Direct continuation from the head:
- R18: (2 SC, 1 DEC) x 3 (12 SC).
- R19: (1 SC, 1 INC) x 6 (18 SC).
- R20: (2 SC, 1 INC) x 6 (24 SC).
- R21: (3 SC, 1 INC) x 6 (30 SC).
- R22–26: SC in each st (30 SC for 5 rounds).
- R27–34: SC in each st to desired length, stuffing as you go.
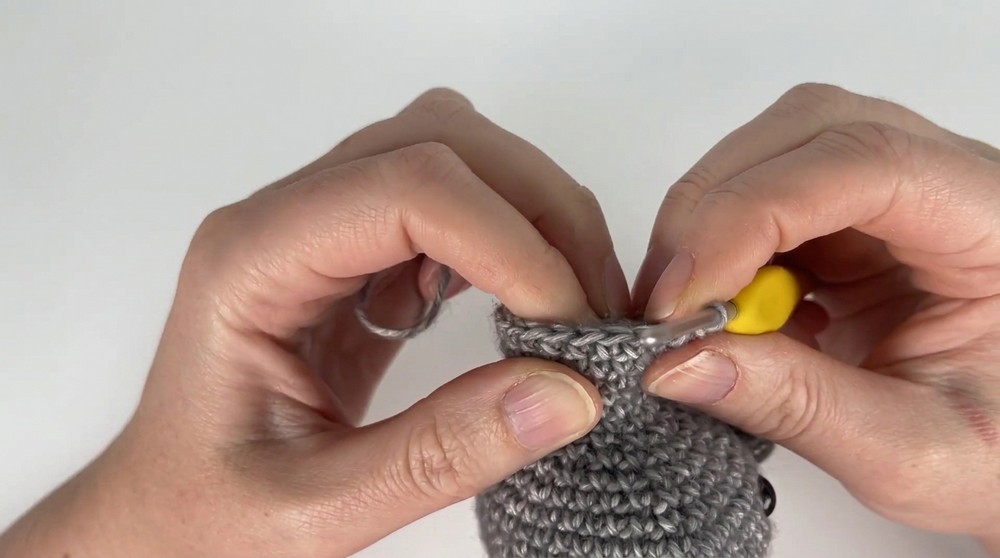
Legs (Make 2, Gray)
- Worked directly into marked positions on the body base:
- Insert hook at leg position,
- R1: MR, 6 SC.
- R2–4: SC in each st (6 SC per round).
- R5: (1 SC, 1 DEC) foreach leg section, closing with 4 SC.
- Fasten off; seamless join to body.
Arms (Make 2, Gray)
- R1: MR, 6 SC.
- R2–14: SC in each st (6 SC per round, 13 rounds).
- Fold arm, working through both sides, 4 SC to close and shape the end.
- Fasten off, leaving tail for sewing.
Food (Stick & Leaves)
- Stick (Brown):
- R1: MR, 4 SC,
- R2–8: SC in each st (4 SC per round, 8 rounds).
- Fasten off.
- Leaves (Green, make 2):
- Ch 4,
- SC in 2nd ch, HDC in next, SC in last,
- Continue (optionally) around the other side for fuller leaf.
- Fasten off.
Assembly & Finished Size
- Stuff all pieces firmly before final assembly.
- Sew ears to the top sides of head.
- Attach arms to the upper body sides, angled forward.
- Sew legs where marked, forming a base for the koala to sit.
- Position and sew belly patch on the body’s front.
- Attach stick to arms and sew green leaves to stick tip for a completed snack effect.
- Weave in and hide all yarn ends securely.
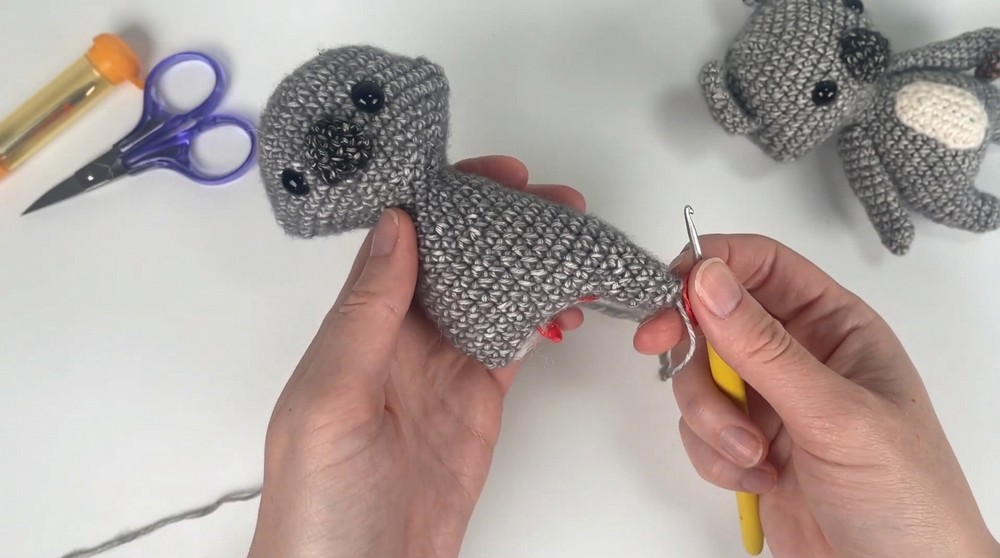
The assembled koala, with accessories, measures approximately 14–18 cm; optimal size depends on yarn, tension, and stuffing.
Conclusion
This koala amigurumi pattern blends approachable construction with engaging details for a balanced, expressive result. Thoughtful shaping and finishing allow each koala’s personality to shine, while sturdy techniques ensure a lasting, huggable creation. The playful accessory offers a unique touch, making the finished koala a delightful gift or addition to any amigurumi collection.