
Easy Crochet Amigurumi Bunny Free Pattern With Instructions For Beginners
Bring warmth and charm into your space with the Crochet Bunny Free Pattern that offers a unique and cozy touch perfect for gifts or home decor.
Soft and lovable toy made with yarn and a hook is fun for people of all ages, including children, to enjoy. The Crochet Bunny is special because you can choose any color you like, from soft pastels to bright and bold shades. This means your bunny can be pink, blue, yellow, or even multicolored, making each one unique and full of personality.
Simple Crochet Bunny Free Pattern For Playful Home Decor
The size of a crochet bunny can also be changed easily. You can make a tiny bunny that fits in your hand, or a bigger one that can be hugged like a teddy bear. This makes the crochet bunny great for gifts, decorations, or just a cozy friend to have around.
One of the most important parts of making a crochet bunny is learning the right stitch. The single crochet stitch is simple and strong, so the bunny is soft but sturdy. Using this stitch creates a neat and tight fabric that keeps the stuffing inside, making the bunny perfect for cuddling and playing.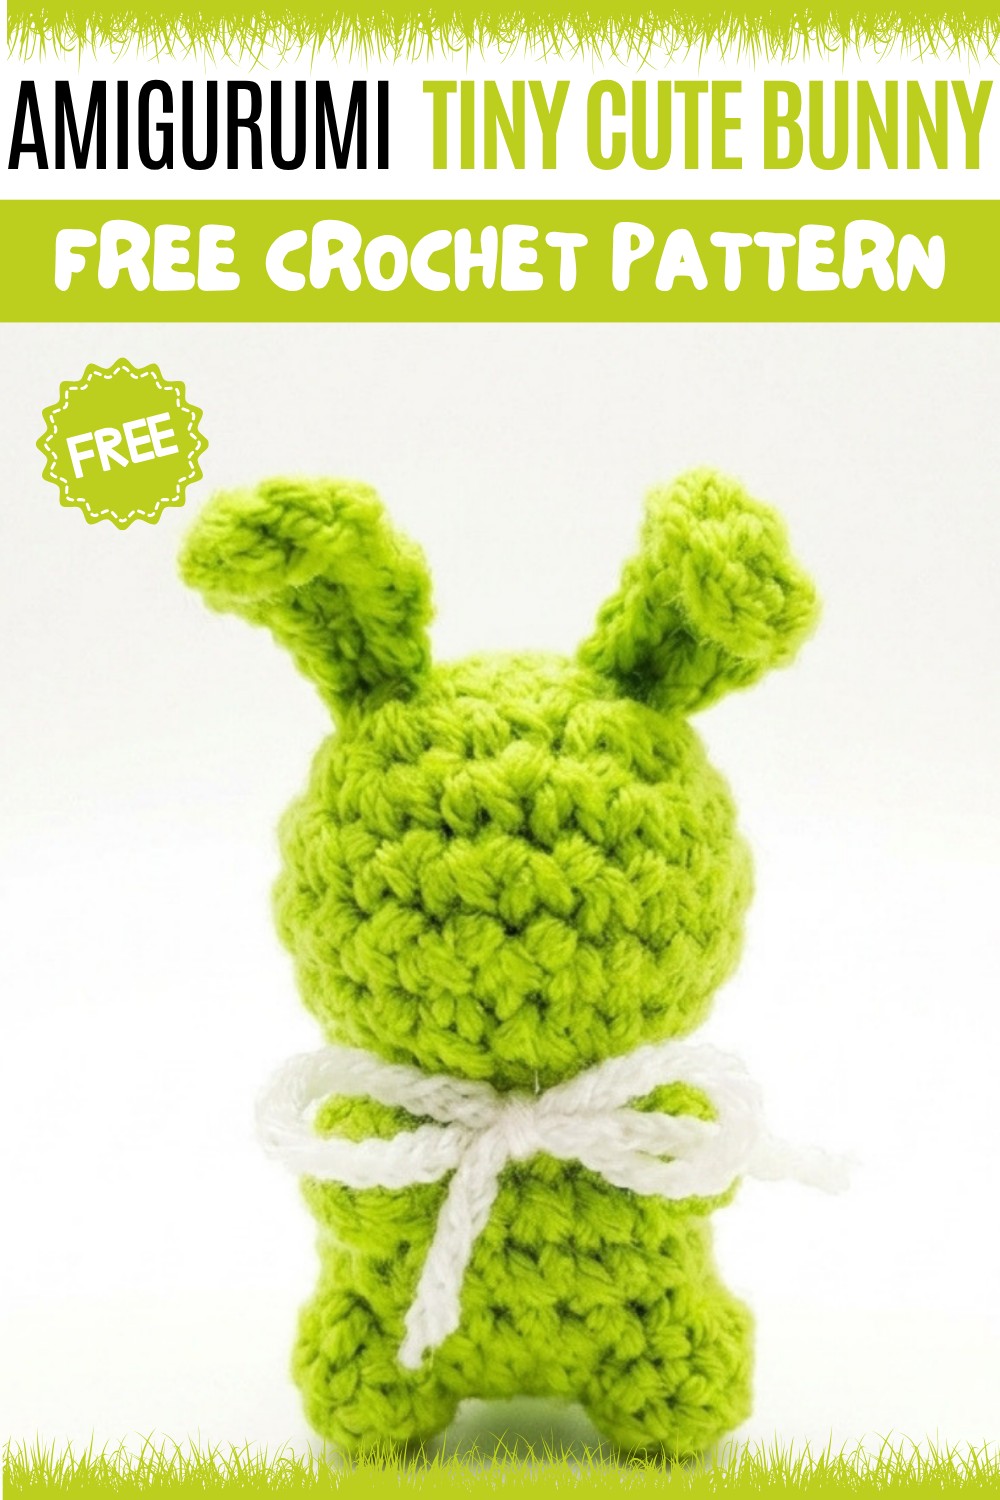
Crochet bunnies are not only pretty and fun but also very useful. They can be used as toys, party favors, or home decorations. Some people even use them as gifts to show care and love. You can add little details like eyes, nose, or a cute bow to give your bunny a special look.
In summary, a crochet bunny is a wonderful thing to make. Its beauty comes from the colors you pick and the stitches you use. Its size can be changed to suit your needs, and it is both a fun project and a lovely item to keep or share. Making a crochet bunny is a joyful way to create something soft and sweet that anyone will love.
The Written Pattern is based on YouTube Channel Crochet Cabin
Crochet 2-Inch Bunny Pattern (with Milk Cotton Yarn)
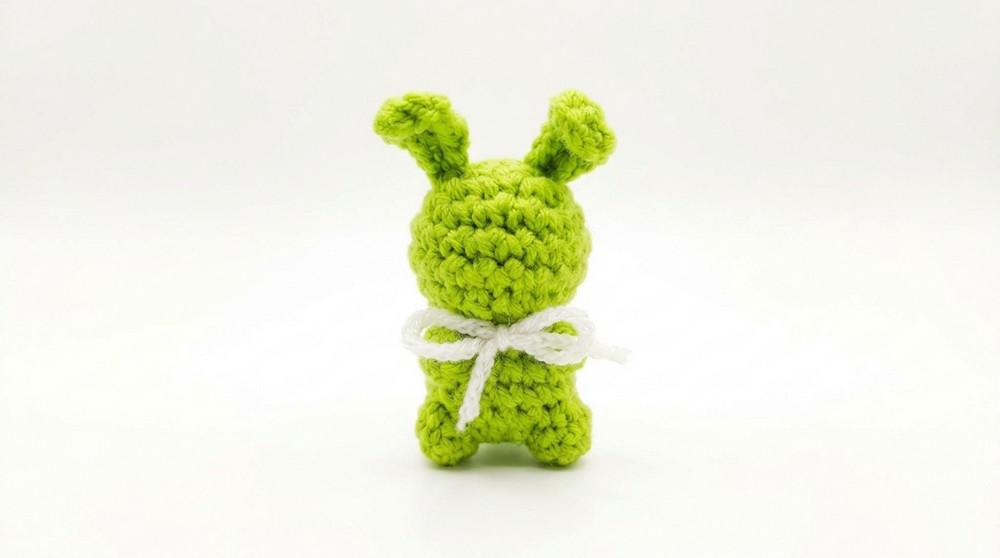
A delightful mini bunny crafted using Milk Cotton yarn, producing a soft and fluffy finish perfect for keychains, table decor, or miniature gifts. This pattern builds the bunny in one seamless piece, switching hooks for the ears, and adds playful bubble stitch cheeks for extra charm. Thoughtful stitch placement and easy construction make this a satisfying project, even for those with modest crochet experience.
Pattern Basic Points
- The bunny is crocheted in seamless rounds, starting from the base of the body and forming the head in continuation.
- The ears are attached directly onto the head using a smaller hook for finer detail.
- Cheeks are created with a special bubble stitch for a rounded, puffy effect.
- Minimal sewing is required, minimizing finishing steps.
- Color changes can be made for additional customization (e.g., colored bow).
Special Notes
- The bubble stitch forms the characteristic bunny cheeks. Be sure to complete all partial double crochets (DC) before finishing together for a puffed appearance.
- Proper stitch count is vital for symmetrical shaping. Using a removable stitch marker is recommended.
- Because of the small size, this project is best worked with careful tension—avoid pulling too tightly.
- Milk Cotton yarn, although labeled 4ply, may be slightly thicker than standard cotton; adjust hook size if substituting yarn types.
- All rounds are worked continuously unless otherwise specified—do not join at the end of each round.
Skill Level
Beginner-Friendly.
This pattern employs basic stitches and easy shaping, suitable for those with some experience in the round and single crochet decreases. Bubble stitch instruction is provided below and accessible for newcomers.
Materials
- Milk Cotton yarn (4ply; or substitute soft, medium weight yarn)
- Crochet hook, 3.00mm (body and head)
- Crochet hook, 2.50mm (ears)
- Small amount of contrasting yarn (for optional bow)
- Yarn needle (for weaving ends and bow attachment)
- Scissors
- Stuffing (polyester fiberfill or yarn scraps)
- Stitch marker (optional, to mark rounds)
Measurements
- Finished bunny measures approximately 2 inches (5cm) tall when using yarn and hooks specified.
Gauge
- Gauge is not critical for this project. A typical measurement for an amigurumi ring:
- 5 rounds of single crochet in a circle = 1 inch (2.5 cm) diameter.
- For best results, maintain firm tension so stuffing does not show through.
Stitch Pattern
- Worked in single crochet (SC) rounds, with simple increases and decreases to shape.
- Bubble stitches form puffy cheeks by cluster of incomplete double crochets, pulled together in one stitch.
Stitch Abbreviations
- MR: Magic Ring
- SC: Single Crochet
- INC: Increase (2 SC in one stitch)
- DEC: Decrease (single crochet two together)
- HDC: Half Double Crochet
- DC: Double Crochet
- BLO: Back Loop Only
- St(s): Stitch(es)
- Sl St: Slip Stitch
- Ch: Chain
Special Stitches Used
- Magic Ring (MR): Loop yarn to form adjustable circle; used to start seamless rounds.
- Bubble Stitch (Cluster of 4 Unfinished DC):
- Yarn over (YO), insert hook into designated stitch, pull up a loop (3 loops on hook).
- YO, pull through 2 loops (2 loops remain on hook).
- Repeat steps 1-2 three more times, all in same stitch (ending with 5 loops on hook).
- YO, pull through all 5 loops at once; bubble is made.
Detailed Bunny Pattern
Body and Head
-
Round 1:
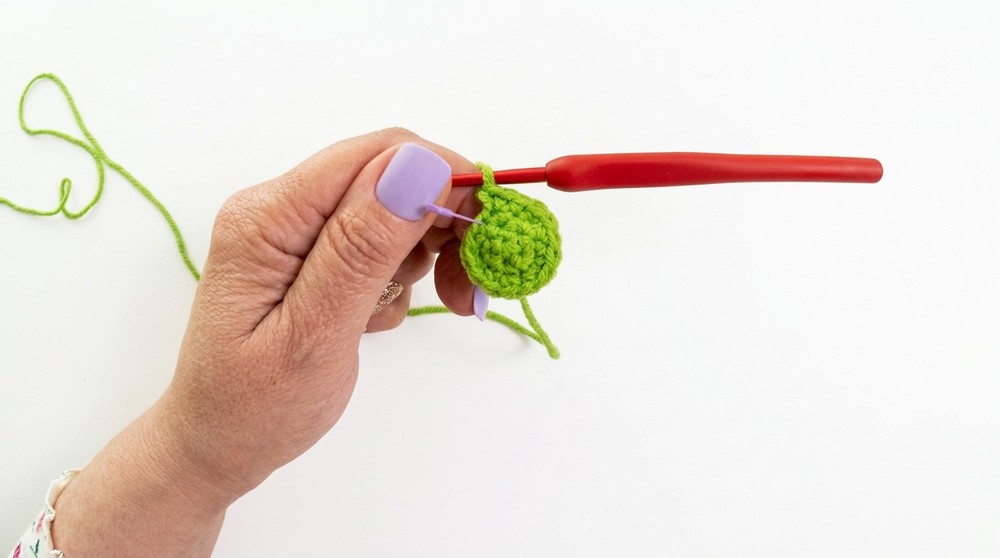
- Make a Magic Ring (MR).
- Work 5 SC into ring.
- Pull tight to close.
-
Round 2:
- Work 2 SC in each stitch around (INC in each st).
- (10 sts total)
-
Round 3:
- Repeat: 1 SC, 1 INC around (to end of round).
-
(15 sts total)
-
Round 4:
- Repeat: 2 SC, 1 INC around (to end of round).
- (20 sts total)
-
Round 5:
- Work 1 SC in each st around.
- (20 sts total)
-
Round 6:
- Repeat previous round: 1 SC in each st around.
- (20 sts total)
-
Round 7:
- Work 10 DEC: SC the next 2 sts together, repeat around.
- (10 sts total)
-
Round 8:
- Work 1 SC in each st around.
- (10 sts total)
-
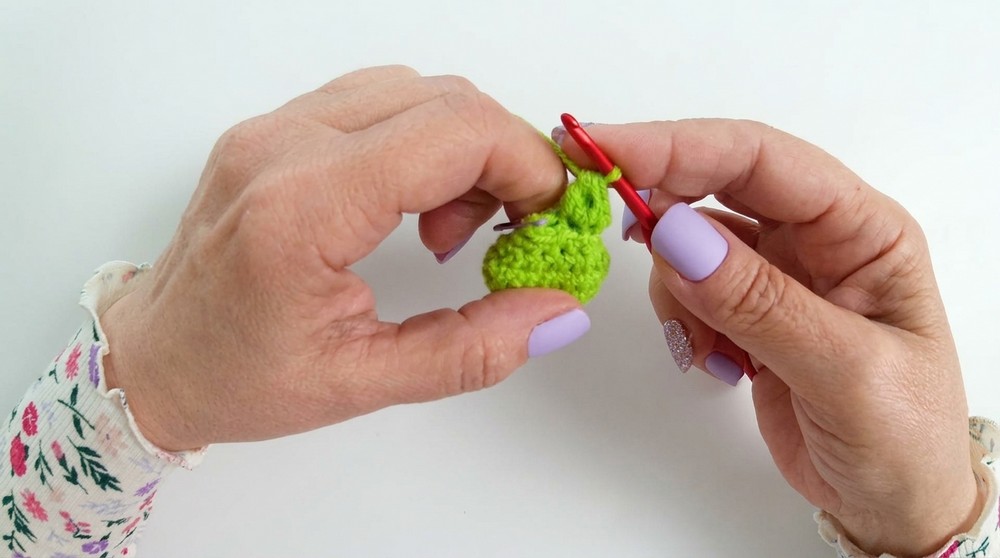
Round 9 (BLO, Form Cheeks):
- Working in Back Loop Only, follow the sequence:
- 1 SC, 1 INC, 1 Bubble Stitch (see special stitches), 2 SC, 1 INC, 1 Bubble Stitch, 2 SC, 1 INC.
- (15 sts total, bubble stitch placed symmetrically for cheeks)
- Working in Back Loop Only, follow the sequence:
-
Round 10:
- Work 1 SC in each st around.
- (15 sts total)
-
Round 11:
- Repeat: 1 SC in each st around.
- (15 sts total)
-
Round 12:
- Work:
- 4 SC,
- 1 Bubble Stitch (forms lower cheek),
- 4 SC,
- 1 Bubble Stitch (second lower cheek),
- 5 SC to complete round.
- (15 sts total)
- Work:
- Round 13:
- Repeat: 1 SC, 1 DEC – repeat sequence 5 times around.
- (12 sts total)
- Round 14:
- Work 6 DEC to close head.
- (6 sts total)
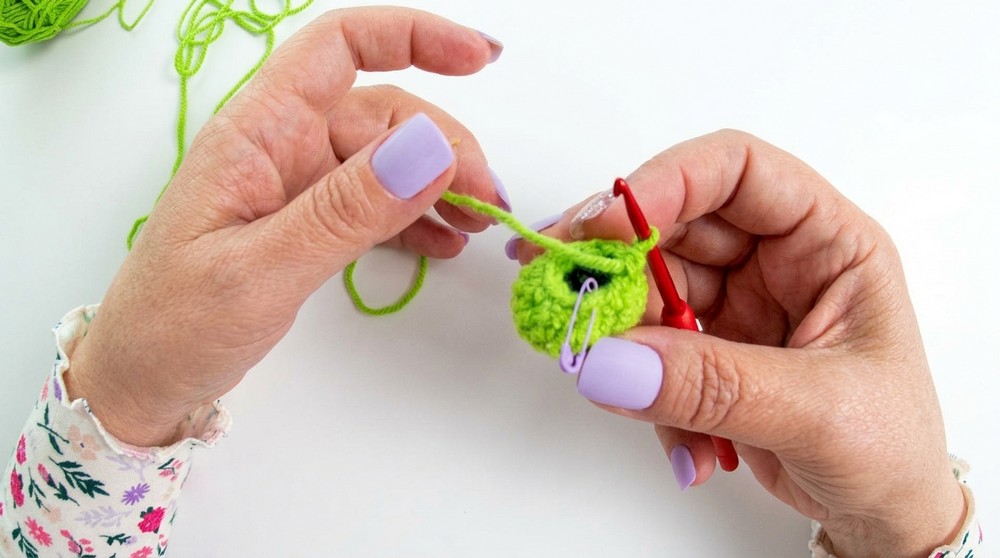
- Fasten off, leaving a long tail. Close any remaining hole and weave in end.
Stuffing
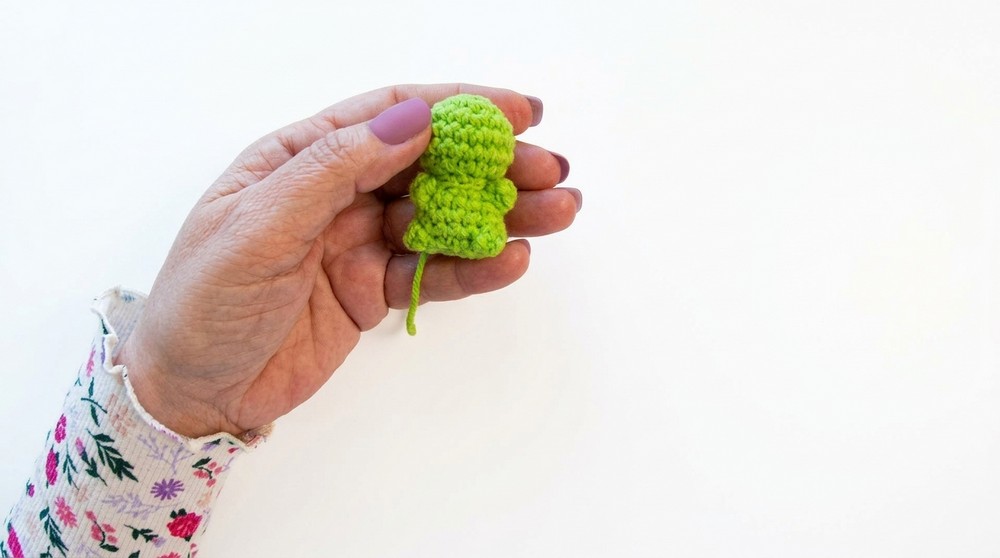
Add stuffing to the body and head before fully closing the last round. Do not overstuff; keep the bunny plush but not overstretched.
Ears Assembly (Using 2.50mm Hook)
- With the completed bunny, locate the center top of the head. Count 2 rounds down from the very top (for symmetrical placement).
- Insert the smaller (2.50mm) hook into the stitch at desired ear point and pull up a loop.
- Chain 6.
- Work back along the chain in Back Loop Only as follows:
- 1 DC in 2nd chain from hook
- 1 DC in next chain
- 1 HDC in each of the next 2 chains
- 1 SC in last chain
- Slip stitch (Sl St) into same starting stitch at base of chain to secure ear.
- Cut yarn, pull through, and weave ends securely.
- Repeat steps 1-6 for the second ear, spacing evenly.
Optional Bow
- Using contrasting yarn, tie a tiny bow and sew or tie between the ears for extra detail.
Assembly & Finished Size
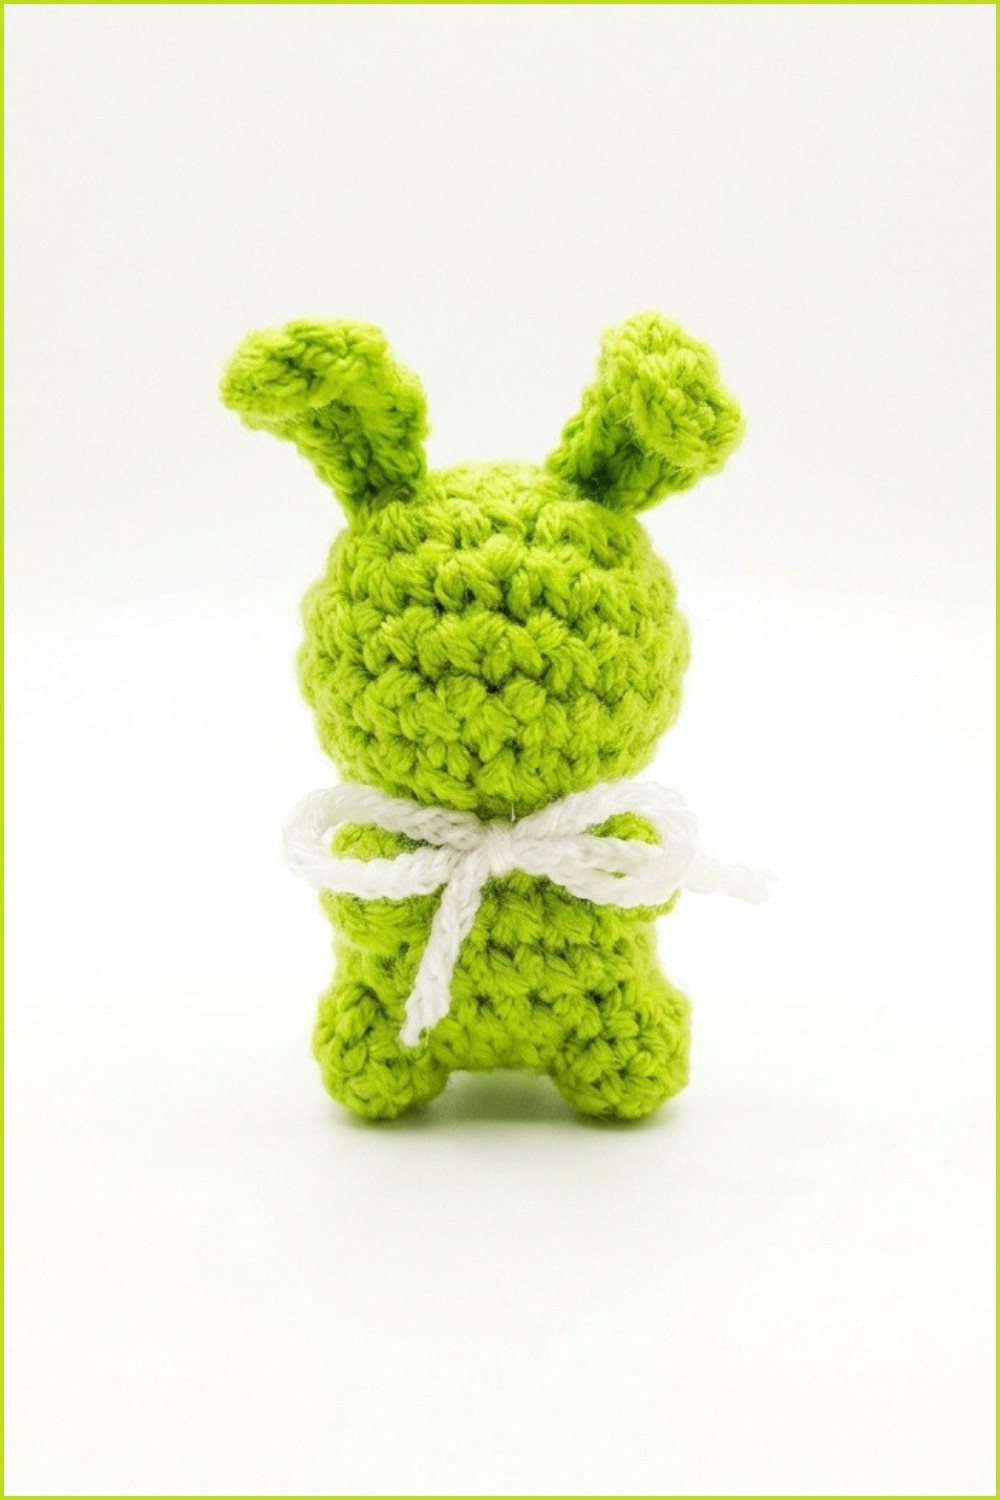
No extra sewing is needed apart from attaching the optional bow and weaving in yarn ends. The finished bunny stands approximately 2 inches tall (including ears), with bubble stitch cheeks adding friendly three-dimensional detail.
Conclusion
This miniature bunny pattern utilizes a simple structure to create an appealing, round form, accented by sculpted cheeks and expressive ears. Its minimalistic approach means the project finishes quickly and is ideal for using leftover yarn. With clear shaping and well-placed details, this bunny works perfectly as a thoughtful handmade gift, a party favor, or a unique part of an amigurumi collection. Experiment with colors or facial embroidery to customize—each bunny holds endless charm and creativity in the palm of your hand.