
Dreamy Crochet Lavender Bouquet Pattern for Cozy Corners
Brighten your space with Crochet Lavender Bouquet Pattern, featuring fragrant charm, delicate details, and a whimsical handmade touch.”
The soothing scent of lavender has long been cherished for its calming and restorative qualities, often gracing homes, drawers, and special occasions with gentle fragrance. A crochet lavender bouquet captures that serene elegance in a lasting, handmade form, offering both visual charm and functional appeal. Perfect as a decorative accent, a thoughtful gift, or a keepsake for weddings and special events, it brings timeless beauty without the need for maintenance.
Blissful Crochet Lavender Bouquet with Gentle Beauty
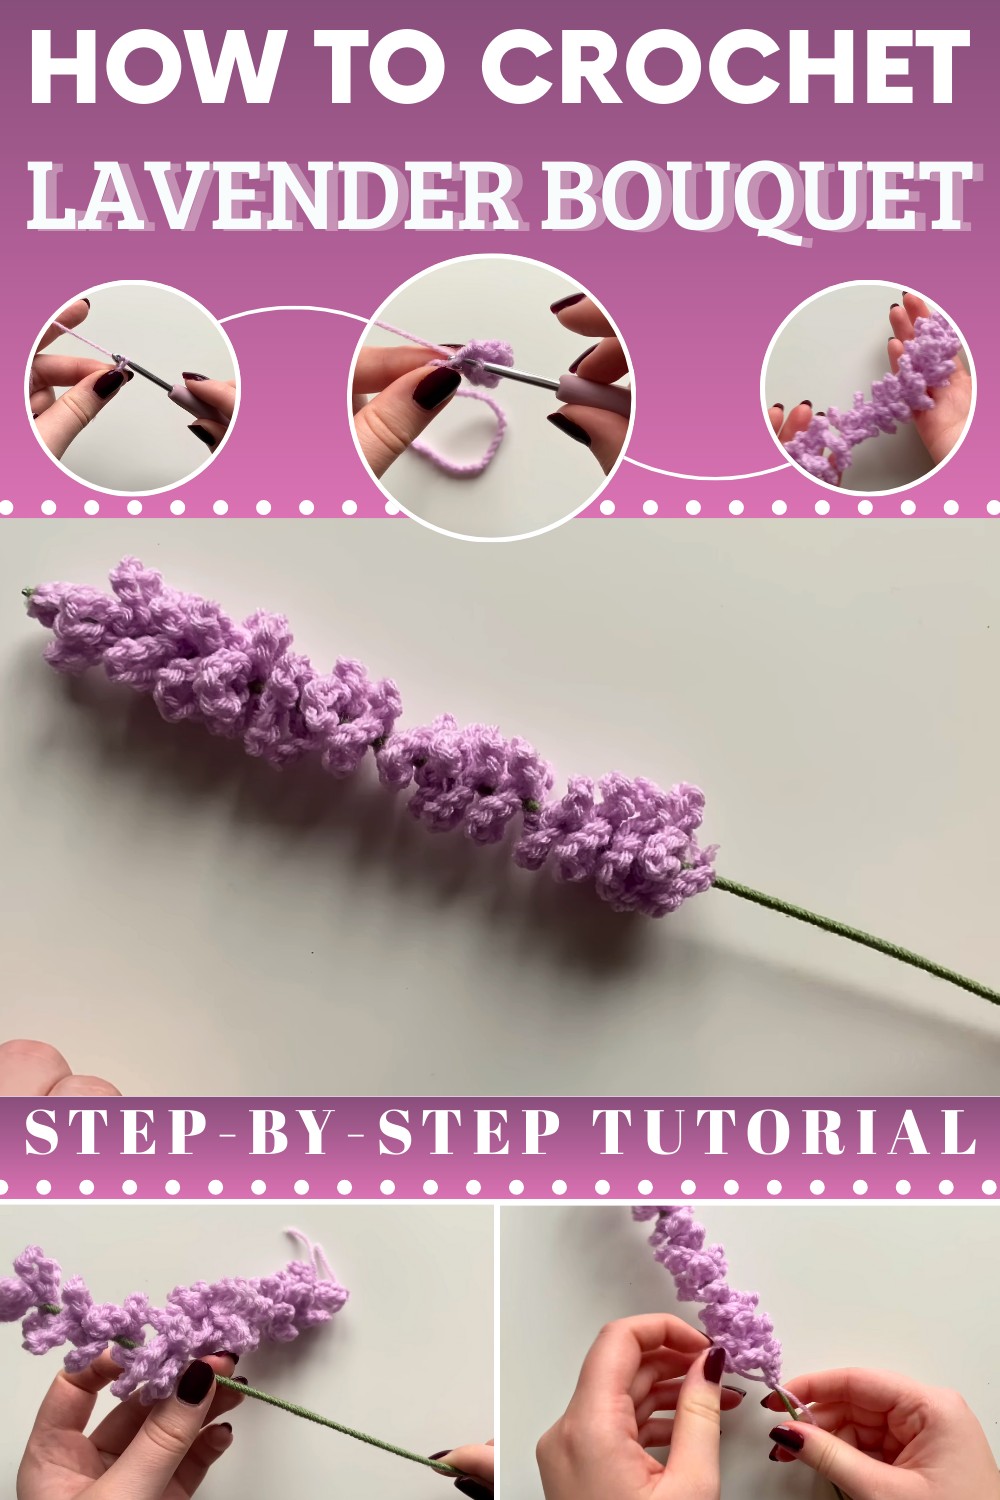
The process begins with crafting slender stems, each topped with delicate, textured blooms that replicate the subtle charm of real lavender. Midway, stems are gathered and arranged into a harmonious bouquet, ensuring balance and a natural flow. Leaves and small details can be added to enhance the lifelike appearance, while the attachment of a ribbon or decorative tie completes the composition. Every stitch contributes to a sense of depth, softness, and refined elegance.
Versatile in size and color, the crochet lavender bouquet can be customized to suit personal style or seasonal décor. Lightweight, durable, and visually captivating, it serves as a charming accent for home interiors, a serene addition to gift packaging, or a lasting memento that carries the calming essence of lavender. Its handcrafted appeal blends artistry with functionality, creating a bouquet that delights both the senses and the eye.
Materials Needed
The materials listed in the tutorial are:
- Purple weight 3 acrylic yarn (for the lavender flower)
- Sage green weight 3 acrylic yarn (for the stem wrapping)
- 3.75 mm crochet hook
- 18-gauge floral wire (for the stem structure)
- Hot glue or tacky glue (to secure the wrapping and assembly)
- Wire cutters (to trim wire to the desired length)
- Scissors
Step-by-Step Process
Step 1: Creating the Initial Chain
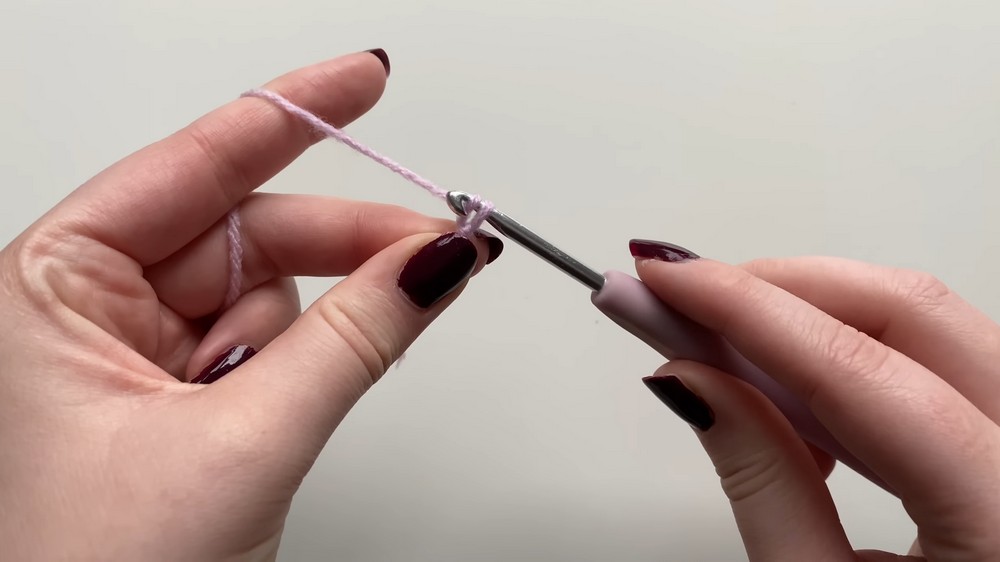
- Start by creating a slip knot with the purple yarn and attaching it to the crochet hook. Adjust the knot to make it snug but not too tight.
- Crochet a chain of 48 stitches. If you want your lavender longer or shorter, you can increase or decrease the number of chains—this pattern is customizable.
- Tip: Maintain consistent tension while chaining to avoid uneven stitches.
2: Beginning the Lavender Top
- Work into the third chain from the hook.
- Yarn over, insert your hook into the top part of the third stitch, and complete a double crochet (DC) by pulling through two loops twice.
- Add two more double crochets in the same stitch. A cluster of three DC stitches forms the base of the lavender flower's top.
- Chain 3, and slip stitch (SL ST) into the same stitch to create a small decorative loop at the top of the lavender.
3: Crocheting the Rest of the Lavender
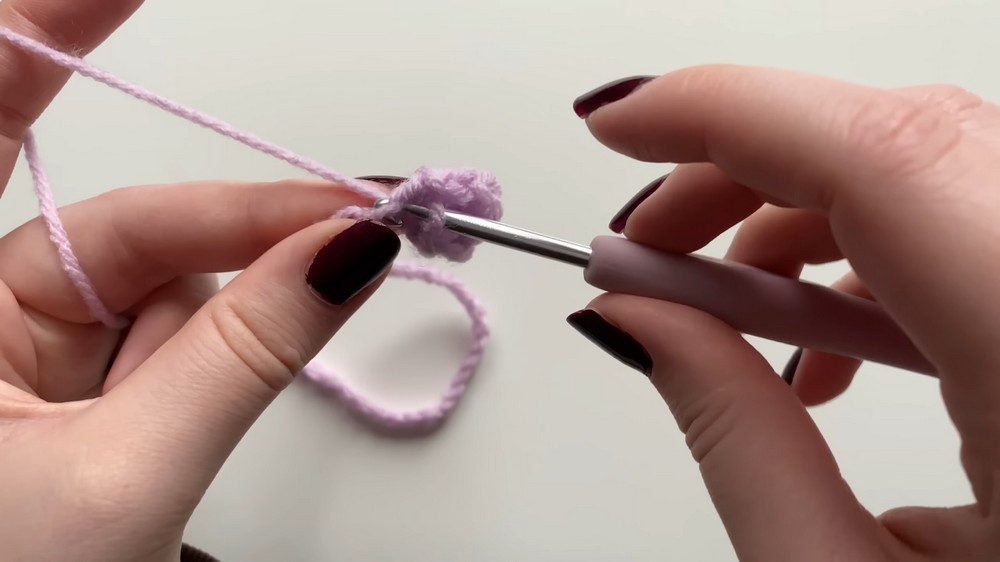
- Move to the next chain and work a slip stitch (SL ST) by inserting your hook, yarning over, and pulling the yarn through both loops.
- Chain 6 stitches, and then slip stitch back into the same chain—this creates a petal.
- Repeat the pattern for each chain down the entire length:
- Slip stitch, chain 6, slip stitch back into the same chain.
- Continue crocheting into the top part of each stitch (not going through the whole stitch) to achieve the desired curling effect that mimics the natural shape of lavender.
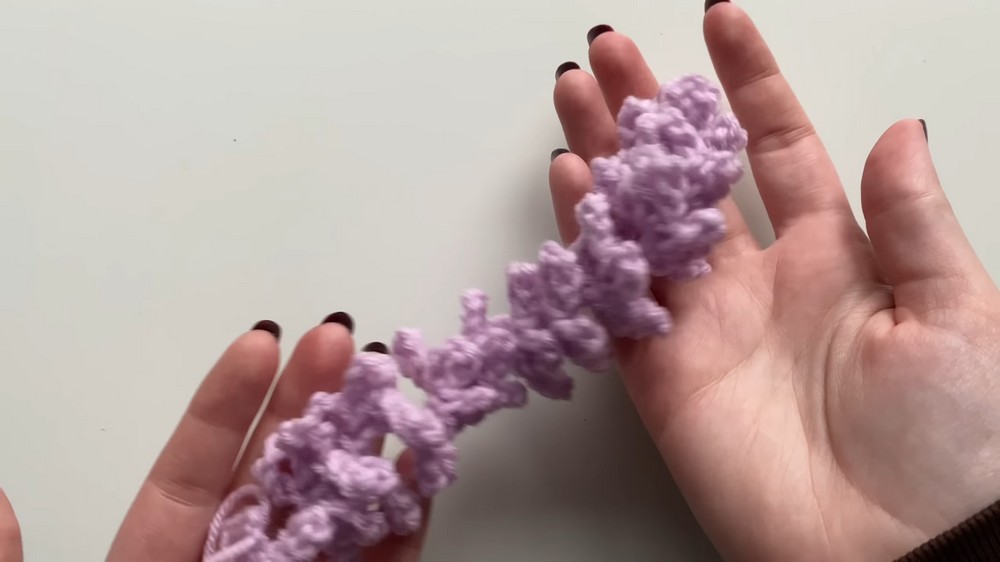
4: Finalizing the Lavender Piece
- Once you reach the last chain, finish it with a slip stitch.
- Cut the yarn, leaving a short tail, and fasten off by pulling the hook away from the work. This secures the final stitch and prevents unraveling.
5: Preparing and Wrapping the Stem
- Take the 18-gauge floral wire, and wrap it with the sage green yarn to resemble a natural stem.
- Apply hot glue or tacky glue along the wire as you wrap to ensure the yarn stays in place. Hot glue is preferred for its quicker drying time and stronger hold.
- Once the wire is completely wrapped, leave the top section unwrapped for attaching the lavender flower.
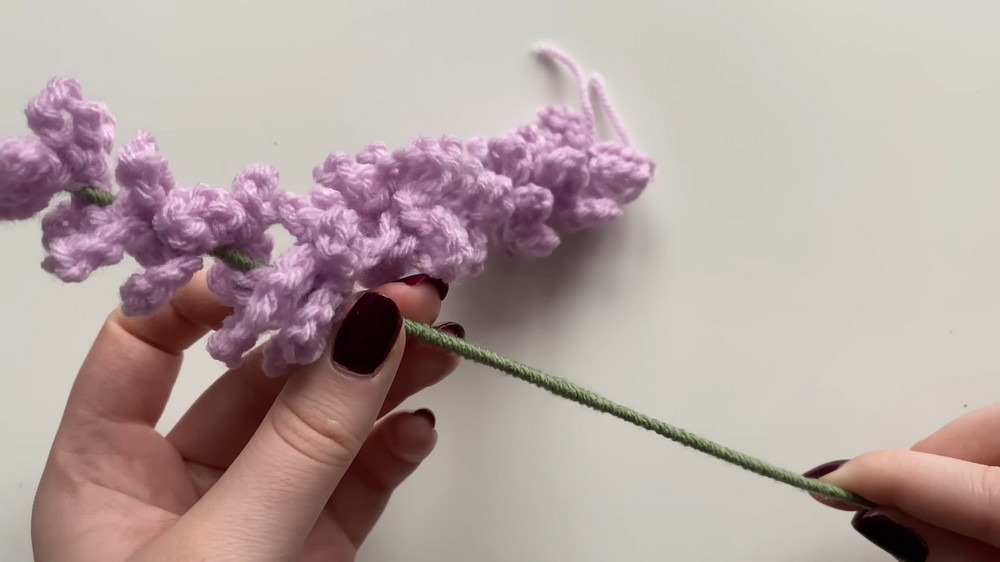
6: Assembling the Lavender Flower
- Attach the crocheted lavender to the wire stem using glue. Begin by applying glue to the base of the lavender flower.
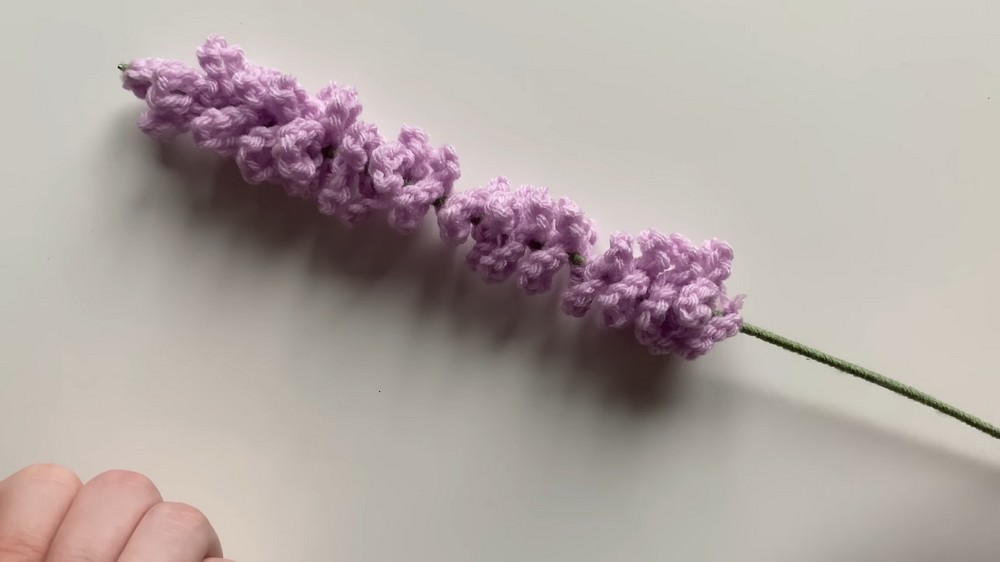
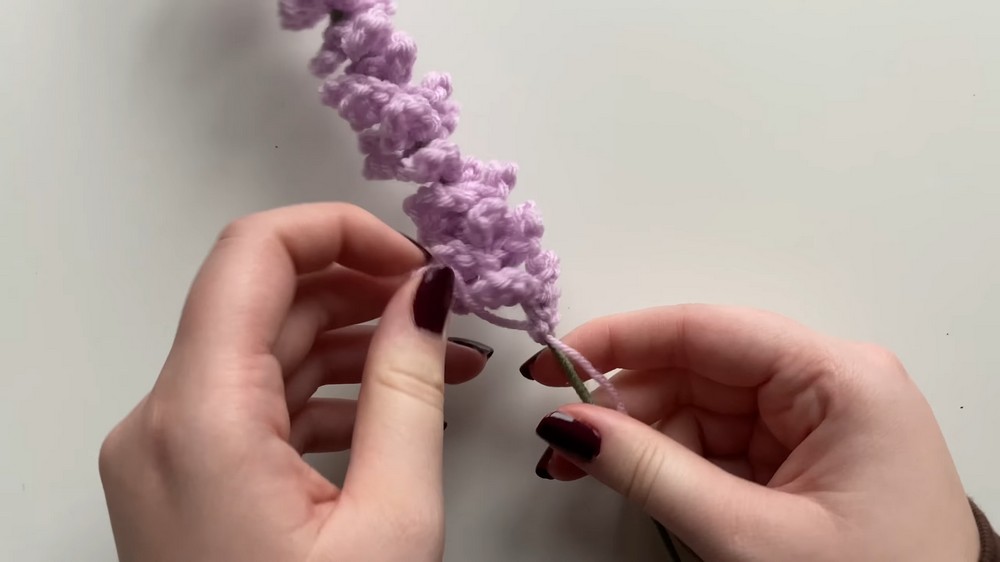
- Carefully wrap the crocheted piece around the wire, working section by section, and gluing as you go. Adjust the spacing of the loops to achieve a fuller or more spaced-out look, depending on your preference.
- At the bottom, secure the loose yarn ends by tying a knot and gluing them in place. Trim any excess lengths of wire or yarn.
Special Features
- Customizable Length and Thickness: You can adjust the chain length and spacing to make the lavender short or long and fuller or simpler.
- Realistic Curling Effect: Working into the top part of the chain creates a natural curve that beautifully mimics real lavender.
- Multi-Functional Usage: Incorporate the lavender into bouquets, wreaths, or as standalone decoration. It can also make for unique handmade gifts.
Level of Difficulty
- Skill Level: Beginner-friendly with prior knowledge of basic stitches.
- The pattern is straightforward, but attention to tension and consistent stitches is key to achieving a polished and realistic look.
Tutor’s Suggestions
- Use Hot Glue When Possible: Although tacky glue works, hot glue ensures a stronger bond and faster assembly.
- Avoid Working Through Entire Chains: Only work into the top part of each chain to ensure the curling effect.
- Maintain Tension: Loose or tight stitches can affect the overall look of the lavender.
Conclusion
This crochet lavender project combines simplicity and creativity to create lifelike flowers that brighten any space. With easy-to-follow steps and room for customization, making these flowers can be a therapeutic and rewarding experience. Whether part of a bouquet or as charming décor, these handmade blooms add a touch of handmade beauty to your life.
Tip
When wrapping the crocheted lavender onto the stem, work slowly and secure each section with glue before moving to the next. This ensures the lavender stays tightly wrapped and doesn’t unravel later.