
Dazzling Crochet Rhino Amigurumi Pattern For Animal Lover
Secure a bold safari vibe with this Free Crochet Rhino Amigurumi Pattern, a sharp and hip aesthetic to supply a wave of cheerful spirit.

Modern Crochet Rhino Amigurumi Pattern to Style Your Farmhouse
A ball of thick grey thread begins to shift into a strong little buddy as your metal hook pulls through every loop. This fun hobby lets you follow a Crochet Rhino Amigurumi Pattern that makes a toy both soft to touch and very cool to see. Moving your hands in this steady way helps you feel calm while you build a heavy, firm animal with a sharp horn and fat little feet. You can use this neat rhino to make a shelf look better or give it away as a kind, handmade present.
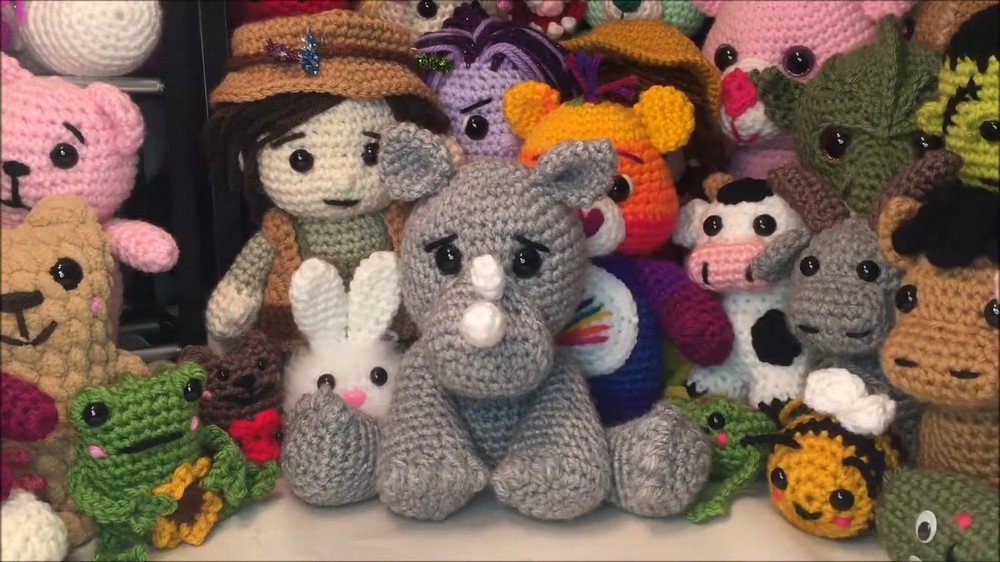
The best part is how a big wild beast becomes a small, puffy friend that is very easy to love and hold. It has a very clean and professional finish, which makes it a great item to show your friends. By using this simple guide, you get better at your skills and finish with a sweet, fuzzy treasure.
Materials
-
Yarn: Medium weight (Number 4) yarn in gray (base color) and a small amount of white or off-white (horns/muzzle).
-
Hook: 4.25 mm crochet hook [00:30].
-
Safety Eyes: 14 mm [00:30].
-
Stuffing: Polyester fiberfill [22:24].
-
Notions: Stitch marker, tapestry needle, pins, and scissors [01:00].
Step-by-Step Pattern
1. Limbs (Make 4: 2 Arms, 2 Legs)
-
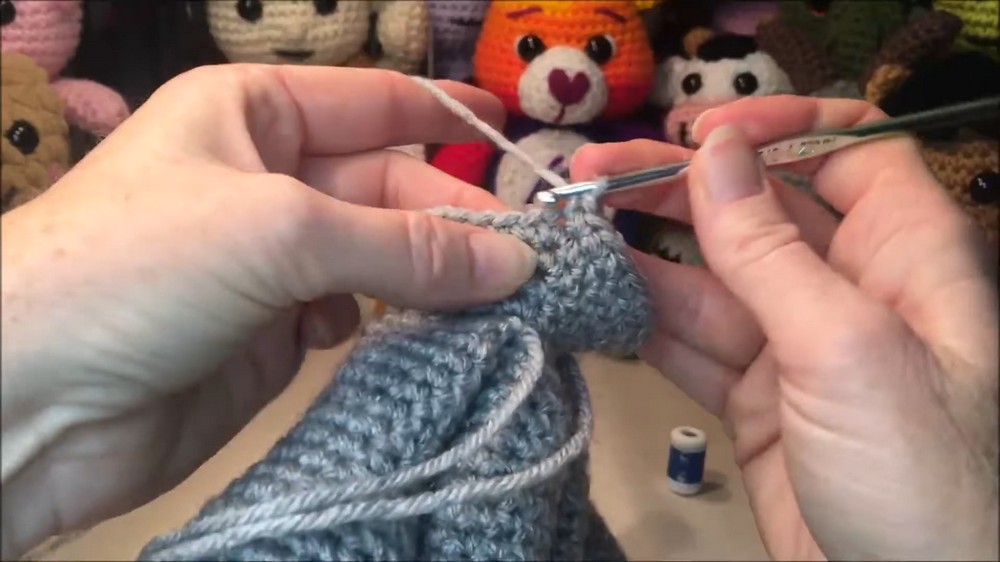
Start: 6 sc in a magic ring. Follow standard increase rounds to reach 24 sc by Row 4 [04:56].
-
Toes: Work 8 sc. In the next 8 stitches, alternate a "double crochet cluster of 4" with a single crochet to create four distinct toes. Finish with 8 sc [06:15].
-
Shaping: Work decrease rows to taper the limb down to 12 sc. Crochet 12 sc for 7 rows [16:59].
-
Finishing: Stuff the paws firmly and the upper limb lightly. For legs, stop after the sc rows. For arms, add 4 extra sc to shift the fold. Sc 5 across both sides to close [24:20].


2. Head and Upper Body
-
Head: Start at the top with 6 sc in a magic ring. Follow standard increase rounds (12, 18, 24, 30, 36, 42) until Row 7 [26:27].
-
Head Length: Crochet 42 sc for 8 rows [35:41].
-
Neck Taper: Decrease rounds (36, 30, 24, 18) to form the neck [51:02].
-
Arm Integration: Sc 2, then work 5 sc through the first arm and neck. Sc 4 across the front, then 5 sc through the second arm and neck. Finish with 2 sc [58:13].
3. Lower Body and Closing
-
Expansion: Increase to 24, 30, then 36 sc to build the body [01:03:24].
-
Body Length: Sc 36 for 6 rows [01:08:51].
-
Leg Integration: Position the legs at the front so the rhino sits. Work 5 sc through each leg and the body with 2 sc between them [01:34:09].
-
Closing: Decrease down to 12 sc. Stuff the head and body firmly. Finish with 6 dec and weave closed [01:46:25].

4. Face and Horns
-
Eyes: Place 14 mm safety eyes between Rows 9 and 10 of the head, 4 holes apart [01:22:22].
-
Muzzle (White): Work an oval by crocheting around both sides of a chain-7. Sew between the eyes [02:01:27].
-
Horns: Create two small cones (one slightly larger). Sew them in a vertical line on the bridge of the muzzle [02:18:20].
-
Ears: Crochet flat leaf shapes and sew them to the top of the head [02:22:14].

Special Features
-
No-Sew Integration: Crocheting limbs directly into the body rows makes the toy more durable and kid-safe [00:12].
-
Bumpy Toes: The double crochet clusters create realistic, textured rhinoceros feet without extra sewing [06:23].
Level of Difficulty
This project is Intermediate. While the body construction is straightforward, the specific shaping for the toes and the placement of the dual horns require precision.
Tutor's Suggestions
-
Invisible Decreases: Use front loops only for decreases to prevent gaps in the fabric where stuffing might show through [01:34:14].
-
Neck Support: Stuff the neck area extremely firmly to prevent the head from wobbling or flopping [01:38:52].
Uses
-
Custom Gifts: Perfect for animal-loving children or collectors.
-
Stable Decor: The front-facing legs ensure the rhino sits upright on a bookshelf.
Conclusion
By following these steps, you create a character-rich rhinoceros with beautiful anatomical details. This pattern provides a solid foundation for learning no-sew amigurumi techniques and structural shaping.
Pro-Tip
Use a matching yarn thread to "pull" the eyes together slightly from inside the head. This indents the eyes and creates a more expressive, professional facial structure [02:51:44].