
Cute Crochet Tooth Free Pattern with Sweet Smile
Smile a little more with this Crochet Tooth Free Amigurumi Pattern to stitch a cute handmade keepsake that everyone will adore.
Can a small crochet project add charm to your handmade collection while helping you practice creative skills? This cute amigurumi idea is a fun choice for gifts, decorations, and collectible items, offering a simple way to enjoy the art of crochet.
Easy Crochet Tooth Free Amigurumi Pattern Featuring Fun Details
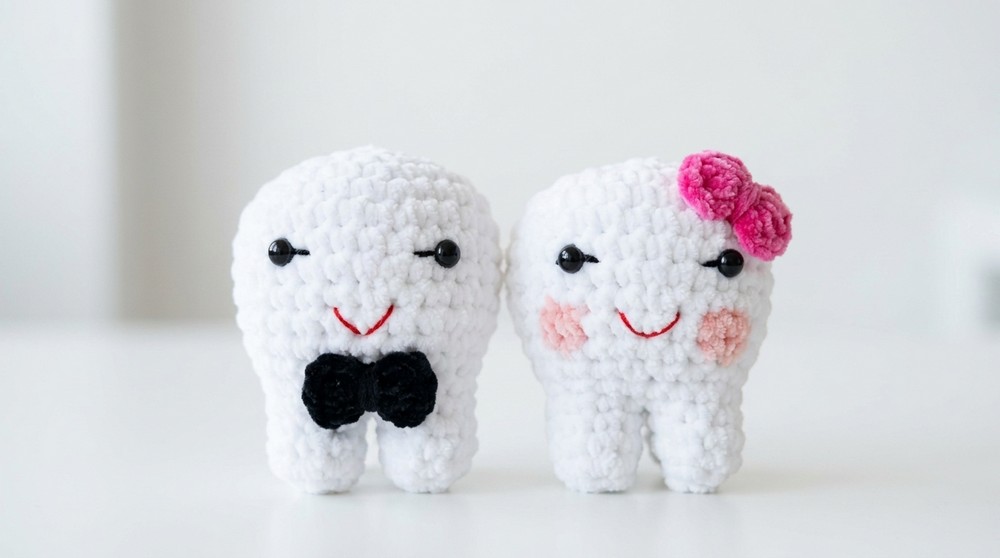
The Easy Crochet Tooth Free Amigurumi Pattern features a mini crochet figure with a soft shape, playful appearance, and charming details. This beginner-friendly crochet project is suitable for those who love making small handmade creations, crochet toys, and adorable amigurumi figures. Its compact size makes it a lovely addition to home décor, gift baskets, or personal collections.
This crochet pattern idea introduces useful amigurumi techniques, including working in the round, basic shaping, and adding finishing touches. Soft cotton yarn is a popular option for a clean texture and structured look, while acrylic yarn provides flexibility and durability. Choosing suitable yarn weight and crochet tools helps achieve a balanced and polished result.

The Easy Crochet Tooth Free Amigurumi Pattern is a delightful project for crochet enthusiasts who enjoy creating miniature characters and handmade gifts. Continue with the full crochet pattern to make this cute crochet figure while building confidence in amigurumi techniques and expanding your collection of unique crochet creations.
Crochet Tooth Pattern
This project outlines the process for making a charming amigurumi tooth. Perfect for beginners, this guide demonstrates how to work in continuous rounds using simple stitches to build a plush, three-dimensional shape. By utilizing white cotton yarn and basic increase and decrease techniques, you will form a sturdy main body before dividing the work into two distinct partitions. The final steps involve adding thoughtful facial details with beads and embroidery to give your tooth a friendly personality. Follow these instructions closely to successfully produce a delightful fiber art piece that highlights the versatility of simple crochet techniques.
Notes
-
The pattern is worked in continuous rounds; do not join your rounds with a slip stitch unless specified.
-
Use a stitch marker to track the beginning of each round to maintain accuracy.
-
The pattern utilizes two strands of yarn held together for a sturdy, plush texture, but you may use a single strand if preferred.
-
"Increase" (inc) means working two single crochet stitches into the same stitch.
-
"Decrease" (dec) refers to an invisible decrease, which involves picking up the front loops of the next two stitches, yarn over, and pulling through to complete the stitch.
Skill Level
-
Beginner: Basic knowledge of magic rings, single crochet, increases, and decreases is required.
Materials
-
Yarn: White cotton or acrylic yarn (two strands held together).
-
Hook: 4.0 mm crochet hook.
-
Eyes: Two small black beads.
-
Embroidery: Red thread (for lips) and black thread (for sewing eyes).
-
Notions: Toy stuffing (polyester fiberfill), tapestry needle, safety pin (as a stitch marker), and scissors.
Stitch Abbreviations
-
MR: Magic Ring
-
sc: Single Crochet
-
inc: Increase (2 sc in the same stitch)
-
dec: Invisible Decrease
-
st(s): Stitch(es)
-
ch: Chain
-
sl st: Slip Stitch
The Crochet Pattern
The Main Body
We begin by forming the base of the tooth structure.
- Round 1: Start with a Magic Ring. Make 6 sc inside the ring. Pull the tail to close. (6 sts)
-
Round 2: Work 2 sc in each stitch around (Increase in every stitch). (12 sts)
-
Round 3: 1 sc, inc repeat around. (18 sts)
-
Round 4: 2 sc, inc repeat around. (24 sts)
-
Round 5: 3 sc, inc repeat around. (30 sts)
-
Rounds 6 – 8: Work 1 sc in each stitch around for three rounds. (30 sts)
-
Round 9: 3 sc, dec repeat around. (24 sts)
-
Rounds 10 – 11: Work 1 sc in each stitch around for two rounds. (24 sts)
-
Round 12: 2 sc, dec repeat around. (18 sts)
-
Round 13: Work 1 sc in each stitch around. (18 sts)


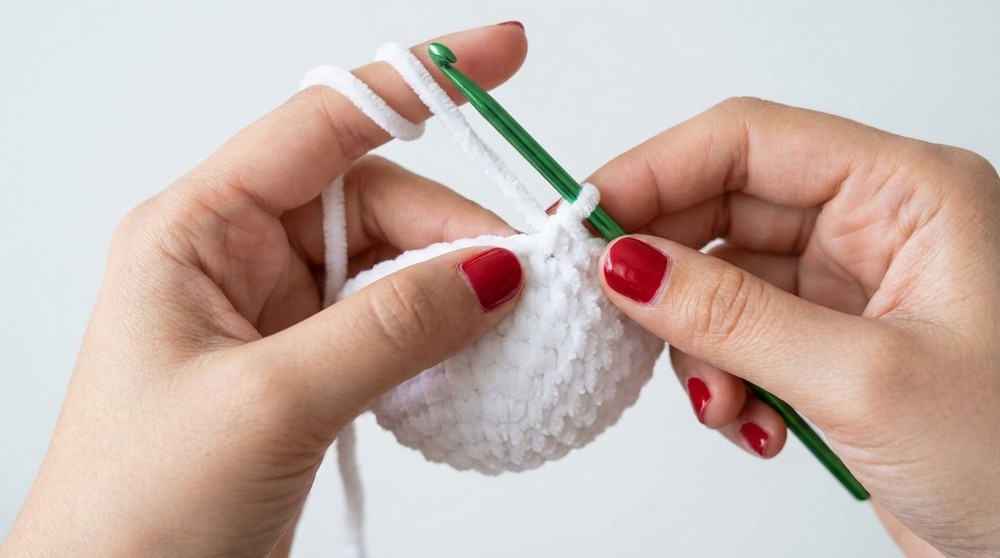
At this point, pause to firmly add the toy stuffing into the body.

The Tooth Partitions
To create the iconic tooth shape, the opening is divided into two separate sections, each consisting of 9 stitches.
Partition One:
-
Work 9 sc across the first half of the stitches. Connect this to the first stitch of the round to close the loop.
-
Rounds 1 – 4: Continue working in a spiral, performing 1 sc in each stitch for a total of four rounds.
-
Finishing: After the fourth round, make a sl st, chain 1, and fasten off. Leave a long tail for sewing. Add a small amount of stuffing inside this partition. Use your tapestry needle to weave the yarn in and out of the remaining stitches to close the circle completely.

Partition Two:
-
Insert your hook into the remaining 9 stitches of the main body to begin the second partition.
-
Attach your yarn, chain 1, and work 1 sc in each of the 9 stitches.
-
Rounds 1 – 4: Continue with 1 sc in each stitch for four rounds.
-
Finishing: Once completed, fasten off, stuff lightly, and use the tapestry needle to sew the opening shut, mirroring the technique used for the first partition.
Assembly & Finished Size
With the main structure complete, it is time to add character.
-
Eyes: Using the black thread, sew the two beads onto the front of the tooth. Ensure they are positioned symmetrically.
-
Lips: Using the red thread, embroider a small mouth below the eyes to give your tooth a friendly expression.
-
Details: Ensure all yarn ends are woven in securely and hidden inside the body of the amigurumi.

Quick Overview Of Pattern
-
Technique: Amigurumi (worked in continuous rounds).
-
Structure: Started with a magic ring, increased to form the main body, divided into two partitions to create the tooth shape, and finished with individual closures.
-
Features: Customizable facial features using beads and embroidery.
-
Difficulty: Beginner-friendly.
Conclusion
You have now finished your custom amigurumi tooth.This project serves as a fantastic introduction to shaping with yarn. Feel free to experiment with different facial expressions or even add accessories like a small bow to personalize your creation further. Remember to share your finished work and keep practicing your stitches to master the art of amigurumi. Happy hooking.
