
Free Crochet Teru Teru Bozu for Joyful Accents
Bring cheerful charm to your projects with Crochet Teru Teru Bozu Pattern, featuring playful details, whimsical style, and delightful appeal.
In Japanese folklore, small talismans were often made and hung by windows to invoke good weather and dispel gloomy skies. Among these, the Teru Teru Bozu holds a special place, symbolizing hope and positivity. Today, this meaningful charm has taken on a modern twist with crocheted versions, adding an extra layer of beauty and creativity.
Delightful Free Crochet Teru Teru Bozu for Cheerful Displays
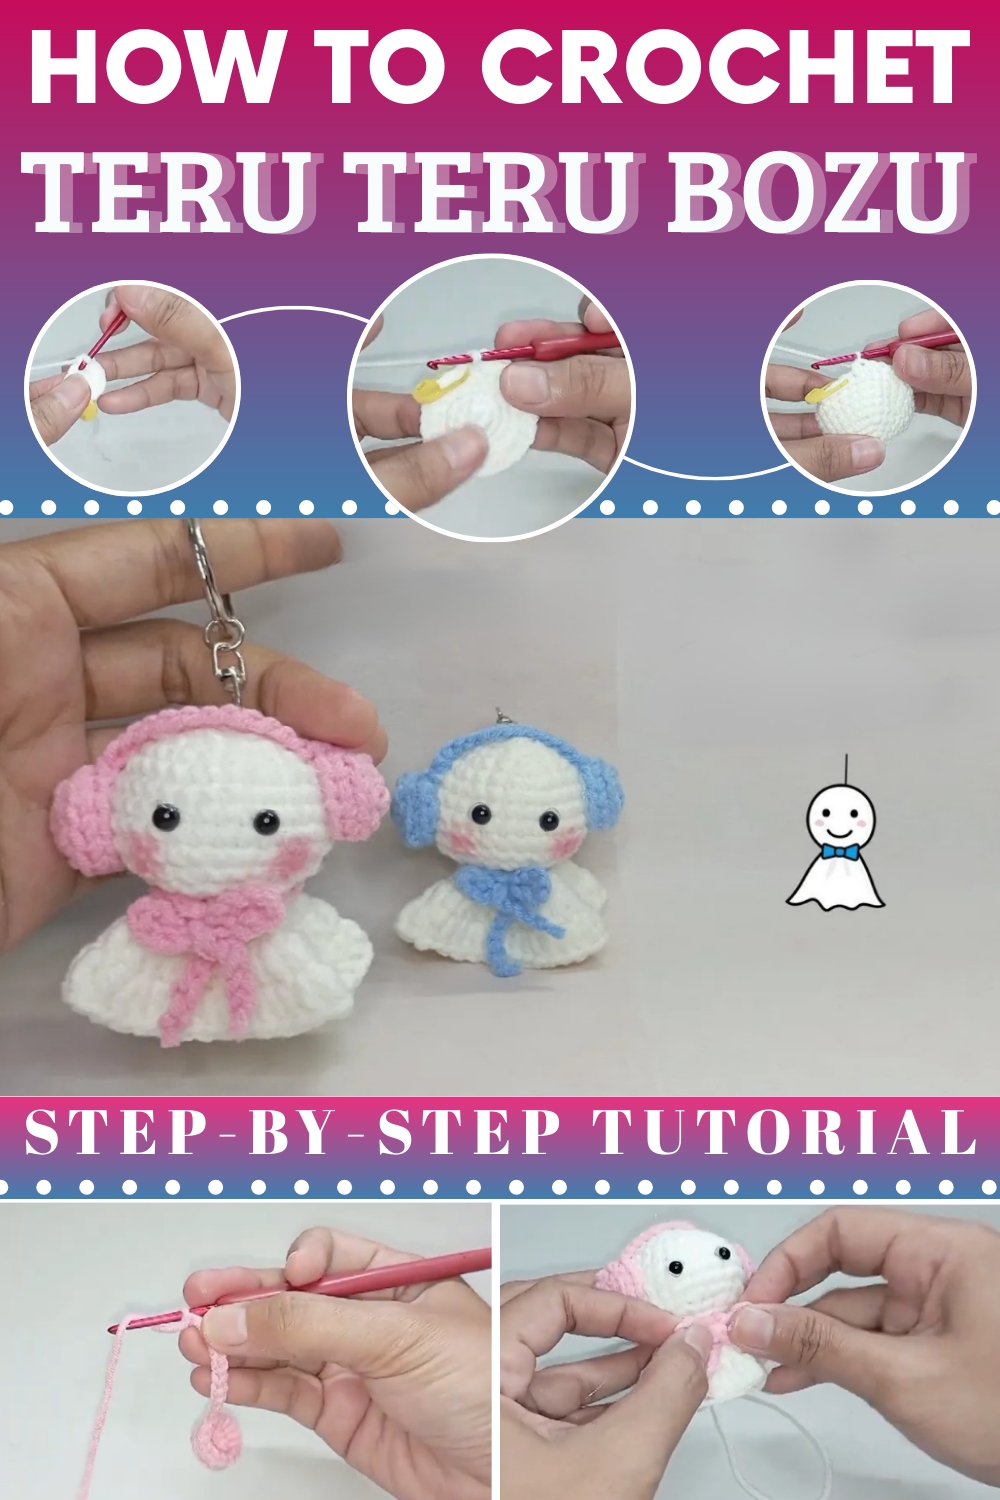
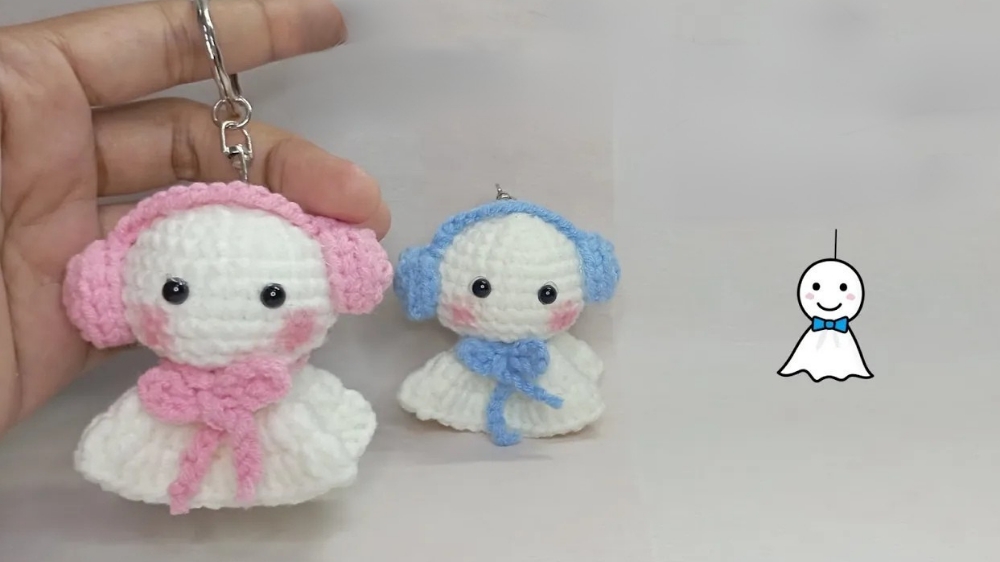
Beyond its cultural value, a crocheted Teru Teru Bozu can become a cherished keepsake, a heartfelt gift, or even a whimsical decoration to brighten your space. With its adorable rounded form and sweet expressions, this delightful creation brings both positivity and a touch of charm to any setting.
Whether you make it for yourself, as a gift, or to brighten a loved one’s day, the crocheted Teru Teru Bozu is much more than a decoration—it is a symbol of good weather, positivity, and enduring hope. Its timeless charm and cultural significance make it a meaningful piece, turning simple stitches into an emblem of joy and light.
The crochet tutorial starts with a magic ring, a crucial technique for creating the neat, closed center that forms the foundation of the doll’s head. Using single crochet stitches, the pattern builds in slow, deliberate rounds, with increases ensuring the head achieves its perfectly spherical shape.
Free Crochet Teru Teru Bozu Pattern
Materials
- Yarn: Milk cotton yarn, 5-ply (white for the body and matching/contrast colors for headphones/ribbon)
- Hook: 3.0 mm crochet hook
- Polyester Stuffing: Dacron fiberfill
- Tapestry Needle: For sewing parts and weaving ends
- Scissors
- Stitch Marker: Or use a scrap of yarn
- 5 mm safety eyes (or black felt/embroidery for eyes)
- Keychain Hardware: Hanger and split ring
- Glue: For attaching small parts securely
- Ribbon: For decoration (make a bow/scarf, optional)
Abbreviations (US Terminology)
- MR = Magic Ring
- ch = Chain
- sl st = Slip Stitch
- sc = Single Crochet
- inc = Increase (2 sc in next st)
- dec = Decrease (sc2tog)
- dc = Double Crochet
- BLO = Back Loop Only
- FLO = Front Loop Only
- st(s) = Stitch(es)
- FO = Fasten Off
Special Notes
- The pattern is worked in the round.
- Use a stitch marker to mark the first stitch of each round.
- For the best shape, firmly stuff with fiberfill before closing rounds.
- Pattern includes details for headphones and ribbon.
- Safety eyes are installed before closing the head.
Pattern Instructions
HEAD/BODY
Round 1: MR, 6 sc in ring. (6)
Round 2: inc in each st around. (12)

Round 3: (1 sc, inc) around. (18)
Round 4: (2 sc, inc) around. (24)
Round 5: (3 sc, inc) around. (30)
Rounds 6-9: sc in each st around. (30, 4 rounds)
Round 10: (3 sc, dec) around. (24)
Round 11: (1 sc, dec) around. (18)

Round 12: (sc, dec) around. (12)

Stuff the head and body firmly with fiberfill.
Round 13 (BLO): (dec) around. (6)
FO, leaving a long tail. Using a needle, weave the tail through front loops of the last round and pull tight to close.
DRESS/SKIRT FLO (worked in front loops of Rnd 12)
Attach white yarn to any front loop of Round 12:
Round 1: Ch 2 (counts as dc), 2 dc in same st,
2 dc in each FLO around. (24 dc) Join with sl st to 1st dc.
Round 2: Ch 2, dc in same st, 2 dc in next st,
(1 dc in next st, 2 dc in next st) around. (36 dc) Join with sl st.
Round 3: Ch 2, dc in same st,
dc in next st, 2 dc in next st around. (48 dc) Join with sl st.
FO and weave in the end.
HEADPHONES (make 2)
Round 1: MR, 6 sc in ring. (6)
Round 2: inc in each st around. (12)
Round 3 (BLO): sc in each st around. (12)
Sl st to join.
Ch 12 (to make the arch connecting headphones).

FO and leave a tail for sewing.
Make another “headphone” the same way. Slip stitch headphones together at ends of the ch-12 to make the arch.
ASSEMBLY
- Attach eyes: Insert safety eyes between Rounds 6–7, evenly spaced.
- Embroider mouth: Use scrap yarn or embroidery floss.
- Sew headphones: Sew headphones over the head, with the arch on top.
- Ribbon/Bow: Ch 50 with contrasting yarn to create a scarf/bow.
Tie around the neck area. - Keychain: Attach a keychain ring or hanger securely through the top of the doll with leftover yarn or ring.
- Finish: Tidy all ends, use glue for extra security if needed.

Conclusion
Congratulations! Your adorable amigurumi summoning (rain) doll keychain is ready. Customize with different colors for the headphones and ribbons, or add a cute face. Great as a bag charm, key holder, or small gift.
Pattern Correction
- If you experience a lopsided body, check your stitch count each round.
- For fluffier skirt, add another round of dc increases as needed after Round 3 of the skirt.
- Headphones arch (ch 12) can be adjusted for size.
Tips
- Use a stitch marker every round to keep track.
- Stuff firmly before closing for best shape.
- You can embroider the face instead of using safety eyes for a safer toy.
- Add a drop of glue to knots for child safety and durability.