
Cute Crochet Spring Bows Pattern to Refresh Your Wardrobe
Brighten every outfit with this Free Crochet Spring Bows Pattern, perfect for adding lightweight, colorful accents to hair accessories, gifts, and décor.
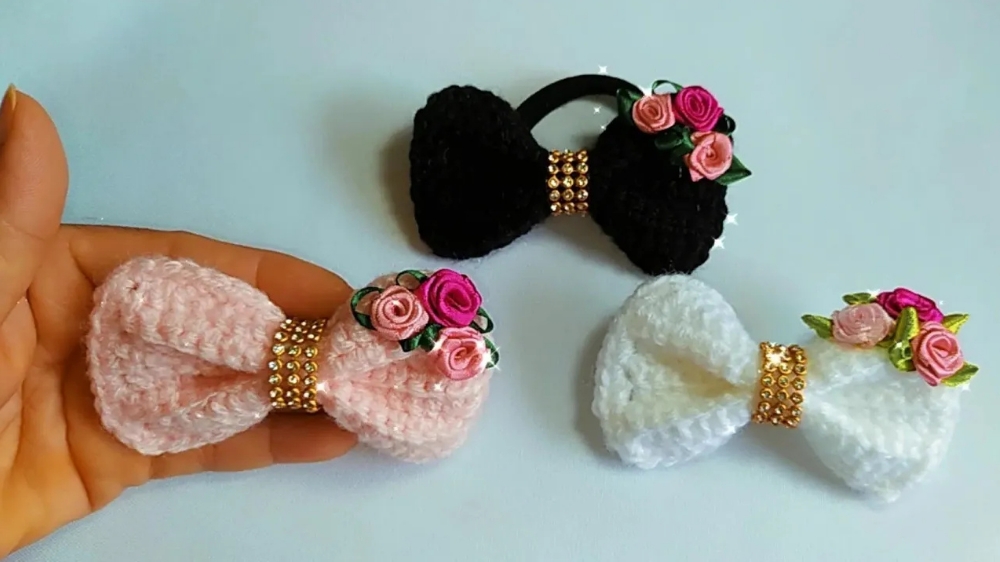
Soft breezes and the first colors of the season often inspire a refreshing touch in handmade accessories. Among the prettiest accents for spring wardrobes and home décor are lightweight bows worked with gentle stitches. The Free Crochet Spring Bows Pattern offers a charming way to fashion delicate bows that bring a subtle seasonal cheer to any setting. Whether attached to hair ties, clipped onto gift packages, or sewn onto a favorite handbag, these bows lend a polished yet playful finish. Their versatility makes them equally suited for festive celebrations, baby showers, or simply brightening everyday outfits.
How Crochet Spring Bows Pattern Enhances Your Spring
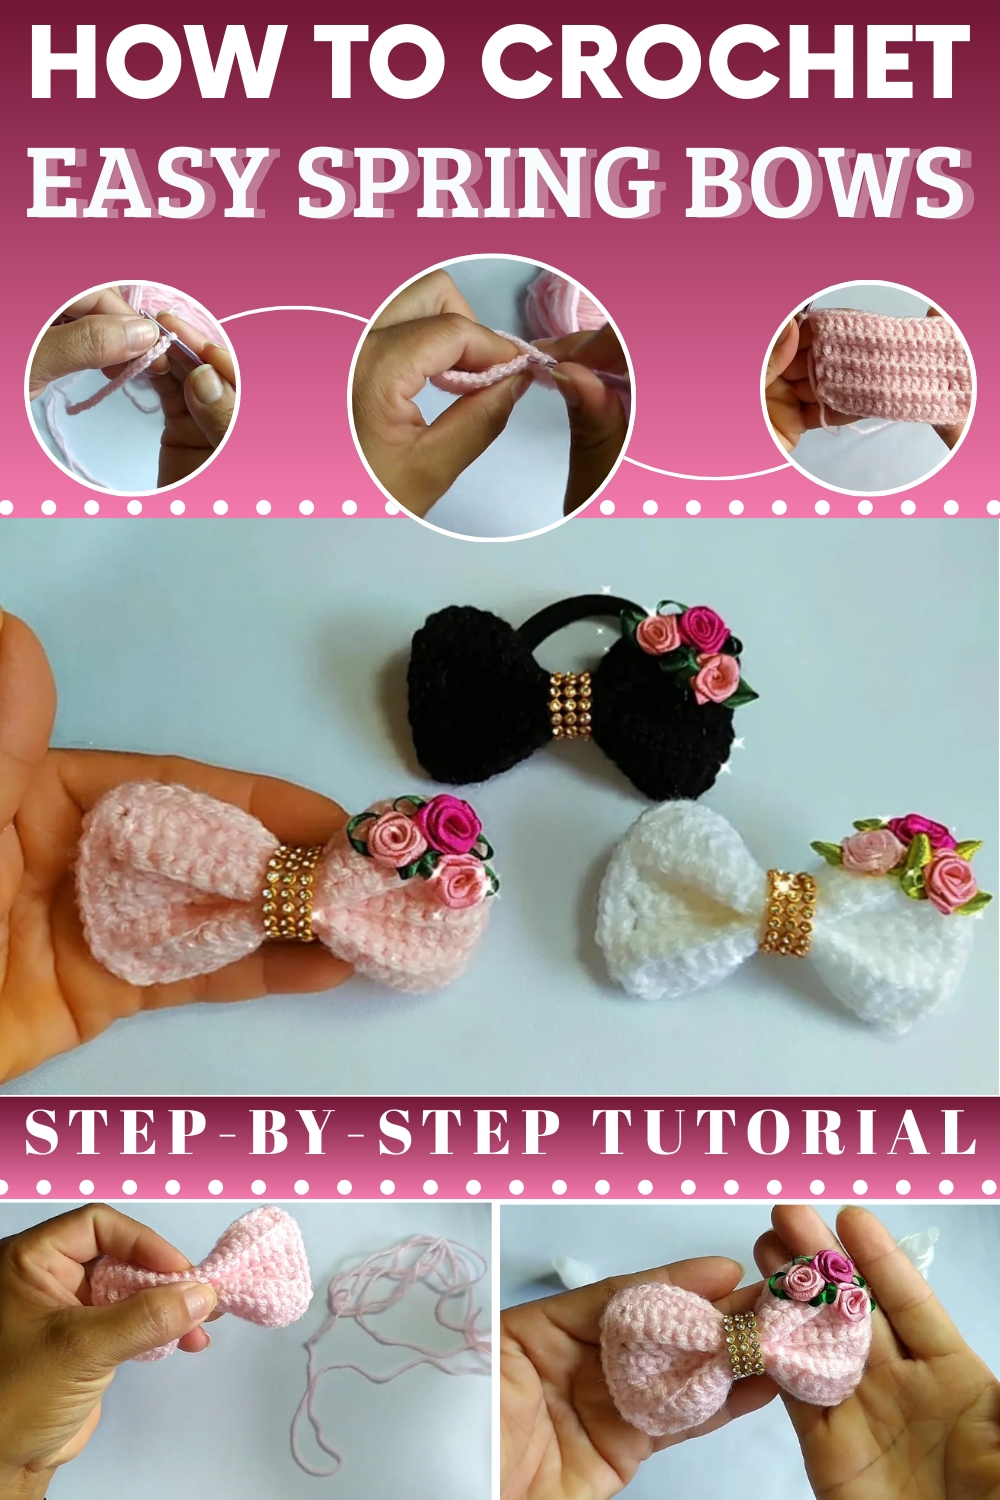
Because the instructions are straightforward and the materials minimal, this project suits both experienced enthusiasts and newcomers eager for a quick success. A few small scraps of yarn are all that is required to form bows in a range of pastel shades or vibrant tones, allowing endless personalization to complement different moods and occasions.
The lightweight texture ensures comfort when worn as accessories, while the durability of the stitches means each bow retains its neat shape through repeated use. Simple to assemble and delightful to share, these spring bows provide an elegant touch that enhances gifts, outfits, and décor with effortless charm throughout the season.
Step-by-Step Details
Materials Needed
The following materials are used in the video:
- Yarn: Alan Boleta in baby pink.
- Crochet hook: 2.0 mm needle (a 2.5 mm needle can be used if you find it easier to work with).
- Duckbill clip: 7.5 cm in size (smaller 6.5 cm clips can also be used).
- Rhinestone piece: 4.5 cm (used for decoration).
- Rococo flowers: Three small decorative flowers (the video provides a link for making these flowers if you wish to create them yourself).
- Tek Bond glue for assembly and decoration.
- Scissors to trim yarn ends.
1: Creating the Base
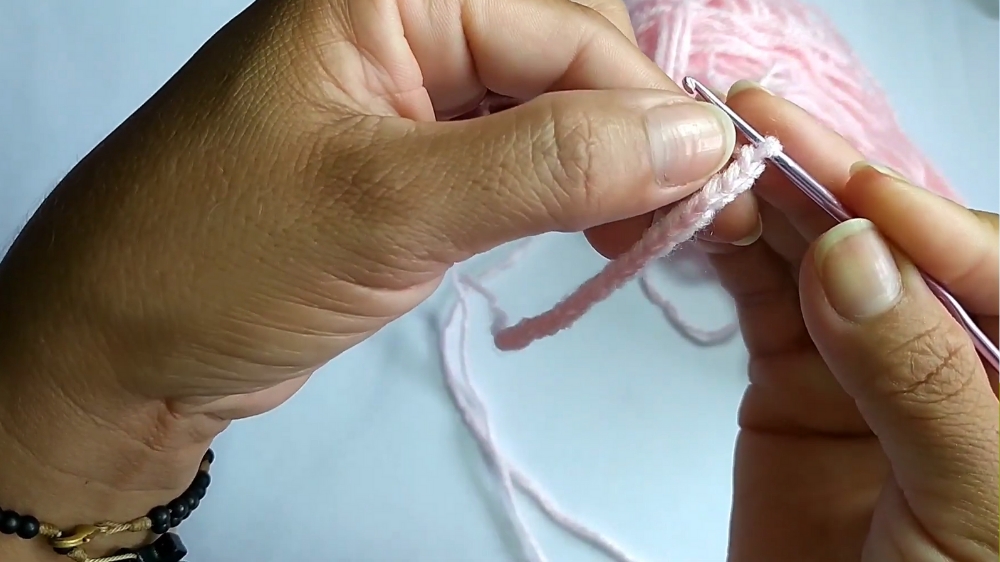
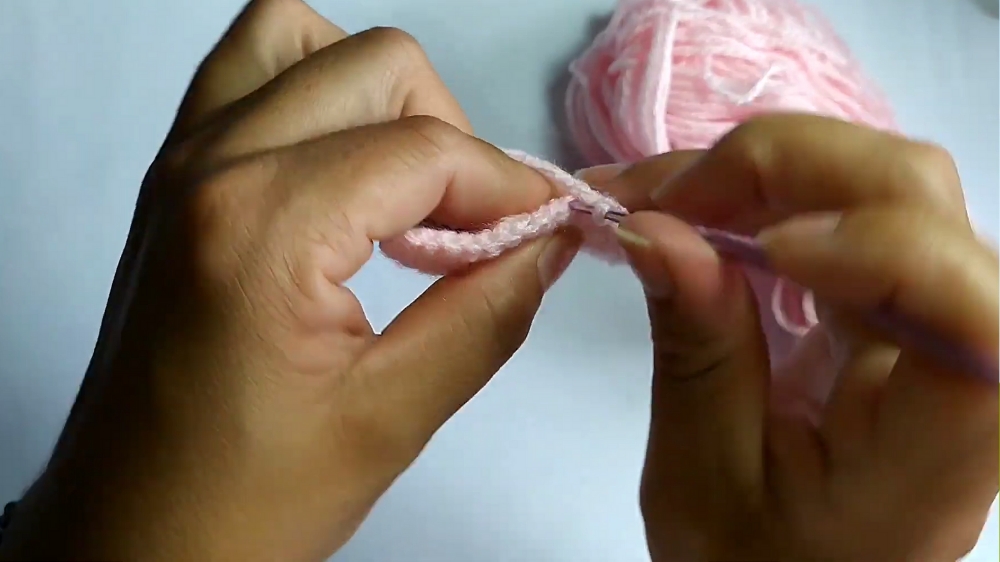
- Start by making 17 chains.
- In the fourth chain from the needle, begin creating double crochet stitches.
- Continue making one double crochet stitch per chain until you reach the end of the row.
2: Building the Structure
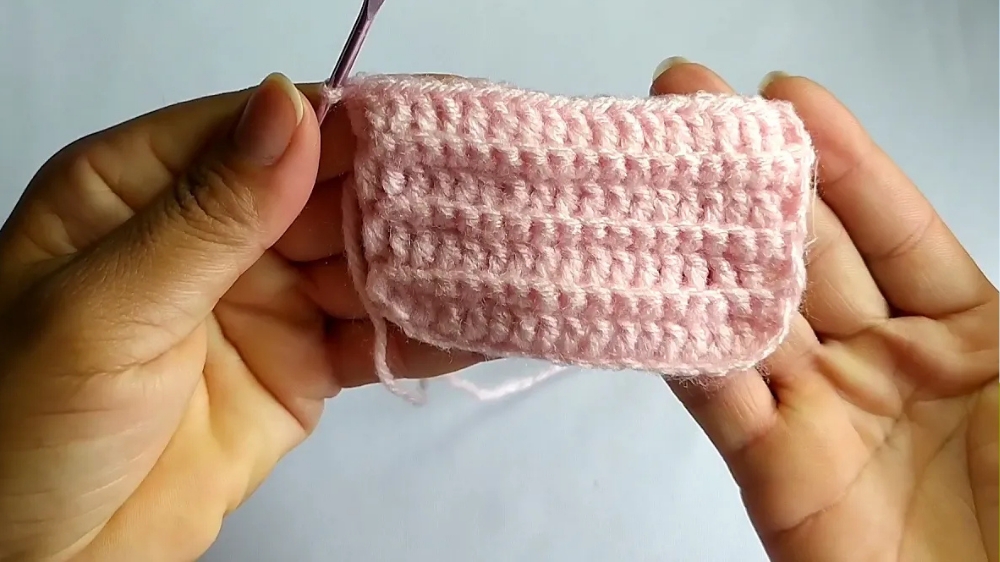
- Row 2: Chain one, turn your work, and make single crochet stitches across the row, inserting into the spaces between the stitches.
- Row 3: Chain three, turn your work, and create double crochet stitches by picking up only the back loop of each stitch. This creates a subtle texture for the bow.
- Repeat alternating rows of single crochet and double crochet (back loop only) until the structure is complete.
3: Adding the Crochet Edges
- Once the main rows are completed, create a single crochet border all the way around the piece.
- This ensures clean edges and a finished look.
4: Forming the Bow
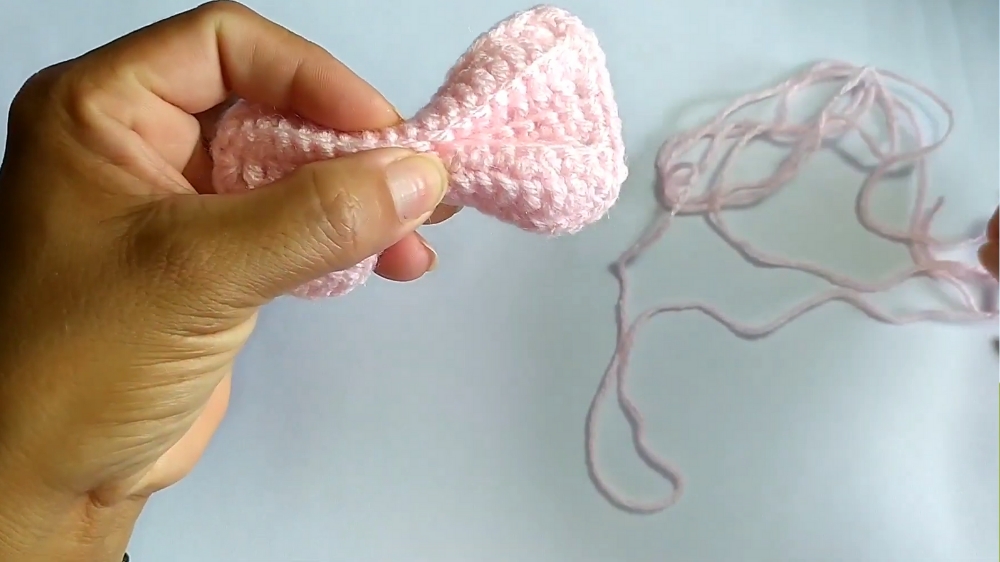
- Fold the completed piece along the creases to create the bow shape. Fold the sides inward to meet at the center.
- Wrap a piece of yarn tightly around the middle to secure the bow. Tie knots at the back and hide the knots by tucking them underneath.
5: Final Touches
- Attach the duckbill clip to the back of the bow. Open the clip, apply glue, and position it securely.
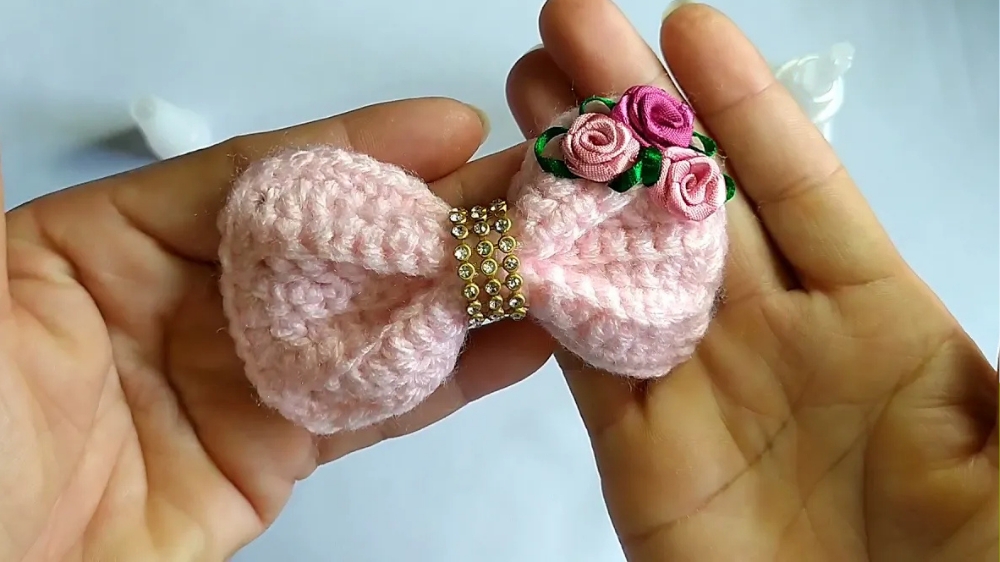
- Decorate the bow with the rhinestone piece and rococo flowers, placing them on the center or sides as desired.
Special Features
- The bow is elegant and has a textured look due to the back loop technique.
- It is multipurpose and can be used for hair accessories, gift ribbons, or décor.
Level of Difficulty
- The tutorial is beginner-friendly, but some experience with basic crochet (e.g., chains, single crochet, and double crochet) will be helpful.
- If you’re new to crochet, the suggestion to use a 2.5 mm hook may make the process easier.
Tutor’s Suggestions
- Practice using a 2.5 mm crochet hook if working with the 2.0 mm needle feels challenging.
- For added personalization, create your own rococo flowers using the separate tutorial linked in the video description.
- Use a strong adhesive (Tek Bond glue) for securing embellishments.
Uses and Applications
- The finished bow can be used in multiple ways:
- Attached to scrunchies for hair accessories.
- Applied to duckbill clips for an elegant touch.
- Used as decoration for gift wrapping or table settings.
Conclusion
This tutorial is an excellent resource for creating a versatile and decorative bow. The combination of simple materials, careful detail, and an easy-to-follow explanation allows viewers to recreate this beautiful accessory for personal use, gifts, or even small-scale crafting businesses. It's a creative and fun project for anyone interested in crochet.
Helpful Tip
When working with the yarn to form the bow’s center, ensure the tension is even to avoid distorting the bow’s shape. For smoother crocheting, have all your materials prepped and ready before starting.