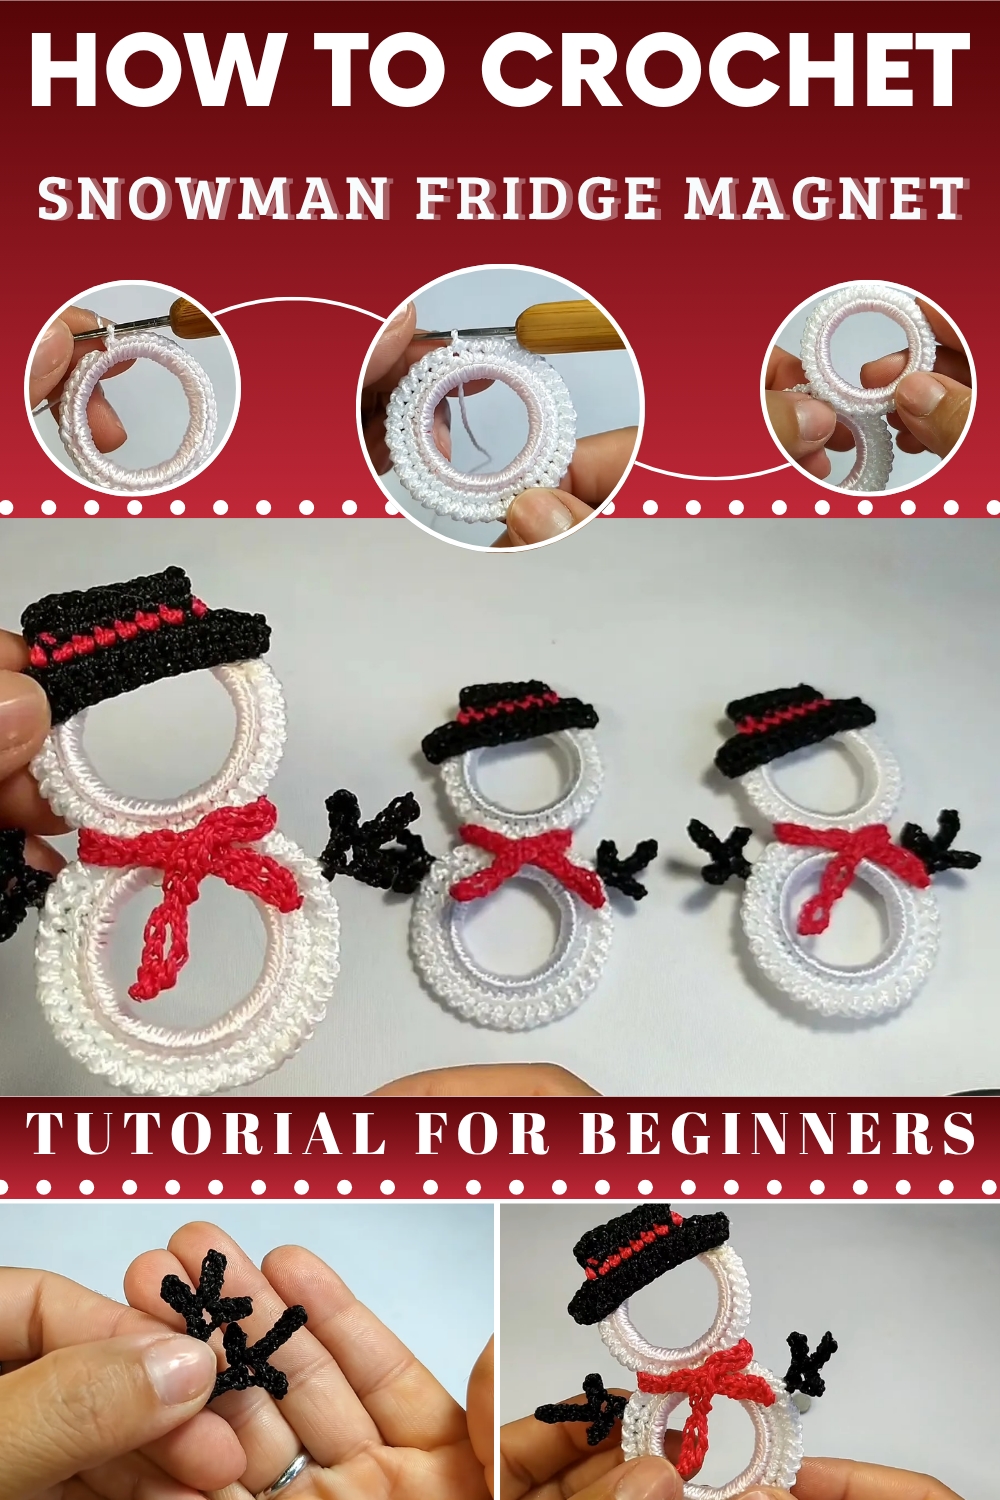
Cute Free Crochet Snowman Fridge Magnet Using Recycling Bottle Ring
Brighten your kitchen with this Crochet Snowman Fridge Magnet using recycling bottle rings for a playful and sustainable holiday decoration.
In the heart of winter kitchens everywhere, a tiny snowman brings warmth and cheer far beyond the cold season. This charming fridge magnet captures the joyful spirit of the holidays while serving a practical role in holding notes, lists, and reminders close at hand. Its cheerful face and classic winter accessories add a touch of whimsy, transforming any magnetic surface into a festive focal point. What makes this magnet truly special is the clever use of recycling bottle rings as a sturdy base, introducing an eco-friendly twist to this delightful project.
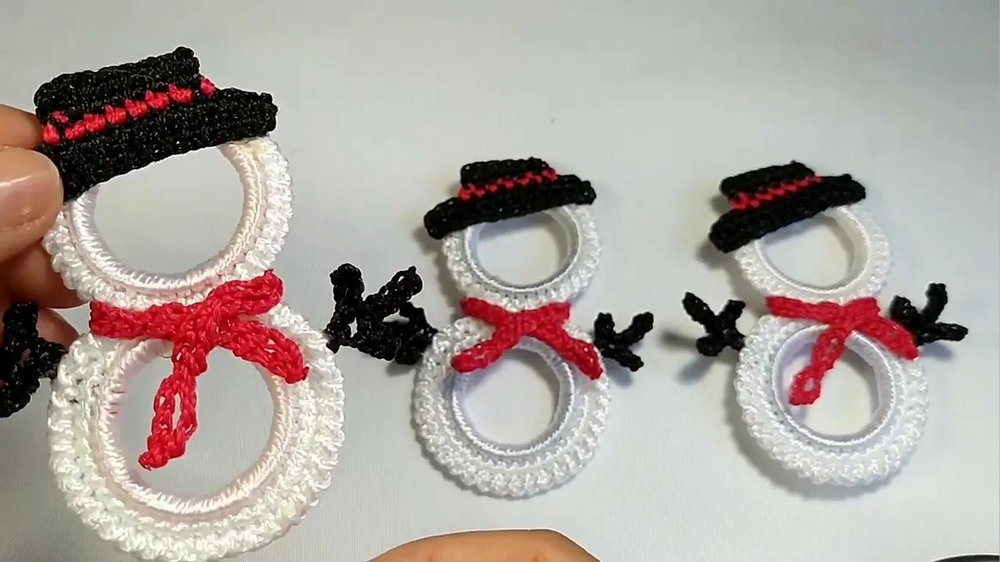
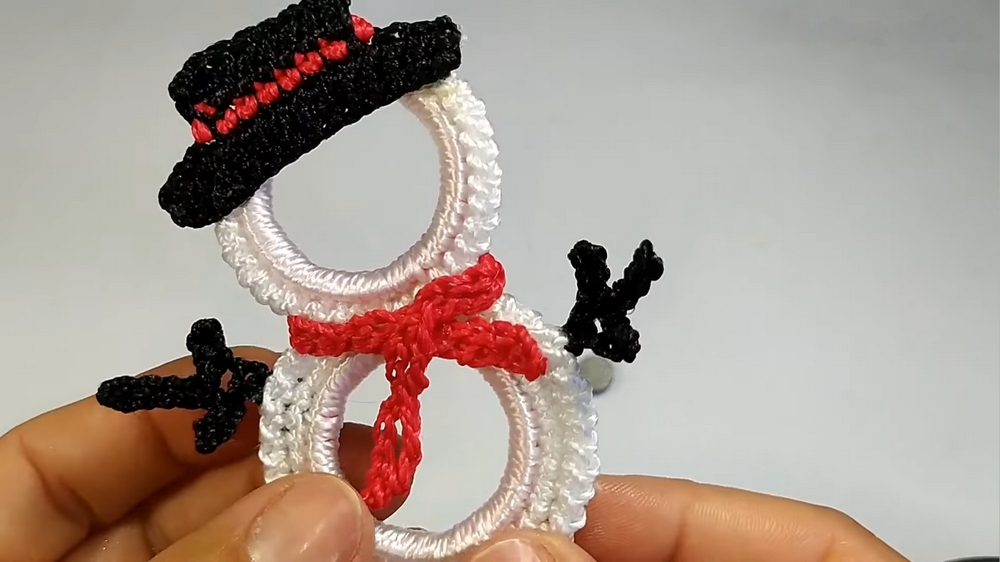
Free Crochet Snowman Fridge Magnet
This project is approachable yet detailed enough to engage crocheters looking to sharpen skills while completing a quick, delightful gift or decoration. Its size and lightness make it perfect for kitchen magnets, adding cheer without overwhelming space. The snowman’s sturdy construction benefits from the recycled bottle ring base, which adds stability and promotes sustainability. Beyond being a joyful decoration, it serves as a reminder that creativity and environmental consciousness can go hand in hand. This magnet offers a fun, practical, and eco-friendly way to brighten up everyday spaces with a hint of winter magic.
Materials List
- Yarn: Thick silk thread (Tex 288, 100% polypropylene) or any similar worsted-weight yarn
- Hook: Size E/4 (3.5mm) crochet hook or suitable for your yarn
- PET bottle ring: From 1 or 2-liter bottle (for the base)
- Scissors
- Tapestry needle: For weaving in ends/sewing parts
- Craft glue: For attaching pieces (optional)
- Magnets: Flat craft magnet if making refrigerator magnet
- Keychain ring or ribbon: For alternate uses
- Optional: Embellishments for the face, hat, scarf, etc.
Key Abbreviations
| Abbreviation | Meaning |
|---|---|
| ch | chain |
| sc | single crochet |
| sl st | slip stitch |
| tr | treble crochet |
| dtr | double treble crochet |
| st(s) | stitch(es) |
| rep | repeat |
Special Note:
Pattern is worked in US crochet terminology. Adjust hook size as needed for your yarn choice and desired finished size. Each "ring" refers to a PET bottle ring covered in crochet.
Pattern Steps
1. Preparing the PET Ring Base
- Remove a ring from a PET bottle (1 or 2-liter), ensuring any rough edges are smoothed (wrap with tape if needed).
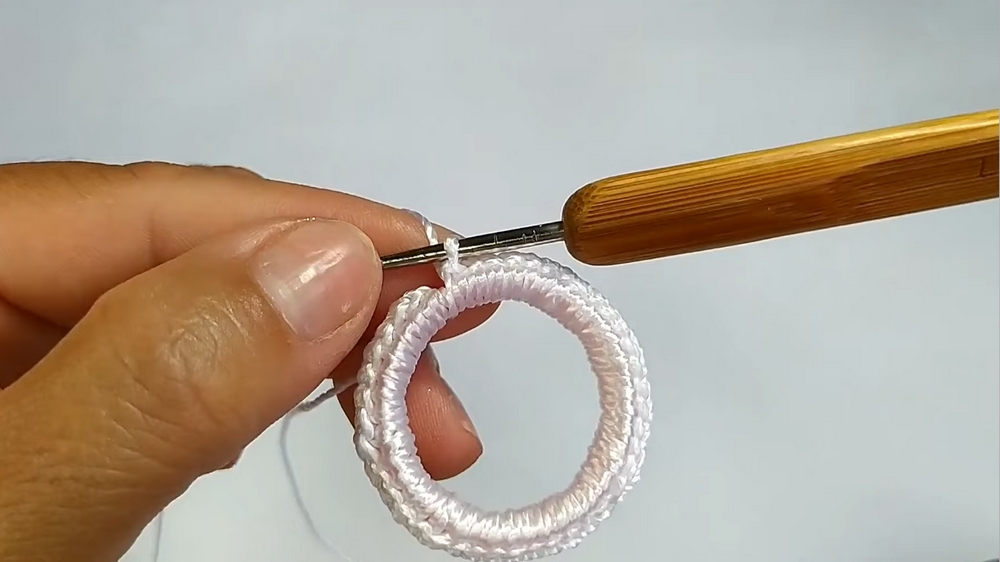
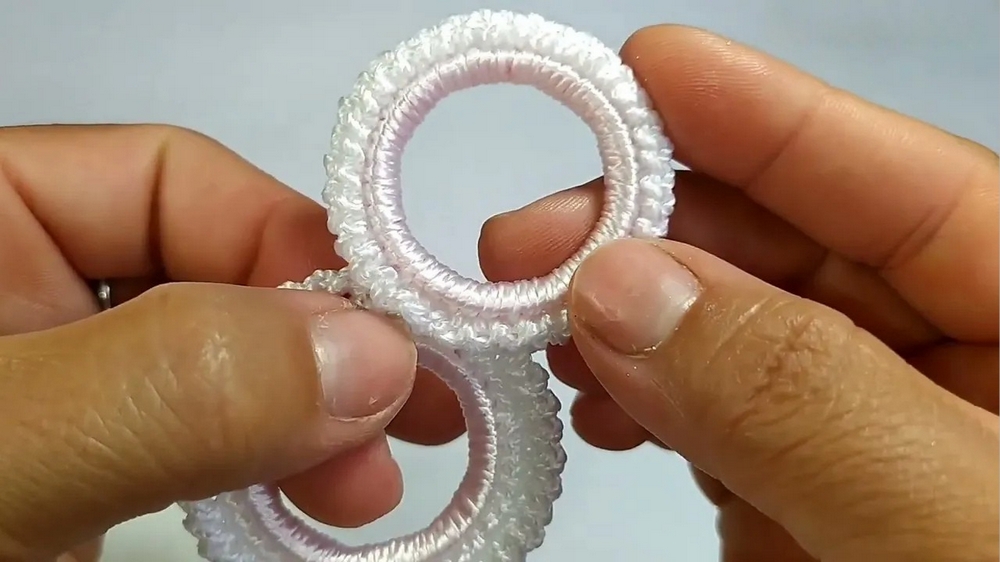
2. Covering the Ring
For the Body:
- Attach yarn to the ring.
- Work sc stitches:
- Insert hook in the ring, pull up a loop, and work a sc.
- Continue sc stitches all around the ring until completely covered, with no gaps.
- Join: Sl st to the first sc to close the round.
Optional: If the ring feels rough, wrap it with tape before crocheting.
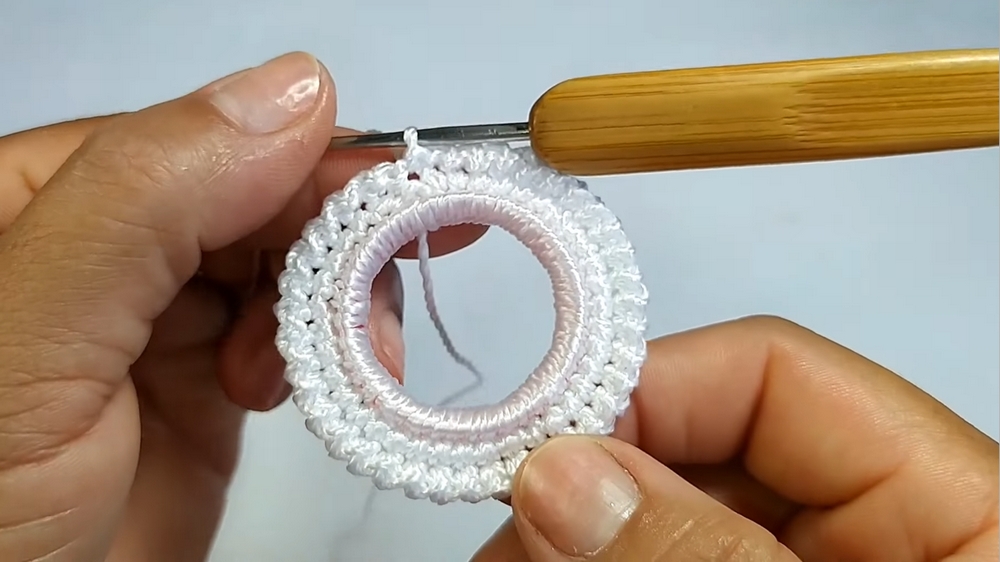
3. Increasing the Thickness of the Body
- Round 2:
- Ch 1, work sc in each sc around the ring.
- Sl st at the end of the round.
- Round 3 (Finishing):
- Ch 1, sl st in next st; ch 1, sl st in next st; rep around.
- This creates a decorative lace edge. Fasten off and weave in ends.
4. Covering the Ring for the Head
- Repeat as for the body:
- Cover a second PET ring with sc all around, join with sl st.
- Skip Round 2.
- Go straight to lace edge finishing (ch 1, sl st in next st), as above.
- Fasten off and weave in ends.
5. Attaching Head and Body
- Use craft glue to attach rings (or sew with a tapestry needle and leftover yarn).
- Leave a small yarn tail at the top if sewing.
6. Making the Hat
- With black yarn, ch 14.
- Row 1:
- Skip first ch, sc in each remaining ch across.
- Row 2:
- Ch 1, turn; sc in each sc across.
- Next Row (Brim):
- Ch 1, turn; sc in the next 10 stitches (leave last 3 unworked).
- Fasten off and weave in ends.
- Repeat for second side (creating brim shape):
- Attach yarn on the opposite side, sc the next 10, leave 3 unworked.
- Finishing:
- Two rows in black for tidier look. Fasten off and weave in ends.
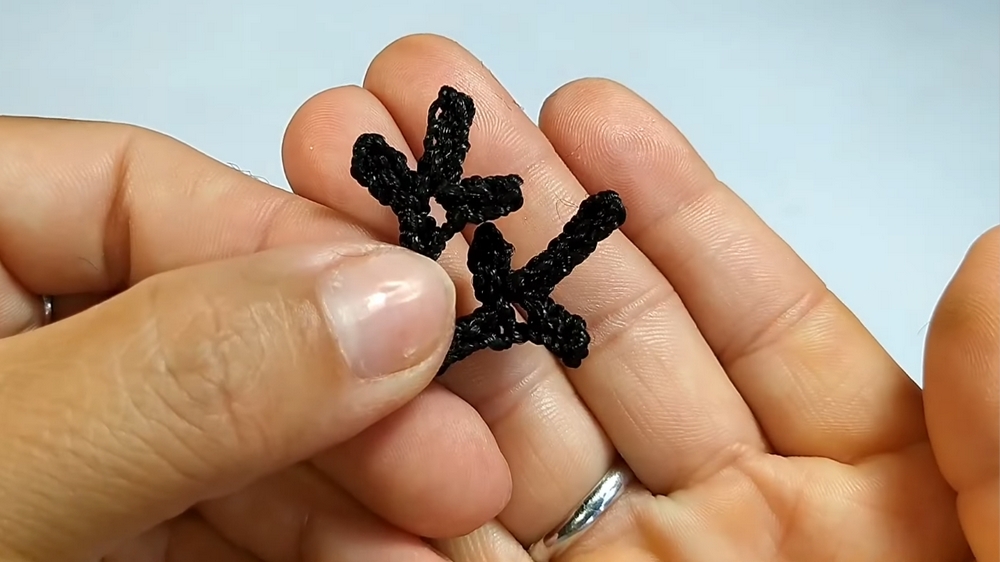
7. Making the Arms
- With brown yarn, ch 8.
- Row 1:
- Sl st in the next 3 ch for the first finger.
- Ch 4, sl st in each for the second finger.
- Ch 3, sl st in each for the third finger.
- Continue sl st along remaining chains to complete the arm.
- Repeat for second arm.
- Fasten off and weave in ends.
8. Making the Scarf
- With red yarn, ch 4.
- First Row:
- Dtr in first chain; continue until you have 8 dtr stitches (enough for scarf length).
- You may adjust for desired length.
- Second Row:
- Ch 4, dtr in first chain, repeat as above.
- Fasten off and weave in ends.
9. Assembly
- Glue or sew hat to top of head.
- Glue or sew arms between head and body.
- Glue or sew scarf around neck area.
- Attach magnet (if making magnet).
- Attach keychain ring/ribbon (if making keychain/ornament).
- Add face embellishments (buttons, felt, stitches).
Conclusion
This fun, eco-friendly snowman pattern recycles PET bottle rings and uses a minimal amount of yarn. Suitable for magnets, ornaments, or keychains, it makes quick gifts or market items.
Suggested retail price and material details can be found in the accompanying video description.
Pattern Correction
- Ensure sc stitches are worked tightly to cover the ring with no gaps.
- For scarf: If dtr feels too loose, you may substitute with treble crochet for tighter detail.
Tips
- For beginners, use a PET ring wrapped in tape for easier, smoother crochet.
- Switch yarn colors for different themes.
- Embellish with googly eyes or buttons for more character.
- To attach pieces securely, sewing is preferred over glue.